You've finished the lyric video, the sync looks right, and then the upload stalls because the file is far bigger than the platform, your drive, or your patience allows. Cutting random settings usually creates a second problem, which is blurry text that nobody can sing along to. If you want to make a video smaller file size without guessing, work from a size budget, pick settings that fit it, and test the thinnest lyric line before you commit.
Settings That Shrink a Video Fastest
Start with the table. Most exports don't need a custom theory lesson, they need a resolution, a frame rate, and a target bitrate that lands under a budget.
Target Bitrate and File Size for a 10-Minute Video
| Resolution | Frame rate | Target bitrate | Video size for 10 minutes |
|---|---|---|---|
| 1080p standard frame rate | 24-30 fps | 8 Mbps | about 600 MB |
| 1080p high frame rate | 50-60 fps | 12 Mbps | about 900 MB |
| 720p standard frame rate | 24-30 fps | 5 Mbps | about 375 MB |
| 720p high frame rate | 50-60 fps | 7.5 Mbps | about 562.5 MB |
| 480p standard frame rate | 24-30 fps | 2.5 Mbps | about 187.5 MB |
The table shows video only. Audio and container overhead sit on top, so leave a few megabytes of headroom before you call the file finished.
The rule behind those rows is simple. File size equals bitrate multiplied by duration, divided by eight, plus audio and overhead. The YouTube upload guidance lists 1080p SDR at 8 Mbps for standard frame rates and 12 Mbps for high frame rates, while 720p is listed at 5 Mbps and 7.5 Mbps respectively.
Work it once and the trade-off sticks. A 10-minute video at 8 Mbps needs about 600 MB for video alone, because 8 × 600 ÷ 8 = 600. Dropping to 5 Mbps gives about 375 MB, a 37.5% decrease, and 2.5 Mbps gives about 187.5 MB, a 68.75% decrease.
Working Backwards From a Budget
Use the reverse rule when the budget comes first. Bitrate equals target megabytes multiplied by 8, divided by duration in seconds. Say you've got 300 MB for a 10-minute clip. That's 300 × 8 ÷ 600, which gives 4 Mbps, between the 720p and 480p rows.
I would keep 720p in that case and drop the frame rate to 30 fps, or trim the clip, rather than forcing 1080p into too little bitrate. Static lyric backgrounds rarely need 60 fps, and the lower frame rate often lets you use the cheaper row without a visible penalty. If you're unsure what resolution your source is, check the MP4 video resolution guide before you downscale something that was never 1080p to begin with.
Practical rule: Pick the row closest to your budget, export, then check whether the smallest lyric font still reads clearly. The smallest row isn't the right row if the text fails.
Choosing H.264, H.265 or AV1 for Size
A codec is the encoder's method for removing redundant information. Change the codec and you can shrink a file even at similar visual quality, because a newer codec represents the same picture with fewer bits.
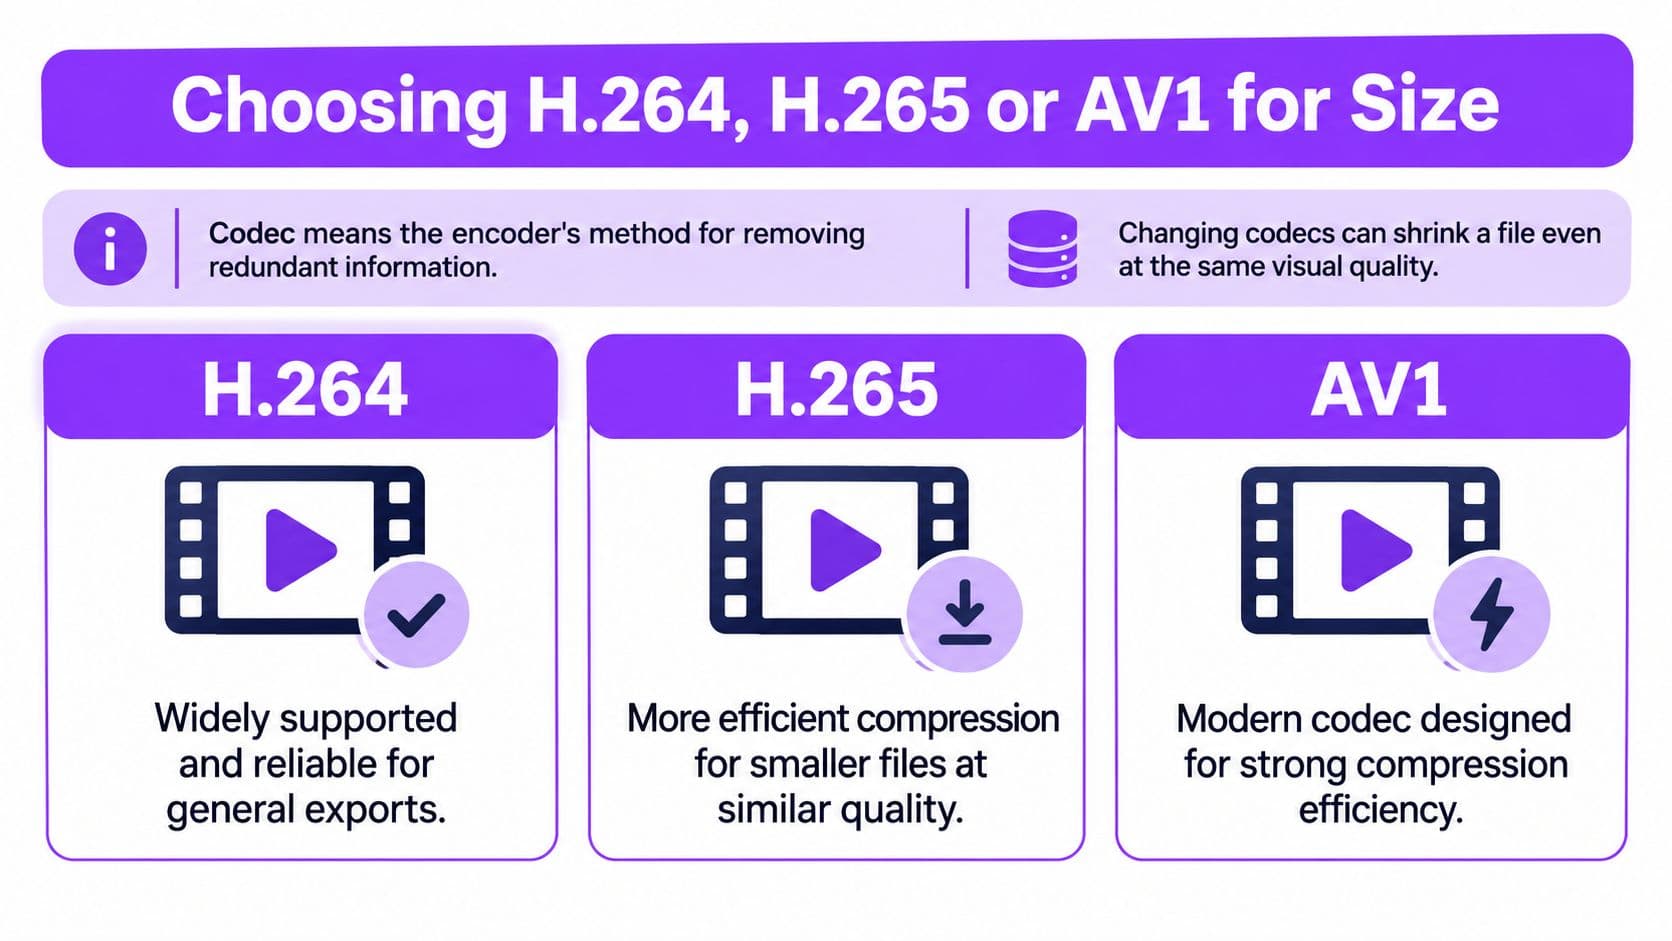
A comparative study of H.264 and H.265 reported H.265/HEVC at an average 1.09 Mbps versus 2.3 Mbps for H.264/AVC, approximately 52.6% lower in its test material. Over 10 minutes, that's roughly 81.75 MB against 172.5 MB, a reduction of about 90.75 MB.
Codec Size and Playback Support Compared
| Codec | Average bitrate in test | Size for 10 minutes | Playback support |
|---|---|---|---|
| H.264/AVC | 2.3 Mbps | about 172.5 MB | plays on almost every phone, browser and TV |
| H.265/HEVC | 1.09 Mbps | about 81.75 MB | most recent phones, browsers and TVs; some older devices stall |
| AV1 | Measure on your own 30-second test clip | Your test bitrate × 600 ÷ 8 | newer browsers and devices; confirm on your target player before upload |
Don't treat that percentage as a promise. Resolution, motion, encoder settings, and scene complexity change the result, and AV1 usually takes longer to encode even when it wins on size. It's the same judgement creators make when they compare video formats for property listings, where a smaller file only helps if the buyer's device plays it cleanly.
Use this decision rule instead:
- Unknown playback devices: Choose H.264. Compatibility beats a theoretical saving.
- Platform re-encodes uploads: A smaller HEVC master still saves your storage and upload time.
- You control the player: Test HEVC or AV1 and keep the winner.
Check the playback compatibility guide against the devices your audience uses, then run a 30-second test on a representative clip. Record file size, encode time, and whether the text holds up. That test tells you more than any generic percentage.
How to Compress a Video Step by Step
Work in the order your editor presents the settings. Guessing at the export dialog is how people produce three wrong files instead of one right one.
Before You Touch the Export Button
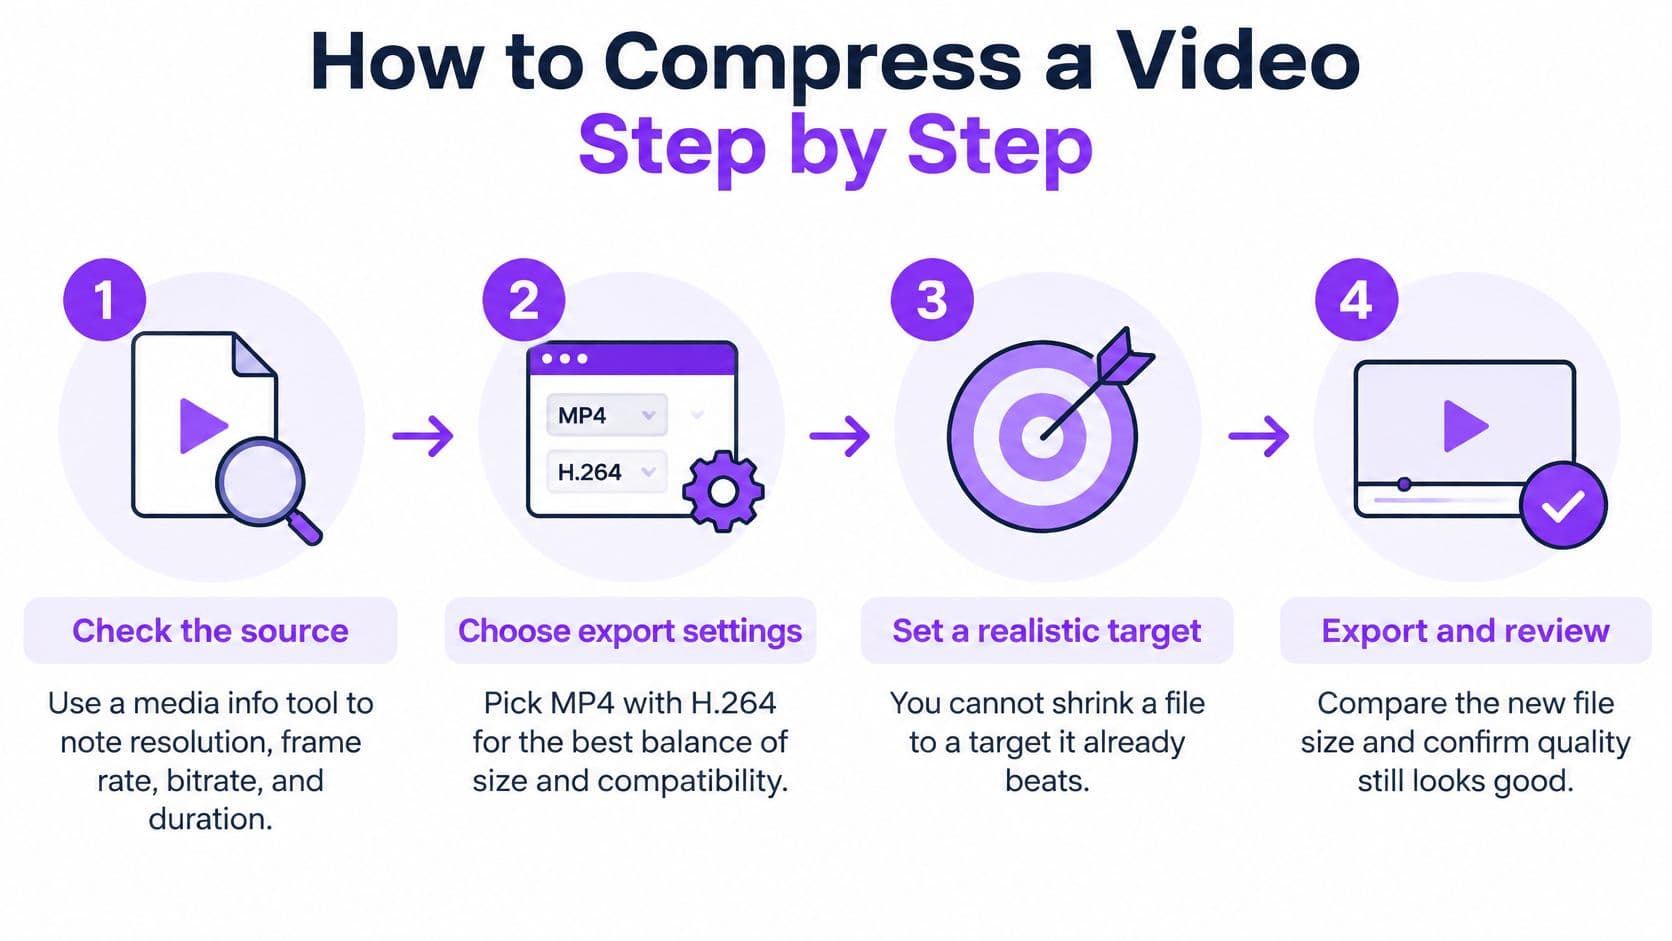
- Check the source: Open a media info tool such as MediaInfo and note resolution, frame rate, bitrate, and duration. You can't shrink a file to a target it already beats, and re-encoding it anyway only costs quality.
- Trim dead air first: Cut silence and repeated outros at the start and end before encoding. Every second you remove is a second you don't pay for at your target bitrate.
Setting the Export
- Choose the container and codec: Pick MP4 with H.264 for the widest playback support. Use H.265 or AV1 only when you've confirmed your playback devices accept it.
- Set resolution deliberately: Drop 4K to 1080p first. Drop 1080p to 720p only for phone-first viewing, where the smaller frame still looks sharp.
- Set frame rate to 30 fps: That's enough for static lyric backgrounds, scrolling text, and most screen recordings. Keep 60 fps only when the motion itself is the point, such as fast camera movement.
- Set bitrate or quality: Enter your target bitrate directly when you've got a hard budget. If your tool offers a constant rate factor, remember a higher number means a smaller file, and a value around 23 is a sensible starting point for a test.
- Set audio to AAC stereo at 128 kbps: That's clean enough for most music and voice, and it keeps the audio share small.
- Export and compare: Check the finished size against your budget. If you're over, lower the bitrate one step and run one more pass rather than slashing resolution in a panic.
Tools such as HandBrake expose all of these controls in one window, which makes them easier to learn than a preset-only exporter. Presets hide the bitrate, and the bitrate is the setting doing most of the work.
A constant rate factor of 18 produces a far larger file than 23. If your export ballooned, check that number before you blame the resolution.
Slips That Waste a Pass
- Changing bitrate but not frame rate: A 60 fps export at a low bitrate starves every frame. Drop the frame rate first on static backgrounds.
- Judging sync from a stale preview: Play the exported file, not the timeline preview, before you approve it.
- Compressing a compressed file: Each lossy pass discards more detail. Go back to the best source you have.
You're finished when the file is under budget, the vocal and lyric timing holds in sync, and the text has no blocky edges at 100% zoom. If one of those three fails, the export isn't done.
Keeping Lyrics Readable While You Compress
A compressed lyric video can look fine at a glance and still be unusable. Thin fonts blur, edges turn blocky, pale outlines break up, and colour gradients band into visible steps. Your audience isn't grading the background. They're trying to read the next line in time.
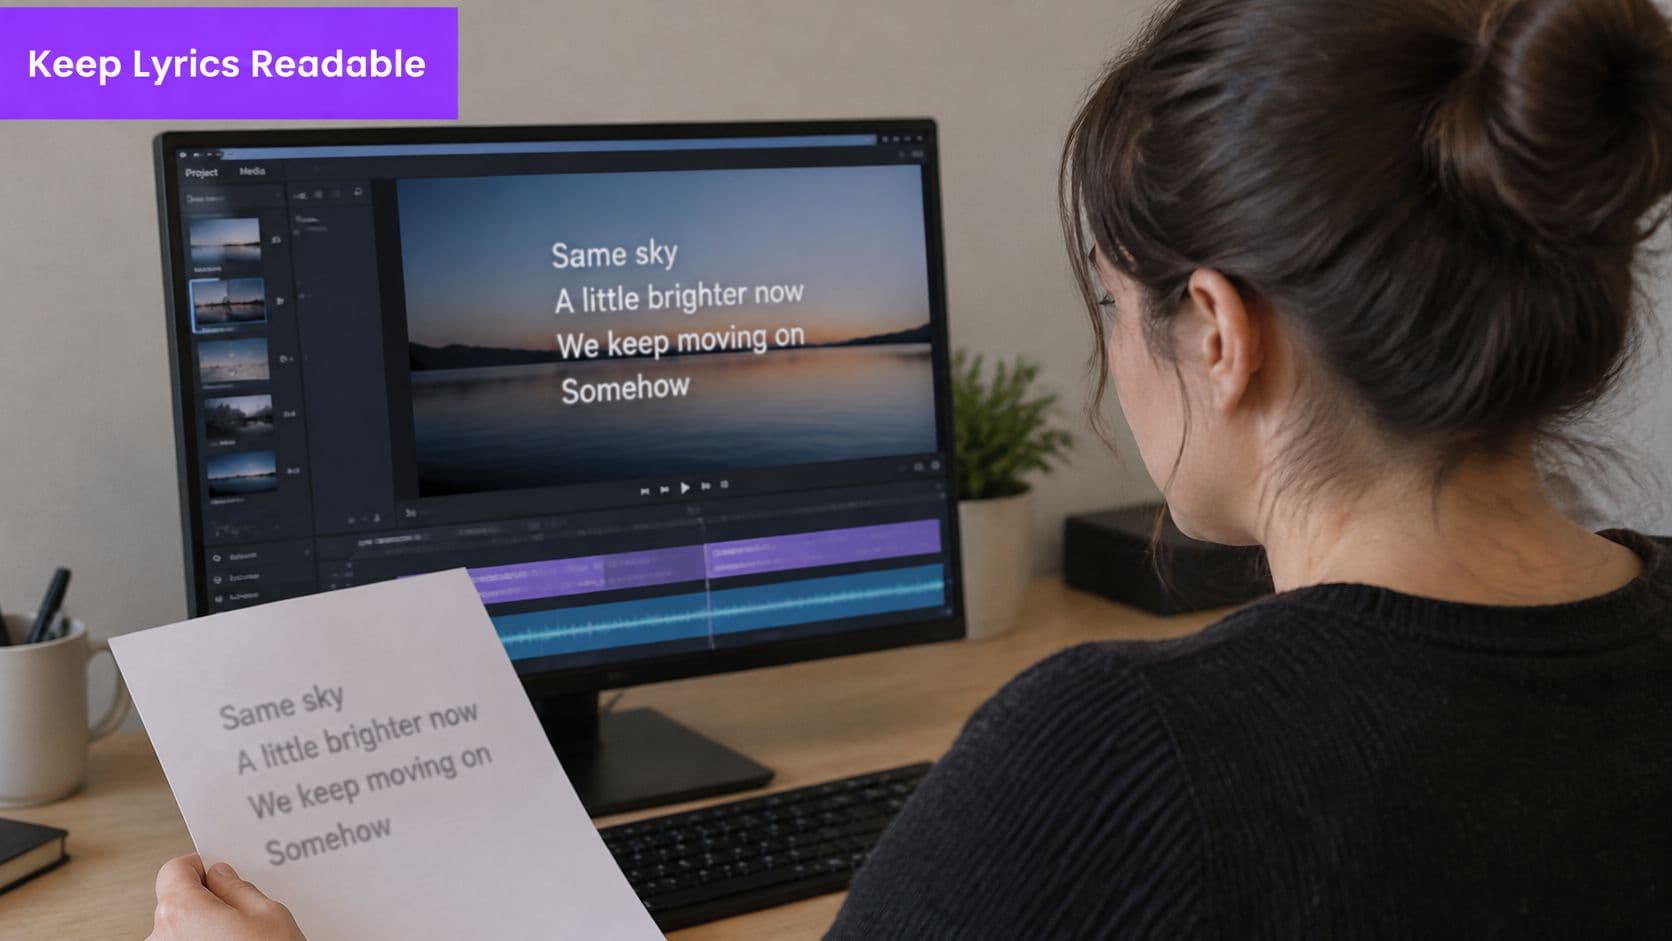
Lyric videos do have one advantage. Large areas stay still, so they can usually take a lower bitrate than camera footage with constant motion. The catch is that animated text, gradients, and quick line changes expose compression errors faster than a talking head does, which is why neutral encoding guidance notes that H.264 remains the safer choice when playback devices are unknown, even though modern codecs can reduce bitrate substantially versus H.264.
The 30-Second Readability Test
Encode 30 seconds that include your busiest lyric section and one fast line change. Don't test the quiet intro, because it will flatter settings that fail later. View the result at 100% zoom, then again at phone width around 360 px, and check the thinnest font, the outlines, and any gradient behind the words.
Don't trust a single quality value across songs. The same CRF setting produces very different file sizes depending on motion, text density, and background complexity, so a hard size target plus a short representative test beats a favourite preset. Pair that with high contrast text choices and the words survive settings that would otherwise wash them out.
Readability Checklist
- Use bold weights: Fine serif fonts fall apart first at low bitrates.
- Add a thin outline or shadow: It separates letters from busy backgrounds when edges soften.
- Prefer solid or slow-moving backgrounds: Busy motion behind text steals bits from the letters.
- Check sync at the final size: Confirm the vocal track still lines up in the exported file.
Set the smallest bitrate row that still passes the test as your final target. That's the smallest readable lyric video, which is a different and more useful goal than the smallest technically valid MP4.
Trimming Audio and Length to Save More Space
Three cuts save bytes without touching your visual settings. Do them before the final encode and you'll often avoid a second, harsher video pass.
Trim the ends. Dead air, long count-ins, and repeated outros cost size at your chosen bitrate for no benefit. If you're deciding how much to cut, you can optimize video length with ContentBuck to sanity check the runtime against the platform you're publishing to.
Remove tracks you don't need. Delete unused audio tracks, duplicate takes left in the timeline, and muted layers that some exporters still include. Decide whether the export needs the vocal track or a clean music-only mix, because shipping both when only one gets used wastes space on every copy.
Audio Bitrate for a 10-Minute Video
| AAC stereo rate | Size for 10 minutes | Best use |
|---|---|---|
| 96 kbps | about 7.2 MB | speech only or demos |
| 128 kbps | about 9.6 MB | good default for most music |
| 192 kbps | about 14.4 MB | full mixes where quality matters |
For a spoken intro, a mono track can roughly halve the audio size, and listeners won't notice the missing second channel. For a full song, keep stereo and take the saving from the video side instead.
Trimming the start can shift the first lyric line out of sync. Preview the first 10 seconds after every cut, not just the section you edited.
Audio is usually a small share of the total, so don't chase it first. Spend most of your effort on resolution, frame rate, and bitrate, then use trimming and audio settings to recover the final few megabytes that put you over a limit.
Choose Online or Desktop Compression for Your Export
Both routes work. They suit different jobs, and picking the wrong one costs you either time or control.
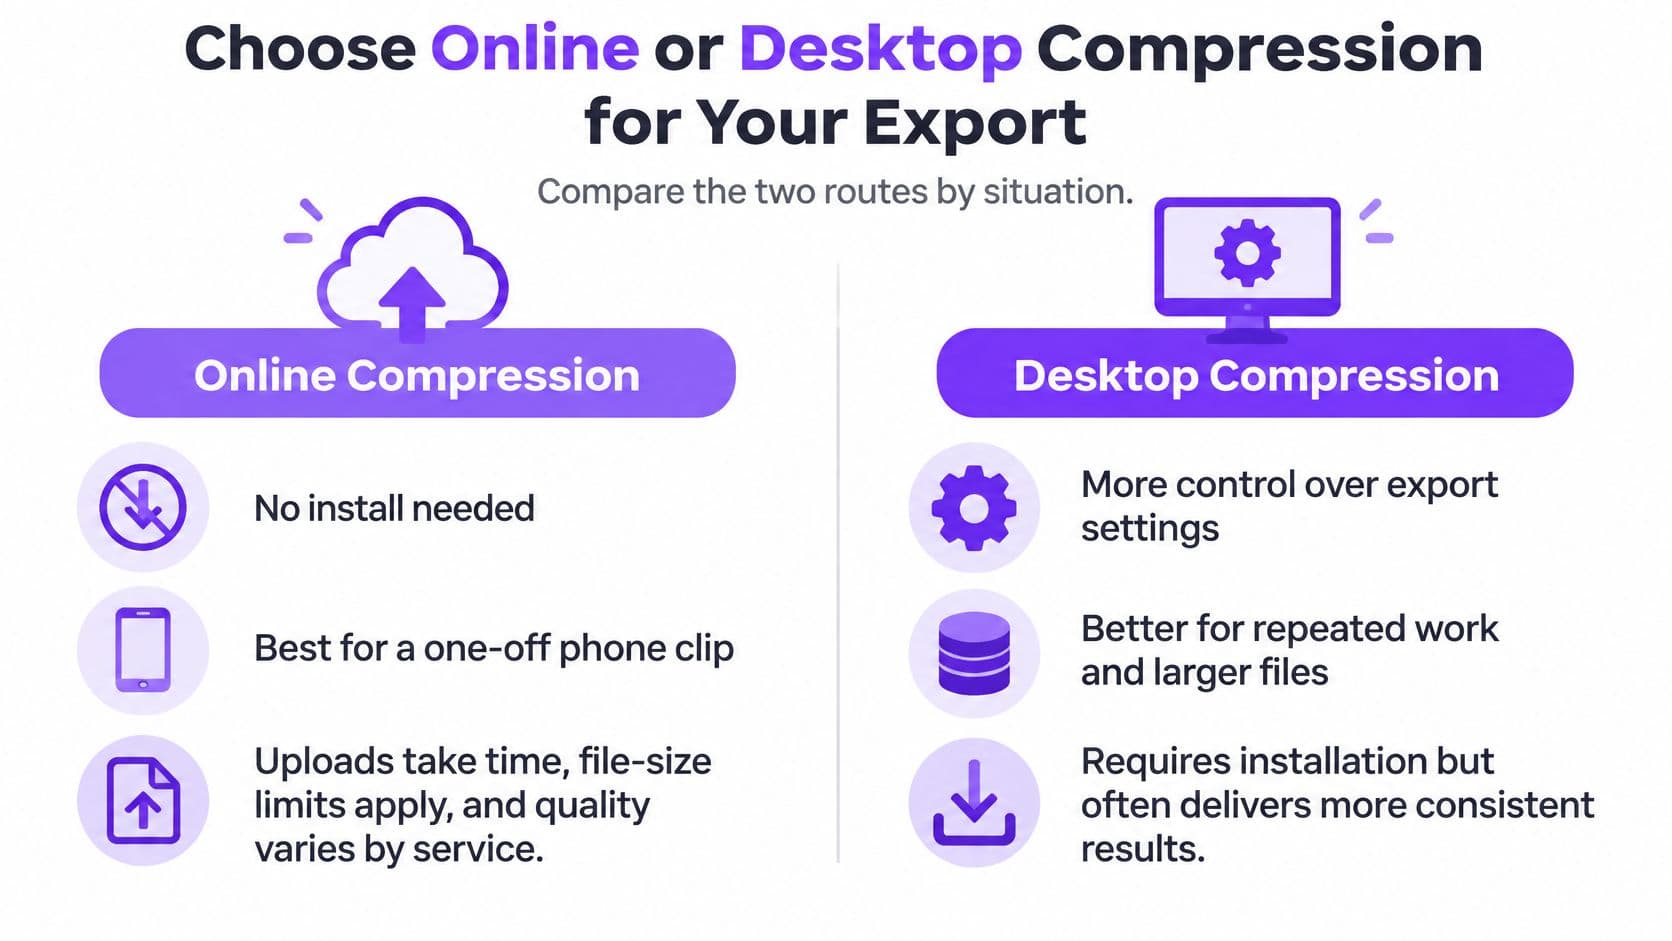
Online compressors need no install and suit a one-off phone clip you need to send today. The limits show up fast, though. Uploads take time on a large file, many services cap the size they'll accept, and quality varies because you're rarely told which codec or bitrate they used.
Desktop encoders such as HandBrake give you control over codec, bitrate, and constant rate factor, handle batches, and work offline. You pay for that control with setup and a learning curve. If you're coordinating a session with other people, it also helps to export your studio schedule so the encode time doesn't collide with booked recording time.
Which Route Fits Your Job
- One quick file, no strict target: Use an online tool and check the output before sending.
- Batch job or precise budget: Use a desktop encoder where you set the numbers yourself.
- Video you're still creating: Skip after-the-fact compression entirely and export at the right size once.
That last route is the cleanest for lyric and karaoke work. We export videos as 1080p MP4 files rendered on our servers, the entire process of creating a karaoke video takes less than 5 minutes, and MyKaraoke Video runs entirely in the browser with no software installation or updates required. Setting resolution, frame rate, and bitrate in the export dialog once beats compressing a bloated file afterwards, because you avoid a second lossy pass over your text.
If the file is already finished, compress it with whichever route fits, then run the readability test on the compressed output before you accept it. Never approve a compressed lyric video from the file size alone.
Do this next. Choose the table row that fits your budget, run the 30-second readability test, export, and confirm the sync before you publish.
If you'd rather set the size once than compress a finished file afterwards, MyKaraoke Video lets you upload a song, paste your lyrics, and export a synced karaoke or lyric video as a 1080p MP4 straight from your browser. Build your next video there, check the thinnest lyric line at phone width, and publish a file that's both small enough to upload and clear enough to sing along to.
