You've finished the mix, the lyrics are ready, and the export button is waiting. Then the doubt appears: should you upload a WAV for maximum quality, or use an MP3 so the browser doesn't spend the next several minutes pushing a huge file? That choice affects more than upload speed. It can influence processing, lyric timing, playback quality, metadata, and whether the final karaoke video is accepted by the platform.
A reliable workflow treats the audio file and the video project as one path. You choose a suitable source format, confirm the bitrate and file size, preserve useful metadata, check your rights, upload the file, sync the lyrics, and preview the final MP4 before publishing. Here's how to upload music files without creating avoidable problems between the DAW export and the finished karaoke video.
Before You Hit Upload
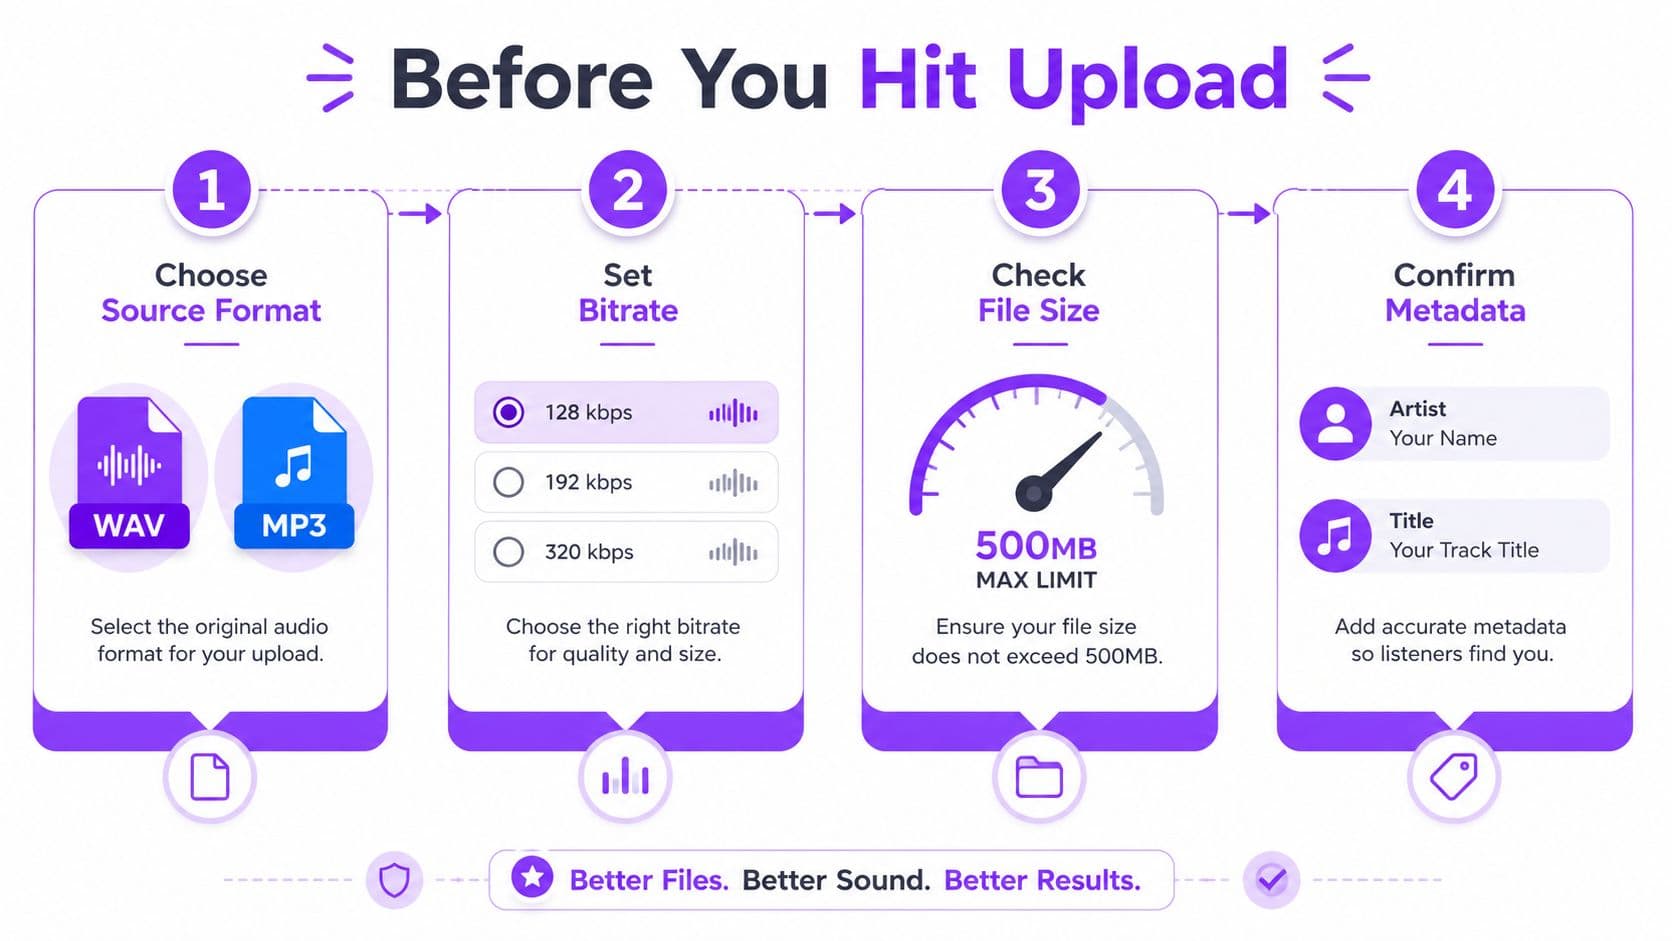
Four decisions determine whether a music upload moves smoothly or stalls in a browser tab: format, bitrate, metadata, and platform requirements.
The format is the first filter. WAV and AIFF preserve uncompressed audio, while MP3 uses compression to reduce file size. CD-quality stereo WAV at 16-bit/44.1 kHz is roughly 10 MB per minute, so a four-minute track is about 40 MB. A 320 kbps MP3 is about 2.4 MB per minute, while 192 kbps is about 1.4 MB per minute and 128 kbps is about 0.96 MB per minute. The comparison is explained in this WAV versus MP3 size guide. Choose the larger lossless file when the platform will process or edit the audio. Choose a compressed file when fast browser transfer matters and the backing track is already finished.
Bitrate is the second filter. A low bitrate makes a file easier to move, but compression can soften cymbals, backing vocals, reverberation, and other details that help a karaoke arrangement feel full. For a finished backing track, a high-quality constant-bitrate MP3 is usually a practical compromise. If you're still removing vocals, changing levels, or making edits, start from WAV, AIFF, or FLAC instead.
Check the file before the browser sees it
Metadata is the third filter. Set the artist, title, album or project name, and any identifier you use before exporting. Embedded tags can help you recognize the correct master later, but they shouldn't replace a clear filename such as Artist_Title_Karaoke_Master.wav. Keep punctuation consistent, and avoid unnecessary symbols that could confuse older upload pipelines.
The target platform is the final filter. Requirements vary widely. SoundCloud lists an upload maximum of 4 GB uncompressed, while OpenAI's Audio API documentation lists a 25 MB maximum file size, as summarized in this overview of audio file-size limits. Storage-focused services can accept much larger files than machine-processing tools, so check the destination before exporting a batch.
Practical rule: Keep one untouched lossless master, then create a delivery copy for the specific platform. Don't overwrite the master just to make an upload smaller.
Choosing the Right File Format and Bitrate
A karaoke export often passes through three stages: the editable master, the delivery audio, and the final video. Choose each format for its next task rather than treating one file as suitable for every stage.
| Format | Use it when | Main trade-off |
|---|---|---|
| WAV | You want a dependable lossless master for editing or processing | Large files and slower uploads |
| AIFF | Your session comes from Logic Pro or GarageBand and you want lossless audio | Similar size and handling to WAV |
| FLAC | The service accepts lossless compression and storage efficiency matters | Not every music workflow accepts it |
| MP3 | The backing track is finished and the upload needs to stay compact | The file has already lost information through compression |
For the master, export 16-bit/44.1 kHz stereo WAV unless the receiving service specifies another target. This keeps the source lossless while leaving later editing and processing room. AIFF works similarly in Apple-oriented sessions. FLAC preserves lossless quality in a smaller package, but only use it when the uploader accepts it.
Export settings that work in practice
Once the arrangement, levels, and vocal removal are finished, create a separate delivery copy. For a karaoke backing, MP3 CBR at 256 or 320 kbps is a practical choice when the destination accepts MP3. Constant bitrate gives syncing and conversion tools a predictable stream, while 320 kbps preserves more detail than lower MP3 settings. Keep the WAV or AIFF master untouched.
Do not convert an MP3 back to WAV. The new WAV is larger, but it cannot restore information removed during compression. If an editor needs another change, return to the lossless master, make the edit there, and export a fresh delivery copy.
Audio settings do not determine the video canvas. Set the frame size in the video project before rendering, then check the 2026 YouTube video dimensions if YouTube is the destination. This keeps the audio decision connected to the final asset instead of forcing a second render later.
For a browser-based workflow, the MyKaraoke Video converter can turn the prepared source into a video asset. Check the rendered file before uploading, especially the first lyric cue, the final fade, and whether the backing track remains centered in stereo. That short review catches export mistakes before they become platform edits.
Uploading and Editing in MyKaraoke Video
The practical workflow starts with a prepared file, not the upload button. Put the master and delivery copy in a project folder, close applications that might compete for bandwidth or memory, and open the MyKaraoke Video dashboard in Chrome or Edge.
Drag the audio into the upload zone, or click the zone and browse to the session folder. The platform supports WAV, FLAC, MP3, and AIFF for this workflow, then displays a waveform preview after ingestion. If a large file seems stuck, keep the tab active and clear the browser cache before trying again. A stable connection also matters more than repeatedly refreshing the page.

Put clean lyrics into the editor
Paste the lyrics only after the waveform appears. Use line breaks that follow musical phrases, not just sentence grammar. A singer needs readable chunks that change with the arrangement, and the sync engine needs text that corresponds to what it hears.
Remove accidental blank lines, duplicated sections, and inconsistent punctuation. Keep ad-libs separate if they need independent timing. Before starting the automatic sync, compare the first verse, chorus, and final section against the actual backing track. A clean text source saves more correction time than any styling shortcut.
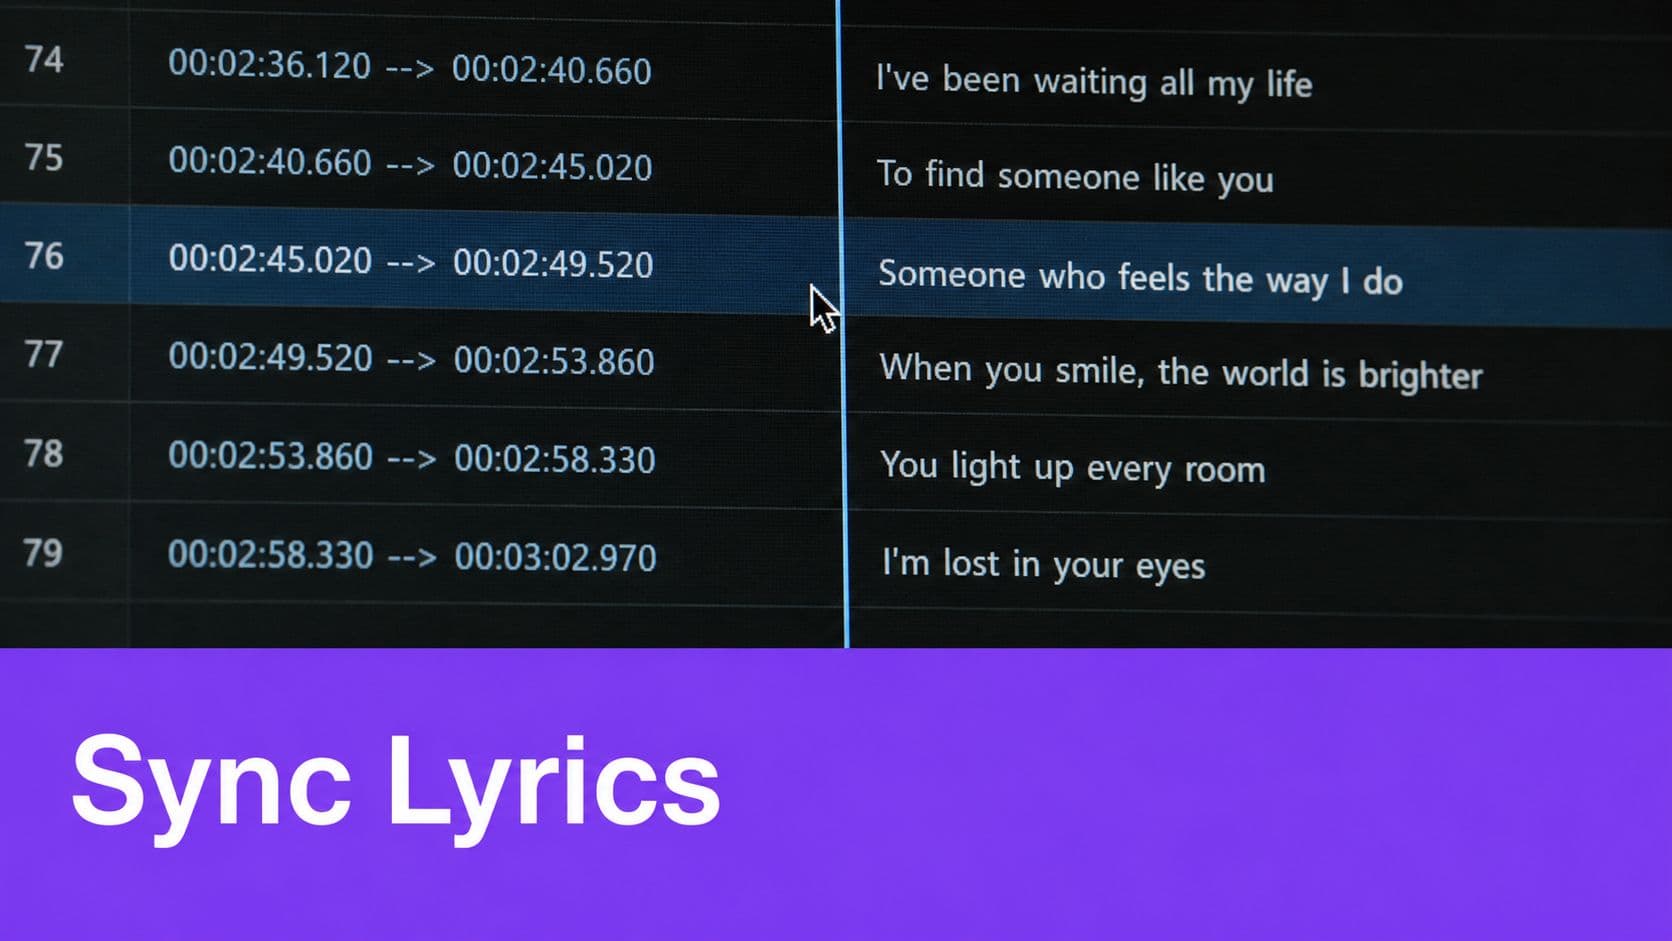
Trigger auto-sync and watch the lyric lines against the waveform. Let the tool establish the initial timing, then inspect every section where vocals overlap, phrases enter early, or a line stretches across a bar. Nudge lines manually when the displayed text is more than a syllable away from the performance. Don't assume a good first verse means the entire song is aligned.
Build the video around the audio
Enter the editor after the timing pass. Select the font, background, colors, and title treatment, then compare the displayed artist and song title with the metadata in your source file. Fix mismatches before rendering so the exported video and project folder use the same naming.
Preview the complete project, not just the opening. Watch the middle and ending for lyric drift, background changes, clipped words, and unexpected gaps. Keep the browser tab active while the render runs. Export as a 1080p MP4 with audio embedded at 192 kbps or higher when that setting is available, so the karaoke mix has room to survive the video encoding stage.
Creators who want a separate audio-to-video workflow can compare it with the Vocuno video music tool. For repeatable drag-and-drop handling inside MyKaraoke Video, the drag-and-drop uploading guide provides a useful reference.
Syncing Lyrics and Styling the Video
Auto-sync can only work with the text you provide. If the pasted lyrics contain duplicated lines, missing words, strange punctuation, or ad-libs mixed into the main phrase, the timing engine has less reliable material to match against the waveform.
Use one phrase per line when the musical phrasing supports it. Keep punctuation minimal, because commas and quotation marks often add visual clutter without helping the singer. Put ad-libs in parentheses on their own line when they need to appear, rather than attaching them to the primary lyric line.
Correct timing without rebuilding the song
Start with automatic synchronization, then inspect transitions. A line that begins correctly can still finish late if the singer holds a vowel, while a short pickup can appear early if the engine treats it as part of the next phrase. Add manual m:ss timecodes only to verses or sections that repeatedly misread the performance.
Preview a short middle segment before committing to a full render. The middle exposes timing drift without wasting time on a complete export, and it lets you test the style against a representative background. Once the timing and appearance work, lock the style instead of changing it for every track in a series.
Make words readable on small screens
For horizontal video, a clean sans-serif font is a dependable starting point. A size around 48 to 64 pixels can provide a readable baseline, but test the actual output rather than trusting the editor preview. Add a 2 to 3 pixel black stroke and a soft shadow when the background contains bright or detailed areas.
Test both pure white and pure black text against the chosen background. If one disappears, use the stroke and shadow to create separation, or select a calmer background. For languages displayed in two lines, stack the text vertically with consistent line height. Keep the active line visually distinct without making the screen flash between unrelated colors.
The guide to matching audio to video is useful when the lyric timing and visual pacing need to stay aligned throughout the project.
Copyright and Platform Eligibility
A file can be technically perfect and still be ineligible for upload. Copyright clearance, ownership, licensing, and content screening often decide what happens after the file reaches a platform.
Confirm that you own the master recording or hold the necessary permission for the intended video use. Samples, covers, remixes, and karaoke arrangements can involve separate rights. A composer credit alone doesn't automatically clear the recording, reproduction, synchronization, or publishing permissions needed for a public karaoke video.
Platform rules also differ. SoundOn rejects karaoke tracks, unlicensed remixes, snippets, misleading content, and incomplete uploads under its audio requirements. Mixcloud permits some copyrighted material only under its own rules and restricts certain shorter uploads containing samples, covers, or mini-mixes. The U.S. Copyright Office accepts several audio deposit formats, including MP3, WAV, AIFF, M4A, and WMA, while SoundCloud recommends lossless formats such as WAV, FLAC, AIFF, and ALAC alongside supported lossy formats. The U.S. Copyright Office file-type guidance illustrates why a format accepted for one purpose shouldn't be treated as universally accepted.
| Asset | Required License | Where to Get It |
|---|---|---|
| Original master recording | Ownership or permission to use the recording | Your label, producer agreement, or rights administrator |
| Cover song arrangement | Permission covering the intended reproduction and distribution | Relevant publisher or licensing service |
| Karaoke instrumental | Rights for the underlying composition and the created recording | Publisher, licensing agency, or rights holder |
| Third-party sample | Sample clearance for the recording and video use | Sample creator, library, or rights owner |
| Lyrics and visual text | Permission to reproduce and display the lyrics | Publisher, lyric licensor, or rights holder |
Keep license receipts in the same project folder as the audio, lyrics, and export notes. Record the ISRC or recording date where relevant, and save correspondence that explains the permitted use. If a platform flags a legally cleared file, that documentation gives you a factual basis for an appeal.
Common Upload Errors and Quick Fixes
Most upload failures have a recognizable cause. Diagnose the actual file rather than changing several settings at once, because a random re-export can hide the problem without fixing the workflow.
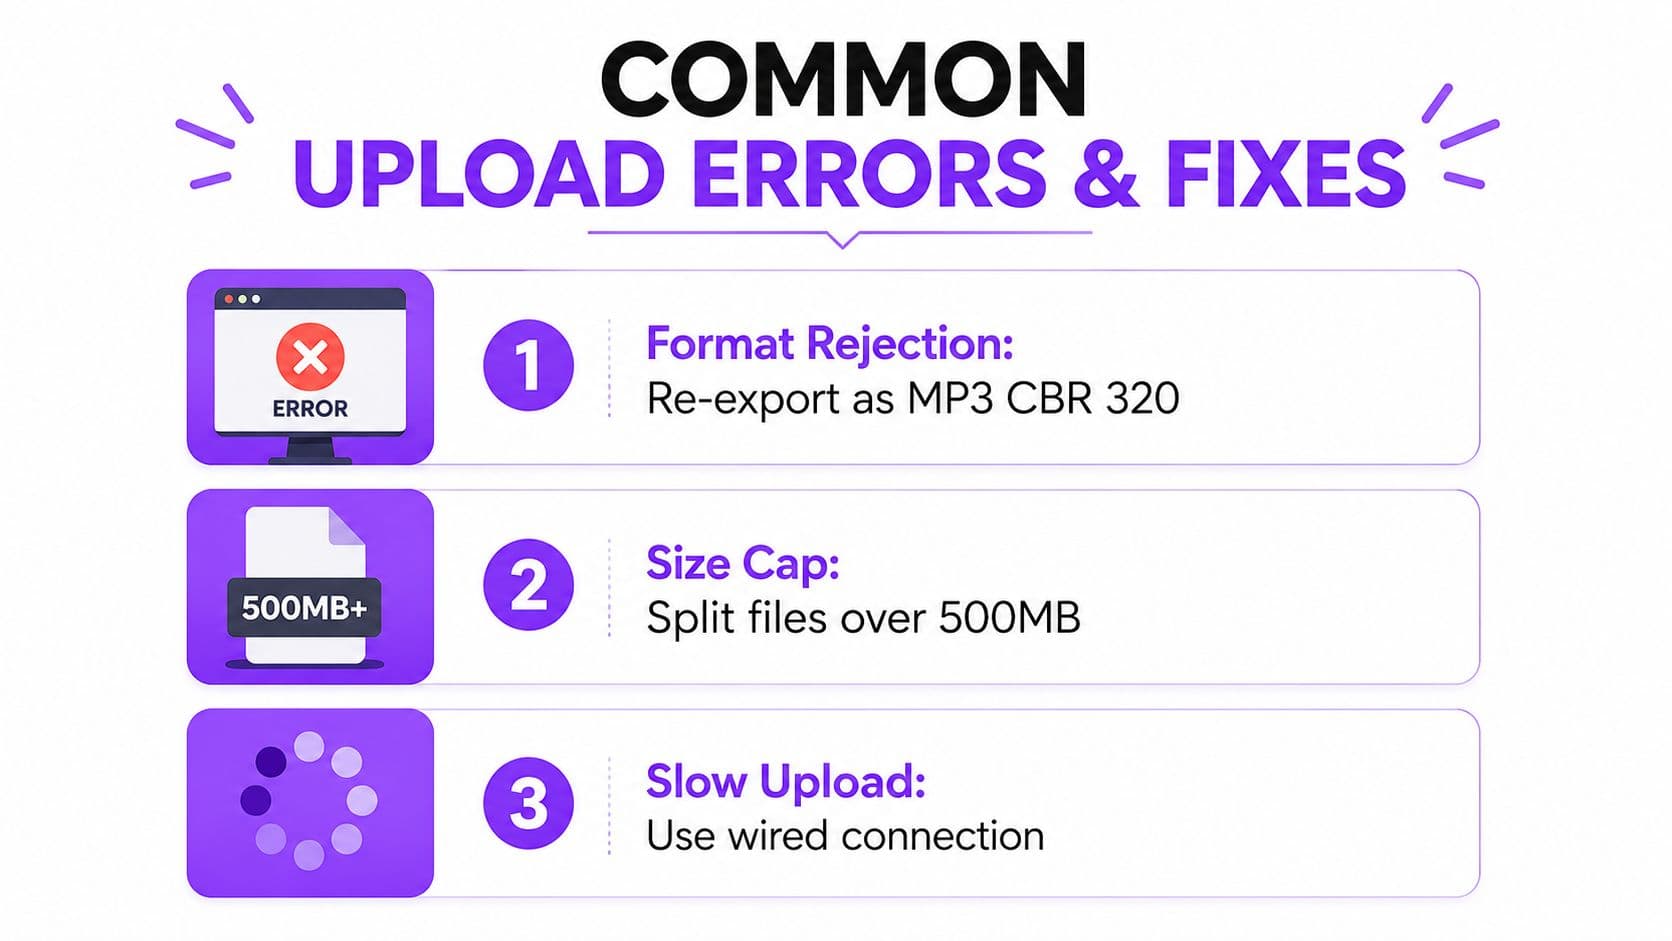
- Format rejection: A file labeled as a 320 kbps MP3 may be AAC with an MP3 extension. Open the original session and export a genuine MP3 using constant bitrate, then upload the new file.
- Oversized upload: Files above a platform's stated cap can fail, especially on unstable connections. Keep the lossless master, then create a smaller delivery copy or divide the project into appropriate sections when the workflow allows it.
- Lyric drift: Timing that gradually moves away from the performance often points to variable-bitrate MP3 handling. Convert the source to WAV or export a constant-bitrate MP3 before running synchronization again.
- Unreadable filename or tags: Non-ASCII characters, smart quotes, and accented characters can confuse older pipelines. Use a simple filename and clean ID3 tags, then retry with the sanitized copy.
- Render stuck near the beginning: A render that barely starts can indicate a browser graphics problem. Enable WebGL or hardware acceleration, restart the browser, and try a Chromium-based browser if the queue remains blocked.
A failed upload is a diagnostic signal. Check the extension, codec, bitrate mode, metadata, and file size in that order before exporting another version.
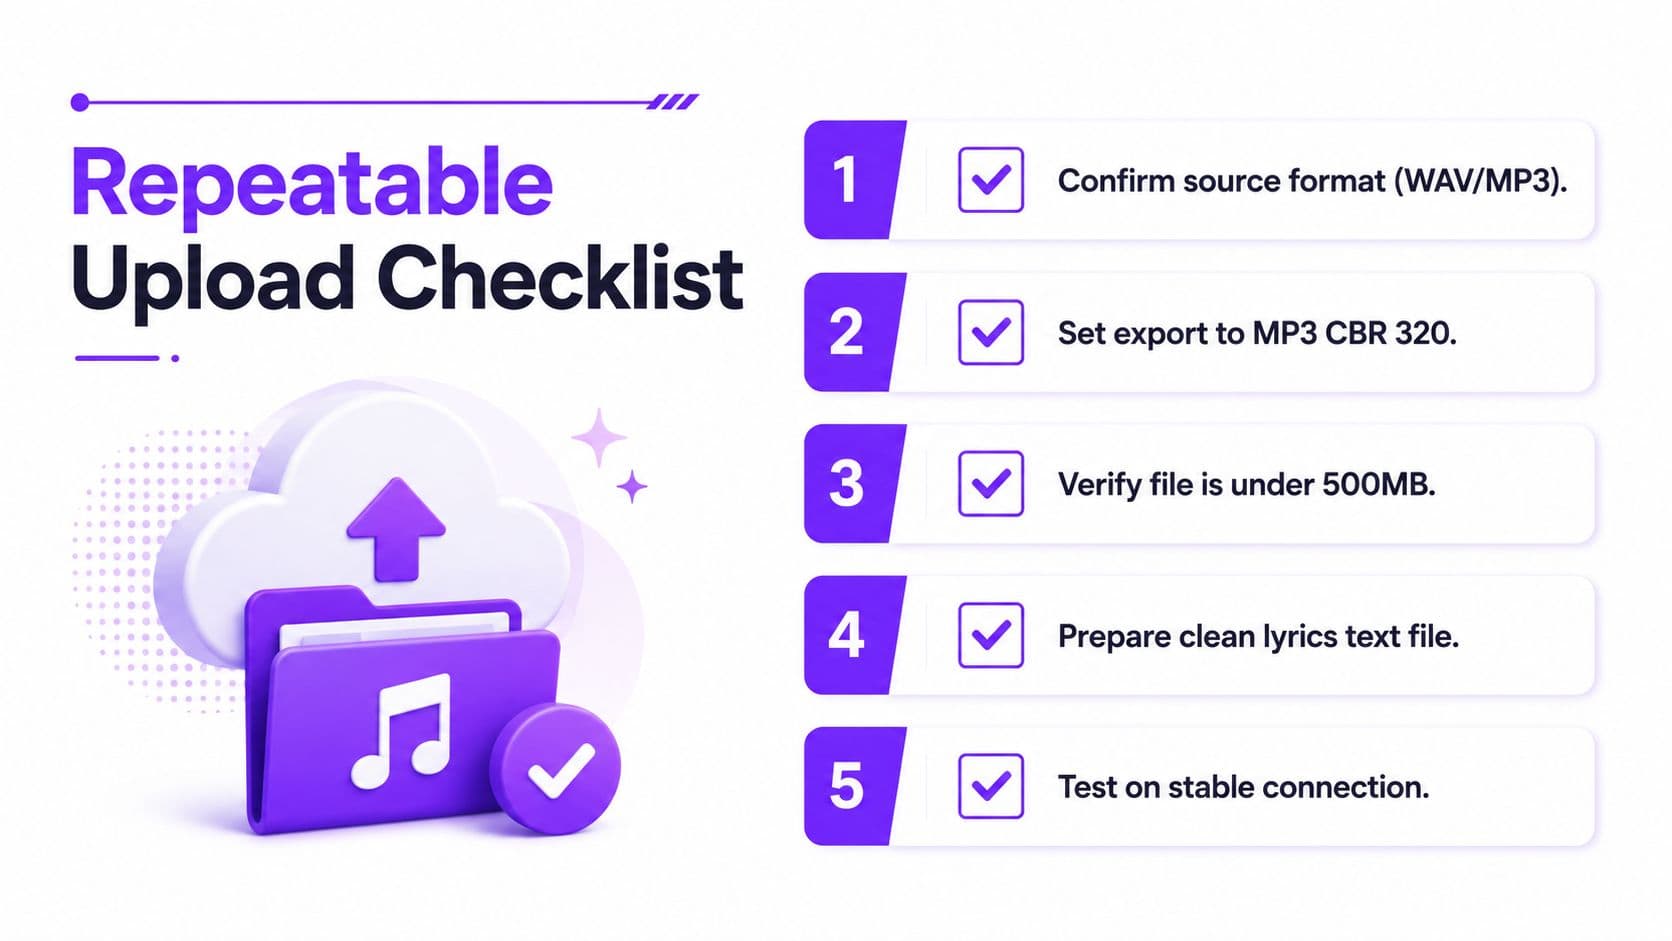
A Repeatable Upload Checklist
Run this sequence for every track:
- Confirm the source is a lossless WAV or an appropriate MP3 delivery copy.
- Embed the artist and title tags before the final export.
- Confirm the file format, sample rate, bit depth, channels, and destination limit.
- Log into MyKaraoke Video and drag the file into the browser uploader.
- Paste clean, phrase-based lyrics.
- Run auto-sync, then manually correct visible timing drift.
- Choose the font, background, title, and artist display.
- Preview the middle and ending, not only the opening.
- Render the 1080p MP4 and verify that the audio plays correctly.
- Save the project, source master, license records, lyrics, and final export together.
Before distribution, confirm the rights, create the thumbnail, and check the resolution and aspect ratio required by YouTube, TikTok, or Instagram. Update this checklist whenever you discover a new error fix, so each upload makes the next one more predictable.
MyKaraoke Video lets you upload an audio file, paste lyrics, sync the text, style the project, and export a karaoke or lyric video from the browser. Visit MyKaraoke Video to turn your prepared music file into a finished video while keeping the upload, timing, and export steps in one workflow.
