You've finished the karaoke video, exported it, and pressed play. The lyric appears just before the singer's phrase, the chorus feels half a beat late, or the mouth moves before the sound reaches it. The waveform looked close enough, but the result still feels wrong. That's the frustrating part of matching audio to video: a timeline can look aligned while a viewer immediately hears or sees the mistake.
A reliable workflow treats sync as both an editing task and a perception test. You'll prepare the files, create an automated first pass, fine-tune by beat and frame, diagnose drift or missed cues, export carefully, and save a repeatable template. MyKaraoke Video handles much of the browser-based processing, but you still decide when the timing feels natural for the audience and device that will play the video.
Why Matching Audio to Video Is Harder Than It Looks
Every karaoke producer recognizes the dangerous moment. The lyrics are already styled, the background is finished, and the export is sitting in a folder. Then the first verse starts. The lyric highlight arrives early, the vocal lands later, and the creator has to decide whether to repair the timing or accept a video that feels slightly broken.
The waveform creates false confidence. A strong spike can identify a useful anchor, but the visible shape doesn't always represent the moment a viewer perceives. A consonant may begin before the vowel that makes a lyric feel active. A sustained note may look broad on the timeline even though the important visual cue is the instant the singer starts it. Matching audio to video therefore requires two judgments, one mechanical and one perceptual.
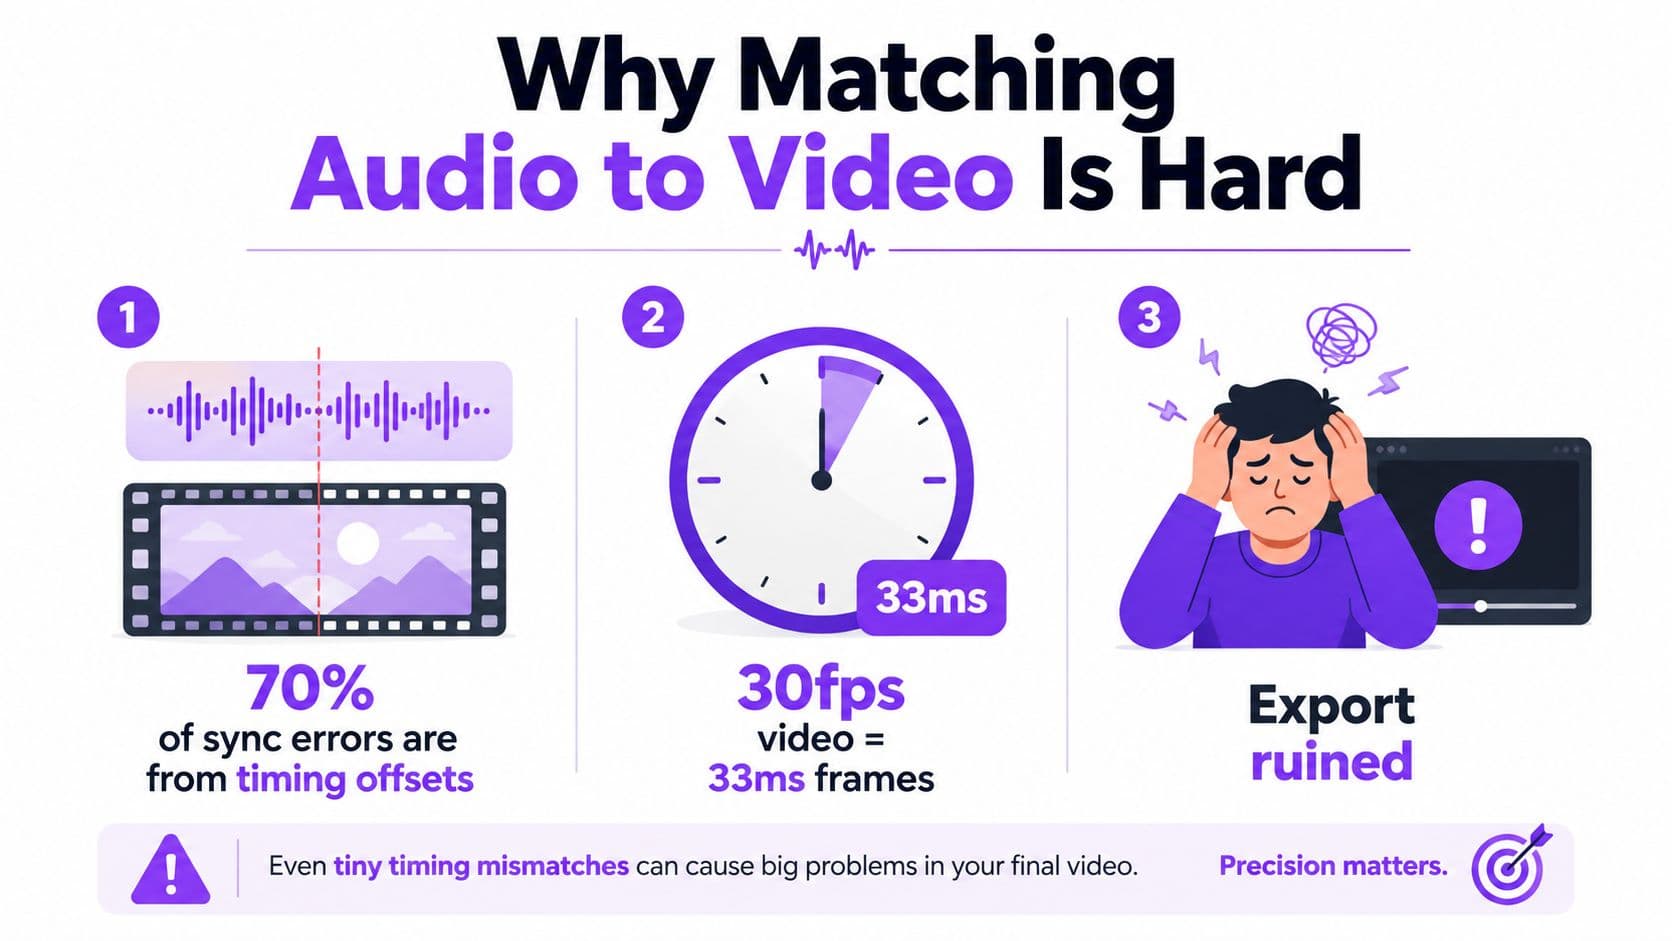
Professional systems use tolerances rather than one universal definition of “in sync.” The European Broadcasting Union recommends keeping end-to-end audio and video sync within +40 ms and -60 ms, while each processing stage should ideally remain within +5 ms and -15 ms. The Advanced Television Systems Committee recommends that audio lead video by no more than 15 ms or lag by no more than 45 ms. Controlled ITU testing found expert viewers typically detect errors at about 45 ms of audio lead and 125 ms of audio lag. These thresholds are summarized in the audio-to-video synchronization reference.
Why “close” can still sound wrong
Human perception is asymmetric. Viewers generally notice early audio sooner than delayed audio, which is why a lyric appearing too soon can feel more distracting than one arriving slightly late. Film work commonly treats lip sync within 22 ms in either direction as acceptable, but karaoke timing also depends on reading speed, lyric animation, musical phrasing, and the listener's playback setup.
Practical rule: Aim for sub-50 ms alignment when the lyric cue is tied closely to a vocal entrance, then confirm the result by listening rather than trusting the ruler alone.
The workflow below separates fast work from careful work. File preparation and the automated pass should move quickly. The detailed review, especially the chorus, spoken intro, harmony-heavy passages, and final device checks, deserves patience. Good sync isn't invisible because the software did everything automatically. It's invisible because the creator caught the errors viewers would have noticed.
Preparing Your Audio and Video Files for Clean Sync
Most sync problems begin before the editor opens. A compressed audio file with unclear attacks, a video recorded at an unexpected frame rate, or a project that changes technical settings halfway through can make later corrections harder than they need to be.
For most lyric and karaoke projects, start with WAV or FLAC, or a clean 320 kbps MP3 when lossless audio isn't available. Use 1080p video at 30 fps for a conventional lyric-video project, and set the project to the frame rate you intend to use before placing cues. Keep the audio sample rate consistent across the project as well. The point isn't to collect perfect specifications for their own sake. Clean, stable inputs give the sync tool and your ears a clearer reference.
Create an anchor before editing
Choose one event that exists in both the audio and the visual timeline. A first snare hit, the downbeat of bar one, a sharp consonant, a clap, or an obvious instrument entrance works better than a quiet sustained note. Mark that point before you adjust individual lyrics.
If you're extracting audio from an existing video, use the audio extraction tool before building the lyric timing. Keep the original file untouched, rename the working files clearly, and avoid names such as “final-new-2-really-final.” A useful naming pattern identifies the song, version, and purpose, such as song-title_lyrics.txt.
Inside MyKaraoke Video, set the project frame rate first, then import the audio and video in a consistent order. If you're preparing promotional clips or animated previews alongside the main video, a resource on building and uploading GIFs for higher reach can help you plan those supporting assets without changing the master sync project.
Reusable preparation checklist
- Confirm the song version: Make sure the lyrics, backing track, and video all belong to the same arrangement.
- Choose clean audio: Prefer WAV or FLAC, or a high-bitrate MP3 when necessary.
- Set project timing: Select the intended frame rate before placing lyric cues.
- Check sample-rate consistency: Keep the audio settings stable from import through export.
- Mark one anchor: Find a clear transient that you can identify in both timelines.
- Save a working copy: Preserve the original media before making corrections.
This preparation takes little time compared with repairing drift after a full lyric pass. It also gives you a reference point when an automated result looks plausible but doesn't match the musical entrance.
Running the Automated Lyrics Sync
The automated pass should create a usable map, not replace your review. Start with the cleanest audio you have, paste the complete lyrics, and let the system establish the initial timing before you start moving individual lines.
Open the karaoke or lyric-video workflow in MyKaraoke Video and upload the song. Paste the lyrics exactly as you want them to appear, preserving line breaks where they carry musical meaning. Choose the closest language hint available, then start the sync process. The tool analyzes the relationship between the audio and lyric text and populates timestamps across the song. The broader workflow is also described in this guide to an AI lyric video generator.
Give the first pass the right conditions
Automatic timing performs better when the vocal information is clear. A clean instrumental or vocal track without intro chatter, heavy reverb, competing background voices, or an unusually dense arrangement gives the system more useful phonetic and rhythmic cues. If the file contains a spoken welcome before the song, the first lyric timestamp may be pulled toward that speech unless you review the opening manually.
Modern evaluation work uses audio-visual embeddings rather than relying only on someone eyeballing frames. Metrics such as LSE-D, where lower is better, and LSE-C, where higher is better, compare lip motion with speech embeddings from a pretrained sync model. Research on this workflow also stresses temporal coherence, pairing nearby video and matching audio rather than random frames, because random pairing can make alignment appear better than it is. The Wav2Lip evaluation overview provides useful background on that distinction.
After the first pass finishes, play the entire song at normal speed. Don't zoom immediately into the first suspicious line. Listen for larger patterns first:
- Does the opening lyric begin with the vocal?
- Do verse lines enter consistently?
- Does the chorus shift by a noticeable fraction of a beat?
- Are repeated lines timed consistently?
- Does the final section remain aligned, or has it drifted?
Flag obvious misses while you listen, but don't fix every small issue yet. If the chorus is clearly early, identify whether the whole section is offset or whether only one cue is wrong. That diagnosis determines whether you'll shift a block, correct a single line, or repair the underlying audio timing.
The fastest sessions follow a simple discipline: automated sync first, uninterrupted playback second, manual editing third. Constantly stopping during the first pass makes it harder to hear whether the timing problem is isolated or cumulative.
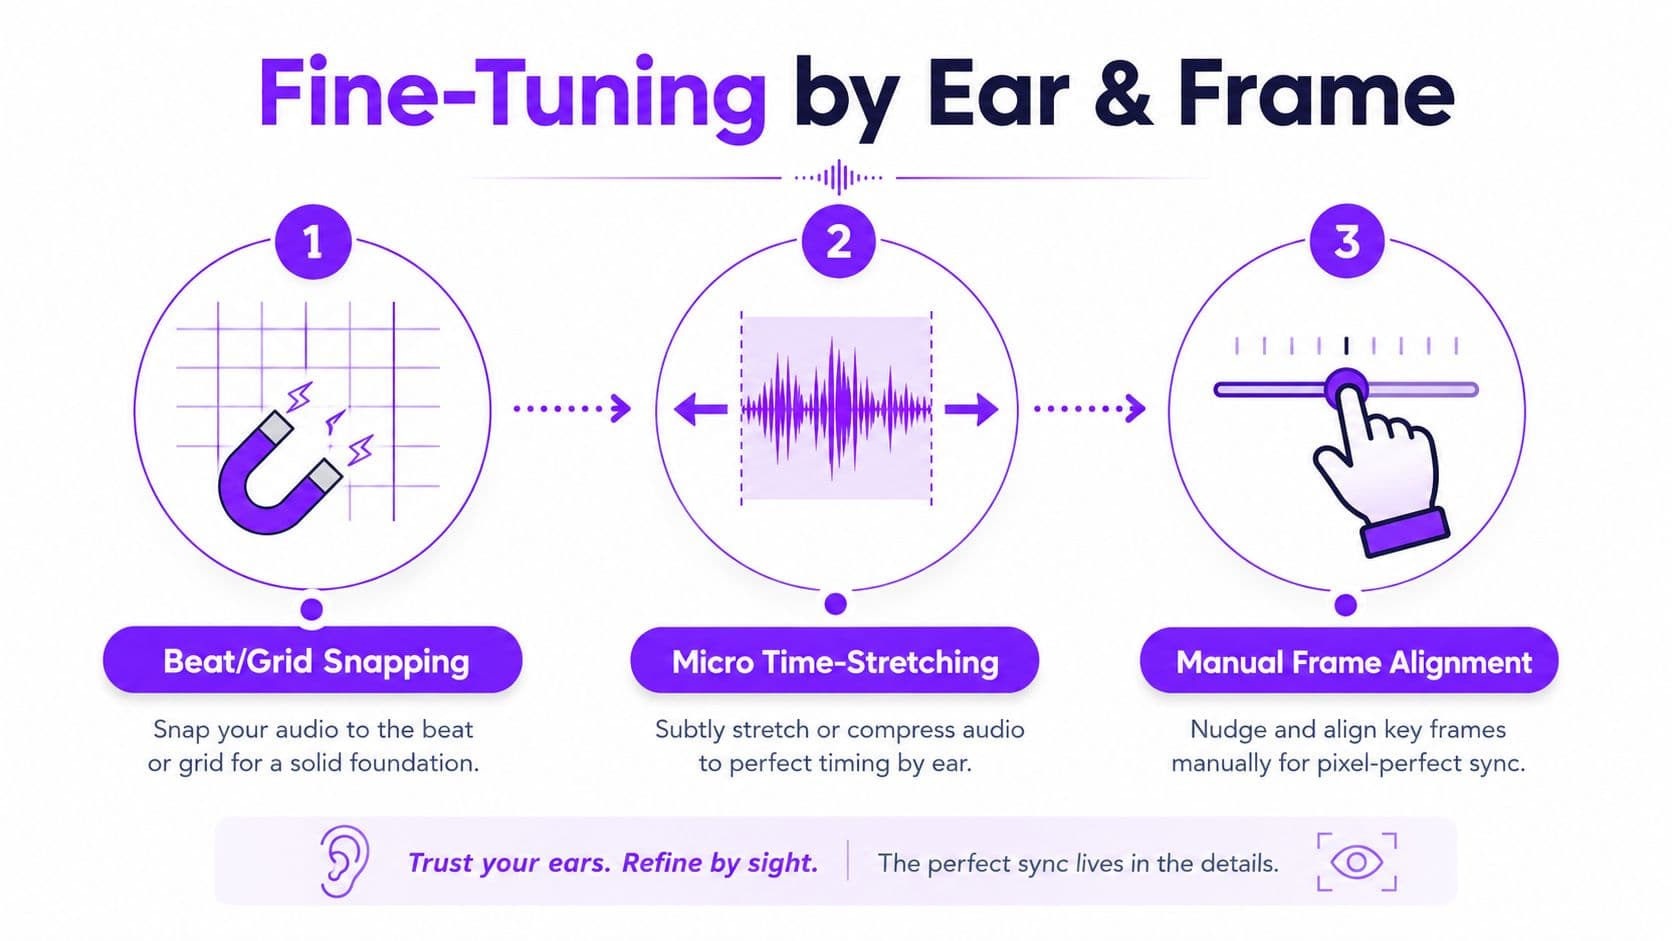
Fine-Tuning by Ear, Beat, and Frame
Manual work begins after you understand the shape of the error. Don't drag every lyric until it looks attractive on the timeline. Start with the correction that affects the largest musical area, then use smaller tools for smaller problems.
For rhythm-driven lyrics, beat or grid snapping is the quickest first adjustment. If several lines should land on obvious downbeats, align the block to the musical grid instead of treating every word as an independent event. This works well for repeated chorus phrases and simple karaoke arrangements. It works less well for expressive vocals that enter behind or ahead of the beat, where strict snapping can make a naturally performed line feel mechanical.
If the audio itself drifts slightly, use micro time-stretching to absorb the difference without changing pitch. This is less visible to the audience than repeatedly moving lyric cues, but it has limits. A small correction can preserve the relationship between the entire track and the lyric map. An aggressive stretch can create audible artifacts, especially on exposed vocals, sustained notes, or sparse arrangements.
Choose the smallest correction that solves the problem
A single-frame nudge is surgical. Use it when one lyric cue slips while the surrounding lines remain natural. This is the right response to a late consonant, an unusually short word, or a line that the automated pass attached to a nearby syllable. The downside is cumulative clutter. If you nudge dozens of lines independently, the project becomes difficult to audit and the underlying problem may remain.
A full-section re-sync makes more sense when an entire verse or chorus shares the same offset. Move the section as a unit, listen again, and only then adjust individual cues. Rebuilding a passage often takes less time than correcting every line one by one.
Don't correct a chorus line by line until you've checked whether the whole chorus moved together.
Use this order during a real review:
- Check the musical entrance: Listen for the first audible syllable, not just the waveform spike.
- Correct the broad offset: Shift a verse or chorus if every cue shares the same error.
- Repair local misses: Nudge individual lines only when the surrounding timing is sound.
- Inspect transitions: Watch the move from verse to chorus, break to vocal, and spoken intro to song.
- Replay at normal speed: A cue that looks perfect when paused can still feel early during continuous playback.
Device testing is part of the edit. Preview on phone speakers, laptop speakers, and earbuds. Studio monitors can make a cue feel precise while a small speaker makes the vocal entrance feel late or masks a consonant. The acceptable result depends on the audience's listening context, so test the context that matters rather than relying on one pair of headphones.
If audio leads video by around 45 ms or lags by around 125 ms, viewers can typically notice the mismatch under controlled testing, as documented in the audio-video synchronization reference. Professional delivery guidance is tighter, so “the waveform is almost touching” isn't a sufficient quality test. If it sounds right on three devices, ship it.
Fixing the Sync Problems Everyone Hits
Most emergency repairs fall into four patterns. The important distinction is whether the error is constant, cumulative, or selective. A constant offset needs one shift. Drift needs a timing correction across the duration. Missed cues need better interpretation of the vocal arrangement.
Diagnose the pattern before changing the timeline
When audio leads the video, first confirm that the preview uses the same song version as the project. An alternate intro, different master, or shortened silence can make every lyric appear early even though the timing method is consistent. Move the shared anchor only after confirming the source.
When audio lags, inspect the export and playback path. A project can feel correct in the editor but change during rendering or device playback. Compare the exported file with the editor preview at a clear vocal entrance, then apply one global offset rather than scattering local corrections.
Drift behaves differently. The beginning may align while the final chorus is visibly or audibly displaced. Mismatched sample-rate handling can create cumulative slip, so normalize the audio settings, re-import the corrected track, and rebuild the timing from a trusted anchor. If the source itself changes speed, divide the song into logical sections and check each transition rather than forcing one correction across the full duration.
Missed cues often come from background vocals, harmonies, spoken intros, or dense arrangements. The system may associate a lyric with the wrong voice or detect a nearby sound as the target. Mark those passages for manual review and use the lead vocal's clearest consonant or vowel entrance as the cue.
| Symptom | Likely Cause | One-Line Fix |
|---|---|---|
| Lyrics consistently appear early | Different song version or global offset | Confirm the source, then shift the full lyric map together |
| Lyrics consistently appear late | Render or playback offset | Compare the export with the editor and apply one global correction |
| Start is aligned but ending drifts | Inconsistent sample-rate handling or source speed | Normalize the audio, re-import, and check section transitions |
| One line misses while neighbors work | Ambiguous vocal cue or harmony | Nudge that cue manually to the lead vocal entrance |
| Intro lyrics trigger too soon | Spoken chatter or non-song audio | Exclude the intro from the first sync anchor and review it separately |
For a guided repair when the offset changes across a track, use the audio and video resync workflow. Don't keep nudging cues when the evidence points to a source or export problem. Rebuilding the timing map is often cleaner than preserving a flawed first pass.
Exporting and Reusing the Workflow on the Next Video
Export settings can undo careful timing if the final file is treated as an afterthought. For YouTube karaoke videos, use 1080p MP4. For short-form social content, 720p can be appropriate when the platform or format calls for a smaller frame. A bitrate around 8 to 12 Mbps keeps lyric edges and moving backgrounds clean, while AAC at 192 kbps or higher gives the music a dependable delivery format.
Those settings are practical starting points, not a substitute for a final inspection. Watch the exported file from beginning to end, with special attention to the first vocal entrance, the first chorus, any musical restart, and the final lyric. Check it on the device your audience is most likely to use.
Save a production template
Keep a small project note beside the media:
- Song: Title and exact source version
- BPM: The working tempo used for grid decisions
- Key anchors: Opening transient, first verse, chorus entrance, final section
- Lyric source: The text version and line-break convention
- Typography: Font, size, weight, and highlight treatment
- Color system: Background, inactive lyric, active lyric, and emphasis colors
- Export profile: Resolution, video bitrate, and audio encoding
- Device check: Phone speakers, laptop speakers, and earbuds
The next project should start from this record, not from memory. Good sync is felt more than measured. The viewer shouldn't think about timing at all. They should follow the lyric naturally, hear the music cleanly, and never wonder whether the words arrived before the song.
Use MyKaraoke Video to upload your track, paste the lyrics, generate an automated timing pass, and refine difficult cues in the browser with its sync editor. Visit MyKaraoke Video to turn this prep-to-export workflow into a repeatable karaoke and lyric-video process.