You've finished editing a video, but the export doesn't look like the preview. The background is softer, the lyrics have fuzzy edges, or the file is much larger than you expected. Changing the resolution seems like the obvious fix, until a larger export produces the same problems.
Knowing how to change video resolution means choosing more than an output size. You need dimensions that suit the destination, encoding settings that preserve the picture, and text that remains readable after the platform processes your upload. Treat resolution as a delivery decision, not a quality dial.
Pick the Target Resolution Before You Export
Say you have a phone clip recorded in a smaller format, but your channel uses a Full HD layout. Should you enlarge the clip, keep its original dimensions, or place it inside a larger canvas? Start with what the finished video needs to contain, especially if you're adding lyrics or other graphics.
The ITU's report on HDTV and UHD television identifies 1920 × 1080 as the HDTV benchmark and 3840 × 2160 as a common UHD format. The pixel totals below are calculated from each row's dimensions.
Common target resolutions and their pixel counts
| Target | Dimensions | Aspect ratio | Pixels per frame | Best for |
|---|---|---|---|---|
| 720p HD | 1280 × 720 | 16:9 | 921,600 | Previews and smaller files |
| 1080p Full HD | 1920 × 1080 | 16:9 | 2,073,600 | YouTube, lyric videos and most social uploads |
| 4K UHD | 3840 × 2160 | 16:9 | 8,294,400 | Large screens and footage shot in 4K |
| Vertical 1080p | 1080 × 1920 | 9:16 | 2,073,600 | Reels, Shorts and TikTok |
Those dimensions explain the workload difference. UHD contains four times the pixels of Full HD; reducing UHD to Full HD removes three-quarters of the picture elements. That's a pixel-count comparison, not a promise that encoding time or file size will change by the same amount.
Choose the canvas for the finished composition
A lyric video can justify a larger canvas than its background footage. Keep the background at an acceptable scale, then render the lyrics directly at the final output size. This lets you preserve crisp graphics without pretending the background contains additional camera detail.
For vertical delivery, use a separate composition rather than treating a portrait export as a rotated file. Check the destination's framing requirements against the social media video specifications guide, then position faces, lyrics and branding within that layout.
If you're generating a new background rather than resizing existing footage, AIMVG's guide to compare AI video generators for 4K can help you evaluate the generation stage before choosing your export format.
Practical rule: Match the delivery canvas to the destination, but judge the footage by the detail it actually contains.
Before opening Export, read the source width, height and display aspect ratio in your editor's file information panel. Choose the target that fits both the destination and your composition, not just the largest option available.
Compare Resolution Changers by Tool
Resolution changers compared by use case
| Method | Best for | Custom width and height | Cost | Main drawback |
|---|---|---|---|---|
| Browser converter | One-off MP4 exports without installing software | Often presets; check for custom sizing | Free or paid, according to the site | File-size limits and processing speed |
| HandBrake | Batch re-encoding on desktop | Yes, with aspect-ratio preservation | Free | More encoding controls to learn |
| QuickTime Player | Quick exports on macOS | Preset sizes | Included with macOS | No manual bitrate control |
| Premiere Pro | Projects needing sequence-level control | Yes, in export settings | Subscription | Setup time and cost |
| FFmpeg | Exact, repeatable and scripted changes | Yes, full control | Free | Requires command-line comfort |
| Phone editing apps | Quick reframing for social posts | Usually presets | Free or paid, according to the app | Limited bitrate and text control |
Choose according to custom sizing, repetition and encoding control. A converter that's convenient for an occasional clip can become awkward when you need consistent exports across a channel.
Browser converters are useful when you don't want to install software. Before using a browser video converter, inspect its supported output settings, file limits and processing method. Local browser processing and uploading a file to a remote server are different workflows, particularly for unpublished material.
Match the tool to the work
HandBrake suits finished videos that need resizing and re-encoding rather than creative editing. Its dimension controls can preserve proportions while you change the width, and its queue is useful for repeated jobs.
QuickTime Player is simpler when an available preset matches your destination. Switch tools if you need to tune compression around detailed footage or prominent lyric text.
Premiere Pro makes sense when resizing also requires moving titles, rebuilding a vertical layout or adjusting the sequence. Don't flatten an editable project into a movie and then resize it elsewhere unless you have a reason.
FFmpeg is the strongest choice for repeatable commands and automated output. Phone apps are more convenient for immediate reframing, but examine their export controls before committing to a text-heavy project.
Use the simplest tool that exposes the settings you need. A complicated interface doesn't improve an export by itself.
How to Change Resolution Step by Step
Keep the original file untouched and write your export to a new filename. That gives you a dependable reference when you compare the result.
Set the geometry before encoding
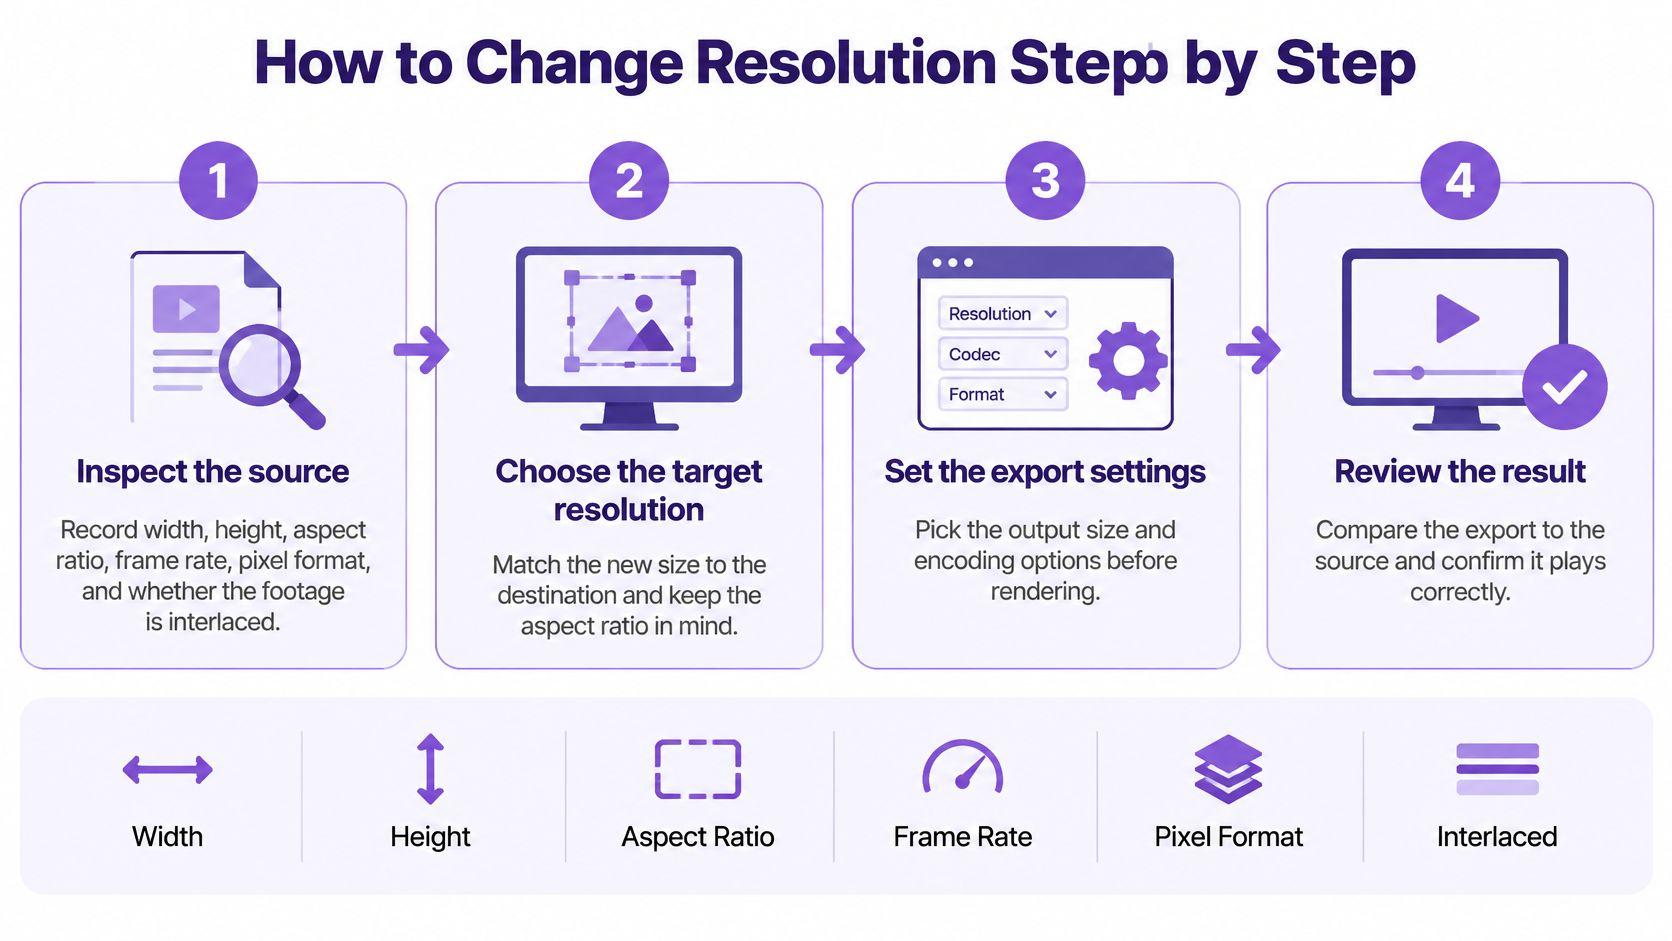
- Inspect the source. Use
ffprobeor your editor's properties panel to record width, height, display aspect ratio, frame rate, pixel format and interlacing. Don't choose a preset from the filename alone, because filenames don't reliably describe the media. - Choose the output shape. Preserve the source proportions unless you're deliberately rebuilding the composition. Forcing widescreen footage into a square by changing width and height independently squashes faces and changes the shape of lyric lettering.
- Set one dimension and calculate the other. The FFmpeg filter documentation describes
scaleand its automatic dimension calculation, which you can use withffmpeg -i input.mp4 -vf "scale=1920:-1" -c:v libx264 -crf 18 -c:a copy output.mp4. Here,-1calculates the height from the source proportions, while-crf 18is a starting quality setting rather than a guarantee for every clip. - Fit and pad when the destination requires a fixed box. Use an aspect-preserving scale operation, such as
scale=1920:1080:force_original_aspect_ratio=decrease, followed bypad=1920:1080:(ow-iw)/2:(oh-ih)/2. This keeps the picture intact and centers it within the required frame instead of stretching it.
Encode and inspect the actual file
- Choose the scanning and timing behavior deliberately. Leave ordinary progressive footage progressive, and avoid changing playback cadence as a side effect of selecting a preset. If the source is interlaced, use a proper deinterlacing workflow rather than merely labeling the output progressive.
- Select the video and audio handling. H.264 in an MP4 container is a practical delivery choice; use constant-quality control for flexible file size or two-pass encoding when targeting an average bitrate. The command above copies the audio unchanged, so choose an audio encoder instead if that track isn't compatible with the output container.
- Review the rendered file, not just the timeline. Examine text outlines, diagonal edges, moving backgrounds and the relationship between lyric highlighting and vocals. A successful resize preserves proportions and composition without introducing unexpected motion problems.
For automated delivery, FFmpeg can also split a source into multiple filter branches and scale each branch for a separate output. Build and test each output configuration before applying it to a batch, especially when the versions need different framing rather than different dimensions alone.
Walkthroughs for Desktop, Browser and Phone Apps
Menu labels can change between software versions, but the important controls remain the same: picture dimensions, aspect handling, video encoder and export quality. Save a short test before committing to a full-length song.
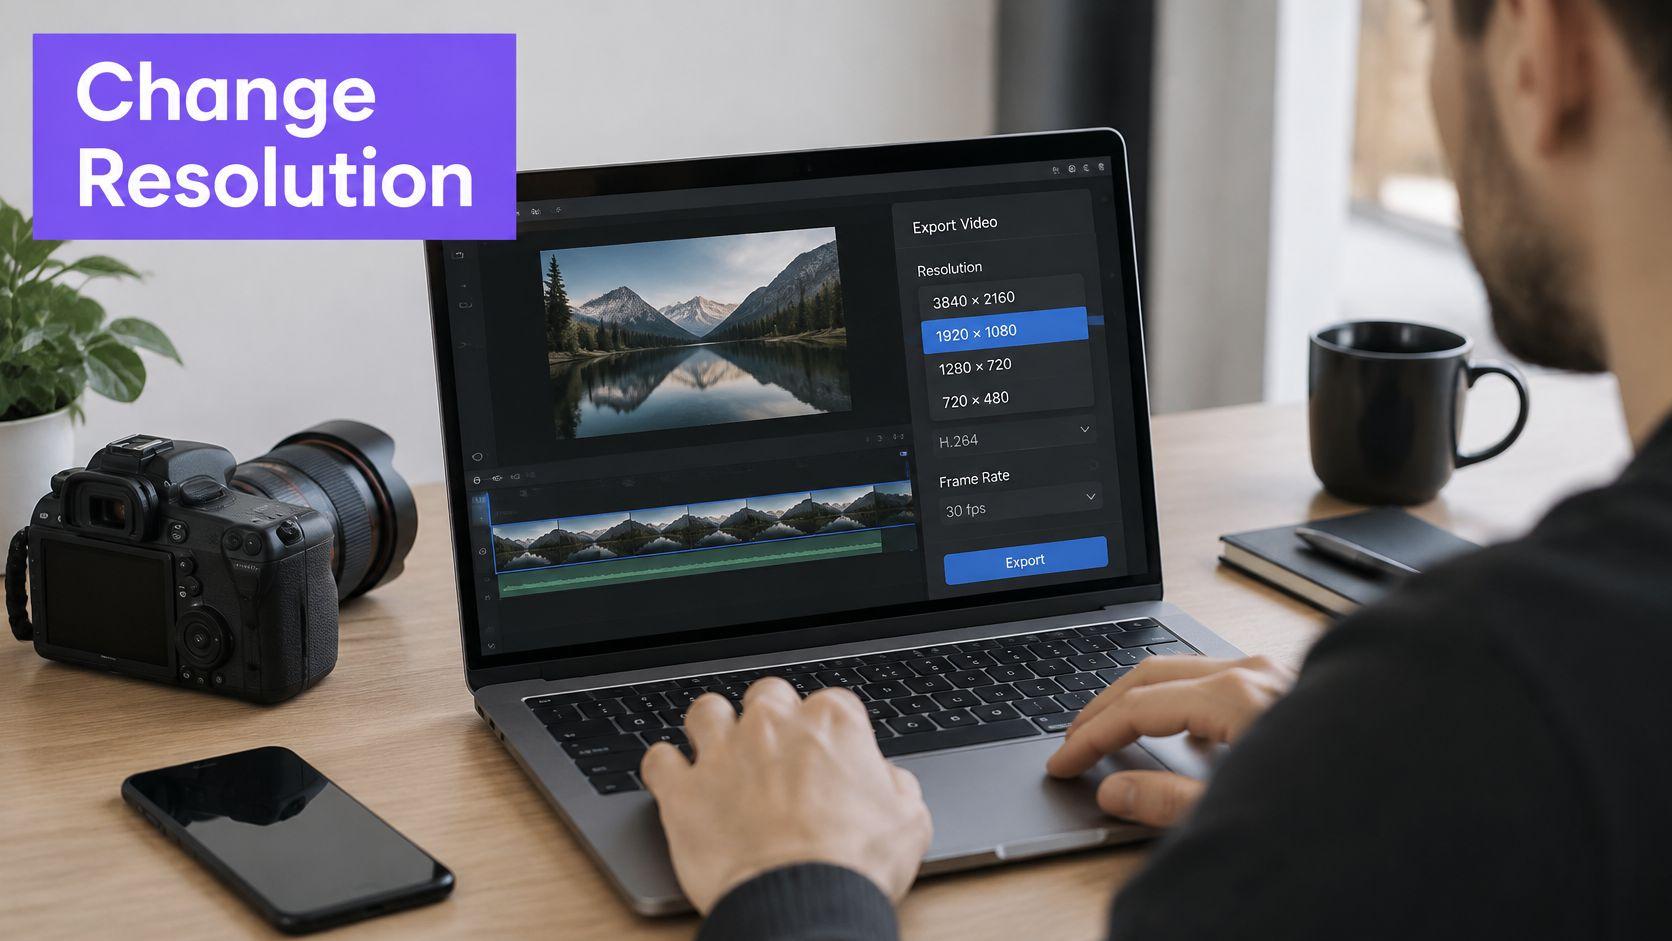
Desktop export paths
- HandBrake: Open Open Source → Dimensions, preserve the aspect ratio, and enter the target width so the height follows automatically. Check cropping and resolution-limit settings, then open Video → Video Encoder, choose H.264, review the frame-rate behavior, set the destination and select Start Encode. Automatic cropping deserves attention on karaoke videos because intentional borders or dark backgrounds can be mistaken for unwanted picture area.
- QuickTime Player: Open the movie, then choose File → Export As → your available resolution preset, name the output and save it. Available sizes depend on the source, and QuickTime isn't the tool to choose for arbitrary enlargement or manual bitrate control. If your delivery specifically requires MP4, inspect the exported container rather than assuming the filename will match that requirement.
- Premiere Pro: Open File → Export → Media, choose H.264, then expand the video settings and disable the relevant Match Source controls before entering width and height. In versions that show Match Sequence Settings, clear that option when it prevents manual changes. Review scaling, frame rate and bitrate, and check that titles remain inside the intended frame before exporting.
Browser and phone workflows
- Browser converter: Follow Choose File or Upload → Output Format → Resolution or Custom Size → Convert → Download, using the equivalent labels in your chosen service. Confirm whether processing happens locally or on a server before selecting sensitive footage, and look for a bitrate or quality control rather than assuming the resolution preset handles everything. Open the downloaded file independently, because the browser preview may not represent the saved export.
- Phone editor: Import the clip, then use Canvas or Format → portrait or widescreen preset → Export → Resolution and Quality. Reposition the subject and rebuild the lyric placement before exporting a vertical version; changing the canvas alone doesn't create a usable composition. Watch the saved file from the phone's gallery, not only inside the editing app.
For a drone clip destined for a smaller horizontal channel format, HandBrake is a sensible choice when the edit is already finished. If the same clip needs a portrait version with a moving subject and repositioned lyrics, return to an editor with timeline and layout controls.
Choose a converter for a finished picture. Choose an editor when the composition still needs work.
Protect Quality With Bitrate and Frame Rate
A large frame with insufficient data can look worse than a smaller, well-encoded image. Resolution controls the number of pixels; bitrate controls how much encoded data you allocate over time. Neither setting replaces the other.
YouTube's upload encoding guidance gives the following SDR recommendations and advises uploading at the same frame rate as the recording. Its guidance also recommends at least 1280 × 720 for widescreen content and specifies 1920 × 1080 as the minimum for videos intended for sale or rental.
Recommended bitrates for SDR delivery
| Resolution | Up to 30 fps | 48–60 fps |
|---|---|---|
| 720p | 5 Mbps | 7.5 Mbps |
| 1080p | 8 Mbps | 12 Mbps |
| 4K UHD | 35–45 Mbps | 53–68 Mbps |
These are platform delivery recommendations, not universal quality guarantees. Animated particles, textured backgrounds and tightly packed lyrics can require different encoding decisions from a static title over a plain color.
Pick the right rate-control method
Use constant quality when preserving a consistent visual standard matters more than predicting the file size. Use average bitrate with two-pass encoding when you need more predictable output size, while recognizing that a demanding scene can still expose compression.
Keep the source frame rate unless the production requires a deliberate conversion. Increasing the output rate doesn't automatically produce smoother motion, and careless frame duplication or interpolation can create uneven movement or artifacts.
For ordinary delivery, H.264 in MP4 is a straightforward starting point. Don't change the codec, frame rate, resolution and quality control simultaneously during troubleshooting, because you won't know which adjustment helped.
Check for ringing beside letters, blocks in dark motion, damaged colored outlines and unintended cropping. If size is the constraint, use the guide to making a video file smaller to separate bitrate decisions from dimension changes.
Encoding check: If compression causes the softness, improve the encoding before increasing the canvas size.
A larger output would give the encoder more pixels to describe without fixing the shortage of data.
Fix Blurry, Distorted or Unreadable Exports
An enlarged clip looks soft, so you enlarge it again. That won't recover the missing camera detail. YouTube's video delivery guidance recommends providing the highest resolution available, which is different from treating an artificially enlarged file as a more detailed source.
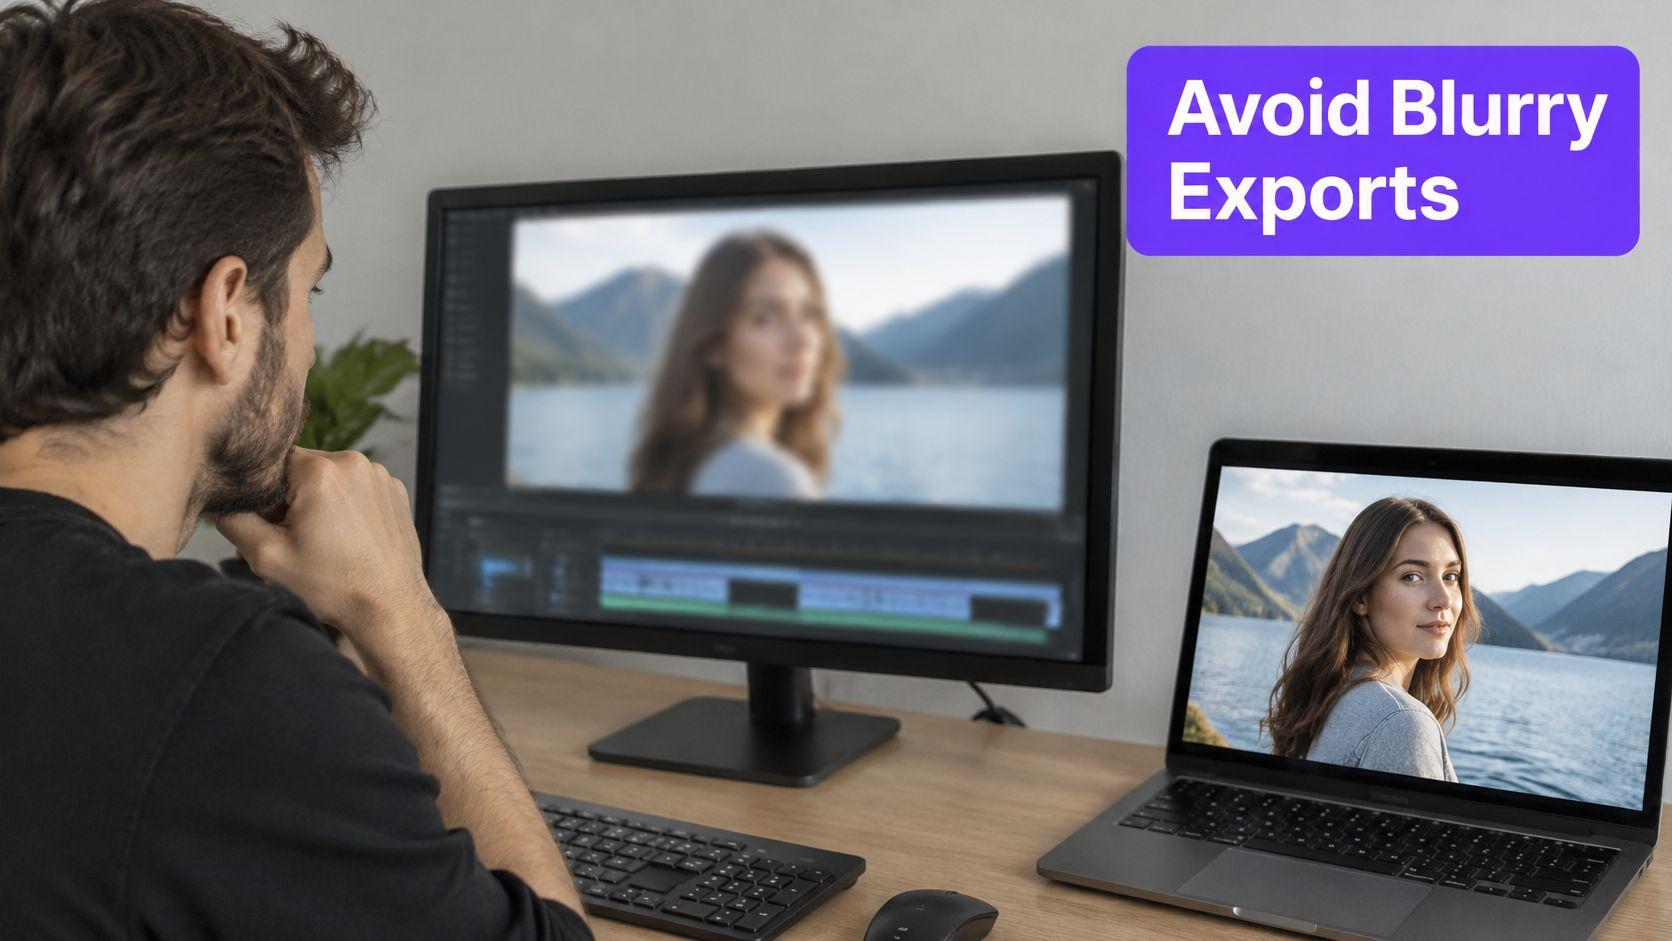
Match the symptom to the fix
- Soft enlarged footage: Compare the enlargement with a native-size export. If both lack the same detail, use a better source or reshoot; another export setting won't restore what wasn't captured.
- Squashed faces or lettering: Restore aspect-ratio preservation and choose padding or an intentional crop. Don't compensate by changing the font proportions.
- Lyrics that crumble during motion: Improve encoding quality first. If the letters remain fragile, use heavier strokes, a clearer outline or larger text in the editable project.
- Blocky dark backgrounds: Allocate more data to the encode, or lower the CRF value when using a compatible constant-quality encoder. Also check whether the blocks already exist in the original.
- Halos around enlarged edges: Reduce sharpening and compare conventional scaling with any enhancement tool you're using. AI enhancement can produce plausible texture that isn't faithful to the source.
- Uneven movement after conversion: Restore the source cadence and check whether the preset introduced a frame-rate conversion.
Separate export fixes from source problems
Changing a scaling mode or quality setting is a quick adjustment, although rendering still takes time. Replacing missing detail, fixing missed focus or redesigning tiny baked-in lyrics requires a different source or access to the original project.
A larger delivery file can still be useful for compatibility or for combining footage with newly rendered graphics. Describe that as a delivery conversion, not restoration.
Confirm Your Export Before You Publish
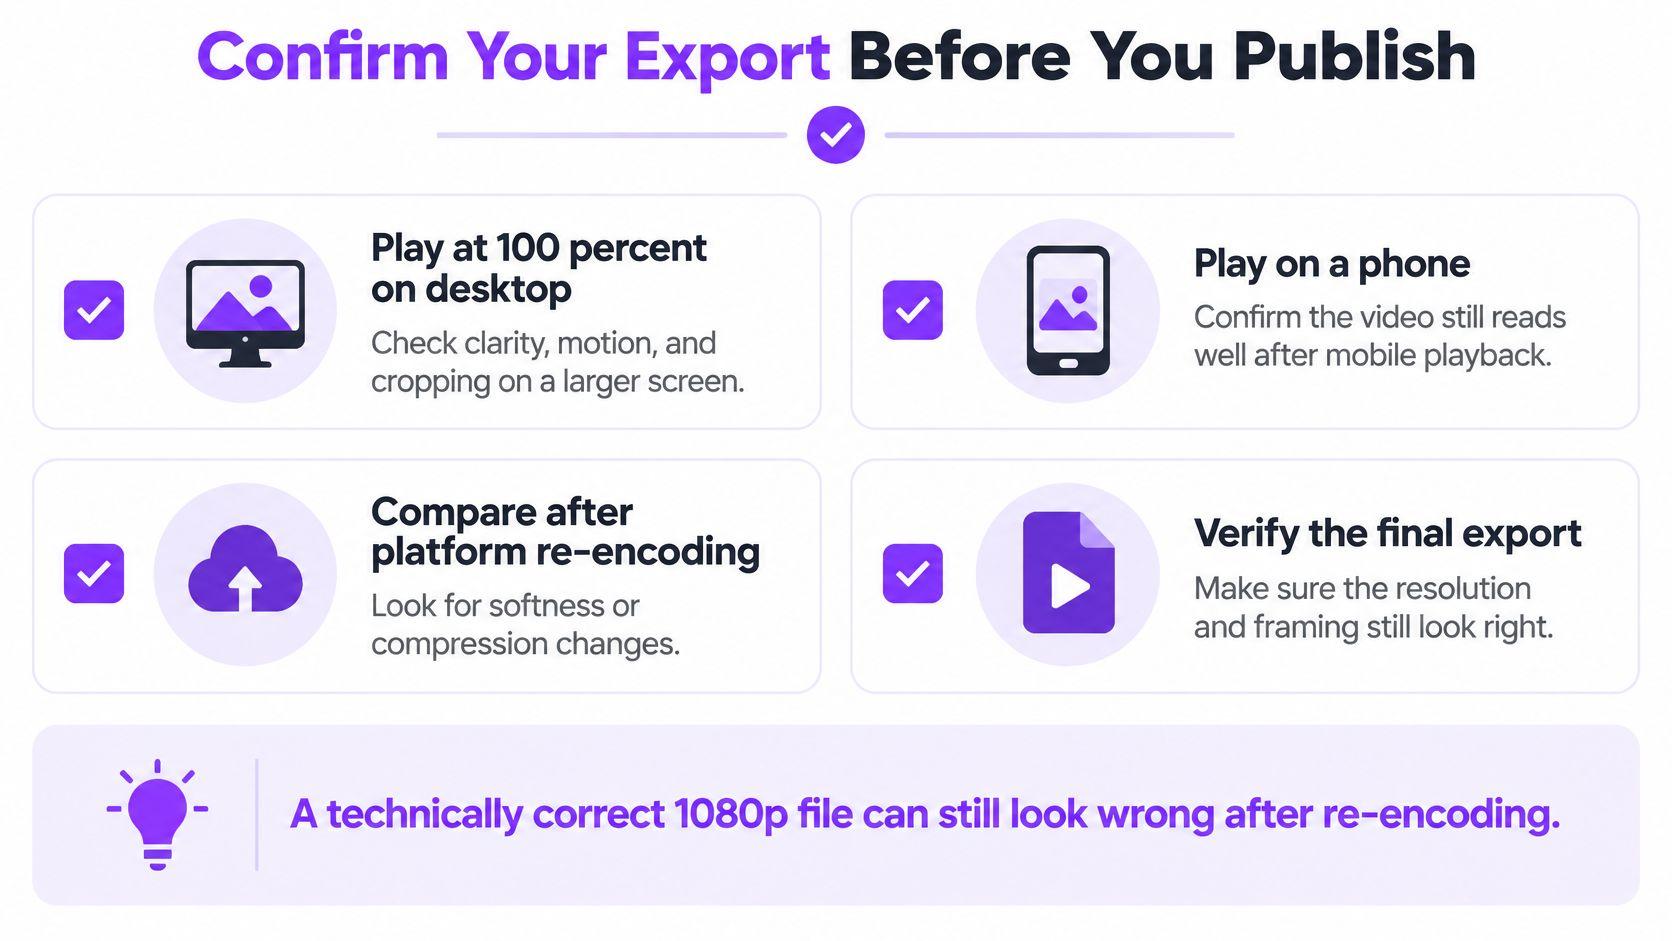
A technically correct file can still fail the practical test: can someone read the lyrics comfortably while watching on their own device? Platform processing adds another version to inspect, so the upload isn't the end of quality control.
Run a playback acceptance check
- Inspect desktop playback: View the saved file at native display size where possible. Check fine lettering, outlines, transitions and the boundaries of the frame without relying on a player that hides defects by shrinking the picture.
- Watch on a phone: Read the longest lyric lines at a comfortable viewing distance. Check the busiest and lowest-contrast backgrounds, not just the clean opening title.
- Review each layout independently: Make sure horizontal and portrait versions have intentional text placement. Keep important words away from areas occupied by platform controls or captions.
- Inspect the file properties: Confirm the actual dimensions, frame-rate behavior, scanning format, codec and container. An export preset's name isn't proof of what was written.
- Check synchronization throughout: Watch vocal entrances and lyric highlights near both the beginning and end. A file that starts in sync can still drift later.
- Review the processed upload: Wait until the destination has completed its higher-quality processing, then inspect playback again. Use a private or unlisted upload where available before making the video public.
Approve the viewer's version
For interlaced material, YouTube's encoding recommendations call for deinterlacing rather than just changing the output label. Treat this as a source-processing decision and inspect moving edges for comb-like artifacts before approving the file.
Keep your source, project and final export clearly named so you can replace a failed upload without rebuilding the work. Record the successful settings as a preset, but continue checking each song because background motion and typography can change.
Approve the result for readability, motion and sound, not just its resolution field. A clean export is useful only if the audience can follow it after delivery.
Our browser-based lyric and karaoke editor renders 1080p MP4 files on our servers, without requiring desktop software. Visit MyKaraoke Video to create your video, customize its lyrics and background, and export a file you can put through this playback checklist before publishing.
