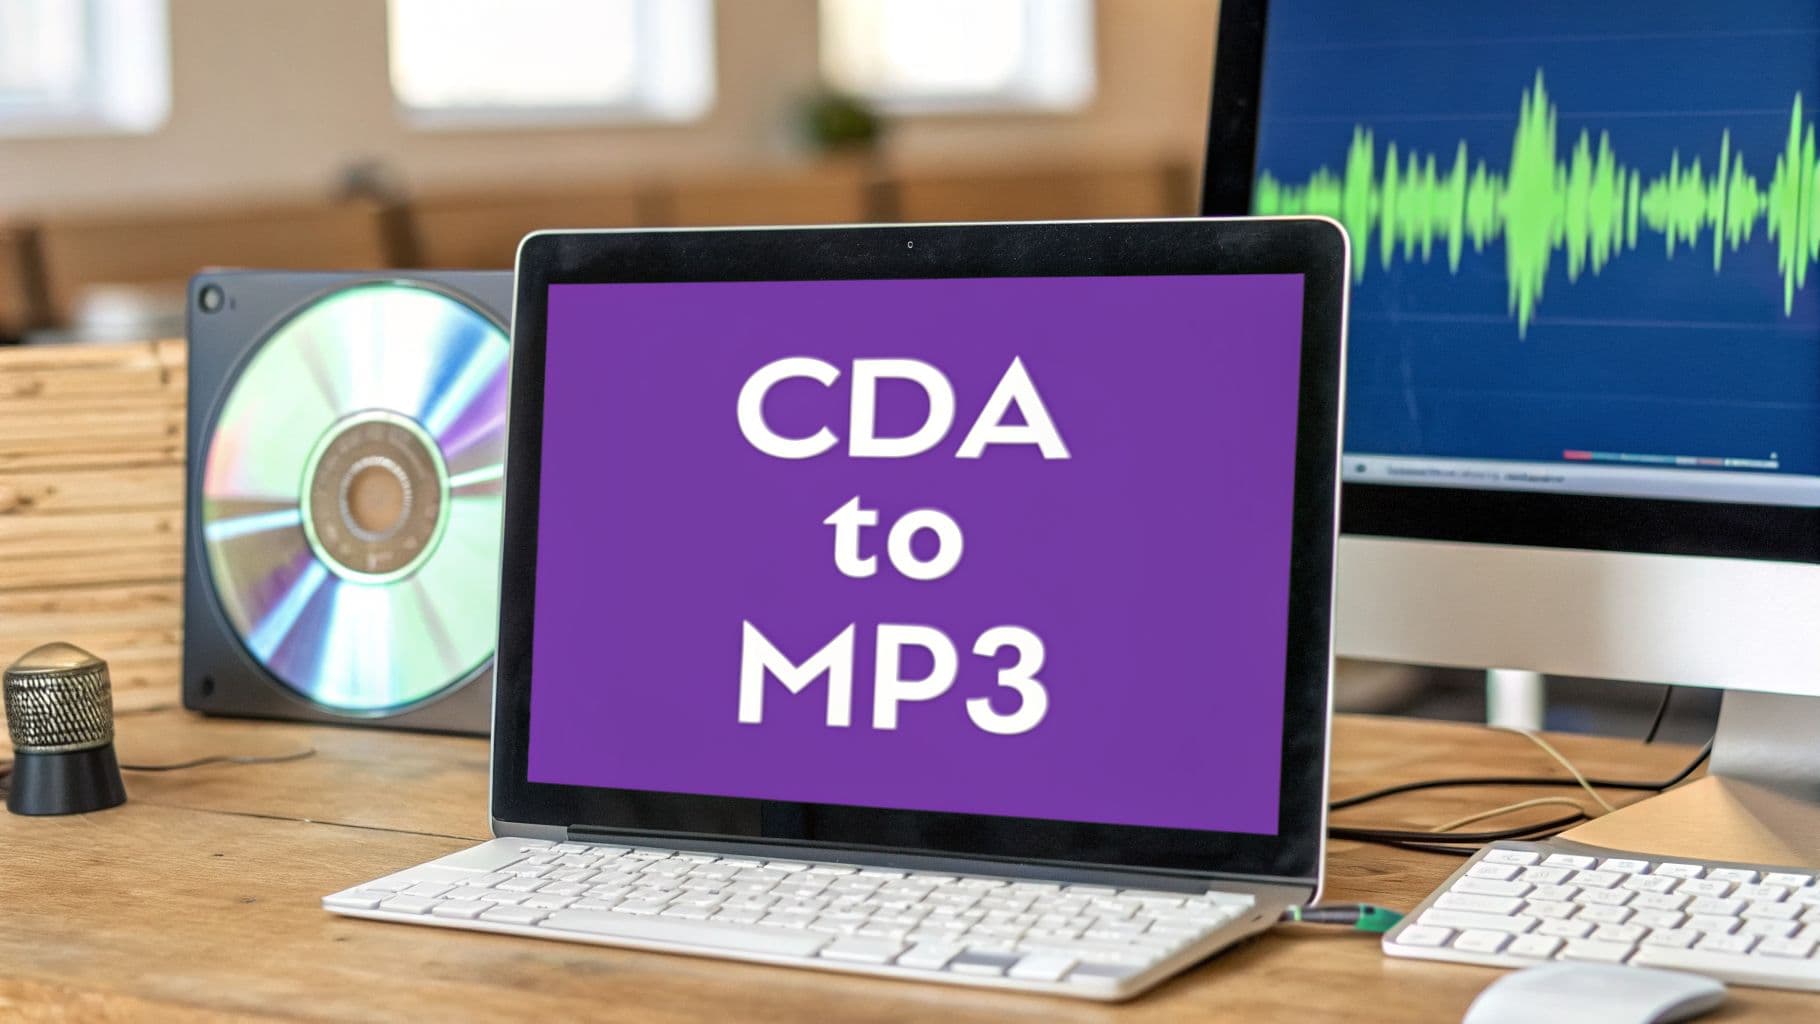
If you've ever popped a music CD into your computer and tried to drag the songs over, you've probably run into the baffling .cda file. You copy it, but it won't play. What gives?
The truth is, that tiny file isn't the song at all. It's just a 44-byte shortcut that tells a CD player where the actual music is located on the physical disc. Think of it like a signpost, not the destination. To get that music onto your computer, phone, or into your digital library, you have to "rip" the audio from the CD and convert it into a usable format like MP3.
Why You Can't Just Copy CDA Files
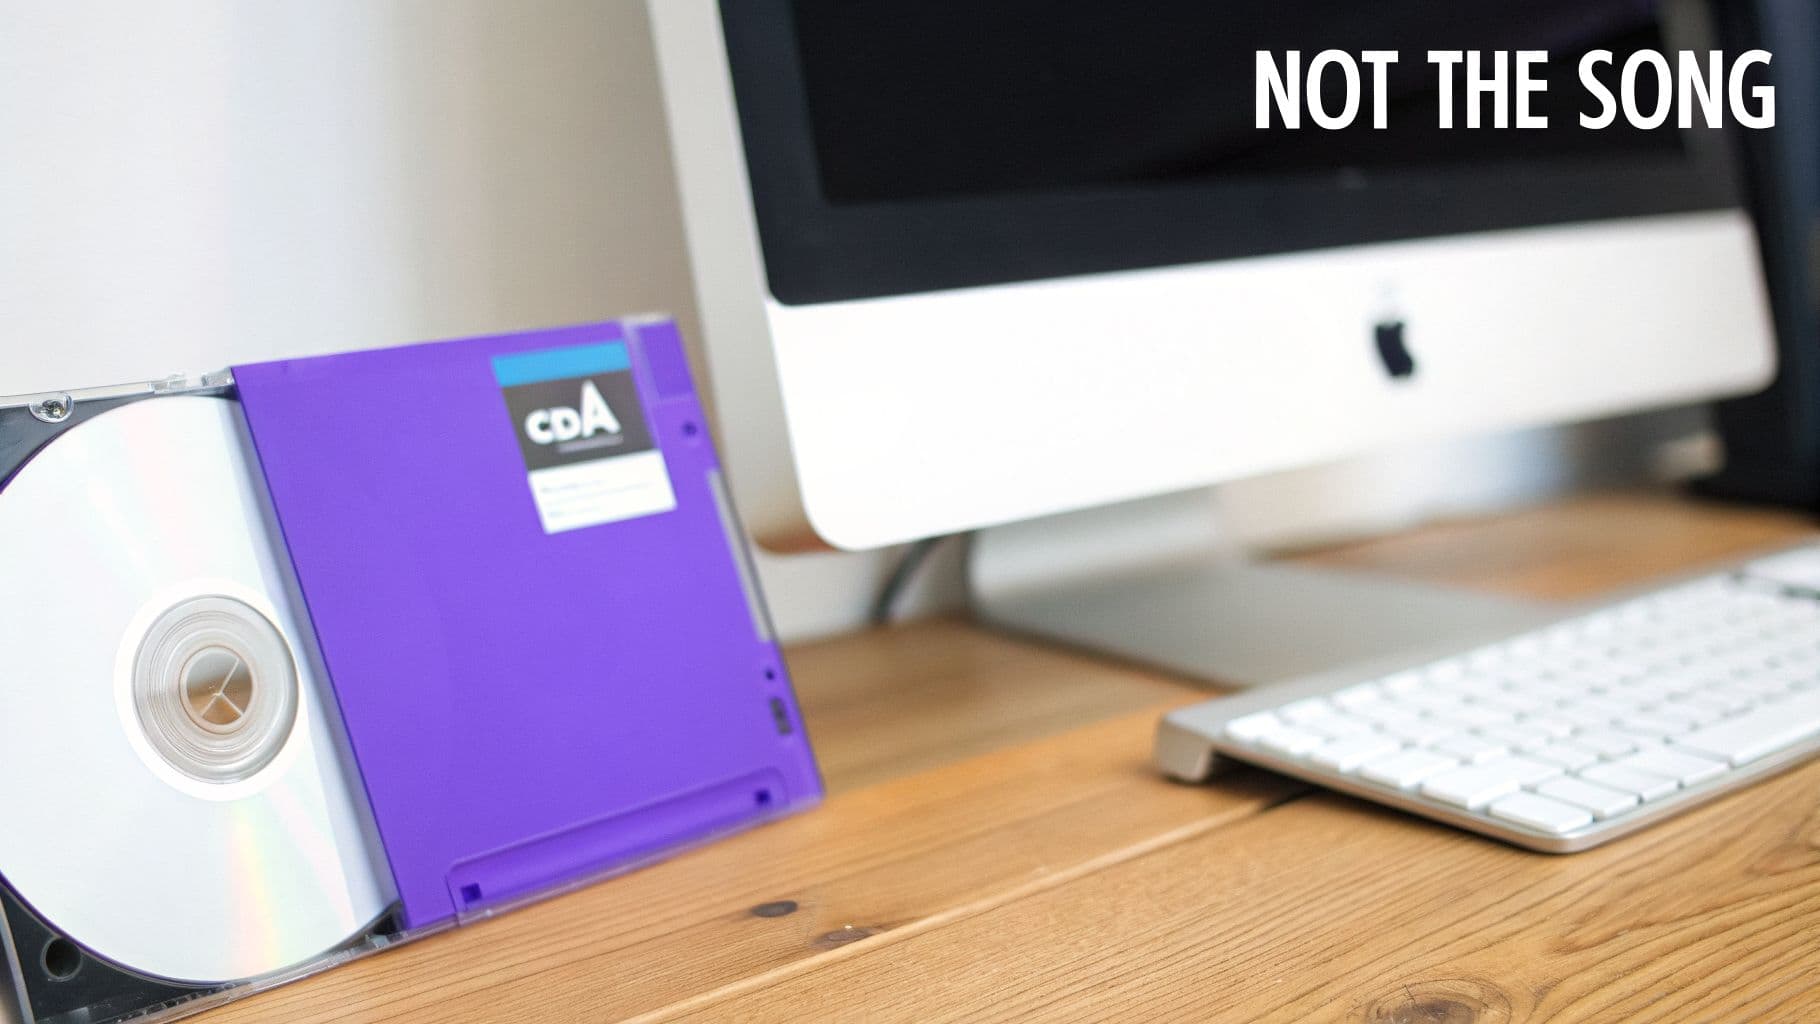
Since those .cda files contain absolutely no audio data, they're completely useless once they're separated from the original CD. They're just pointers. This is why you need a special process called "ripping."
Ripping uses software to extract the raw, uncompressed audio directly from the disc's tracks and then converts it into a digital file. For most people, the go-to format is MP3 because it’s universally compatible and creates much smaller files.
From Physical Disc to Digital File
This conversion process was truly revolutionary back in the early 2000s, paving the way for the digital music libraries we all take for granted now. A typical song pulled from a CD as a large WAV file (around 50 MB) can be compressed into a high-quality MP3 of about 5 MB. That’s a staggering 90% reduction in file size with very little noticeable loss in sound quality. For more on the CD market's evolution, you can check out market data from sources like DataIntelo.
The difference between a CDA shortcut and a playable MP3 file is night and day. Here’s a quick breakdown to make it crystal clear.
CDA vs. MP3 At a Glance
| Attribute | CDA File | MP3 File |
|---|---|---|
| What it is | A shortcut pointing to audio on a CD | An actual audio file containing music data |
| Typical Size | 44 bytes (tiny) | 3-5 MB per song (compact) |
| Playability | Only from the original CD in a CD player | On any computer, phone, or digital device |
| Use Case | Indexing tracks on a physical audio CD | Storing, sharing, and playing digital music |
This table really highlights why ripping is a non-negotiable step.
For karaoke creators using a platform like MyKaraoke Video, this is the crucial first step for bringing a beloved CD collection into the modern age. Once you have your tracks in the MP3 format, you can easily upload them to start syncing lyrics and creating your own custom karaoke videos. If you find yourself working with other formats, our guide on how to change WAV into MP3 might also come in handy.
Key Takeaway: A CDA file is just a shortcut. You must use a ripping tool to extract the audio from the physical CD and create a usable MP3 file. This unlocks your music for digital use everywhere.
Rip CDs to MP3 with Windows Media Player

If you're using a Windows PC, you're in luck. You already have a perfectly good tool for the job built right into the operating system: Windows Media Player. The old-school media player has a "rip" function that does exactly what we need—it reads the audio directly from your CD and converts those CDA tracks into MP3 files.
This method is ideal if you just want to get your CD collection digitized without the hassle of hunting for and installing third-party software. It's a reliable and straightforward way to get started.
Before you pop in a disc, it's a good idea to spend a minute tweaking the settings to get the best quality.
Fine-Tuning Your Rip Settings
First, open Windows Media Player. Look for the Organize menu in the top-left corner, click it, and then choose Options. A new window will pop up—head over to the Rip Music tab. This little screen is your control center for the whole process.
You’ll see a section called "Rip settings" with a couple of crucial choices:
- Format: This is the most important setting. Click the dropdown menu and make sure you select MP3. It’s easy to overlook, so always double-check.
- Audio quality: You'll find a slider for this. To get fantastic sound that’s perfect for karaoke tracks, I always recommend cranking it all the way to 320 kbps (Best Quality). The files will be a bit larger, but the boost in audio clarity is definitely worth it.
A quick heads-up: Windows Media Player often defaults to its own WMA (Windows Media Audio) format. Be sure to switch this to MP3 to guarantee your new files will play nice with pretty much any device or platform, including MyKaraoke Video.
Once your settings are dialed in, go ahead and insert your audio CD. Windows Media Player should automatically recognize the disc and show you the tracklist. If the song titles or album art don't show up, check that you have an active internet connection.
With everything ready to go, just tick the checkboxes for the songs you want to convert. All that's left is to hit the Rip CD button. The player will do its thing, extracting and converting your tracks and saving the fresh MP3 files right into your Music library.
If you're already using Apple products on a Mac or PC, you don't need to look any further than the built-in Music app or its older sibling, iTunes. Both are perfectly capable of ripping your CDs and come with some great features for turning those .cda pointers into actual MP3 files, no extra software required.
The whole process is pretty straightforward, but there's one critical step you need to take before you even put the disc in the drive. Getting this setting right from the start saves a lot of hassle later.
First, Tweak Your Import Settings
Go ahead and open Apple Music or iTunes. The path to the right setting is slightly different depending on your system:
- On a Mac, click Music > Settings (or Preferences), then head to the Files tab and find the Import Settings button.
- On a Windows PC, you'll find it under Edit > Preferences. From there, click the General tab and then Import Settings.
You'll see a small pop-up window. This is where you tell the app exactly what kind of file you want to create.
Here's what you need to change:
- Import Using: Look for this dropdown menu. It probably defaults to "AAC Encoder." You'll want to click it and select MP3 Encoder instead.
- Setting: This next dropdown controls the audio quality. For karaoke tracks, High Quality (192 kbps) is a fantastic choice—it sounds great without creating massive files. If you're a real audiophile and have plenty of hard drive space, you can select Custom and dial it up to 320 kbps for the best possible quality.
My two cents: Adjusting this setting before you import is a huge time-saver. You won't have to rip the CD and then convert the files afterward. Once you set your preference to MP3, iTunes or Music will remember it for every CD you import from now on.
Once your settings are locked in, just pop your audio CD into the drive. The app should immediately recognize it and pop up a message asking if you want to import the songs. Click Yes, and watch it work. It will rip each track, automatically convert it to your chosen MP3 format, and neatly file it away in your music library. Best of all, it usually pulls all the album art and track names from the internet for you.
This simple act of turning a physical disc into a digital file is part of a massive shift in how we listen to music. This transition, which really took off with the launch of iTunes back in 2001, has reshaped the entire industry. The global market for this kind of technology is projected to hit an incredible USD 24.45 billion by 2031. In fact, as of 2023, digital formats like streaming and downloads already accounted for 67% of all music revenue in major markets. You can dig deeper into the numbers with reports on data converter market growth from Grand View Research.
Diving Deeper: Perfect Rips with VLC and Exact Audio Copy
While the built-in players get the job done for quick rips, sometimes you need more firepower. For those of us who are serious about getting flawless, error-free audio—especially from older or slightly scratched CDs—two free tools are legendary in the community: VLC Media Player and Exact Audio Copy (EAC).
These programs give you granular control over the ripping process, which is exactly what you want when quality is non-negotiable.
Using VLC for Reliable Conversions
You probably already have VLC installed—it’s the Swiss Army knife of media players, after all. But many people don't realize it has a powerful conversion engine tucked away inside.
Getting started is straightforward. With your audio CD in the drive, open VLC and head to Media > Convert / Save. From there:
- Click on the Disc tab.
- Make sure Audio CD is selected.
- Choose which tracks you want to rip and click Convert / Save.
Now for the important part. In the next window, you need to set up the conversion profile. Click the little wrench icon to edit the profile, select MP3 for the encapsulation, and then head to the Audio codec tab. This is where you set the bitrate—I always recommend 320 kbps for the best quality—along with the sample rate and channels.
My Pro Tip: Don't do this every single time. Once you have it configured, save your settings as a new profile. Call it something obvious like "MP3 Rip 320k." This small step saves a ton of time and ensures you get consistent, high-quality results with every disc.
For the Perfectionists: Exact Audio Copy
If you're an audiophile or preparing tracks for a professional project where every bit counts, then you need Exact Audio Copy. EAC isn't just another ripper; it's a precision instrument.
Its whole reason for existing is to read audio CDs with bit-perfect accuracy. EAC uses a "secure" ripping method, meaning it meticulously re-reads any tough or scratched sections of the disc over and over until it’s absolutely certain the data is correct. It catches and corrects errors that most other programs would simply ignore and write into your file.
This obsessive attention to detail is why EAC is the top choice for archiving a music collection or creating pristine tracks for something like a karaoke video. The initial setup takes a few minutes, as you'll want to configure it with the LAME MP3 encoder (universally hailed as the best). But once it's done, EAC gives you a detailed log file after every rip, giving you verifiable proof that your new MP3 is a perfect digital twin of the original CD track. You can find more tips on our blog post about how to enhance audio quality for your projects.
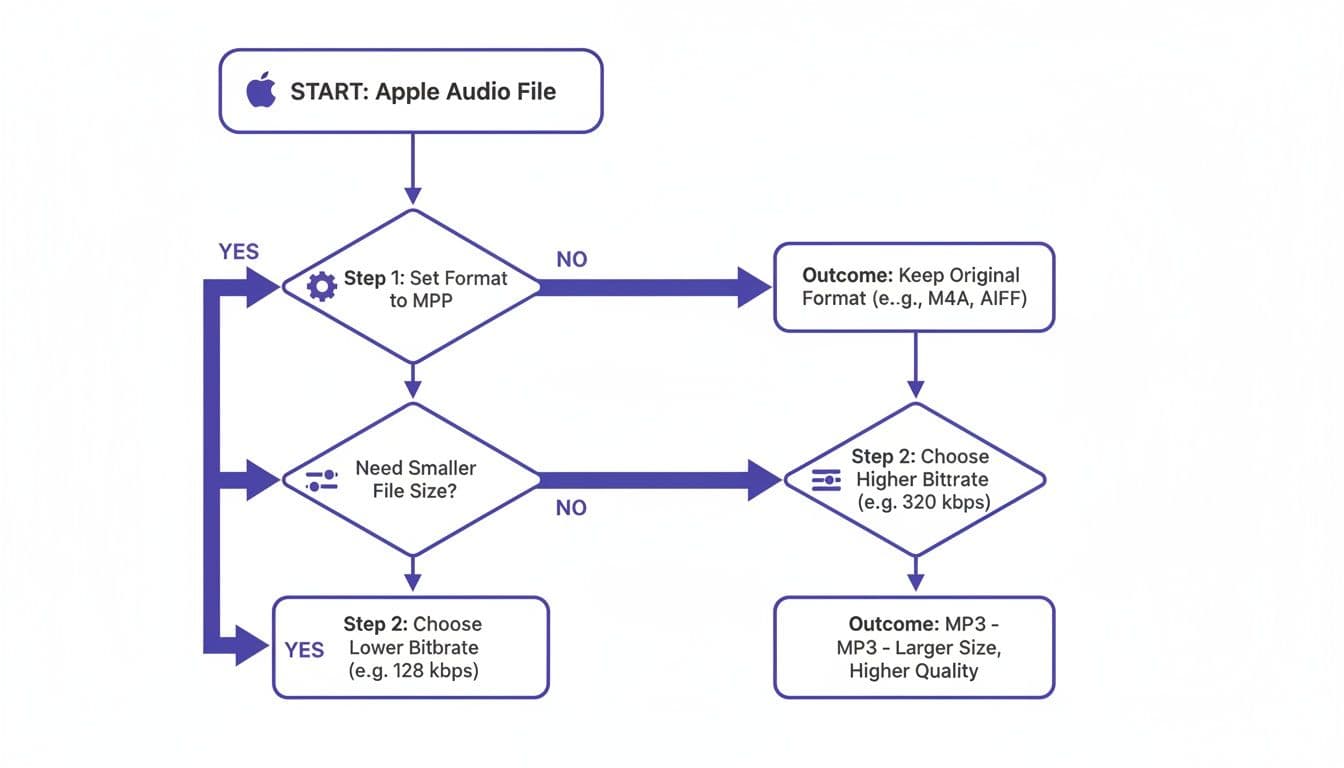
While the specifics can vary between platforms, the core decisions remain the same: choose your format (MP3) and your quality (bitrate). This flowchart for Apple's ecosystem illustrates that same fundamental choice.
The ability to rip CDs has been a game-changer for creators ever since the MP3 format was standardized. The process is fascinating: you're taking a 1.4 Mbps uncompressed track, extracting it to a WAV file, and then using an encoder like LAME to compress it. A typical 50MB WAV file can shrink down to just 5MB as a 128kbps MP3, all without a catastrophic loss in quality.
This simple act has fueled a massive boom in digital content creation. In regions like APAC, for example, creators are ripping tracks for karaoke platforms that generate over a billion monthly views. It's a powerful reminder of how accessible technology has put content creation into the hands of millions.
Get Your New MP3s Ready for MyKaraoke Video
Now that you've successfully turned those CDA tracks into MP3s, there's just one final step: getting them prepped for your karaoke masterpiece. Taking a few moments to do this right will save you a ton of headaches later when you're ready to create.
First things first, let's talk about metadata. This is simply the data attached to your file—the song title, artist, and album. Most ripping software does a pretty good job of grabbing this automatically, but it's always worth a quick check. Clean and accurate metadata means you can find your tracks instantly, rather than digging through a folder of files named "Track 01," "Track 02," and so on.
A Few Final Touches for Great Karaoke Tracks
Next up is audio quality. When you were ripping your CD, you likely chose a bitrate. For karaoke, 192kbps is a perfectly good starting point, but bumping it up to 320kbps really delivers that crisp, rich sound that makes a performance shine. A higher-quality track just sounds more professional and keeps your audience engaged. If you're serious about making your audio pop, learning a few basic audio production techniques can make a huge difference.
Once your files sound fantastic and are named correctly, a little organization is your best friend. I always recommend creating dedicated folders for different artists or albums. It might seem like a small thing, but it keeps your music library from becoming a digital junk drawer and makes uploading a clean, simple process.
My Pre-Upload Checklist:
- Check the File Names: Is each MP3 clearly labeled with the song title and artist? A quick double-check now saves a lot of confusion later.
- Listen to the Track: Give it one last listen. Does it sound clear? Any weird clicks or pops from the rip?
- Organize into Folders: Grouping songs by artist or project makes everything so much easier to find.
With your MP3s looking good and sounding great, you're all set. You can now bring your music into MyKaraoke Video and let the powerful editor and AI-driven lyric syncing work their magic to create something amazing in minutes. And hey, if you find your track needs a little trim before you start, our guide on how to trim songs can help with that.
Answering Your Top Questions About CDA to MP3 Conversion
When you start turning old CDA tracks into MP3s, a few common questions almost always come up. Getting these sorted out from the start will save you a ton of frustration and make sure your final audio files are ready for your karaoke projects.
Let’s tackle some of the most frequent ones I hear.
Can I Convert a CDA File Without the Original CD?
This is probably the most common question, and the answer is a straightforward no. You absolutely need the original audio CD.
A .cda file is nothing more than a tiny, 44-byte shortcut. It doesn't contain any audio. Instead, it just points to where the actual song is located on the physical disc. Without the CD in your computer's drive, your ripping software has no audio data to access or convert.
Here’s a good way to think about it: A .cda file is like a label on a library bookshelf. The label tells you where the book is, but you can't read the story from the label alone. You need the actual book—the CD—to get the content.
What Is the Best Bitrate for My Karaoke MP3s?
Choosing the right bitrate is all about balancing sound quality with file size, and for karaoke, you have a couple of solid options.
For most people, a bitrate of 192 kbps hits the sweet spot. It delivers crisp, clear audio that sounds great on most systems, and the file sizes are small enough to manage easily. This is my go-to recommendation for general use.
However, if you're aiming for the best possible sound and storage space isn't an issue, go with 320 kbps. This is the highest quality MP3 bitrate, and it produces a richer, more detailed sound. It’s perfect if you're uploading to YouTube and want to give your audience a more professional karaoke experience.
Why Are My Ripped MP3s Missing Track Names and Album Art?
It’s a classic problem: you rip a CD, and all your files are named "Track 01," "Track 02," and so on, with no artist or album info. Annoying, right?
This usually happens when your ripping software can't connect to an online music database (like Gracenote or MusicBrainz) to pull down that information. The first thing to check is simple: make sure your computer is connected to the internet while you're ripping the disc.
If the track names are still missing after the fact, don't worry. Most ripping programs have a way to fix this manually. Look for a menu option like "Find Album Info" or "Get Track Info." This will let you search for the album online and apply all the correct metadata—song titles, artist, album, and even the cover art—to your files.
Ready to turn those freshly ripped MP3s into stunning karaoke videos? With MyKaraoke Video, you can upload your music, sync lyrics with our powerful AI editor, and customize everything from fonts to backgrounds in minutes. Create your first karaoke video for free today!