At its core, trimming a song seems simple enough: you load it into an editor, highlight the parts you don’t want, and hit delete. While that’s technically true, that basic action is the launchpad for creating everything from a custom ringtone to a perfectly polished video soundtrack.
Why Song Trimming Is Your Creative Superpower

Knowing how to properly trim a song is more than just a technical skill—it’s an essential part of a modern creator's toolkit. When you're making karaoke tracks or lyric videos, precise audio edits are what separate amateur content from projects that feel truly professional. It's about taking a song and shaping its emotional journey to perfectly sync with your visuals.
Think of yourself less as a file-shortener and more as a storyteller using sound. A smart, well-timed trim can build suspense, jump right into the action, or isolate a single powerful lyric to make it hit harder. Your job is to make every single second of audio count.
It's About More Than Just Making It Shorter
Effective song trimming isn't just about making a track fit into a 60-second social media clip. It’s about taking control of the narrative and creating a better experience for your audience.
Here’s where it really makes a difference:
- Pacing and Engagement: Cutting a long, slow intro or a repetitive verse gets your audience hooked faster and keeps the energy up. Nobody wants to wait a minute and a half for the chorus to kick in.
- Emotional Impact: Want to make your video feel powerful and uplifting? Isolate the soaring final chorus. Looking for a moment of quiet reflection? A trimmed-down instrumental bridge can do the trick.
- Narrative Alignment: This is huge for lyric videos. Trimming allows you to match the song's structure to your visual story. For instance, you can learn how to create a video from music where the audio builds and peaks exactly when key visual elements appear on screen.
The core idea is simple: You are the director of the audio experience. A three-minute song contains multiple emotional journeys, and your job as an editor is to select the one that best serves your project.
The Evolution of Audio Editing
It's incredible how much easier this has all become. Not too long ago, editing audio meant physically cutting magnetic tape with a razor blade and splicing it back together. Now, we can do it all digitally with millisecond accuracy.
The rise of Digital Audio Workstations (DAWs) has put professional-grade editing tools in everyone’s hands. Software today lets anyone—from seasoned producers to first-time creators—trim, rearrange, and polish audio in a matter of seconds. This accessibility is precisely what empowers you to create content that sounds amazing and really connects with your audience.
Choosing the Right Segments for Your Project
Before you even think about making a cut, the first and most critical decision is figuring out what part of the song to use. Anyone can learn the technical skill of trimming an audio file, but it's the creative choice of selecting the perfect segment that makes a project shine. This is where you stop being a button-pusher and start being a storyteller.
Every song has its own unique energy map—a flow of peaks, valleys, and transitions. Your job is to match that energy map to the story you're trying to tell with your video. Don't just hunt for a catchy beat; listen for the emotional journey the song takes.
Think Like a Director
Let’s say you’re making a short, high-energy promo clip for social media. A long, atmospheric intro just won't cut it. On platforms like TikTok or Instagram, you've got about three seconds to grab someone's attention before they scroll on. In that case, you’d want to jump straight into the chorus or a really powerful lyrical hook.
On the other hand, if you're creating a full-length lyric video that tells a complete story, that same slow intro could be the perfect way to build anticipation. It all comes down to matching the song's structure to your project's goal. Always ask yourself: what feeling am I trying to create right now?
Here’s a quick cheat sheet for different project types:
- Quick Social Clips: Find the most memorable 8-15 seconds you can. This is almost always the peak of the chorus.
- Karaoke Videos: You'll want to keep the verses and choruses, but think about trimming long instrumental solos or drawn-out endings. This keeps the energy up for the singers.
- Emotional Lyric Videos: Sometimes, a well-placed instrumental bridge can be incredibly powerful. It gives the viewer a moment to reflect and lets your visuals or text animations really sink in.
Mapping the Song's Structure
One of the best things you can do is listen to the entire track with a pen and paper (or your favorite notes app) before you start editing. Don't just have it on in the background; actively map it out. Jot down the timestamps for when each section starts and stops.
Your map might end up looking something like this:
- 0:00 - 0:15: Slow, instrumental intro
- 0:16 - 0:45: First verse (energy starts to build)
- 0:46 - 1:15: Pre-chorus and Chorus (peak energy)
- 1:16 - 1:45: Second verse (dips a little)
- 1:46 - 2:15: Second Chorus (back to peak energy)
- 2:16 - 2:45: Bridge (an emotional shift, tempo slows)
- 2:46 - 3:15: Final Chorus/Outro (highest energy, then fades)
With this simple map, you can instantly see the building blocks you have to work with. Need a dramatic build-up? Grab the pre-chorus and chorus from 0:46 - 1:15. Want to create a moment of tension or reflection? Isolate the bridge at 2:16 - 2:45.
Making these choices intentionally is what separates a sloppy cut from a masterful edit. When you understand the song's structure, every segment you choose serves a real purpose. This little bit of planning up front will save you a ton of time and headaches later.
Mastering the Core Techniques of Song Trimming
Alright, you’ve picked the perfect piece of the song. Now it’s time to roll up our sleeves and actually make the cut. This is where the magic happens, moving from just listening to skillfully trimming your audio with the kind of precision that makes your content feel polished and professional.
For this walkthrough, we’ll use Audacity. It's free, it’s powerful, and it’s the perfect software to get these fundamental skills down cold.
First thing’s first: get your audio file into the editor. Once it’s loaded, you’ll see the song displayed as a waveform, which is basically a visual map of its volume. Those tall, spiky parts are the loud moments, and the flatter sections are the quiet ones. This visual guide is going to be your best friend.
Getting around the waveform is as simple as clicking and dragging your mouse, much like highlighting text. The real power, though, comes from zooming. You need to get comfortable zooming way in to see individual moments and then zooming back out to see the whole track. This control is what separates a sloppy edit from a clean one.
Making a Precise Cut
Here's a rookie mistake I see all the time: cutting right on the beat. It seems logical, but it often creates a nasty little "click" or "pop" in the audio. To get a truly clean cut, you need to find a moment of silence, what we call a zero-crossing point.
A zero-crossing is simply where the waveform crosses the center horizontal line, meaning the audio amplitude is at zero. Making your cut here is the secret to a seamless edit.
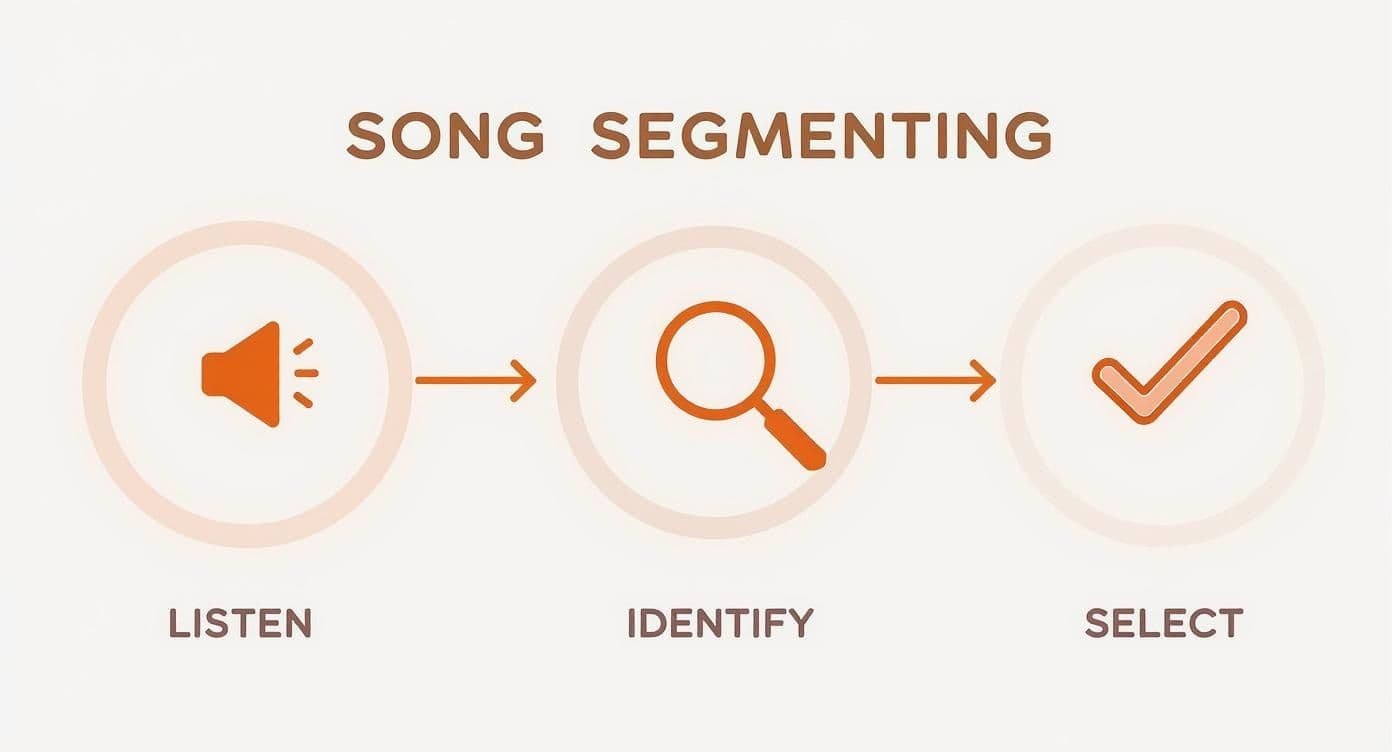
This simple flow—Listen, Identify, Select—is the backbone of every single audio edit I make. You listen carefully, pinpoint the exact start and end points, and then select that segment. It’s a deliberate process that ensures your edits are always purposeful.
While Audacity is fantastic for learning, sometimes you need a tool built for a specific job. If you’re chopping up audio for lots of short-form videos, for instance, it's worth checking out the capabilities of the Shortgenius platform for faster, more focused editing.
Smoothing Transitions with Fades
Even when you nail the cut at a zero-crossing, a transition can still feel a bit jarring. That's where fades save the day. A fade-in gently brings the volume up at the start, and a fade-out smoothly lowers it at the end. It's a simple touch that makes a world of difference.
Pretty much any audio editor, including Audacity, has these effects built right in.
- For a fade-in: Highlight the first tiny sliver of your clip and apply the fade-in effect.
- For a fade-out: Do the exact same thing for the very end of the clip.
A really subtle fade—I’m talking less than a second—can make your trimmed audio sound completely natural, as if the song was always meant to begin and end right there. And if you're taking on more ambitious projects that involve piecing together different parts of a song, you'll want to get comfortable with splitting audio files into separate tracks.
Pro Tip: Less is more with fades. A long, dramatic fade is a stylistic choice, but for clean trimming, a super short one (0.1 to 0.5 seconds) is all you need to sand off any rough edges at the start or end of your clip.
It’s amazing how accessible this has all become. What used to be a complex task reserved for recording studios is now something anyone can do on their laptop. There are over 31,000 music production businesses globally, but tools like Audacity and GarageBand have empowered millions more creators, fueling the user-generated content we see go viral every day. It's a massive shift in how music is used and created.
Taking Your Audio Edits to the Next Level
Once you've mastered making clean cuts, you can start focusing on the details that really separate amateur edits from professional ones. These advanced techniques are all about preserving the original soul of the audio and making sure your edits hit with perfect timing, especially for demanding projects like lyric videos.
It all starts before you even think about exporting. The choices you make early on have a huge ripple effect on how everything sounds in the end.
Preserve Pristine Audio Quality
Audio fidelity is a chain—it starts with your source file and ends with your export settings. If you start with a low-quality file, you can’t magically add that quality back in later. Think of it like a photocopy of a photocopy; each generation gets a little bit fuzzier.
That's why you should always try to get your hands on a lossless audio file like WAV or AIFF to start your project. These formats are the raw, uncompressed goods, giving you every bit of the original data to work with. Trimming a compressed MP3 is possible, but you're already starting a step behind.
When you're ready to export, you have a couple of solid choices:
- WAV: This is your go-to for archival purposes or if the audio is heading into a high-stakes video project. The files are big, but the quality is unmatched.
- MP3 (320 kbps): For most online applications, like a YouTube karaoke video, a high-bitrate MP3 is the sweet spot. You get a fantastic balance of sound quality and manageable file size.
If there's one rule to live by, it's this: never export at a lower quality than your source file. If you start with a pristine WAV, keep it that way or export it as a high-quality MP3. Trying to "upscale" a muddy 128 kbps MP3 is a fool's errand.
Syncing Edits with Visuals
For lyric videos, timing isn't just important—it's everything. A cut that sounds fine in isolation can feel clumsy if it doesn't land exactly with the text on screen. The trick is to use your video timeline as your guide.
Drop markers on your timeline precisely where a new line of lyrics pops up or where a visual scene changes. Then, snap the beginning of your trimmed audio clip right to that marker. Don't be afraid to zoom way in on the timeline to get it frame-perfect. This kind of precision is what makes a video feel tight and professional.
Handling Tricky Transitions
Sooner or later, you'll need to do something dramatic, like cutting from a quiet, mellow verse straight into a wall-of-sound chorus. A simple hard cut here will sound jarring and unnatural. The solution is the crossfade.
A crossfade is simply a brief overlap where the end of the first clip fades out while the beginning of the second clip fades in. This little bit of audio magic blends the two sections together, making the transition feel smooth and intentional. Another vital skill for clean audio is learning how to remove background noise from audio, which ensures nothing unwanted sneaks in during those transitions.
AI tools are also getting surprisingly good at this kind of audio clean-up. For instance, the same principles behind removing filler words from video with AI can be applied to tighten up vocal tracks and make your edits even cleaner.
This isn't just about sounding good; it's about being smart. Listener attention spans are shorter than ever, and song lengths have shrunk from over four minutes to around three on average. Knowing how to trim songs effectively isn't just a technical skill anymore—it's a crucial part of creating content that fits how people listen to music today.
Navigating Common Pitfalls and Legal Guidelines
Once you get the hang of trimming songs, you’ll start to see where things can go wrong. A few common roadblocks pop up for everyone, but learning to sidestep them will save you headaches and make your final projects sound so much better.
More importantly, you've got to understand the legal side of things. It's the best way to protect your work—and your channel—from trouble down the line.
The most obvious sign of an amateur edit is a jarring, abrupt cut. You hear it all the time: a sudden click or pop where the audio was sliced. This usually happens when the cut is made on a loud beat instead of a "zero-crossing" point in the waveform.
Another classic mistake is accidentally butchering your audio quality. You might start with a beautiful, high-quality WAV file, but if you export it as a low-bitrate MP3, you're essentially throwing away all that detail. Always be mindful of your export settings.
Sidestepping Common Editing Mistakes
To keep your audio pristine and your process frustration-free, I always focus on these three habits:
- Soften Your Endings: Never just let a clip end. Always add a tiny fade-out, even if it's just a fraction of a second long. It's a simple move that prevents the audio from sounding like it was chopped off with a hatchet.
- Be Smart with Your Files: Before you do anything, create a project folder and drop a copy of the original song file into it. This is your lifeline. Never, ever work directly on your only copy of the audio.
- Trust Your Headphones, Not Your Speakers: Your laptop speakers can be deceptive. A good pair of headphones is your best friend for catching those subtle clicks, pops, and weird transitions you'd otherwise miss.
I can't stress this enough, because I've seen people lose hours of work: Always work on a copy, never the original. Losing your source file is a completely avoidable disaster that means you can never go back and try a different edit.
A Quick Guide to Music Copyright
Alright, let's talk about the legal stuff. It can feel like a minefield, but the core idea is pretty simple: if you didn't create the music, you need permission to use it in your content. This is especially true if you're posting it publicly on platforms like YouTube.
Just because you bought a song on iTunes doesn't mean you can use it in your lyric video. That purchase grants you a license for personal listening, nothing more. Using copyrighted music without the right license can get your video taken down, earn your channel a copyright strike, or in rare cases, lead to legal trouble.
So, what can you do?
- Use Royalty-Free Music: This is the easiest path. Services like Epidemic Sound or Artlist have huge libraries of tracks you can license for your projects.
- Explore Creative Commons: You can find artists who release their music under Creative Commons licenses. These often let you use the work for free, as long as you give them proper credit.
- Get Direct Permission: If you have your heart set on a famous song, you'll need what's called a synchronization license (or "sync" license) from the music publisher. Be warned: this can be a very complicated and expensive process.
For most people making karaoke tracks or lyric videos, sticking with royalty-free libraries or even creating your own instrumental versions of songs are the safest bets to stay out of hot water.
Answering Your Top Song Trimming Questions
When you're first learning to trim songs, a few questions pop up time and time again. Let's tackle them head-on, so you can skip the common hurdles and get straight to creating.
What's the Best Free Software for Trimming Songs?
For anyone serious about audio, Audacity is the gold standard of free editors. It's a powerhouse that runs on pretty much any operating system—Mac, Windows, you name it. It gives you all the essential tools you need for clean cuts and smooth fades without costing a dime.
If you're on a Mac, you already have a fantastic tool waiting for you: GarageBand. While it’s known as a music creation suite, its audio editing capabilities are surprisingly intuitive and more than enough for trimming tracks for your karaoke or lyric videos.
What’s the Right Format to Save My Trimmed Song In?
This is a crucial decision that really boils down to how you plan to use the audio. The format you choose is a trade-off between audio quality and file size.
- For Maximum Quality: If you're working on a professional video project where every detail matters, save your track as a WAV file. It's a lossless format, which means zero compression and zero quality loss. The files are beefy, but the sound is pristine.
- For Online Use: For anything you're posting online—like on YouTube or social media—a high-quality MP3 (320 kbps) is your best bet. It strikes the perfect balance, delivering excellent sound in a much smaller, web-friendly package. Honestly, most listeners won't be able to tell the difference between this and a WAV file.
Just be sure to avoid saving in lower bitrates, like a 128 kbps MP3. The drop in quality is noticeable and can make your whole project feel amateurish.
How Do I Fix a Bad Cut in My Audio?
Nothing ruins a great edit like a jarring cut or an audible click. Fortunately, these are usually easy fixes.
If you hear a little "pop," it’s almost always because you cut the audio somewhere other than a zero-crossing point—the spot where the waveform is completely flat. The fix is simple: zoom way in on your track, find the nearest point of total silence, and make your cut there instead.
What if the transition just feels too abrupt? A crossfade is your secret weapon. This technique smoothly fades out the end of the first clip as it fades in the beginning of the second. Even a tiny crossfade of just a few milliseconds can work wonders, making the transition feel completely seamless.
Always, and I mean always, listen back to your edits with a good pair of headphones. Your laptop speakers just won't cut it. Headphones will expose those subtle clicks and awkward transitions you might otherwise miss, giving you a chance to perfect them before you export.
Ready to make incredible lyric videos without wrestling with complicated software? The MyKaraoke Video platform uses smart AI to handle the lyric syncing for you. You can create polished, professional-looking videos right from your browser. Start creating your first karaoke video for free.