At its core, splitting an audio file is just what it sounds like: taking one long track and cutting it into smaller, more focused pieces. Think of it as the audio equivalent of creating paragraphs in a text document. It's a fundamental editing skill that opens up a ton of possibilities, whether you're working on a creative project or just trying to organize a long recording.
You might need to break a podcast into chapters, pull a specific soundbite for a music sample, or just trim down a rambling voice memo. It’s a surprisingly handy trick to have up your sleeve.
Why You Might Need to Split Audio Files
Before you can pick the right tool, it helps to know exactly why you're chopping up that audio file. The reasons are pretty diverse, but they often boil down to making the content easier for people to use and understand.
Ever tried to find a specific point in a two-hour lecture recording? It's a nightmare of endless scrubbing. But if that file is split into smaller, topic-based segments, you can jump straight to the information you need. The same goes for long business meetings or interviews. It just makes life easier.
Common Scenarios for Splitting Audio
For music producers, slicing and dicing audio is a daily routine. They might find the perfect 4-second drum break in a long jam session and want to isolate it to use as a loop. This is the very foundation of sampling and remixing—taking existing sounds and transforming them into something completely new.
Beyond music and meetings, here are a few other times you'll be glad you know how to split audio:
- Podcast Production: Podcasters are constantly cutting up their recordings. They create distinct chapters for easier navigation and snip out all the "ums," "ahs," and long pauses to make the final episode sound clean and professional.
- Audio Transcription: If you need a transcript, feeding a massive, unedited file to a service can be inefficient. By isolating the specific parts with speech, you can get better results when using the best free transcription software to turn audio into text fast.
- Content Repurposing: Found a great quote in a long interview? You can extract that single soundbite and turn it into a short, shareable clip for social media. It’s a fantastic way to get more mileage out of your content.
Mastering the simple act of splitting audio files gives you a huge amount of control. It allows you to refine your work, repurpose it for different platforms, and present your audio in the most effective way, no matter what you're creating.
Splitting Audio with Desktop Software
When you need serious precision and control over your audio splits, nothing beats dedicated desktop software. Online tools are great for a quick trim, but a proper program gives you the granular control you need without being at the mercy of your internet connection or strict file size limits.
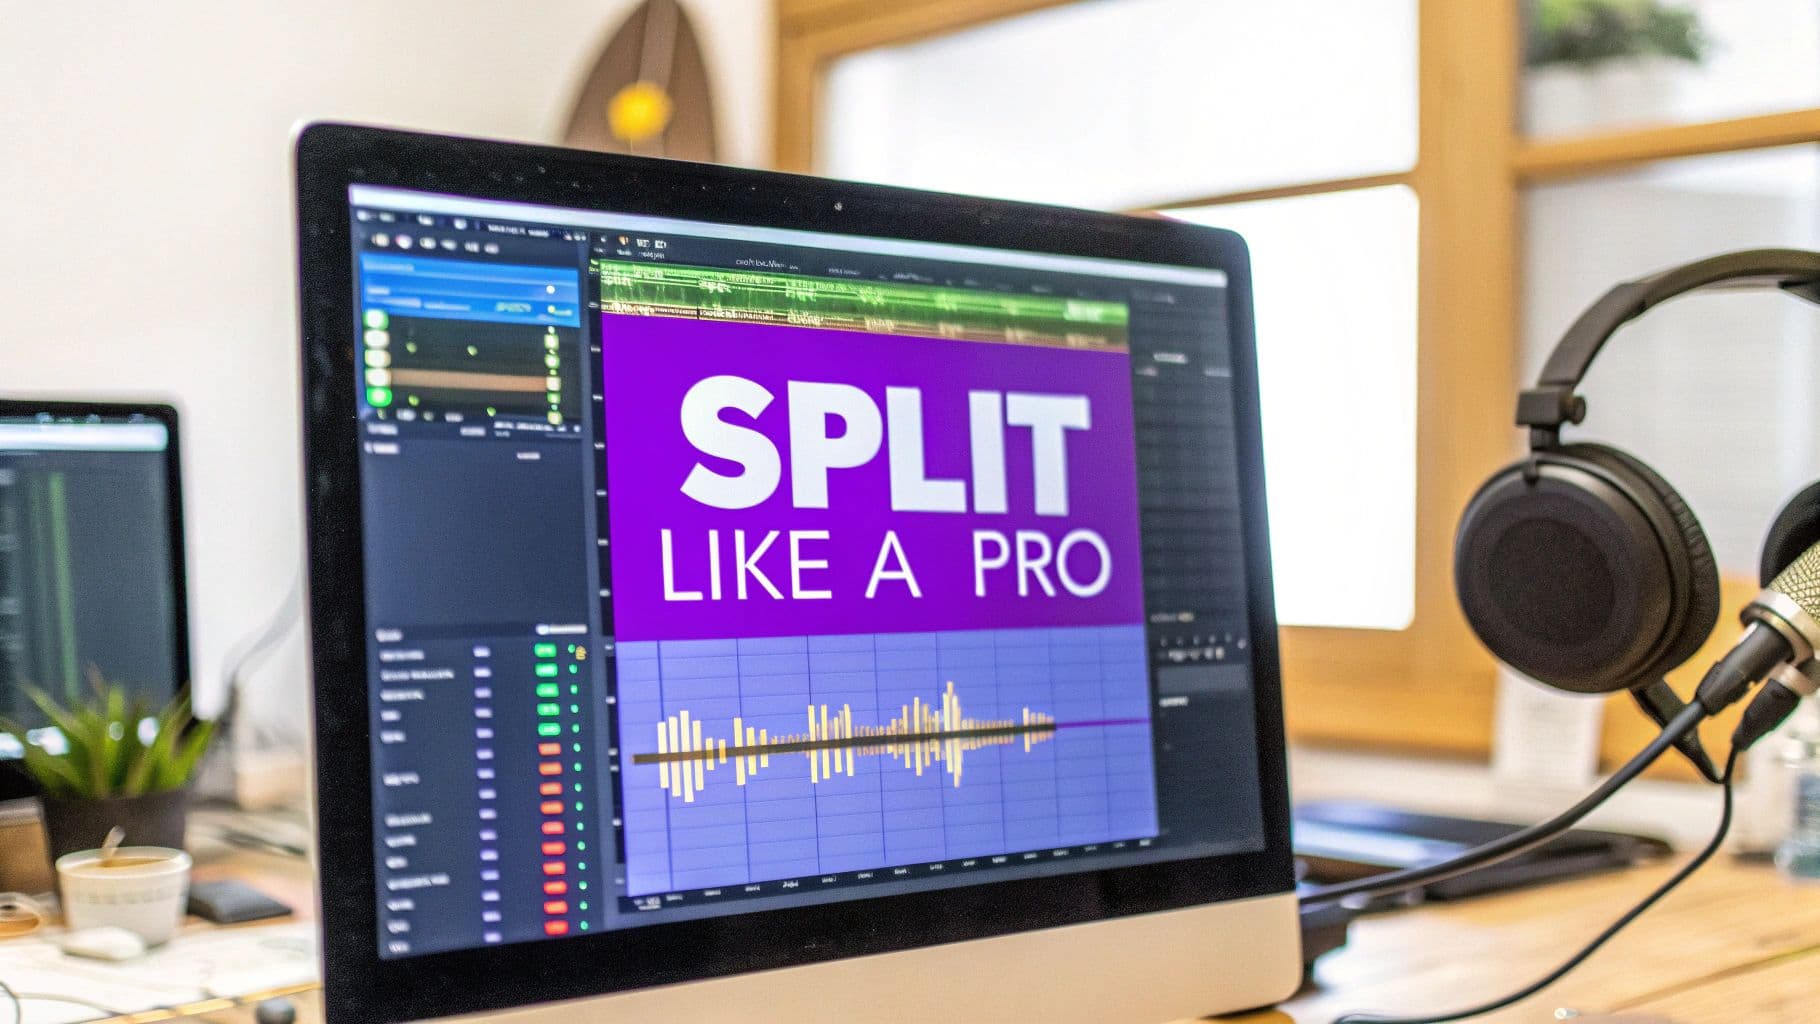
The undisputed king here, especially if you're not looking to spend a dime, is Audacity. It’s a powerful, open-source workhorse that’s been the go-to for podcasters, musicians, and audio pros for years. The key is its visual waveform editor—you can actually see the sound, making it incredibly intuitive to pinpoint the exact spot for a perfect cut.
Here's a look at the Audacity interface. That visual representation of the audio is what makes finding silences or specific sounds for splitting so much easier.
Making Precision Cuts in Audacity
This is where Audacity really shines. Instead of just slicing and exporting one little piece at a time, you can work through your entire file and drop labels at every single point you want to make a split.
Let’s say you’ve got a one-hour interview and need to pull out 15 different soundbites. It’s as simple as listening through the track and hitting a keyboard shortcut (Ctrl+B on Windows or Cmd+B on Mac) to place a label at each spot. Once you're done, the "Export Multiple" command takes over, automatically saving every single labeled segment as its own separate audio file. For big projects, this feature is an absolute game-changer.
Exploring Other Desktop Options
Audacity is fantastic, but it's not the only game in town. The right tool really depends on what you're trying to do. For anyone on a budget looking to split audio, checking out the best free audio editing software will introduce you to some surprisingly powerful alternatives.
The best part about desktop tools? They offer a non-destructive editing environment. You can slice, dice, and experiment all you want, knowing your original audio file is safe and untouched. It gives you complete freedom to get creative without risk.
If you're a creative professional, you might lean towards Adobe Audition. It has a slicker interface and plays nicely with other Adobe Creative Cloud apps, a huge plus for video editors. On the other hand, if Audacity feels a bit overwhelming, Ocenaudio offers a cleaner, simpler experience that’s perfect for straightforward splitting tasks without a steep learning curve.
The demand for these powerful editing tools makes sense when you look at the numbers. The consumer audio market is on track to hit $85.37 billion. This incredible growth is fueled by our love for high-quality podcasts, music, and other digital media—the very content that often needs precise editing. You can find more about this expanding market and its trends and see how it all connects.
Using Online Tools for Quick Audio Splitting
Sometimes you just need to split a track right now. You don't want to download software or deal with a complex installation. That’s where browser-based audio tools really shine.
For a quick, one-off job—like trimming the dead air from the beginning of a podcast recording or grabbing a 15-second soundbite for social media—they are fantastic. The workflow is almost always the same: upload your file, and you get a visual waveform to work with.
From there, it’s usually as simple as dragging a couple of handles to mark your start and end points. You can preview the clip to make sure it’s just right, then hit a button to export it. What could have been a technical headache becomes a task you can knock out in under a minute.
This visual guide can help you figure out if a simple online tool is the right fit or if your project calls for something more powerful.
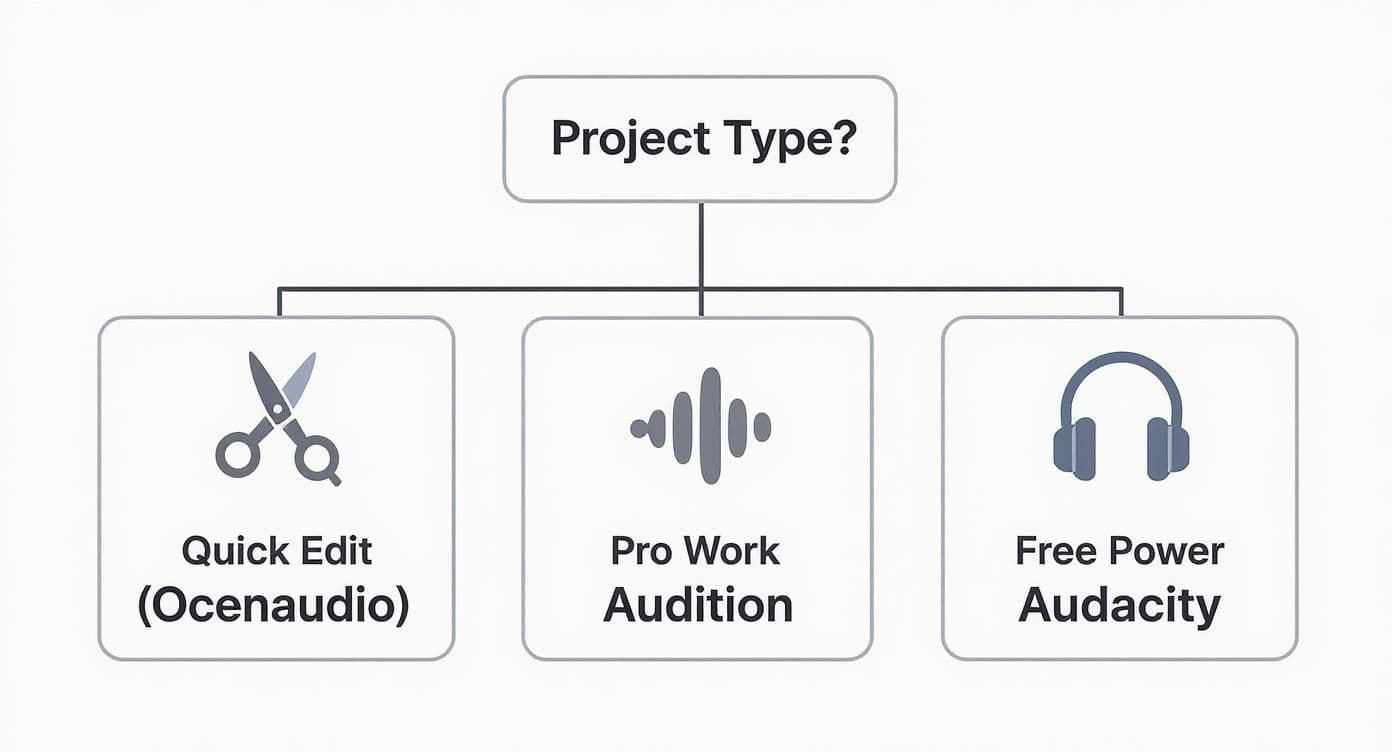
As you can see, the complexity of your project is the biggest factor. For simple cuts, online tools are often more than enough.
A Quick Comparison of Audio Splitting Methods
To help you decide at a glance, here’s a breakdown of the different approaches you can take to split your audio files.
| Method | Best For | Pros | Cons |
|---|---|---|---|
| Online Tools | Quick trims, one-off tasks, and convenience. | No installation needed, user-friendly, works on any device with a browser. | Requires internet, potential file size limits, privacy concerns for sensitive audio. |
| Desktop Apps | Detailed editing, large files, and professional projects. | Full feature set, works offline, no file size restrictions, better performance. | Steeper learning curve, requires installation and system resources. |
| Command-Line | Batch processing, automation, and technical users. | Extremely powerful, scriptable for repetitive tasks, lightweight. | No visual interface, requires knowledge of specific commands. |
Ultimately, the best method is the one that fits your immediate needs without overcomplicating things.
Weighing the Pros and Cons of Online Splitters
While the convenience is undeniable, online tools aren't without their drawbacks. First, you're completely reliant on your internet connection—both for uploading the original file and downloading your new, shorter clip. Many free services also have limits on the size of the files you can upload.
Privacy is another thing to keep in mind. I’d think twice before uploading any sensitive or confidential audio to a public web server.
The real magic of online audio splitters is their accessibility. They lower the barrier to entry, letting anyone with a web browser perform basic audio edits, no matter what kind of computer they're using.
However, if your goal is more complex, like separating a vocal track from its instrumental backing, a simple online splitter won't cut it. For that, you'll need a specialized tool. If that's what you're after, we have a whole guide on how to remove the vocals from a song that walks you through the process.
The need for these simple tools is growing. With music streaming now accounting for 84% of the industry's revenue, more people than ever are interacting with digital audio files, leading to a greater demand for easy-to-use editing solutions.
Taking Full Control with Command-Line Splitting
https://www.youtube.com/embed/5x59vTlGBwM
For those who are comfortable living outside of a graphical interface—like developers, audio engineers, or just power users—the command line offers a level of speed and precision that GUI apps can't match. It’s the perfect environment for automating repetitive audio tasks. When it comes to this kind of work, one tool reigns supreme: FFmpeg. It’s a free, open-source powerhouse that can handle pretty much any audio or video manipulation you can think of.
At first glance, a command line might seem a little intimidating. But the reality is, the basic commands for splitting an audio file are surprisingly simple. You can make razor-sharp cuts based on exact timestamps with just a single line of text. This approach really comes into its own when you're facing a mountain of files that all need the same treatment—a job that would be an absolute grind in a traditional click-and-drag editor.
Getting Started with Basic FFmpeg Commands
Let’s jump right into a real-world scenario. Say you have a long podcast episode saved as podcast_full.mp3. You want to pull out a specific 30-second highlight that starts exactly 15 minutes into the recording.
Here's the one-line command that gets it done:
ffmpeg -i podcast_full.mp3 -ss 00:15:00 -t 00:00:30 -c copy podcast_clip.mp3
It looks a bit cryptic, but it's simple once you know the pieces:
-i podcast_full.mp3: This is your input file—the one you're cutting from.-ss 00:15:00: The-ssflag sets the start time for the new clip inhours:minutes:secondsformat.-t 00:00:30: The-tflag specifies the total duration of the segment you want to create.-c copy: This is the secret sauce. It tells FFmpeg to copy the audio data directly without re-encoding it. The result? Zero quality loss and a near-instantaneous cut.podcast_clip.mp3: And finally, this is the name of your new output file.
This fundamental structure is your key to unlocking most audio splitting tasks. By simply tweaking the filenames and timestamps, you can use this same command for anything from trimming podcast intros to isolating a specific quote from an interview. If your projects also involve changing formats, our guide on how to convert a WAV file to an MP3 is a great resource that dives deeper into those details.
Unleashing the Power of Automation
The true advantage of the command line is automation. You can take these simple commands and embed them into scripts (like a batch file on Windows or a shell script on macOS and Linux) that can process entire folders full of audio files in one go.
The ability to batch-process files is a massive time-saver. Think about splitting a two-hour concert recording into individual songs; a script can do this in seconds, a task that might take an hour manually.
This kind of efficiency isn't just a convenience; it's essential in many professional workflows. As our world consumes more digital media, the technology behind it has to keep pace. The audio codec market, for example, is expected to expand to $9.96 billion as our demand for high-quality, efficiently compressed audio grows. You can learn more about these audio industry trends to see just how tools like FFmpeg play a crucial role in the bigger picture.
Getting Clean and Accurate Audio Splits
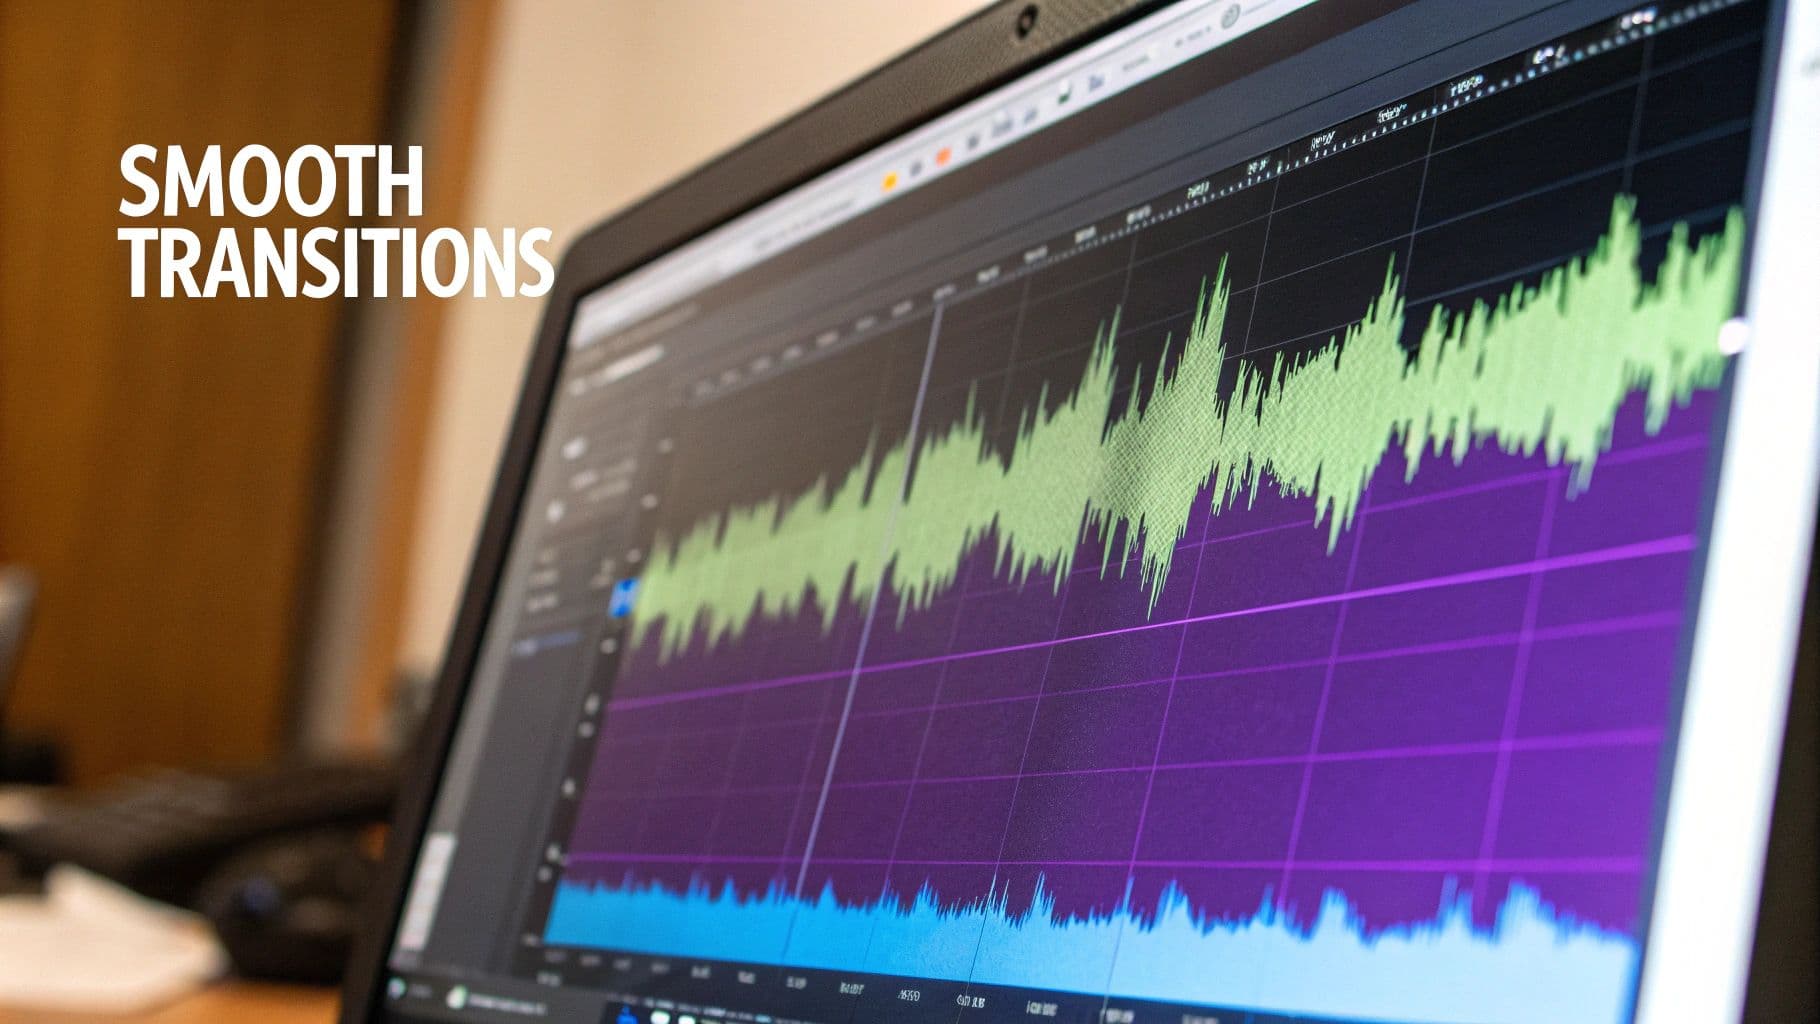
Splitting an audio file isn't just about chopping it into pieces. The real goal is to make the split completely invisible to the listener. A jarring click or a sudden silence can instantly make a track sound amateurish. It all comes down to precision.
My number one tip? Always zoom in on the waveform before you make a cut. I mean, really zoom in. This lets you spot the natural moments of silence in the audio—those little valleys between words, notes, or drum hits. Placing your split right in the middle of one of those quiet zones is the single best way to avoid those annoying pops and clicks that happen when you slice a waveform mid-cycle.
Fine-Tuning Your Edges
Even if you find the perfect silent spot, a transition can sometimes feel a bit too abrupt. This is where a little bit of finessing with fades makes a huge difference.
Try applying a super short fade-out, maybe just 10-20 milliseconds, right before the split point. Then, do the same with a fade-in right at the start of the next clip. This tiny adjustment smooths the audio's entrance and exit, making the cut practically undetectable. It’s a classic studio trick that works every time.
It's also crucial to start with the cleanest possible source file. If your original recording has background hiss, hum, or other noise, that's going to be baked into every single segment you create. For tips on cleaning up your tracks before you start chopping, check out our guide on how to remove background noise from a mic.
A final thought on quality: the format you export to matters. If you start with a high-quality, uncompressed WAV file but export your split clips as MP3s, you're introducing compression and losing data. For the best possible fidelity, stick with a lossless format like WAV or FLAC for your final exports.
Here are some of the questions I hear all the time from people just getting started with splitting audio. Let's clear these up so you can get back to your project.
What's the Best Free Tool for Splitting Audio?
Hands down, my go-to recommendation for most people is Audacity. It’s the Swiss Army knife of free audio editing and works on pretty much any computer. You can do simple cuts or dive into really complex stuff, and it won’t cost you a penny.
That said, if you just need to make a single, quick split and don't want the hassle of downloading and installing software, a browser-based audio cutter is your best bet. It's all about speed and convenience for those one-off jobs.
Can I Split an Audio File Without Ruining the Quality?
Absolutely, but you have to be mindful of your file formats. The golden rule is to stick with lossless formats if quality is your top priority.
If you start with a high-quality WAV or FLAC file and export your split clips back into that same format, you'll have a perfect, bit-for-bit copy. There is zero quality loss.
Now, if you’re working with a lossy file like an MP3, resaving it as an MP3 will technically involve another round of compression. This does cause a tiny bit of quality degradation, but honestly, for most ears, it’s completely unnoticeable.
How Do I Chop a Big Audio File into Equal Chunks?
Manually splitting a long recording into equal parts is a nightmare. Thankfully, there are tools built for this exact task.
In Audacity, look for the 'Regular Interval Labels' feature. You'll find it under the "Tools" menu, and it lets you automatically drop markers every few seconds or minutes. It’s a huge time-saver.
For those who are more technically inclined or need to do this for a whole batch of files, an FFmpeg command script is the most powerful way. You can write a simple command to slice a file into perfect, equal segments based on a duration you set. It’s the ultimate way to automate the process.
Ready to turn your audio clips into stunning visuals? At MyKaraoke Video, we make it easy to create high-quality karaoke or lyric videos in minutes. Give it a try and bring your sound to life!