When you convert a WAV file to MP3, you're making a trade-off. You're swapping the massive, uncompressed audio data of a WAV for the much smaller, more convenient size of an MP3. This is a fantastic move for freeing up hard drive space, sharing your favorite tracks with friends, or just making sure your music plays on any device you own. It's the go-to choice for everyday listening, even if audio professionals stick with WAVs for their studio work.
When and Why You Should Convert WAV to MP3
Before we get into the nuts and bolts of how to convert, let's talk about the why. WAV and MP3 files were created for very different jobs, and understanding that difference is key to picking the right format.
Think of a WAV file as the original master tape from a recording studio. It’s pure, lossless, and captures every nuance of the sound exactly as it was recorded. This is why it’s the king for professional audio production, archiving master copies, and any situation where sound quality cannot be compromised.
But that pristine quality comes with a hefty price tag: file size. A standard WAV file eats up about 10 MB for every minute of audio. That adds up fast. An MP3, on the other hand, uses smart compression to dramatically shrink that file, often by as much as 90%, with a minimal drop in sound quality for the average listener. This efficiency is exactly why MP3 took over the world of digital music.
WAV vs MP3 A Quick Comparison
To put it all in perspective, here’s a quick breakdown of what sets these two formats apart. This table should help you decide at a glance which format is right for your specific needs.
| Feature | WAV (Waveform Audio File Format) | MP3 (MPEG-1 Audio Layer III) |
|---|---|---|
| Compression | Uncompressed (Lossless) | Compressed (Lossy) |
| File Size | Very large (approx. 10 MB per minute) | Small (approx. 1 MB per minute) |
| Audio Quality | Studio/CD-quality, identical to the source | Very good, but some data is lost |
| Best For | Professional audio production, archiving, mastering | General listening, streaming, storage, sharing |
| Compatibility | Widely supported, but less so on older devices | Universal support on virtually all devices |
Ultimately, choosing between WAV and MP3 depends entirely on what you're doing. For creating music, you need the absolute best quality, so WAV is the clear winner. For just about everything else, MP3 offers the perfect balance of quality and convenience.
The Practical Benefits of MP3 Conversion
So, when does it make sense to make the switch? The decision almost always boils down to practicality. If you're a musician putting the final touches on a new song, you’ll be working with WAV files. But the moment you want to share that song with the world, converting it to MP3 is the logical next step.
Here are a few real-world situations where converting is the smart play:
- Saving Precious Storage Space: A huge library of WAV files will fill up a hard drive or smartphone in no time. By converting them to MP3, you can store roughly ten times more music in the exact same space.
- Easy Sharing and Streaming: Ever tried to email a 50 MB WAV file? It’s a nightmare. The MP3 version would be a much more manageable 5 MB, making it a breeze to attach to an email, upload to a cloud service, or stream online without frustrating buffering.
- Universal Device Compatibility: While most modern players handle WAV files just fine, many older devices—like car stereos, portable music players, and even some smart gadgets—are built to work best with the universally accepted MP3 format.
The bottom line is simple: use WAV for creating and archiving, but use MP3 for listening and sharing. This approach gives you the best of both worlds—uncompromised quality during production and ultimate convenience for everyday enjoyment.
Converting Audio Files with Desktop Software
When you need serious reliability and control over your audio, nothing beats a dedicated desktop application to convert a wav file to mp3. Unlike online tools, these apps work offline, keeping your files completely private on your own computer. They're the workhorses for anyone who handles audio regularly, often packing in advanced features for tweaking your sound.
Two of the most trusted and completely free options out there are Audacity and VLC Media Player. One is a full-blown audio editor, and the other is a media player, but both have powerful conversion tools built right in. Let's dig into how each one works.
Precision Conversion with Audacity
If you're looking for surgical control over the conversion, Audacity is your tool. It's a professional-grade, open-source audio editor that lets you do more than just convert. Need to trim a file, adjust the volume, or apply effects before you export? This is where you do it.
Here’s a look at Audacity's clean, functional interface, ready for you to get started.
Once you import your WAV file, this is where you'll see the audio waveform, giving you a visual map of your sound.
Getting your file in is simple. Just head to File > Import > Audio and grab the WAV file from your computer. Once the waveform pops up in the main window, you're ready to export.
Here’s the process:
- Go to File > Export > Export as MP3.
- A dialog box will open up, letting you name your new file and choose where you want to save it.
- Before you hit save, look for the "Format Options." This is the important part. You can pick from presets like "Standard" or "Extreme," or dial in a specific bitrate yourself. For most music, 256 kbps or 320 kbps is the sweet spot, giving you excellent quality without a massive file size.
- Click "Save," and Audacity will do the rest.
This kind of control is a huge deal in professional work. In fact, an estimated 65% of audio producers use some form of sample rate conversion to maintain quality when switching between formats. The market for these conversion tools even hit USD 1.2 billion in 2024, which shows just how vital this process is. You can find more data on the growing audio converter market on Archive Market Research.
The Hidden Converter in VLC Media Player
Everyone knows VLC as the media player that can handle literally any file format you throw at it. But what many people don't realize is that it has a surprisingly good, if somewhat hidden, conversion tool. It’s perfect for quick, no-fuss conversions, especially if you already have it installed.
VLC's strength lies in its simplicity and speed. It's not an editor like Audacity, but for a direct WAV to MP3 conversion, it's one of the fastest tools available.
Here’s how to find and use it:
- Open up VLC and navigate to Media > Convert / Save.
- In the window that appears, click the "Add" button and select the WAV file (or files) you want to convert. That's right—VLC can do batch conversions.
- Click the "Convert / Save" button at the bottom.
- Now, in the next window, find the "Profile" dropdown menu and select "Audio - MP3".
- Finally, just click "Browse" to pick a destination and name for your new MP3, then hit "Start".
VLC will get to work and process the file without any more input from you. This is the perfect method when you've got a whole folder of recordings you need to get into a more portable format quickly.
And if your project needs more than just a format change, you can learn more advanced techniques in our guide on how to split audio files.
For a Quick and Dirty Conversion, Go Online
Look, sometimes you just need to convert a single file. You don't want to install software, you don't need a bunch of fancy features—you just need that WAV turned into an MP3, like, right now. This is the perfect job for an online converter.
These browser-based tools are the definition of convenient. They’re built for one-off tasks and are fantastic when you need to get a file ready for your phone or share a quick audio clip without any fuss. The whole process, from start to finish, usually takes less than a minute.
The Standard Online Converter Playbook
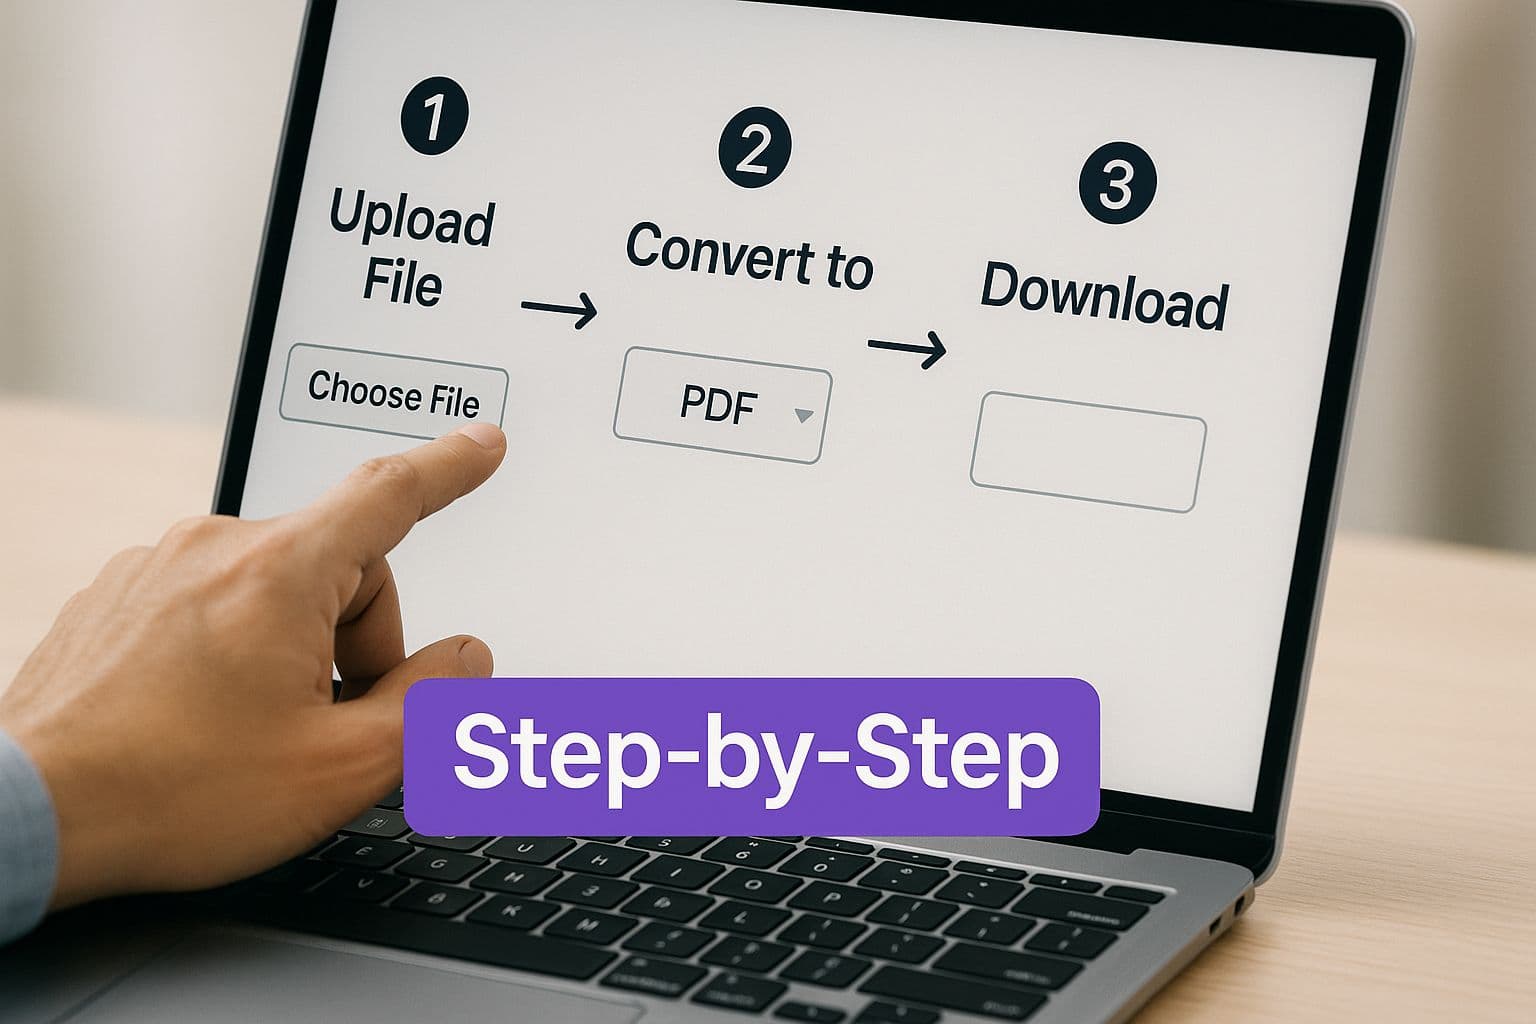
While the branding and colors might change from site to site, the core workflow is almost always identical. It’s a simple, no-frills path from A to B.
You’ll start by finding the big, obvious “Upload” or “Choose File” button and pointing it to your WAV. Many sites even let you drag the file right into your browser window, which is a nice touch.
Next, you’ll tell it what you want. Find the dropdown menu for the output format and select MP3. Good converters will also give you some control over the quality. You might have to click an “Advanced” or “Settings” button, but in there you should find options for the bitrate—128, 192, or 320 kbps are the usual suspects. For most people, 192 kbps is a solid middle ground.
Once your settings are dialed in, hit the "Convert" button. The site's servers do the heavy lifting, and a moment later, a download link will pop up. Click it, and your new MP3 is ready to go.
A Word of Caution on Privacy
Here’s the trade-off for all that convenience: you’re handing your file over to a stranger's server on the internet. For a song you ripped from a CD or a non-sensitive voice note, the risk is practically zero. But if that audio contains anything private or confidential, stop right there. An online tool is absolutely the wrong choice.
Think of it this way: never upload anything to a free online converter that you wouldn't feel comfortable posting on a public forum. Once it leaves your computer, you've lost control.
Before you hit that upload button, do a quick gut check on the service you're using. A legit tool will be upfront about how it handles your files. Here are a few things I always look for:
- A Clear Privacy Policy: Does the site actually have one? Can you find it easily? It should spell out what happens to your data.
- File Deletion Timelines: The best services will explicitly state that they automatically wipe your files from their servers after a few hours. This is a huge green flag.
- A Secure Connection: Check for the little padlock icon in your browser's address bar. This means the site is using HTTPS, encrypting the file while it's in transit between you and their server.
Keeping these simple checks in mind lets you take advantage of the speed of online converters without taking unnecessary risks. They are the right tool for the right job—just make sure the job isn't a secret.
A Power User's Guide to Command-Line Conversion
For anyone who spends a lot of time in a terminal—developers, audio engineers, or just tech-savvy creators—graphical interfaces can feel cumbersome. When you need speed, control, and the ability to automate tasks, the command line is the best way to convert a wav file to mp3. It cuts out the middleman and gives you direct access to the conversion engine.
The undisputed champion in this arena is FFmpeg, a free and open-source powerhouse that handles just about any multimedia task you can throw at it. It's the engine humming beneath the hood of countless apps you probably already use, from VLC to YouTube. Learning to use it directly gives you a level of precision that GUIs just can't offer.
Once you get the hang of it, the process is incredibly direct and repeatable, as this image shows.
This workflow becomes second nature, turning complex conversion jobs into simple, one-line commands.
Getting FFmpeg Set Up
First things first, you need to install FFmpeg. The process is a little different depending on your operating system, but it's pretty straightforward across the board.
- Windows: If you use the Chocolatey package manager, it's a breeze. Just open PowerShell and run
choco install ffmpeg. - macOS: With Homebrew installed, it’s a single command in your terminal:
brew install ffmpeg. - Linux: It's usually available in the default repositories. On a Debian/Ubuntu system, you’d just use
sudo apt-get install ffmpeg.
After installation, pop open a new terminal window and type ffmpeg -version. If you see a bunch of version and configuration details, you're good to go.
Your First WAV to MP3 Conversion
With FFmpeg installed, converting a file is surprisingly simple. Open your terminal and navigate to the folder where your audio file is located using the cd command.
Let's say you have a file called final_mix.wav. The most basic command is:
ffmpeg -i final_mix.wav final_mix.mp3
That’s it. FFmpeg handles the rest, using decent default settings. But the real magic is in the details. You can easily control the audio bitrate with the -b:a flag. For a high-quality 320 kbps MP3, you’d run this instead:
ffmpeg -i final_mix.wav -b:a 320k final_mix_hq.mp3
The beauty of the command line is its directness. No menus, no pop-ups, no hunting for settings. Your entire instruction—input file, quality, and output file—is right there in one clear line. It's efficiency in its purest form.
Essential FFmpeg Commands for Audio Conversion
While the basic command is great, you'll quickly want more control. This table breaks down some of the most useful commands I use regularly for audio work.
| Task | FFmpeg Command Example | Description |
|---|---|---|
| Basic Conversion | ffmpeg -i input.wav output.mp3 | The simplest command. Converts a WAV file to MP3 using FFmpeg's default settings. |
| Set Constant Bitrate (CBR) | ffmpeg -i input.wav -b:a 192k output.mp3 | Creates an MP3 with a constant bitrate of 192 kbps. Good for compatibility with older devices. |
| Set Variable Bitrate (VBR) | ffmpeg -i input.wav -q:a 2 output.mp3 | Uses a variable bitrate for a better balance of quality and file size. -q:a values range from 0 (best) to 9 (worst). |
| Add Metadata | ffmpeg -i in.wav -metadata title="My Song" out.mp3 | Embeds track information directly into the MP3 file, like title, artist, or album. |
| Extract Audio from Video | ffmpeg -i video.mp4 -vn -b:a 320k audio.mp3 | Strips the audio from a video file and saves it as a high-quality MP3. The -vn flag means "no video." |
| Normalize Audio Volume | ffmpeg -i in.wav -filter:a loudnorm out.mp3 | Applies loudness normalization to prevent clipping and ensure consistent volume levels. |
Having these commands handy can save you a ton of time searching online. I recommend keeping a little cheat sheet for your most common conversion needs.
From One File to Hundreds: Batch Processing
This is where the command line leaves graphical apps in the dust. Imagine you have an entire folder of recordings to convert. Doing them one by one would be a nightmare. With a simple script, you can do them all at once.
On macOS or Linux, a quick for loop in your terminal does the trick.
for f in *.wav; do ffmpeg -i "$f" -b:a 256k "${f%.wav}.mp3"; done
This one-liner finds every file ending in .wav in the current folder, converts each one to a 256 kbps MP3, and neatly names the new file by just swapping the extension. It’s a "set it and forget it" approach that can save you hours, making it the go-to method for anyone managing large audio libraries.
Choosing the Right MP3 Bitrate for Your Needs
So, you've converted your WAV to an MP3. Job done, right? Not quite. The real magic happens when you pick the right bitrate.
Think of bitrate as the amount of data dedicated to each second of your audio. It’s measured in kilobits per second (kbps), and a higher number means more data, which generally translates to better sound. But it also means a bigger file.
It's all a balancing act between audio fidelity and storage space. Nailing this choice is what separates a clunky, oversized file from one that’s perfectly suited for its purpose, whether you're archiving a masterpiece or just need a track for your phone.
Bitrate Recommendations for Common Scenarios
You wouldn't use a sledgehammer to crack a nut, and you don't need the highest possible quality for every single audio file. Dropping a professionally mixed track down to 128 kbps is a crime, but using 320 kbps for a quick voice note is just wasting space.
Here’s a breakdown I use to get it right every time.
- 128 kbps: Good for Spoken Word This is your baseline for decent, clear audio. It's fantastic for podcasts, audiobooks, or any voice recording where you just need to understand what's being said. The files are incredibly small, which is perfect for streaming or downloading on the go.
- 192 kbps: The Everyday Music Standard For a long time, this was the sweet spot for digital music. It's a solid jump in quality from 128 kbps and sounds great for casual listening on standard headphones or speakers. If you're not sure what to pick, 192 kbps is a safe and reliable choice.
- 256 kbps: Excellent Quality for Most Listeners Here’s where you hit the point of diminishing returns. This bitrate offers a fantastic balance of high-quality sound and reasonable file size. Honestly, most people can't hear the difference between 256 kbps and 320 kbps, making it a very efficient option for your music library.
- 320 kbps: The Audiophile’s Choice This is as good as it gets for the MP3 format. It packs in the most audio detail, making it the go-to for your absolute favorite albums or for archiving critical tracks. If you have the storage and demand the best possible sound from your MP3s, this is the one you want.
Choosing the right bitrate is about matching the data to the demand. A higher bitrate packs more sonic information into the file, which is crucial for complex music but unnecessary for simple speech.
At the end of the day, trust your own ears. A simple trick is to take one WAV file, convert it at a few different bitrates, and listen to them back-to-back. You might be surprised by what you can (or can't) hear. This hands-on test is the best way to truly master how to convert wav file to mp3.
If you're looking to go even further, our guide on how to enhance audio quality has more advanced tips for perfecting your sound.
Got Questions About Converting WAV to MP3?
Even after you've picked a tool, a few common questions always seem to pop up when converting WAV to MP3. Getting a handle on these details can make the difference between a smooth process and a frustrating one. Let's clear up some of the most frequent uncertainties.
The biggest worry is usually about audio quality. Will converting your pristine WAV file permanently ruin the sound? Well, technically, yes—some data is lost. WAV is a lossless format, which means it’s a perfect, uncompressed replica of the original audio. MP3, on the other hand, is a lossy format. It cleverly gets rid of audio information that human ears are less likely to notice, which is how it achieves that much smaller file size.
That being said, a high-quality MP3—especially one encoded at 256 kbps or even 320 kbps—is practically indistinguishable from the original WAV for most people listening on standard headphones or speakers. The "damage" is minimal and often a very worthwhile trade-off for the space you'll save.
Can I Get the Quality Back? What About Security?
This naturally leads to the next question: can you just convert an MP3 back to a WAV file to restore the original quality? Unfortunately, that's not how it works. You can absolutely perform the conversion, but the audio data that was stripped out to create the MP3 is gone forever. Your new WAV file will be huge, but it will only sound as good as the MP3 it came from. Think of it like trying to unscramble an egg—the original ingredients are changed for good.
When you're working with online converters, it's smart to think about file safety. A trustworthy online tool will use a secure connection (always look for the "HTTPS" in the web address) and typically has a clear privacy policy stating that your files are deleted from their servers after a set period. For most personal projects, this is perfectly secure.
If you're handling anything sensitive—like unreleased music, confidential business recordings, or private client audio—your best bet is to stick with offline desktop software. This keeps your files on your computer, period. No privacy risks involved.
What About Converting a Ton of Files at Once?
So what happens when you have a whole album's worth of WAV files to convert? Doing them one by one is a recipe for a headache. For bulk conversions, nothing beats the power of desktop software or command-line tools.
- Desktop Apps: Many programs you might already have, like VLC Media Player, include batch processing. You can just drag and drop an entire folder of WAVs, pick your MP3 settings once, and let it churn through the whole list for you.
- Command-Line Tools: If you need maximum efficiency and automation, the pro choice is a tool like FFmpeg. A single, simple command can process hundreds or even thousands of files, making it the undisputed champion for large-scale jobs.
Occasionally, if you're working with video, you might find that the newly converted audio doesn't quite line up anymore. If you run into sync issues, we have a helpful walkthrough on how to resync audio and video.
Ready to turn your favorite songs into professional-looking karaoke videos? With MyKaraoke Video, you can create stunning lyric and karaoke videos directly in your browser. Our AI-powered tools handle the tedious lyric syncing, so you can focus on creativity. Start creating your first karaoke video today!