Getting rid of background noise in your recordings is part science, part art. It’s a mix of physical tweaks to your setup and smart adjustments in your software. The best way to get clean audio is to be proactive. That means positioning your mic correctly (nice and close to your mouth), finding a quiet spot to record, and maybe even using a dynamic microphone if your room isn't acoustically perfect.
Taking these steps before you hit record will save you a world of headaches later.
Why Your Mic Is Picking Up Background Noise
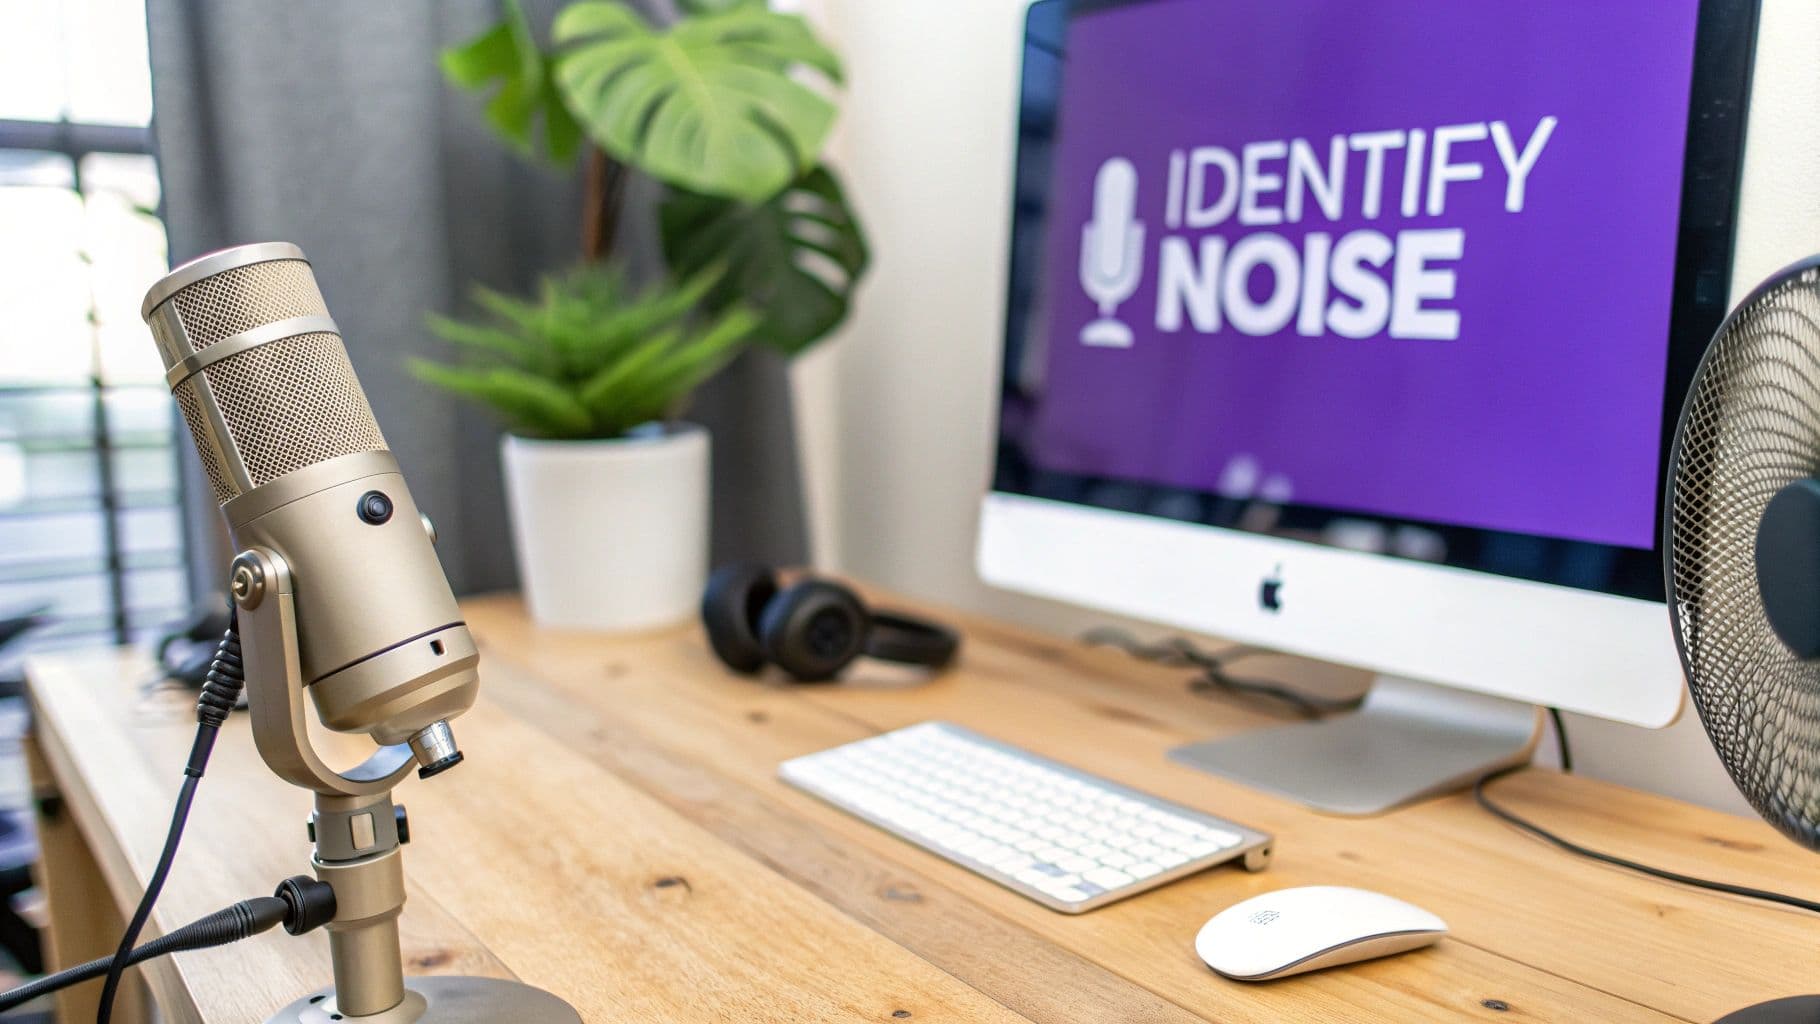
Before you can fix a problem, you have to know what's causing it. When your microphone seems to capture every single keyboard clack, the hum of your PC fan, or a conversation happening down the hall, it doesn't automatically mean you have a bad mic. Usually, it's just a mismatch between your gear, your space, and your settings.
Figuring out why that unwanted sound is creeping into your audio is the most important thing you can do. It's always better to stop the noise at the source than to try and scrub it out with software after the fact. A clean recording from the get-go will always sound more natural than something that's been heavily processed.
The Three Big Reasons for Bad Audio
I like to think of audio quality as a three-legged stool. If one leg is off, the whole thing gets wobbly. When it comes to background noise, the three main troublemakers are almost always your mic, your room, or your technique.
- Your Microphone Type: Mics aren't one-size-fits-all. Condenser mics, like the ever-popular Blue Yeti, are incredibly sensitive. They're built to capture every little detail, which is great in a treated studio but not so great in a noisy bedroom. On the flip side, dynamic mics are less sensitive and do a fantastic job of rejecting sound that isn't right in front of them, making them a godsend for less-than-ideal recording spaces.
- Your Recording Environment: Sound loves to bounce. Hard, flat surfaces like bare walls, wooden desks, and tile floors are like mirrors for sound waves, creating echo and reverb. Your mic hears all of it, making your voice sound hollow and distant. Then you have the constant intruders: traffic outside, the air conditioner kicking on, or the whir of your computer's fan.
- Your Mic Placement and Settings: How you set up your mic is just as crucial as which one you buy. If it's too far from your mouth, you'll have to crank up the gain (its sensitivity level). When you do that, you're not just making your voice louder—you're turning up the volume on everything else in the room, too.
A Quick Trip Back in Time
This whole struggle—isolating a voice from the noise around it—is as old as audio recording itself. From the very beginning, engineers were in a constant battle against interference. A huge leap forward came when E.C. Wente invented the capacitor microphone back in 1917, which set the stage for much clearer audio. Not long after, in the 1920s, dynamic mics came along, offering a tougher design that was naturally better at handling noisy environments. You can learn more about the early days of microphone technology and see how these inventions shaped the tools we use today.
Identifying the source of the noise is half the battle. Before you touch any software, simply listen. Is it a low hum, a sharp click, or a hollow echo? Each type of noise points to a different problem with a unique solution.
By focusing on these foundational issues first, you can often eliminate up to 80% of background noise before you even open an editing program. It’s a proactive approach that not only saves you hours of post-production work but also delivers a far more professional and authentic sound. We'll dig into the specific strategies for each of these areas next.
Optimizing Your Space for Noise-Free Recordings
Before you even touch a single software setting, your best weapon against background noise is the room you record in. Seriously. Getting your physical space right from the start is the secret to capturing audio that sounds clean and professional, saving you a massive headache in post-production.
The main goal is to make your room as acoustically "dead" as you can. Think about what happens when you clap in an empty room—that echo is your worst enemy. Hard, flat surfaces like bare walls, wood floors, and big windows are basically trampolines for sound waves, bouncing them all over the place. Your microphone picks up all that reverb, making you sound distant and muddled.
Taming Your Recording Environment
You don't need to go out and build a professional sound booth. I've gotten great results just by making a few simple tweaks with stuff I already had lying around the house. The trick is to introduce soft, uneven surfaces that soak up sound instead of reflecting it.
Here are a few practical things you can do right now:
- Soften the Surfaces: If you're on a hardwood or tile floor, throw down a thick rug. Got a window? Heavy curtains are fantastic for dampening sound from both inside and out. Even tossing a few extra pillows on the couch helps break up those pesky sound waves.
- Use Your Bookshelves: A bookshelf packed with books of different shapes and sizes is a surprisingly effective sound diffuser. The irregular surface scatters the sound waves, stopping them from bouncing straight back into your mic.
- The Blanket Fort Trick: This is an old-school, tried-and-true method. If you need a quick fix, just hang a couple of thick blankets on the walls behind you and to your sides. It might not win any interior design awards, but the difference it makes to your audio is immediate.
This simple chart breaks down the process of tackling noise from the source.
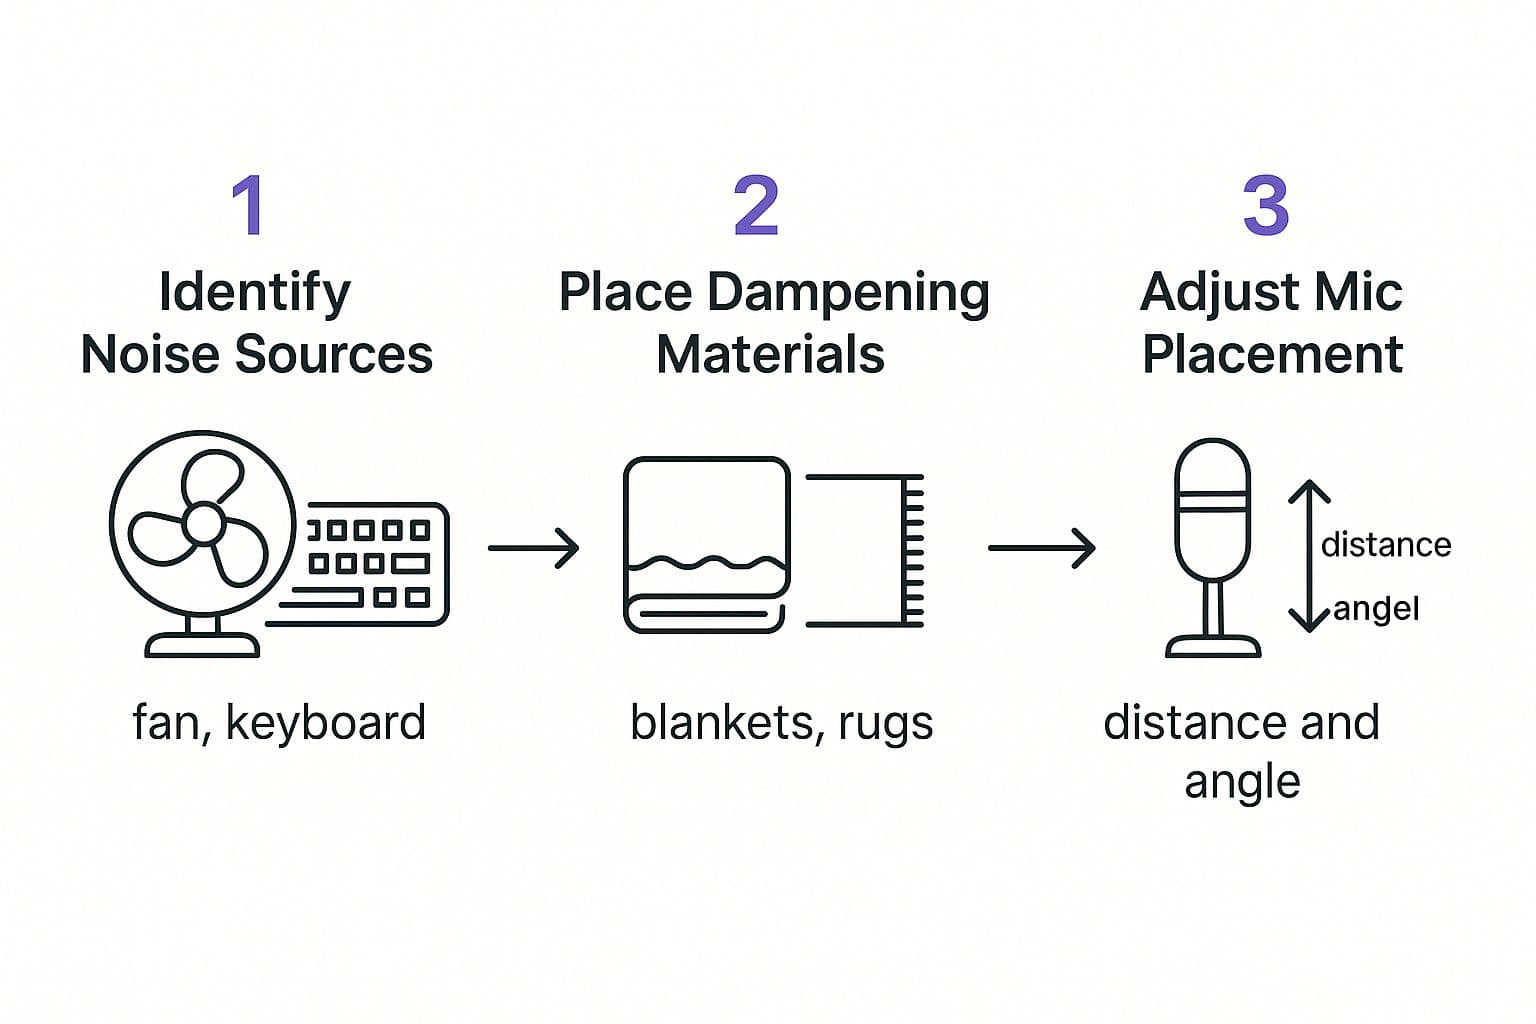
As you can see, a little bit of planning—identifying noise, treating the room, and positioning your gear—goes a long, long way.
The Art of Microphone Placement
Where you put your mic is just as crucial as the room itself. A good rule of thumb is the closer the mic is to your mouth, the less you'll have to crank up the gain (its sensitivity). Lowering the gain makes the mic far less likely to pick up ambient noise like your computer fan, the air conditioner, or traffic outside.
A great starting point is to keep the mic about a palm's width away from your mouth, which is usually 4 to 6 inches. This captures a strong, present vocal sound without picking up too many harsh "p" and "b" sounds (plosives).
Most popular USB microphones have a cardioid pickup pattern, meaning they’re designed to hear what’s directly in front of them and ignore what’s behind them. Use this to your advantage! Point the "dead" side of the mic directly at any noise source you can't get rid of, like your keyboard or PC tower. It’s a simple change that can make a huge difference. For a deeper dive into vocal recording techniques, check out our guide on how to voice record.
Finally, take a moment to silence the things you can control. Kill the air conditioner, turn off that ceiling fan, and shut down any other noisy electronics before you hit record. These small steps, combined with a treated space and smart mic placement, will solve about 90% of your background noise issues before they even begin.
Using Software for Real-Time Noise Cancellation
While sorting out your physical space is a great first step, you can’t always control the world around you. This is where real-time noise cancellation software comes in, and frankly, it can feel like magic. These tools use AI to intelligently separate your voice from all that other junk as you speak, giving you a clean audio feed for meetings, streams, or recordings.
Think of it as a smart filter sitting between your microphone and your audience. It analyzes all incoming sound, learns what your voice sounds like, and then aggressively cuts out everything else—the clicky keyboard, the barking dog, the whirring computer fans. The result is often so clean it sounds like you’re in a professional studio, even if you’re just in your chaotic living room.
Top Tools for Real-Time Audio Cleanup
A few key players have emerged as the go-to choices for cleaning up live audio. The way they all work is pretty clever: they create a "virtual microphone" on your computer. You then select this virtual mic as your input in apps like Discord, Zoom, or OBS, and it handles all the cleanup before anyone else hears it.
Here are the ones I see used most often:
- NVIDIA Broadcast: If you’re running a compatible NVIDIA RTX graphics card, this is a no-brainer. It's completely free and uses the AI cores on your GPU to do the heavy lifting, so it barely touches your system's performance. It also bundles in other cool features like virtual backgrounds.
- Krisp: This is a fantastic option that works on both Windows and Mac, regardless of your hardware. Krisp is famous for being incredibly simple and effective. It plugs into just about any app you can think of and offers a solid free tier for casual use.
- Built-in Solutions: Don't overlook the tools you already have. Platforms like Discord (which uses Krisp technology) and Zoom have their own built-in noise suppression settings. They’re surprisingly good for general use, though dedicated apps will always give you more power and control.
The tech behind this stuff has come a long way. It started with basic digital signal processing, but the real breakthroughs came from AI-powered speech enhancement. Companies have been chasing this for years; for example, you can learn more about the long history of audio research at Microsoft to see how we got here.
Choosing the right tool often comes down to your specific needs and setup. To help you decide, here's a quick comparison of the most popular options available right now.
Real-Time Noise Cancellation Software Comparison
| Software | Key Feature | Best For | Price |
|---|---|---|---|
| NVIDIA Broadcast | GPU-accelerated AI processing | Gamers & streamers with RTX cards | Free |
| Krisp | Platform-agnostic, low CPU usage | Professionals in varied environments | Freemium |
| Discord Noise Suppression | Integrated directly into the app | Casual gaming and community chats | Free with Discord |
| Zoom Noise Suppression | Adjustable levels within meetings | Business meetings and webinars | Free with Zoom |
Ultimately, the best choice is the one that integrates smoothly into your workflow and delivers the cleanest audio for your specific background noise.
Configuring Your Software for Peak Performance
Just installing one of these tools isn't quite enough. You have to tell your other apps to actually use it. The key is to think of the noise cancellation app as your new primary microphone.
Once you’ve installed it, here's what you need to do:
- Select the Virtual Mic. Dive into the audio settings of whatever program you’re using (Zoom, OBS, etc.) and switch your microphone input. Instead of "Blue Yeti" or "Realtek HD Audio," you'll choose the new option, like "Microphone (NVIDIA Broadcast)" or "Krisp Microphone."
- Adjust the Strength. Most tools have a slider or setting to control how aggressive the noise removal is. Start in the middle. If you crank it up to 100%, you might sound a little robotic or have parts of your speech clipped. The goal is to remove the noise, not your voice.
- Test and Tweak. Always do a test recording. Talk for 30 seconds with your usual background noise going on. Listen back closely. Is your voice clear? Is the noise gone? Does your voice sound unnatural or "watery"? Adjust the strength until you find that perfect balance.
Nailing this setup is how you master removing background noise from your mic in real-time. It ensures you sound crisp and professional, no matter what’s happening around you.
Cleaning Up Pre-Recorded Audio With Editing Tools
Let’s be honest, sometimes you do everything right—perfect mic placement, quiet room—and you still end up with an annoying hiss, hum, or fan noise in your recording. It happens. But don't you dare throw that file away. This is where post-production editing comes to the rescue, turning a flawed take into something clean and professional.
With a Digital Audio Workstation (DAW), you can get surgical with your audio and remove those unwanted sounds. The best part? You don't need to spend a fortune. Powerful tools like Audacity are completely free and more than capable of handling this task.
The magic behind most noise removal is actually pretty straightforward. You essentially teach the software what the "bad" sound is, and then it intelligently removes that sound from the rest of your track.
Capturing a Noise Profile in Audacity
The most common technique is called noise reduction, and it all starts with giving the software a sample of the noise you want to get rid of. This sample is called a "noise profile."
To do this right, you need a few clean seconds of just the background noise. This is exactly why it's a pro-level habit to record 5-10 seconds of pure room tone before you even start speaking. This little snippet of "silence" becomes your secret weapon in the editing phase.
Here’s how you can put this into practice to get rid of that pesky background noise:
- Find and Select the Noise: First, open your audio file in Audacity. Look for that section of room tone you recorded and highlight a few seconds of it. This is your sample.
- Teach Audacity the Noise: Head up to the
Effectmenu and navigate toNoise Removal and Repair > Noise Reduction. A new window will pop up. Just click the "Get Noise Profile" button. Boom, Audacity now knows what to listen for. - Apply the Fix: Now, select the entire audio track you want to clean up. Go back into that same
Noise Reductioneffect. This time, you'll see sliders forNoise reduction (dB),Sensitivity, andFrequency Smoothing (bands). Play with these a bit and hit "OK" to apply the changes.
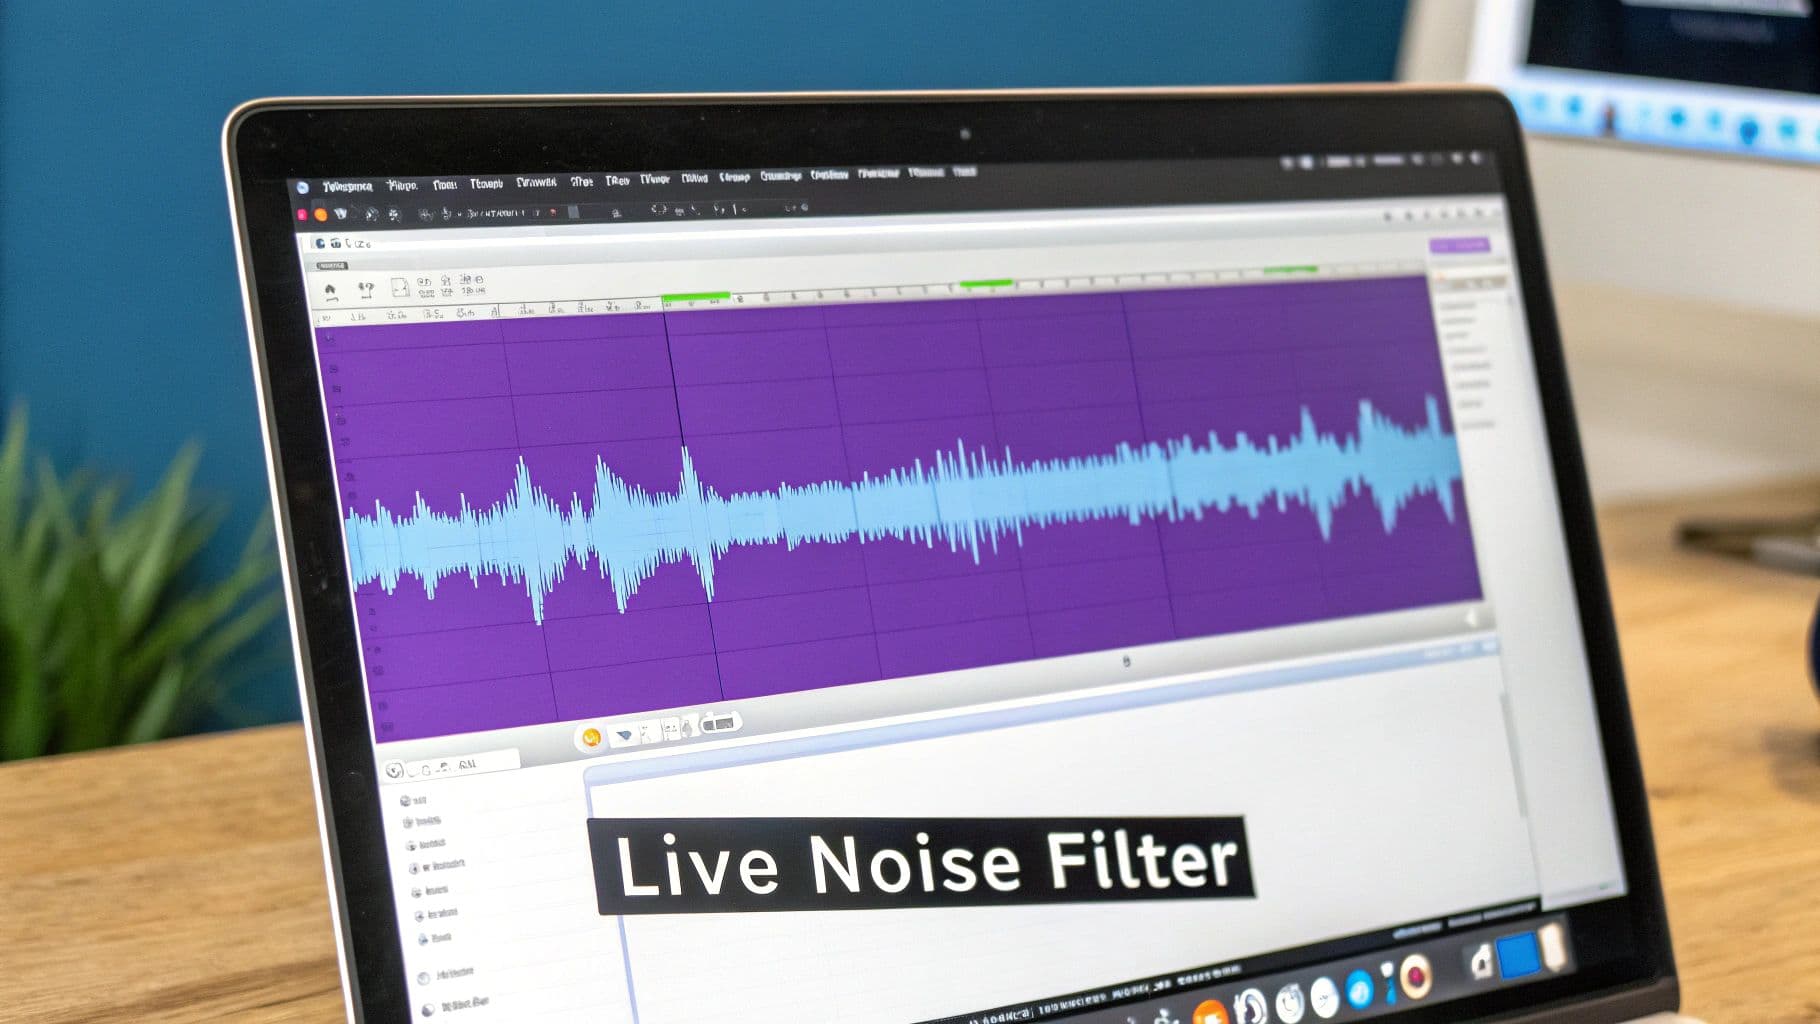
The waveform you see here is where you’ll visually spot the sections of noise perfect for creating your profile.
A word of caution from experience: start with subtle settings. If you get too aggressive with noise reduction, it can strip the life out of your voice, leaving it sounding thin, robotic, or what editors call "watery." It's far better to make a gentle pass and leave a hint of noise than to ruin your main vocal track.
Advanced Tools for Surgical Cleanup
Sometimes, a simple noise reduction pass isn't enough. For more complex issues or for fine-tuning, you’ll want to reach for a few other tools in your arsenal.
A Noise Gate is a brilliant little tool that acts like a smart gatekeeper for your audio. You set a volume level, and it automatically mutes any sound that drops below that threshold. This is incredibly useful for killing off the faint background noise that creeps in during the pauses between your words.
An Equalizer (EQ) is another must-have. An EQ lets you cut or boost specific audio frequencies. Got a low, rumbly hum from your refrigerator? That's probably sitting around 60 Hz. With an EQ, you can surgically cut just that frequency range without making your voice sound weird. Mastering EQ is a core audio skill, and you can dive deeper in our guide on how to enhance audio quality.
When it comes to polishing your recordings, exploring different software options can open up new possibilities. You can find great information on advanced editing tools that might offer even more control. Getting comfortable with these post-production techniques is a game-changer for anyone looking to deliver crystal-clear audio.
Choosing Hardware That Minimizes Background Noise
Software fixes are great, but the best way to deal with background noise is to stop it at the source. That starts with your gear. Your microphone and its accessories are your first line of defense, and getting them right can solve problems before they even hit your recording software.
This isn't about spending a ton of money. It's about making smart, strategic choices that fit your recording space and needs. A little bit of planning with your equipment almost always sounds more natural than trying to scrub the noise out later. Let's dig into the hardware that makes the biggest impact.
Dynamic Mics Versus Condenser Mics
The single most important hardware decision you can make is your choice of microphone. Many of the popular USB mics out there, like the Blue Yeti, are condenser microphones. These mics are incredibly sensitive by design; they’re built to capture every little detail and nuance in a sound-treated studio.
The problem? That same sensitivity becomes a huge liability in a typical home office or bedroom. It will pick up your keyboard clatter, the hum from your computer fan, and even traffic noise from outside.
This is where dynamic microphones shine. They are far less sensitive and are fantastic at rejecting any sound that isn't coming from directly in front of the mic. For a normal, untreated room, a dynamic mic is hands-down the better choice for isolating your voice and keeping the background noise out. If you're looking for specific models, checking out some guides on the top microphones for home recording vocals can point you in the right direction.
Essential Mic Accessories for Clean Audio
Beyond the mic itself, a couple of small, inexpensive accessories can make a world of difference. Think of these as non-negotiable for anyone who’s serious about clean audio.
- Pop Filter: This is the mesh or foam screen you place between your mouth and the microphone. It’s designed to soften the harsh burst of air from "p" and "b" sounds (known as plosives) that would otherwise create a distracting "pop" in your recording.
- Shock Mount: This is a cradle that suspends your mic using elastic bands, isolating it from the stand. Any vibration from you bumping your desk or even typing heavily can travel up the stand and create a low-end rumble. A shock mount stops that dead in its tracks.
The Role of a Quality Audio Interface
If you opt for a mic with an XLR connector (which most professional dynamic mics have), you'll need an audio interface. This is the box that takes the analog signal from your microphone and converts it into a digital one your computer can work with.
A good audio interface also includes a high-quality preamp, which cleanly boosts the signal from your microphone.
A strong, clean signal from a good preamp is a game-changer. It means you don't have to crank the gain way up, which is a classic way people accidentally introduce a ton of hiss and ambient noise into their recordings.
This focus on a clean signal isn't new. In fact, a major leap in audio tech was the invention of companding back in the 1970s, which dramatically cut down on interference in wireless microphone systems for live shows. If you need some help finding the right mic for your setup, our guide on the best microphone for recording is a great place to start.
Got Questions About Mic Noise? We've Got Answers
Diving into audio recording can feel like a maze of technical jargon. When you're just trying to get rid of annoying background noise, it's easy to get lost. Let's clear up some of the most common questions people ask.
"Why Does My Mic Sound So Muffled and Far Away?"
This is probably the number one issue I hear about, and the fix is usually surprisingly simple. More often than not, a muffled or distant sound is just a matter of proximity.
When you're too far from the mic, you have to crank up the gain (its sensitivity) to capture your voice. The problem is, this also amplifies every other sound in the room—the echo, the computer fan, everything.
A great rule of thumb is to keep the mic about a palm's width from your mouth, roughly 4 to 6 inches. Also, double-check that you're speaking into the front of the mic. Many popular microphones have a cardioid pickup pattern, which means they are designed to capture sound directly in front of them and reject sound from the sides and back.
"Does a Better Cable Really Make a Difference?"
Yes, it absolutely can. It's easy to overlook, but a cheap or damaged cable can act like an antenna, picking up all sorts of electronic interference and creating that low, nagging hum or hiss you can't seem to track down. This becomes even more of a problem with longer cable runs.
If you're using a mic with an XLR connection, spending a little extra on a quality, well-shielded cable is one of the best investments you can make for cleaner audio. You'd be surprised how often a faulty cable is the hidden villain behind mysterious noise problems.
Pro Tip: Audio troubleshooting is a process of elimination. Always start with the simplest physical fixes—like checking your mic position and swapping out cables—before you start messing with complex software. You’ll often find these basic checks solve the biggest headaches.
"What’s the Difference Between Hiss and Hum?"
They're both incredibly annoying, but hiss and hum are distinct sounds that point to different root causes.
- Hiss is that high-frequency, static sound, almost like a soft "sssss." This is typically the sound of your equipment's own noise floor, usually made obvious by turning the gain up too high on your microphone or audio interface.
- Hum is a low-frequency drone, that "mmmmm" sound. This is almost always an electrical issue. The culprit is often a ground loop, which can happen when multiple pieces of gear are plugged into different outlets, or from interference from other electronics on the same circuit.
Ready to create stunning lyric videos without the hassle? MyKaraoke Video uses AI to automatically sync your lyrics to any song, letting you produce professional-quality videos in minutes directly from your browser. Try it now and see the magic for yourself at https://www.mykaraoke.video.