Before you even think about hitting that record button, let's talk about laying the groundwork for an incredible sound. This isn't about dropping a ton of cash on expensive gear; it's about making smart, simple choices to create a space that delivers clean, professional-sounding vocals every time.
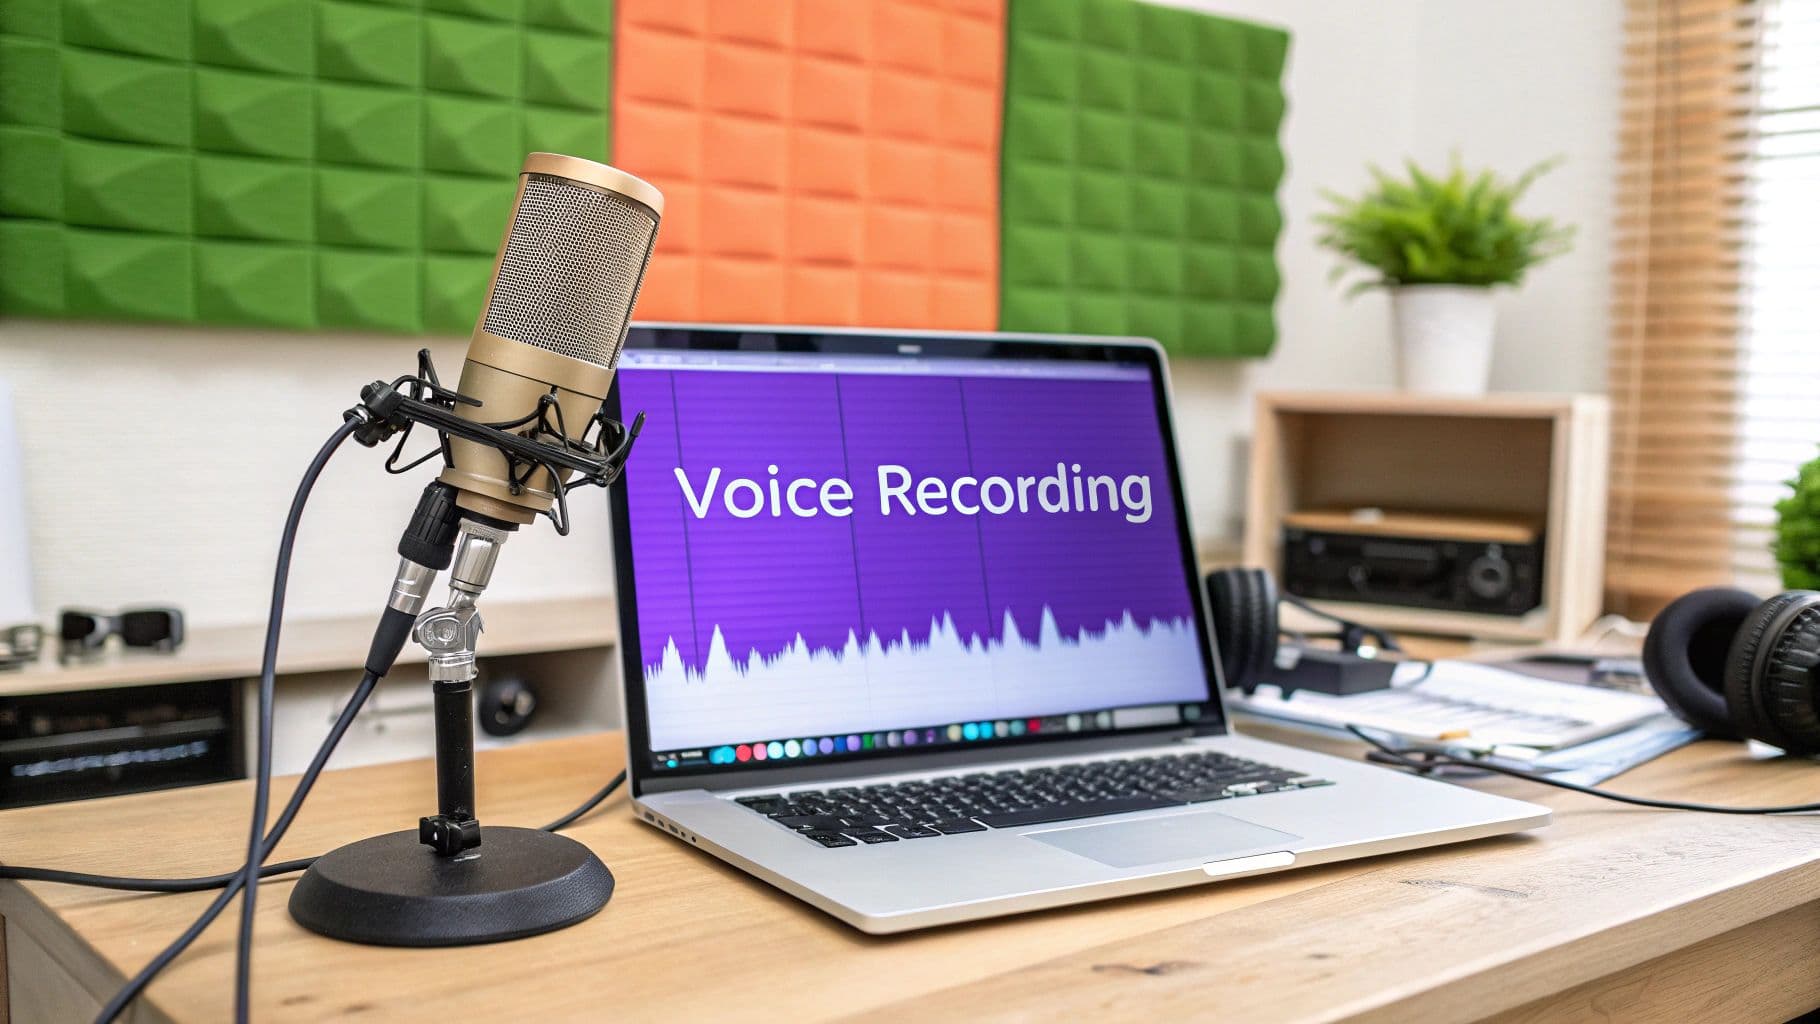
Building Your Home Vocal Recording Setup
A great vocal track doesn't just happen. It begins with your environment and the gear you choose. The real goal here is to capture the cleanest possible signal right from the source. Why? Because a clean recording makes the editing and mixing process a hundred times easier later on. Think of it like a chef prepping ingredients—the better the prep, the better the final dish.
The journey to capture sound has a long history. It all started in the 19th century with devices that could only draw sound waves on paper. It wasn't until 1877, with Thomas Edison's phonograph, that we could actually play back a recording. That was the real game-changer, the moment practical voice recording was born.
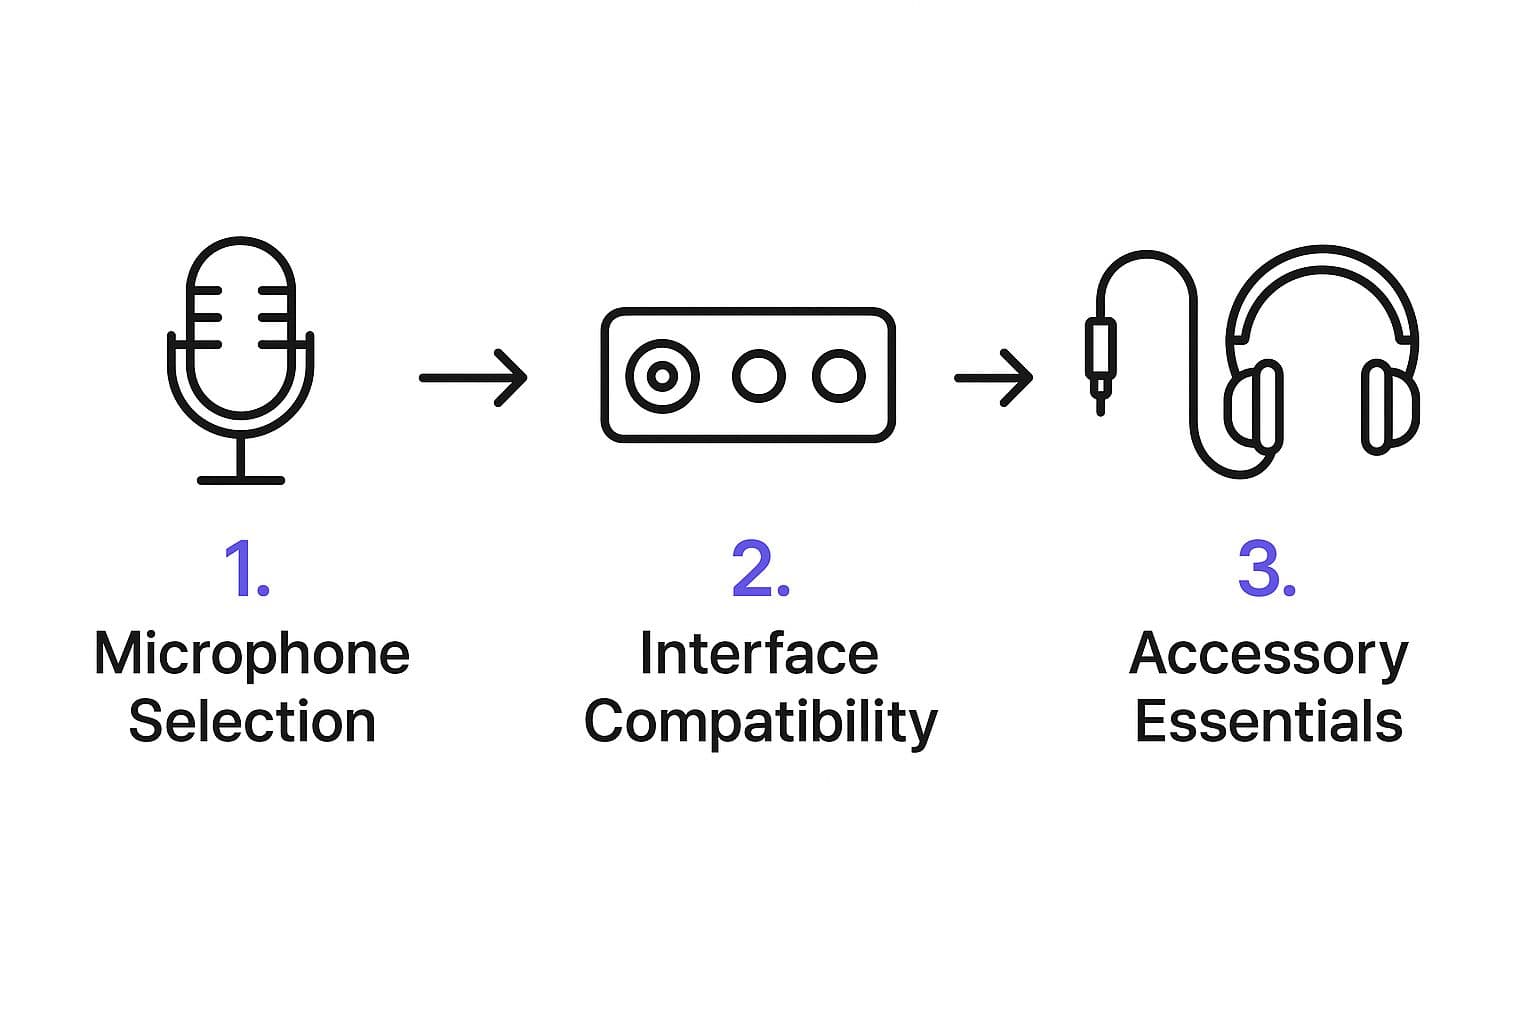
Choosing Your Microphone
Your microphone is the heart and soul of your recording setup. To make sure your vocals are captured with crystal clarity from the very first take, picking the best microphone for video recording is your most important decision. You've basically got two paths to choose from: USB or XLR.
- USB Microphones: These are perfect if you're just starting out. They plug right into your computer's USB port, making setup a breeze. The quality you can get for the price these days is honestly impressive.
- XLR Microphones: This is the professional standard. They require a separate piece of gear called an audio interface to connect to your computer, but in return, you get superior sound quality, more control, and gear that's built to last.
The mic in this picture is a classic Shure 55S, an iconic dynamic microphone you've probably seen in old performance photos.
While it looks incredibly cool, for recording detailed studio vocals, modern condenser mics are usually the better tool for the job. If you want to dive deeper into specific models, check out our guide on the best microphone for recording.
Choosing your gear can feel overwhelming, so I've put together a quick comparison to help you figure out what you might need.
Essential Gear for Home Vocal Recording
| Gear Type | Beginner Option (Budget-Friendly) | Advanced Option (Higher Quality) | Why It Matters |
|---|---|---|---|
| Microphone | USB Condenser Mic (e.g., Blue Yeti) | XLR Condenser Mic (e.g., Rode NT1) | The mic is the first point of contact for your voice; it's the most critical piece for audio quality. |
| Interface | Not needed for USB mics | Audio Interface (e.g., Focusrite Scarlett) | Converts the analog mic signal to digital for your computer and provides better control. |
| Headphones | Any closed-back headphones | Studio Monitoring Headphones (e.g., Audio-Technica ATH-M50x) | Lets you hear your performance clearly without the sound bleeding into the mic. |
| Accessories | Pop Filter, Mic Stand | Shock Mount, Reflection Filter | These small additions make a massive difference by preventing pops, vibrations, and room echo. |
This table should give you a clear idea of how to scale your setup based on your budget and goals. You don't need the advanced options to get started, but it's good to know what's out there as you grow.
Treating Your Recording Space
Believe it or not, the room you record in is just as important as your microphone. Hard, flat surfaces—like bare walls, hardwood floors, and ceilings—are your enemy. They bounce sound all over the place, creating echo and reverb that can make your recording sound hollow and unprofessional.
A professional sound doesn't require a professional studio. You can drastically improve your recording quality just by controlling the reflections in your room with stuff you already have.
The good news? You can easily "treat" your room without spending a fortune. Soft materials are your best friend because they absorb sound waves. Try recording in a room with a carpet, a plush sofa, and heavy curtains.
Want to take it a step further? Hang some thick blankets or duvets on stands around your microphone to create a makeshift vocal booth. I've even seen people get amazing results recording in a walk-in closet filled with clothes—the fabric deadens reflections perfectly.
Essential Recording Accessories
A few small, inexpensive accessories can make a world of difference.
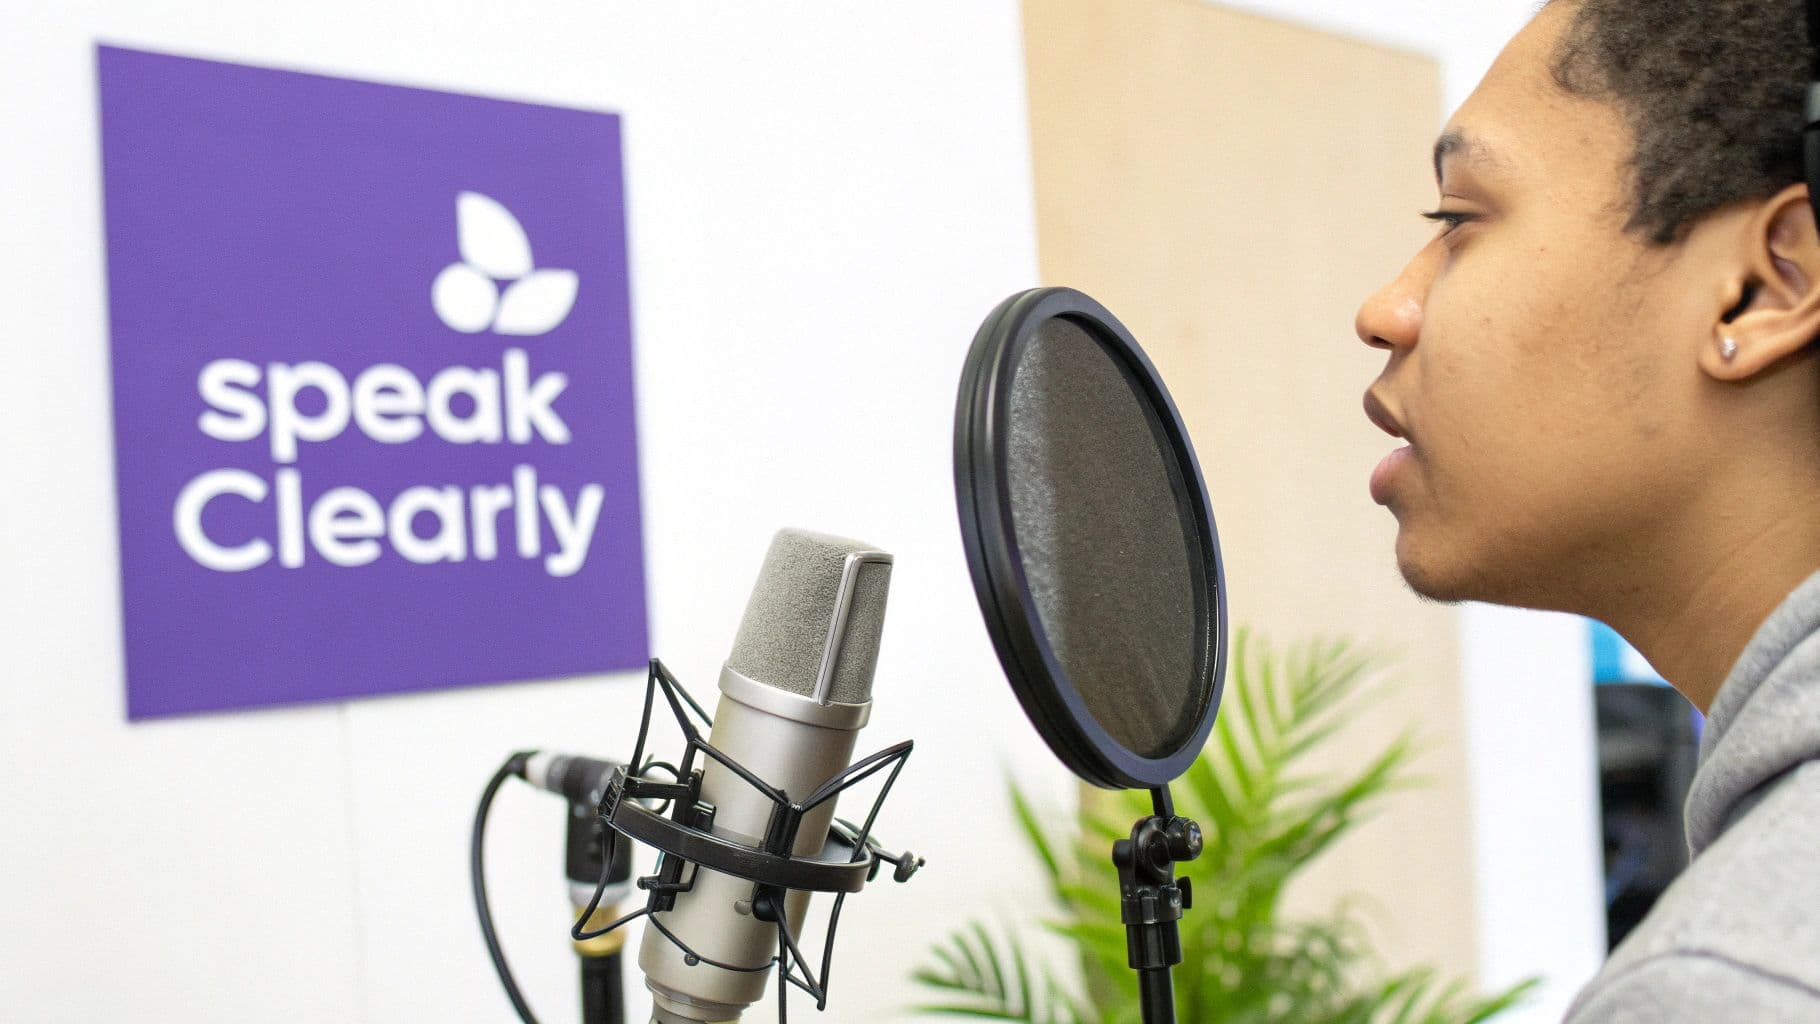
First up, a pop filter is absolutely non-negotiable. It's a simple screen that sits between you and the mic, and its job is to stop the bursts of air from "P" and "B" sounds (we call those "plosives") from creating a nasty thumping sound in your audio.
You'll also need a sturdy microphone stand. This is crucial for positioning the mic at the right height and angle and keeping it perfectly still.
Finally, grab a good pair of closed-back headphones. These seal around your ears, letting you hear yourself and the backing track clearly while preventing that sound from leaking out and getting picked up by your microphone. This is key to getting a clean take without feedback.
Nailing the Software Setup for a Perfect Take

Your recording software, or Digital Audio Workstation (DAW), is where the magic happens. Think of it as your virtual studio. Getting the settings right before you hit record is the secret to a smooth, frustration-free session. These initial tweaks make sure the sound you hear is the sound you actually capture.
It’s easy to take today’s crystal-clear digital audio for granted. The journey here has been a long one, from clunky mechanical recorders in the late 1800s to the magnetic tape revolution of the mid-20th century. The current digital era, which kicked off around 1975, is what gives us the pristine quality and editing power we have today. If you're a history buff, the 150-year history of sound recording is a fascinating rabbit hole to fall down.
Dialing in Your Core Audio Settings
First things first, you have to tell your software where to listen. Dive into your DAW's preferences or audio settings and look for the "Input Device" menu. This is where you’ll select your specific USB mic or audio interface from the dropdown list. It's a simple step, but without it, you're recording silence.
Next, we need to set the audio quality, which is basically the resolution of your sound. For vocals that sound crisp and professional, here’s what I always recommend:
- Sample Rate: Go with 48kHz (48,000 Hz). This is the industry standard for video and captures more detail than the old CD-quality 44.1kHz.
- Bit Depth: Set this to 24-bit. This gives you a massive amount of dynamic range, meaning you have more room to work with before your audio distorts. It makes editing so much more forgiving.
Getting these two settings right from the start is the foundation of a great recording.
My Go-To Tip: While you’re recording, set your buffer size as low as your computer can handle (something like 128 or 256 samples is a good starting point). This slashes the latency—that annoying delay you hear in your headphones—which makes your performance feel much more natural. You can always bump it back up later if you need more processing power for mixing.
Getting Your Recording Levels Just Right
Now that the technical stuff is sorted, it’s time to prep a track. In your DAW, you’ll need to "arm" the track for recording. This is usually a little record button on the track itself that turns red. Arming the track tells the software, "Hey, listen to my microphone on this channel."
This next part is arguably the most crucial step of the entire setup: setting your input level, often called "gain." This is the volume of the signal coming into the software. Your mission is to find the sweet spot—a signal that's strong and clean, but not so loud that it causes clipping. Clipping is that nasty digital distortion that sounds terrible and is impossible to fix later.
Here’s how to do it: start singing the loudest, most powerful part of your song while watching the level meter on your armed track. Adjust the gain knob on your microphone or audio interface until the meter is peaking somewhere between -10dB and -6dB. Hitting this target zone gives you a perfect, full-bodied vocal take with zero risk of distortion. You’ll thank yourself for it in the editing phase.
Mastering Your Vocal Performance Technique
Alright, your gear and software are good to go. Now, let’s get to the heart of it all: your voice. Capturing a truly stellar performance goes way beyond just hitting the right notes. It's about delivering the emotion and energy of the song with clarity and control—that’s what separates a good recording from a truly great one.
Think of it like an athlete prepping for a game. You wouldn’t just jump into a full sprint without stretching, right? The same goes for singing. A quick warm-up gets your vocal cords ready for action, helping you hit a wider range of notes and avoid strain.
Preparing Your Voice and Body
Before you even dream of hitting that record button, set aside 10-15 minutes for a few simple vocal exercises. Trust me, this isn't just for seasoned pros; it makes a world of difference for everyone.
- Lip Trills: You might know these as "lip bubbles." This is a fantastic exercise for relaxing your lips and getting your breath support in check.
- Sirens: Gently glide your voice from a low note up to a high one and back down again, just like a siren. It’s a smooth way to warm up your entire vocal range.
- Humming: Pick a comfortable pitch and just hum. This helps you feel the vibration in your face (the resonance) and makes sure you aren't tensing up your throat.
And don't forget your posture! It plays a massive role in how you sound. Whether you're sitting or standing, get straight, let your shoulders drop, and plant your feet firmly on the floor. This simple adjustment opens up your diaphragm, giving you deeper breaths for a more powerful and consistent tone. Slouching literally chokes off your own instrument.
Perfecting Your Microphone Technique
How you position yourself in front of the microphone is a skill in its own right. Your distance and angle can completely change the character of your recorded voice.
The secret to dynamic, professional-sounding vocals often lies in simple physical adjustments, not expensive plugins. Moving a few inches closer or further from the mic can be more effective than hours of editing.
A key thing to understand is the proximity effect. With most condenser or dynamic mics, the closer you get, the more bass they pick up. You can use this to your advantage! Lean in a bit for those softer, more intimate parts of the song to add a touch of warmth. Then, pull back when you’re belting out a powerful chorus to keep the sound from getting boomy or distorted. This one move adds natural dynamics to your performance.
Also, watch out for "plosives"—those aggressive bursts of air from "p" and "b" sounds that can ruin a take. A pop filter is your best friend here, but good technique is the backup. Try positioning the mic slightly off to the side, so you’re singing just past it instead of directly into it. It’s a simple trick that does wonders for getting a clean recording.
The Art of Comping Your Vocals
Here’s a little industry secret: even the best singers rarely get a perfect performance in a single take. The magic behind those flawless vocals you hear on hit records is a process called comping (short for "composite take").
It's actually pretty straightforward. Here’s how it works:
- Record Multiple Takes: Sing the song all the way through a few times—maybe 3 to 5 full passes—and record each one on a separate track.
- Isolate the Best Parts: Listen back to each take and find the strongest phrases, words, or even individual notes.
- Stitch Them Together: Copy and paste these "best of" moments onto a brand new, final track.
This approach takes the pressure off trying to be perfect every time. Instead, you can focus on performance and then piece together an absolutely killer final version. It's a powerful way to ensure your voice sounds polished, professional, and is the very best it can be.
Editing Vocals for a Polished Studio Sound
Your raw recording is just the starting point. The real magic, the stuff that makes a vocal sound professional, happens during the edit. Post-production is where you take a solid performance and make it absolutely shine. This isn't about faking anything—it's about enhancing the best parts of what you already captured.
Think of it like a photographer developing a film. The raw negative holds all the information, but the darkroom is where the contrast is perfected, the focus is sharpened, and the final image comes to life. Your voice recording works the same way.
Cleaning and Tightening Your Performance
Before you even think about adding cool effects, the first order of business is cleanup. This boils down to two key tasks: getting rid of unwanted noise and perfecting your timing.
- Noise Reduction: Let's be real, every home recording has some background noise. It could be the hum from your computer fan, a subtle hiss from your gear, or just the ambient sound of the room. A noise reduction tool is designed to intelligently find and remove this stuff, leaving only your clean vocal behind. A word of caution: use it sparingly. If you push it too hard, your voice can end up sounding thin and unnatural.
- Timing Adjustments: Even the most seasoned singers can drift slightly ahead or behind the beat here and there. That's perfectly normal. Using the editing tools in your DAW, you can gently nudge vocal phrases so they sit perfectly in the pocket with the music. These tiny adjustments make a huge difference, giving your performance that locked-in, professional feel.
With your vocal track now clean and tight, you've built the perfect foundation to start adding some polish.
The goal here isn't to create a robotic, flawless performance. It's to gently guide your natural take into its best possible form. A light touch will always sound better than heavy-handed processing.
Shaping Your Vocal with Essential Effects
Okay, the cleanup is done. Now for the fun part: adding effects that give your voice that classic studio polish. The secret here is subtlety.
Start with an Equalizer (EQ) to sculpt the tone of your voice. An EQ lets you boost or cut specific frequencies to help your vocal sit just right in the mix. For example, you can add a bit of "air" and sparkle with a gentle boost in the high frequencies or carve out any muddiness by cutting some of the low-mids. This ensures your voice is heard clearly without clashing with the instruments.
Next up is Compression. A compressor is basically an automatic volume knob. It intelligently lowers the volume of your loudest notes and raises the volume of your quietest ones. The result? A much more consistent, powerful vocal where every single word is audible. Good compression is a signature element of virtually every modern pop vocal.
Finally, a touch of Reverb will add depth and a sense of space. This is what can make a vocal recorded in your bedroom sound like it was tracked in a world-class studio. A simple "plate" or "hall" reverb setting is often all you need to give your voice a beautiful, three-dimensional quality.
If you want to go deeper on these techniques, our complete guide on how to enhance audio quality breaks down each of these steps in much more detail. By carefully applying these editing tools, you can transform a simple home recording into a polished, radio-ready vocal performance.
Bringing Your Vocals into MyKaraoke Video
Alright, you've battled through the recording and editing, and your vocal performance is sounding crisp and clean. Now for the fun part: dropping that masterpiece into your MyKaraoke Video project and making it all come together.
This is where your voice finally meets the music and the visuals. The goal is to make it feel completely seamless, as if your vocals were part of the original song all along, perfectly timed with the lyrics on screen. It’s all about precision and getting that final balance just right.
Getting Your Vocal Track in Place
First things first, you need to import your polished audio file—likely a .WAV or high-quality .MP3—into your project. MyKaraoke Video keeps this straightforward; you can upload your vocal track to sit right alongside the instrumental.
Once it's in, your vocal will have its own timeline. It'll probably be close, but it’s almost never perfectly aligned right away. This is where you play surgeon. Zoom way in on the audio waveforms of both the vocal and the music. Look for the very first transient—that initial spike of sound—in both tracks. That’s your anchor point. All you have to do is drag your vocal track left or right until those starting spikes line up flawlessly.
It's amazing how a shift of just a few milliseconds can take a vocal from feeling slightly "off" to being perfectly locked in. Don't rush this; get in there and make those tiny adjustments until it feels completely natural.
For a more detailed look at the art of synchronization across different platforms, our guide on how to sync audio with video is a fantastic resource.
Nailing the Final Mix
With your timing locked in, the last piece of the puzzle is volume. You're not just turning your voice up; you're blending it into the music so it sits in that sweet spot—clear and prominent, but not screaming over the top of the instrumental.
A great trick is to pull the volume fader for your vocal track all the way down. Then, start playing the music and slowly raise your vocal level. Keep pushing it up until you can hear every word clearly, but it still feels connected and glued to the backing track. I always recommend checking the mix on both speakers and headphones to make sure it sounds good everywhere.
To help you get that perfect blend, I've put together a quick checklist for this final mixing stage right inside the platform.
Vocal Mix Checklist for MyKaraoke Video
This simple checklist will help you ensure your vocal track is perfectly balanced with the music and visuals in your final video project. Run through these points before you export.
| Checklist Item | Objective | Pro Tip |
|---|---|---|
| Vocal Clarity | Make sure every word is easy to understand without straining. | If your vocals sound a bit muddy, they might be fighting with the music's frequencies. Your previous EQ work is the best defense against this! |
| Instrumental Presence | The music should feel like a strong foundation, not a competitor. | Try muting your vocal track for a moment. Does the instrumental still have enough power and energy on its own? It should. |
| Overall Cohesion | The final product should sound like a single, unified performance. | Close your eyes and just listen. Does it sound like a singer and a band in the same room, or like a voice awkwardly placed on top of a backing track? |
Getting this final balance right is what separates a good project from a great one. It’s the final sprint that makes all the previous effort worth it. Take your time, trust your ears, and you'll create a karaoke video that sounds truly professional.
Got Questions About Vocal Recording? We've Got Answers
Even when you have the right gear and software, running into problems is just part of the process.## Got Questions About Vocal Recording? We've Got Answers
Even when you have the right gear and software, running into problems is just part of the process. Let's walk through some of the most common hurdles I see people face when they're just starting out in home recording.
Think of this as your cheat sheet for those little things that can cause major headaches. More often than not, the fix is simpler than you think.
How Can I Get Rid of Room Echo Without Spending a Fortune?
You don't need to line your walls with expensive foam panels to get a clean recording. The secret is to dampen the room with soft, absorbent things you probably already have lying around. Your goal is to stop sound from bouncing off hard surfaces like walls, ceilings, and bare floors.
- Choose a furnished room. A bedroom with a carpet, a bed, and some curtains is a much better recording space than an empty garage. These items are natural sound absorbers.
- Build a blanket fort. Seriously. Drape some heavy blankets or duvets over a couple of microphone stands around where you're singing. This creates a mini "vocal booth" that deadens reflections.
- The closet trick. This is a classic home studio hack for a reason. A walk-in closet packed with clothes is an amazing, pre-made vocal booth. All that fabric soaks up sound beautifully.
By tackling echo at the source, you'll capture a much drier, clearer vocal that's easier to mix later—all without opening your wallet.
Why Is My Recording Distorted (Or Way Too Quiet)?
This is almost always a gain staging issue. In simple terms, you're sending a signal to your computer that's either too "hot" (loud) or too weak (quiet). Too quiet, and you'll crank up the volume later, bringing up a bunch of unwanted background noise and hiss with it. Too loud, and you'll get nasty digital distortion called "clipping," which is impossible to fix.
Your goal is to have the loudest part of your vocal performance peak somewhere between -10dB and -6dB on your recording software's meter. This is the sweet spot—a strong, clean signal with enough headroom to avoid distortion.
The fix is easy: adjust the gain knob on your audio interface or microphone. Before you record the real take, sing the most powerful line of your song a few times and watch the meter. Tweak the gain until you're consistently hitting that -10dB to -6dB range.
What's the Best Type of Microphone for Vocals?
For most home recording situations, a large-diaphragm condenser microphone is the way to go. These mics are fantastic at capturing the subtle details and richness in the human voice, which is exactly what you need for a lead vocal track.
They generally come in two flavors:
- USB Condenser Mics: Perfect for getting started. They deliver great quality and plug right into your computer's USB port. No extra gear needed.
- XLR Condenser Mics: This is the professional standard. They require an audio interface to connect to your computer, but in return, you get better sound quality and more flexibility as you grow.
Getting a great vocal recording is a huge win, but it's often just one part of a bigger project. Understanding the fundamentals of general content creation can help you see how your audio fits into the larger picture of creating engaging videos and connecting with an audience.
Ready to pair your amazing vocal track with a stunning video? With MyKaraoke Video, you can craft professional-looking karaoke and lyric videos in just a few minutes. Upload your audio, use our intuitive editor to sync the lyrics, and customize the look to fit your vibe. Skip the complicated software and start creating at https://www.mykaraoke.video.