You can absolutely remove background noise from audio with the right tools. Most software, from free options like Audacity to sophisticated AI platforms, works by identifying a "noise profile." You essentially give the software a clean sample of just the noise, and it learns to subtract that sound from your entire recording, leaving the main audio intact.
Why Your Audio Quality Is More Important Than You Think
Let’s be real—nothing tanks a great piece of content faster than bad audio. We've all been there, squinting to hear an important podcast interview over the whine of a refrigerator or the relentless hum of an air conditioner. Maybe you’ve tried to record a voiceover in a coffee shop, only to realize later that the background chatter completely drowns out your voice.
These moments aren't just annoying; they highlight a fundamental truth. Clean, professional-sounding audio isn't just a nice-to-have anymore. It's the price of entry. Your audience has endless content to choose from, and forcing them to struggle through bad sound is a surefire way to lose them for good.
Thankfully, you don't need a degree in sound engineering to fix these common problems.
The Most Common Audio Culprits
Before we jump into the fixes, it helps to know what you're actually fighting against. Most of the unwanted noise you'll encounter falls into a few key categories:
- Hiss and Hum: This is that steady, low-level static or buzz. It often comes from electrical interference—think poorly grounded outlets—or just the inherent self-noise from lower-quality microphones.
- Rumble: This is the deep, low-frequency stuff. It could be the sound of you accidentally bumping the mic stand, vibrations traveling through your desk, or even the rumble of distant traffic.
- Ambient Chatter: This covers everything from people talking in the next room to the indistinct murmur of a public space.
The ability to surgically remove these specific sounds is a game-changer. When audio production shifted from analog to digital, it opened up a whole new world of possibilities. By the 1990s, digital signal processors (DSPs) were sophisticated enough to give us granular control over sound frequencies, dramatically improving clarity in everything from studio recordings to hearing aids.
The best way to fix bad audio is to prevent it in the first place. However, when that’s not possible, modern tools give you a powerful second chance to save your content and deliver a professional-sounding result.
Today's tools make it easier than ever for anyone to get fantastic results. For a broader look at ensuring top-notch sound in different settings, this guide on achieving crystal-clear audio in communication offers some great tips.
And if you're ready to dive in and start improving your own recordings, our guide on how to enhance audio quality is the perfect place to begin.
Diagnosing the Noise in Your Recordings
Before you can fix your audio, you have to play detective. Seriously. Just diving into a noise reduction plugin without knowing what you're up against is a recipe for disaster. You'll end up with muffled vocals or weird, watery artifacts that sound worse than the original problem.
A few minutes of careful listening is the most important step. It’s what separates a clean, surgical fix from a muddy, amateur-sounding mess. So, put on some good headphones and let’s figure out what we’re dealing with.
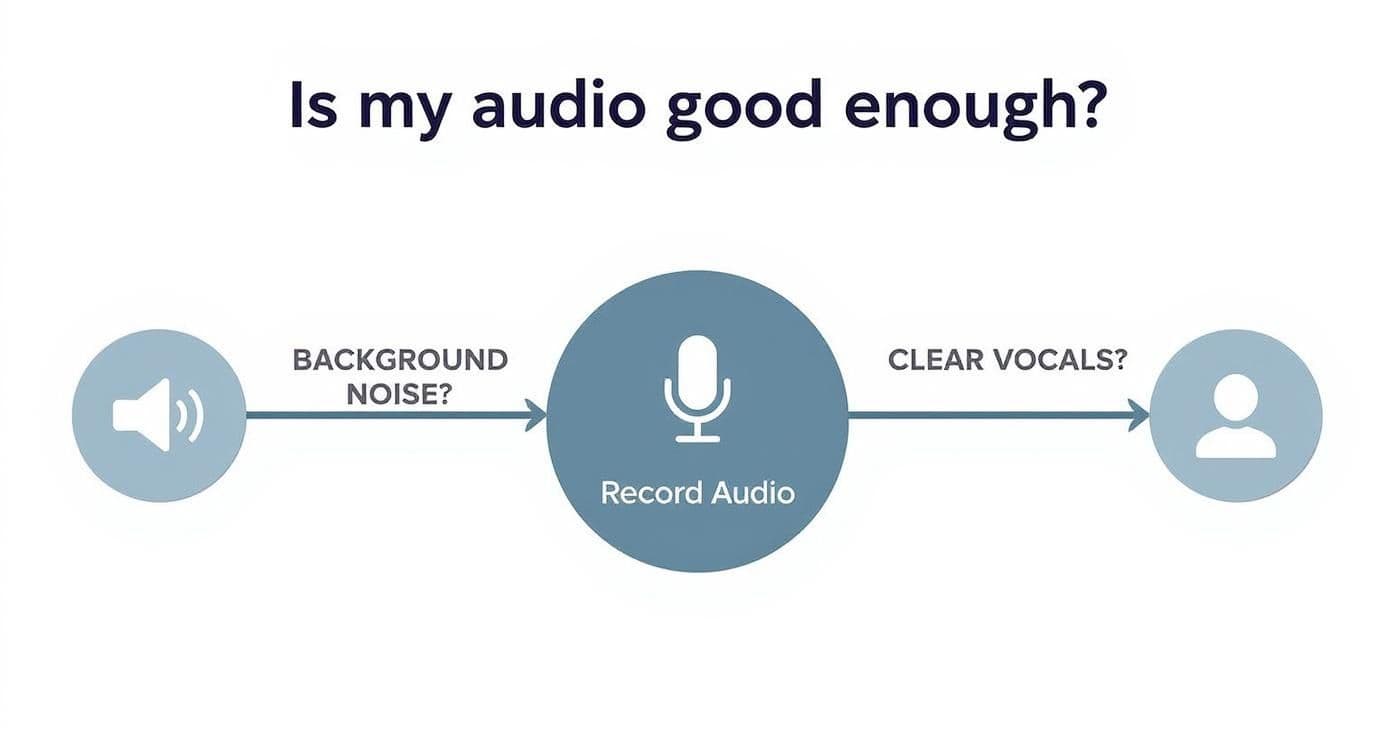
As you can see, checking for noise is the first real gatekeeper to quality. If you can’t get past this, clear vocals are out of the question.
Common Audio Noises and Their Sources
To help you get started, here’s a quick rundown of the usual suspects I come across when cleaning up audio tracks.
| Noise Type | Description | Common Sources | Primary Removal Tactic |
|---|---|---|---|
| Broadband Noise | A constant, underlying hiss or static. | Computer fans, HVAC systems, cheap preamps, mic self-noise. | Noise Reduction plugin (using a noise print). |
| Tonal Noise | A specific, sustained pitch or hum. | Poorly grounded equipment (60Hz hum), fluorescent lights. | Notch EQ, targeted de-hummer plugins. |
| Impulse Noise | Short, sharp, sudden sounds. | Keyboard clicks, mouth pops, a dog barking, a door slam. | Spectral repair tools (like iZotope RX), de-click plugins. |
| Ambient Noise | The sound of the recording space itself. | Room echo (reverb), distant traffic, wind. | De-reverb plugins, proper mic placement during recording. |
Learning to spot these different types of noise will immediately tell you which tool to reach for, saving you a ton of time and frustration.
Broadband Noise: The Constant Annoyance
This is the one you’ll run into most often. Broadband noise is that persistent "shhhhh" sound lurking underneath your main recording. It’s the hum from your air conditioner, the whir of your laptop fan, or the hiss from a low-quality microphone cable.
It’s called "broadband" because it covers a wide swath of the frequency spectrum. The good news? Because it's so consistent, it's one of the easiest types of noise to fix. Most software can easily grab a "fingerprint" of this sound and simply subtract it from the rest of your track.
Tonal and Impulse Noise: The Sudden Intruders
Next up are the sounds that jump out and grab your listener's attention—and not in a good way.
- Tonal Noise: This is a very specific, droning sound at a single pitch. The classic example is the infamous 60Hz electrical hum (or 50Hz in Europe and other regions) that comes from bad wiring or fluorescent light ballasts. Once you hear it, you can't un-hear it.
- Impulse Noise: These are the sharp, quick, and annoying sounds. A loud keyboard clack. A lip smack right before a word. A dog barking down the hall. They're short, but they can be incredibly distracting.
These intruders require a more targeted approach than broadband noise. You can’t just apply a blanket filter; you need tools that can surgically remove the specific sound without collateral damage to the voice.
Identifying the type of noise is the most important step in the audio cleaning process. A hum requires a different tool than a hiss, and a dog bark requires a different approach than an air conditioner.
Ambient Noise: The Environmental Footprint
Finally, we have ambient noise—the sound of the room itself. This is the distant rumble of traffic outside your window or, more commonly, the echo and reverberation from recording in an untreated space like a kitchen or a room with high ceilings.
A little bit of room tone can be fine, but too much reverb makes the speaker sound distant and unprofessional. It creates a barrier between the voice and the listener, killing any sense of intimacy. Taming that "room sound" is a key skill for producing audio that sounds polished, present, and authoritative.
Using the Noise Reduction Tools You Already Have
Before you pull out your credit card for a fancy new plugin, it's worth taking a look at the software you probably already own. Many popular Digital Audio Workstations (DAWs) and even video editors come with some seriously powerful native tools designed to remove background noise from audio. You just need to know where to find them and how to use them.
Honestly, getting professional results from these built-in tools is entirely possible. It’s less about having the most expensive software and more about understanding the process. Let's dive into two of the most accessible and effective options out there: the free and open-source Audacity and the industry-standard Adobe Audition.
Mastering Noise Reduction in Audacity
Audacity is the go-to free audio editor for millions of creators, and for good reason. Its built-in Noise Reduction effect is surprisingly capable, especially for constant, predictable background noise—think the hum of an air conditioner, the whir of a fan, or the hiss from a microphone preamp.
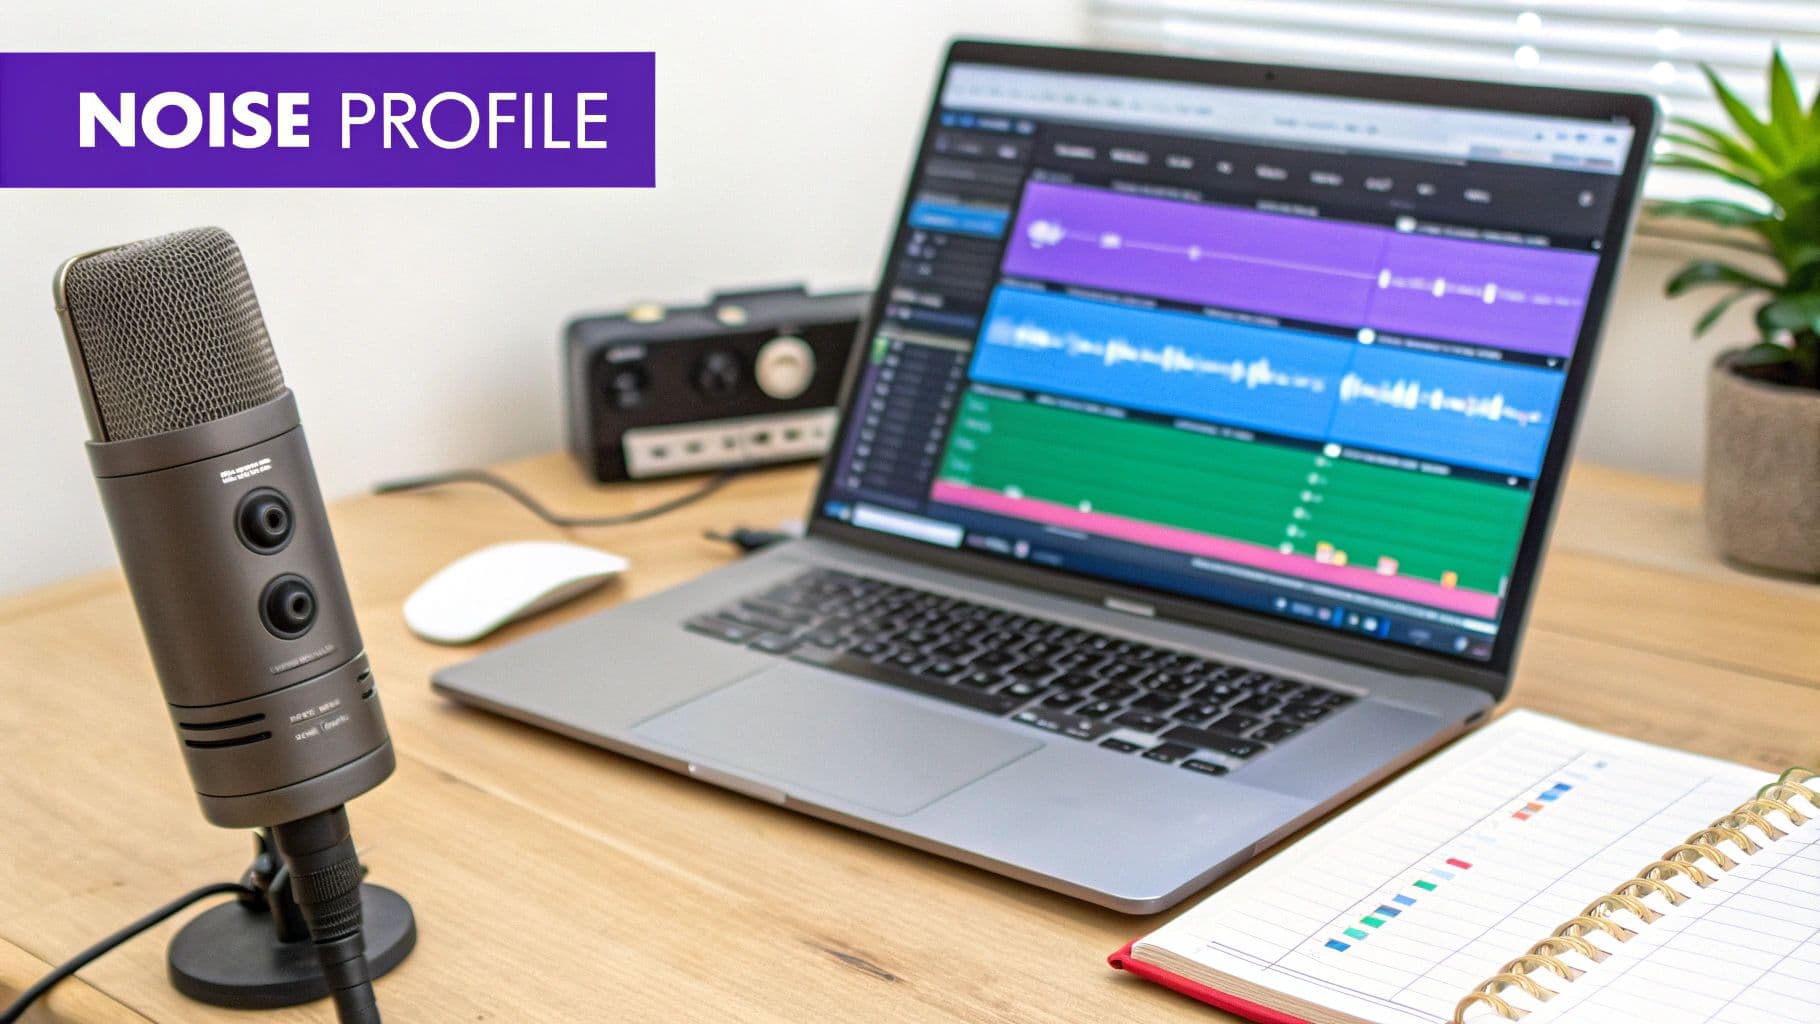
The key to getting it right in Audacity is its two-part process. It doesn't just guess what the noise is; you actually have to teach it. This involves capturing what’s called a "noise profile," which is just a clean sample of the unwanted sound by itself.
Here’s a practical workflow I use to avoid common pitfalls:
- Isolate the Noise: First, find a few seconds in your recording where you aren't speaking. This little slice of "room tone" is your golden ticket. Highlight just that section of pure noise.
- Capture the Noise Profile: Next, head to
Effect > Noise Reduction. A window will pop up. Just clickGet Noise Profile. That’s it. Audacity now has a sonic fingerprint of your specific background noise. - Apply the Reduction: Now, select your entire audio track (or just the parts you want to clean up). Go back to
Effect > Noise Reductionone more time. This time, you'll actually adjust the main settings.
The real trick is to be gentle. Pushing the Noise Reduction (dB) slider too far is what creates that dreaded, garbled "underwater" sound. I always start with a conservative setting, something around 6-12 dB, and hit the Preview button. Listen really closely. Does your voice still sound natural?
A little bit of remaining background noise is almost always better than an over-processed, robotic-sounding voice. The goal is clarity, not absolute, sterile silence. Your ears are the final judge.
Advanced Techniques in Adobe Audition
For those already in the Adobe Creative Cloud ecosystem, Audition offers a much more advanced suite of tools. While it has a process similar to Audacity's, it also provides specialized effects that can be lifesavers in tricky situations.
Let's look at a couple of game-changers you already have if you use Audition.
Handling Evolving Noise with Adaptive Noise Reduction
Sometimes, background noise isn't constant. Imagine recording an interview where a refrigerator motor kicks on and off, or the sound of traffic outside swells and fades. Audacity’s static noise profile would really struggle with that.
This is exactly where Audition's Adaptive Noise Reduction effect shines. You can find it under Effects > Noise Reduction / Restoration. Unlike its standard counterpart, this tool continuously analyzes the audio and adjusts its processing on the fly. It’s perfect for noise that changes in volume or character over the course of a recording.
You don't even need to capture a noise print. Just apply the effect and adjust the Reduce Noise By slider. Be mindful, as this effect is more processor-intensive, but it can absolutely save a recording that would otherwise be unusable.
Eliminating Electrical Hum with DeHummer
Ever plugged in a guitar or microphone and heard that persistent, low-frequency buzz? That's typically electrical interference, often right at 60Hz (in North America) or 50Hz (in Europe). If you try to remove this with a standard noise reduction tool, you risk carving out the warmth and body from a person's voice.
Luckily, Audition has a dedicated tool for this exact problem: the DeHummer.
- How it works: This effect surgically targets the specific frequency of the hum and its harmonics (which are just multiples of that base frequency).
- Where to find it: Go to
Effects > Noise Reduction / Restoration > DeHummer. - Practical application: The default preset is usually set to 60Hz. If you're not sure about the hum's frequency, you can use Audition's
Frequency Analysiswindow to find the exact peak and then type that value directly into the DeHummer.
Using the right tool for the job is crucial here. The DeHummer is like a scalpel, removing only the hum without messing up the surrounding audio and preserving the integrity of your recording.
Pro Tips for Using Built-In Tools
No matter what software you're using, a few universal principles will help you get much better results.
- Process First: Apply noise reduction as one of the very first steps in your editing chain. If you apply it after compression or EQ, you’ll just make the noise louder and much harder to remove cleanly.
- Listen in Context: Don't just solo the track you're cleaning. Listen to it along with any music or other sound effects that will be in the final mix. A tiny bit of noise that seems obvious on its own might be completely inaudible in the full context.
- Less is More: I can't stress this enough. The goal is to reduce distracting noise, not to eliminate all sound other than the main dialogue. A hint of natural room tone can actually make a recording sound more authentic. Push the settings just far enough to make the noise unobtrusive, and then stop.
Unlocking Advanced Results with AI and Pro Plugins
https://www.youtube.com/embed/xFxU4iQipLk
When the built-in tools in your audio editor just aren’t cutting it, it’s time to bring in the specialists. Dedicated plugins and AI-powered platforms are engineered for one thing: delivering exceptionally clean audio, even when you're battling complex noise that would stump a native tool.
Think of it as the difference between a kitchen knife and a surgeon's scalpel. A basic noise reducer makes a broad cut, which is often good enough. But professional plugins give you the precision to surgically remove specific, isolated sounds without collateral damage to the main vocal performance.
The Powerhouse Suite: iZotope RX
For years, iZotope RX has been the undisputed industry standard for audio repair. It's a comprehensive suite of tools that audio professionals—and a whole lot of serious creators—rely on to rescue recordings that would otherwise be unusable. If you care about audio quality, this is the name you need to know.
What really sets RX apart is its modular approach. It isn’t just a single "noise reduction" button; it's an entire workshop of specialized tools, each designed to tackle a specific problem with incredible accuracy.
Here are a couple of the standout modules that I find myself turning to again and again:
- Voice De-noise: This is the next evolution of standard noise reduction. It's specifically trained on human speech, which lets it intelligently dial back background hiss, hum, and other constant noise while leaving the natural character of the voice untouched.
- Spectral Repair: This is where the real magic happens. RX lets you view your audio visually as a spectrogram, where you can literally see sounds like a dog bark, a cough, or a distant siren. With Spectral Repair, you can use a Photoshop-like tool to select that unwanted sound and simply erase it, leaving the dialogue underneath perfectly intact. It’s wild.
Using a tool like Spectral Repair feels like a superpower. The ability to visually identify and remove an isolated, intrusive sound—like a phone ringing during a critical interview take—is a complete game-changer for content creators.
The Rise of One-Click AI Audio Cleaners
While a full suite like RX offers ultimate control, a new wave of AI-powered tools has emerged, promising incredible results with almost zero effort. These platforms are perfect for podcasters, YouTubers, and creators who need clean audio fast, without getting bogged down in technical settings.
Services like Adobe Podcast (specifically its "Enhance Speech" feature) and Descript have made high-level noise reduction ridiculously accessible. The process is usually as simple as uploading your audio file and letting the AI do the heavy lifting. The algorithm analyzes the track, separates the voice from the noise, and reconstructs the speech to sound as if it were recorded in a professional studio.
These tools are surprisingly effective at removing not just background noise but also room echo and reverb—a common headache for anyone recording at home. It’s fascinating stuff. The technology behind modern audio cleaning has deep roots; in fact, many principles were first pioneered in the development of digital hearing aids. Early research in the 1970s focused on using digital signal processing to create adaptive filters that could reduce noise with just a single microphone, a foundational concept still in use today.
Comparing Noise Reduction Tools
The big question is, which type of tool should you use? It all comes down to control, complexity, and what your project demands. Here’s a quick breakdown to help you decide.
| Tool Type | Examples | Best For | Skill Level |
|---|---|---|---|
| Native DAW Tools | Logic Pro Noise Gate, Audacity Noise Reduction | Basic hiss and hum removal on fairly clean recordings. | Beginner |
| Advanced Third-Party Plugins | iZotope RX, Acon Digital Restoration Suite | Surgical removal of specific sounds (clicks, sirens) and retaining maximum audio fidelity. | Intermediate to Advanced |
| Modern AI Platforms | Adobe Podcast, Descript, Krisp | Quickly removing general background noise and echo from dialogue-heavy content for a clean, studio-like sound. | Beginner |
Ultimately, choosing the right tool for the job is what separates efficient workflows from frustrating ones.
Think about your project. Are you trying to save a mission-critical interview where a phone rang at the worst possible moment? You need the surgical precision of iZotope RX's Spectral Repair.
On the other hand, did you record a podcast episode in a slightly echoey room with a noticeable air conditioner hum? A one-click AI tool like Adobe Podcast Enhance will likely give you a fantastic result in a fraction of the time. This focus on AI processing is becoming common, and comparing leading AI voice generators like Murf AI and Elevenlabs can offer more insight into how AI is shaping modern audio.
Many professional workflows now incorporate both. You might start with an AI tool to do the heavy lifting and then use a plugin suite for the fine-tuning. Many creators also find these tools essential when using some of the best music production software for beginners, since cleaning up samples and recordings is a core part of the process. Knowing which tool to grab and when is the key to consistently producing crystal-clear audio.
How to Prevent Background Noise Before You Hit Record
Honestly, the best way to remove background noise from audio is to stop it from getting into your recording in the first place. I know, it sounds obvious, but it's a lesson you learn the hard way. While today's software is pretty incredible, no tool is perfect. Every time you run a noise reduction filter, you chip away just a little bit at the quality of the original sound you wanted to capture.
A few minutes spent prepping your space can genuinely save you hours of hair-pulling in the editing phase. Think of it this way: post-production cleanup is the cure, but a clean recording environment is the vaccine. It’s always better to avoid the problem altogether.
Choose the Right Microphone for Your Space
Not all mics are created equal, and picking the right one is your first line of defense. The choice really boils down to your recording environment. If you're in a typical untreated room—think bare walls, hardwood floors, big windows—a condenser microphone can be your worst enemy. They're designed to be extremely sensitive, which is great in a studio but a nightmare at home where they'll pick up every echo, computer hum, and distant siren.
For most home recording situations, a dynamic microphone is a much smarter, safer bet.
- How they work: Dynamic mics are inherently less sensitive. More importantly, they're built to reject sound that isn't coming from directly in front of them. This makes them absolute champs at isolating your voice from all that bouncing room noise.
- A classic example: There's a reason you see mics like the Shure SM58 on stages everywhere. It’s a workhorse designed to capture the singer's voice clearly while ignoring the screaming crowd and clashing cymbals just feet away.
Using a dynamic mic is like having a noise-reduction filter built right into your hardware.
Tame Your Recording Environment
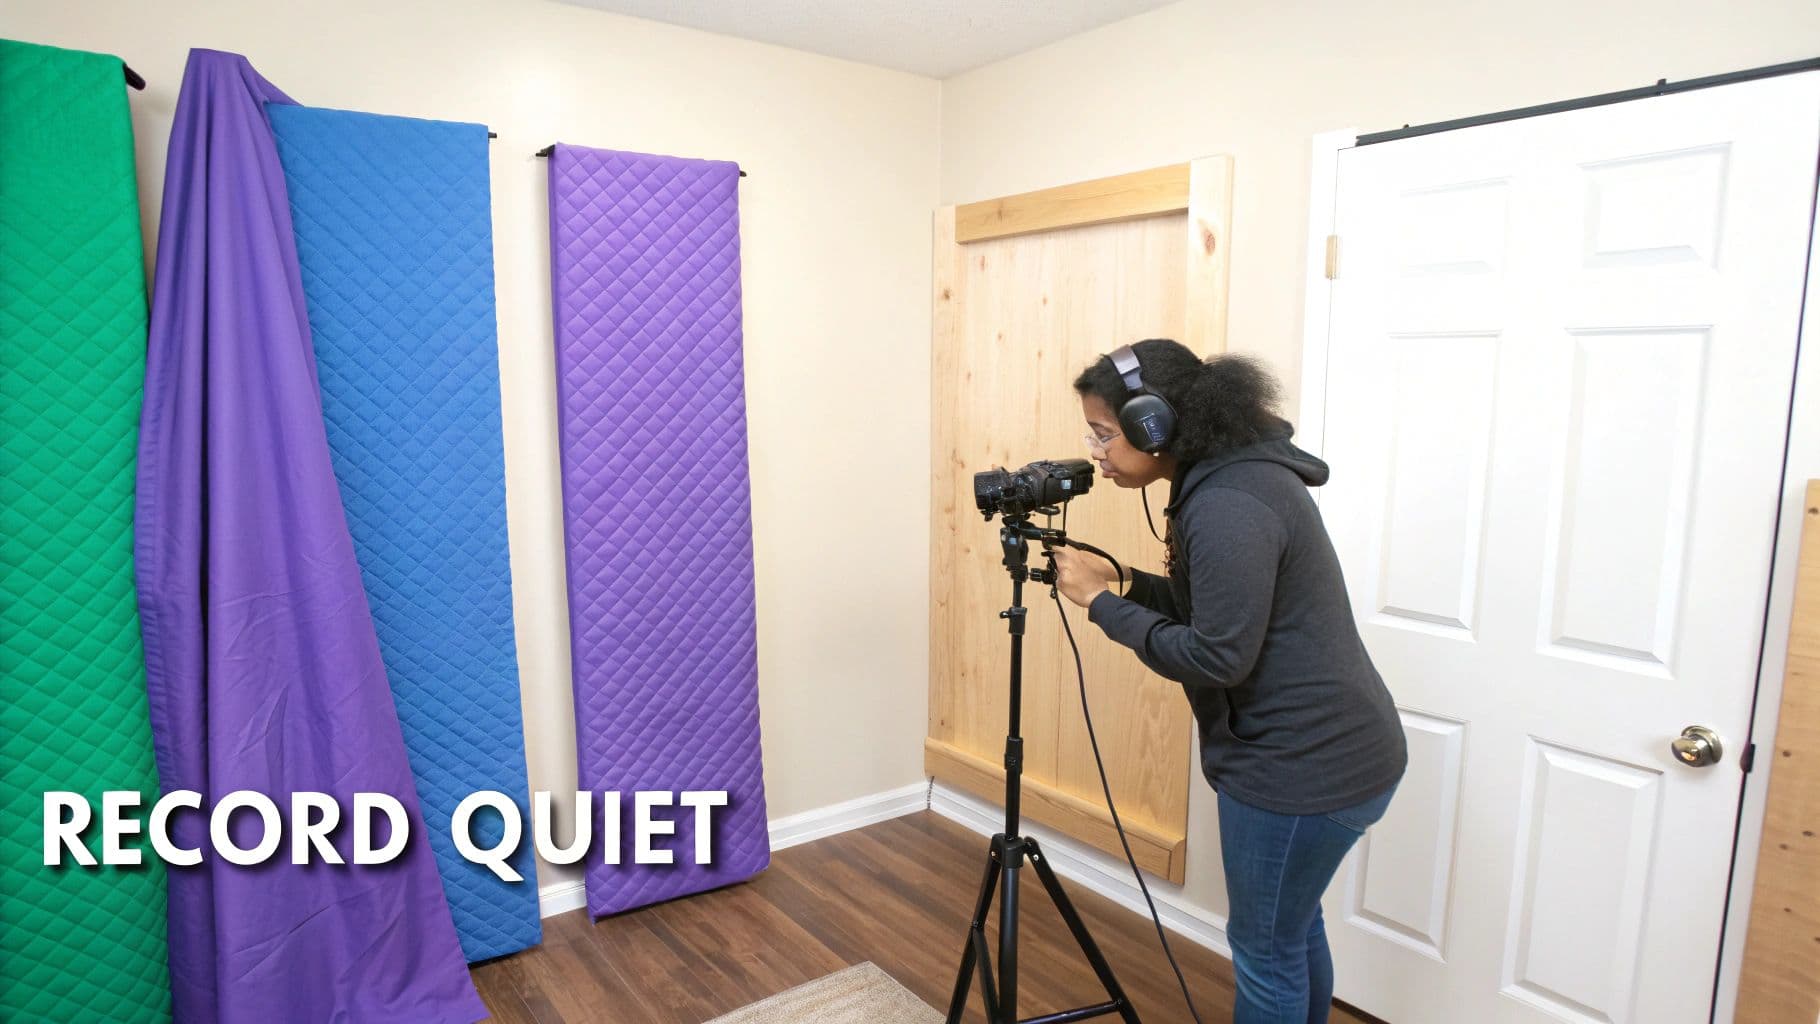
You don't need to build a professional-grade studio to get clean audio. The real goal is simple: reduce the number of hard, flat surfaces around your microphone. Sound waves absolutely love to bounce off things like drywall and glass, creating the reverb and echo that instantly makes a recording sound amateurish.
Here are a few DIY tricks I've used for years that work wonders:
- Soften the Space: Grab some heavy blankets or comforters and hang them on the walls around where you're recording. It might look a little crazy, but it works.
- The Closet Trick: A walk-in closet packed with clothes is a surprisingly effective vocal booth. All that fabric is a natural sound absorber.
- Lean into Furnishings: A room with a plush couch, a thick area rug, and heavy curtains will always give you a better sound than an empty kitchen or a sparse office.
These simple moves break up the sound waves before they can bounce back into your mic, giving you a much cleaner, more direct vocal track. For a deeper dive into setting up your space, our guide on how to voice record is a great place to start.
Your recording environment is an instrument. A "dead" space with lots of soft surfaces absorbs unwanted reflections, while a "live" space with hard surfaces creates echo. Aim for a dead space for clean voice recordings.
The Pre-Flight Checklist
Okay, before you hit that red button, run through a quick mental checklist. This is your final line of defense against the most common noise culprits. It’s saved me from ruining countless takes.
- Silence the Machines: Turn off your AC or heater. Shut down any noisy computer fans if you can. Listen for the subtle buzz of fluorescent lights. Kill them all.
- Mute the World: Put your phone, computer, and even your smartwatch on silent. Nothing's worse than a perfect take being destroyed by a notification ping.
- Secure the Room: Close the door and windows. Give your family or roommates a heads-up that you're recording so they don't wander in.
This little ritual takes less than 60 seconds but makes a world of difference. It's a proactive approach that actually mirrors the core concept behind Active Noise Cancellation (ANC) technology. The idea of using destructive interference to cancel sound waves dates all the way back to the 1930s, when a patent was first filed by Paul Lueg. It's a fascinating bit of audio history that laid the groundwork for the tech we use in our headphones today.
Common Questions About Cleaning Up Your Audio
Even when you have the best tools ready to go, cleaning up audio isn't always straightforward. It's as much an art as it is a science, and a few common roadblocks can trip up anyone, from beginners to seasoned pros. Let's walk through some of the questions that pop up most often so you can get back to what matters: creating amazing sound.
We'll get into the nitty-gritty of protecting vocal quality, picking the right software, and figuring out the best workflow. These are the practical details that truly elevate your final mix.
Can I Get Rid of Noise Without Messing Up the Vocals?
This is the million-dollar question. The short answer is a confident yes, but it comes with a major catch: you can’t be heavy-handed. Modern tools, particularly the AI-driven ones, are getting incredibly smart at telling the difference between a human voice and a background hum. They’re built to isolate and protect speech.
The trick is to avoid going overboard. It's tempting to crank a noise reduction setting all the way to 100%, but this almost always introduces weird audio issues, or what we call "artifacts." You might start hearing:
- A "watery" or "phasey" effect: This makes the voice sound like it's warbling or coming through a long tube.
- Muffled dialogue: When you remove too much, you can strip out the high frequencies that give speech its crispness and clarity.
- Gating: The tool can get confused and chop off the beginning or end of words, mistaking quiet speech for noise.
Pro Tip: Your goal should be to reduce the noise until it's no longer distracting, not to completely erase it. A touch of natural room tone is almost always better than a sterile, robotic-sounding voice.
What’s the Best Free Software for This?
If you're working on a tight budget, you really can't beat Audacity. For years, it has been the workhorse for free audio editing. Its built-in Noise Reduction effect is surprisingly effective for constant, steady background sounds—think the low hum of an air conditioner or the hiss from an old preamp.
It might not have the one-click "wow" factor of paid AI software, but for many common problems, it gets the job done well. Its classic two-step process—where you first capture a "noise profile" to teach the tool what to listen for—is a great way to understand the fundamentals of how noise reduction actually works.
Should I Fix Noise During or After Recording?
This feels like a trick question, because the real answer is before. Seriously. The best way to deal with background noise is to stop it from getting into your microphone in the first place. Every noise reduction tool, no matter how good, will degrade your audio quality at least a little bit.
Think of your source recording as the foundation of a house; if it's shaky, everything you build on top of it will be, too. A few simple steps before you press record will make a world of difference:
- Find a quiet space, preferably a room with soft surfaces like carpets, curtains, or a couch.
- Kill any background noise you can control—turn off fans, air conditioners, and humming refrigerators.
- Use the right mic for the job. A dynamic microphone is often a lifesaver in untreated rooms.
When you start with a clean recording, any noise reduction you need to apply later can be gentle and subtle, which keeps the natural, rich quality of your voice intact.
Ready to pair that perfectly clean audio with a stunning video? MyKaraoke Video makes it easy to turn any song into a professional karaoke or lyric video in minutes, right from your browser. Start creating your first video for free!