
So, you're looking to convert a WAV file into an MP3. The good news is, it's a straightforward process. You're essentially just using a tool to compress a large, high-fidelity WAV file into a much smaller, more convenient MP3. This simple switch makes your audio files way easier to store, share, and play back on pretty much any device you own.
Why and When to Change WAV into MP3
Before we jump into the "how," let's talk about the "why." You’ve got this perfect, uncompressed WAV file, which is amazing for professional audio work. Why on earth would you want to mess with it? The answer almost always boils down to one thing: convenience.
WAV files are like the raw photos of the audio world. They capture every single bit of sound data, giving you the absolute best quality possible. This is exactly what you want for studio recording, mastering, or long-term archiving. But that incredible quality comes with a hefty price tag: file size. A standard three-minute song saved as a WAV can easily take up over 30 MB of space.
The Case for Making the Switch
This is where the MP3 format really comes into its own. An MP3 is a compressed, or "lossy," version of that same audio. It uses a clever algorithm to strip out sounds that are least likely to be noticed by the human ear. This process dramatically shrinks the file size—often by up to 90%—without a huge drop in audible quality for the average listener.
That bulky 30 MB WAV file? It becomes a nimble 3-4 MB MP3. This trade-off is at the heart of why people convert these files so often, as this quick guide shows.
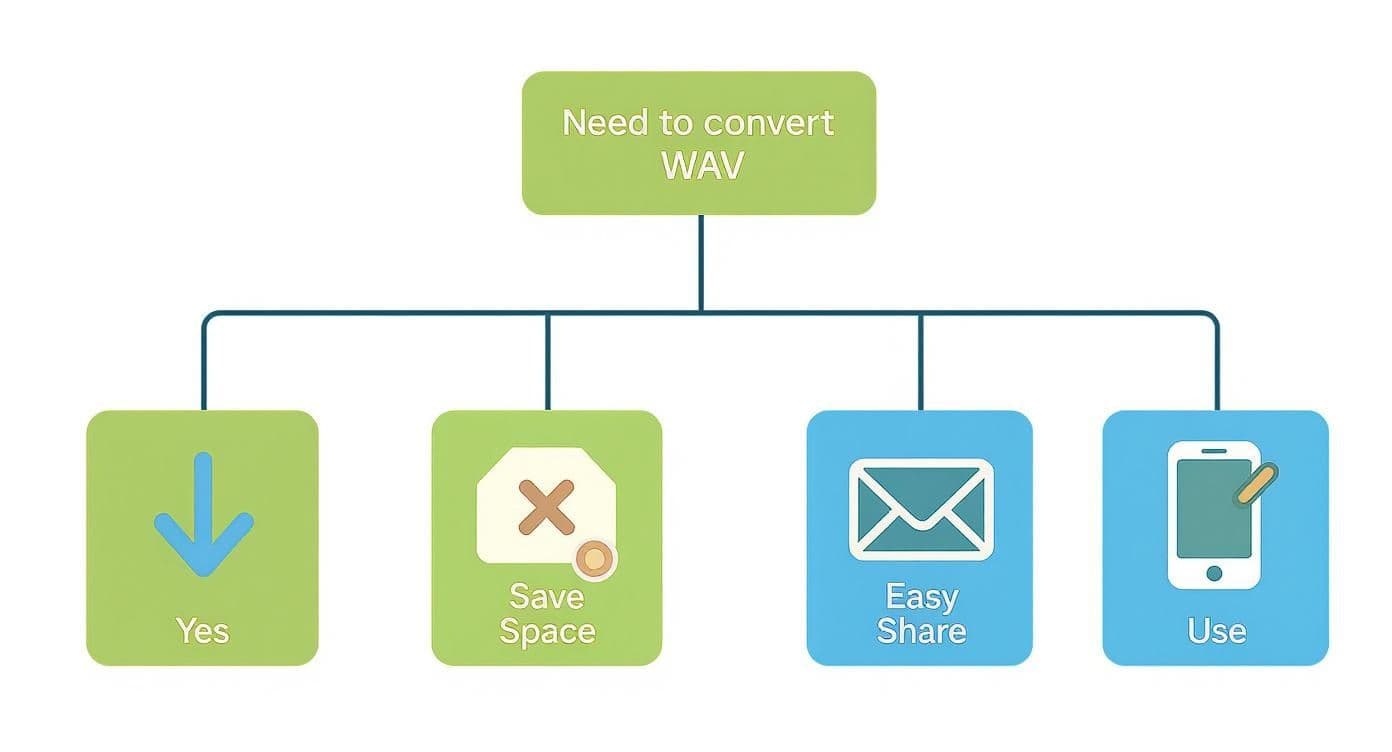
As you can see, the main reasons are practical. It’s all about saving space and making sure your audio works everywhere, especially on mobile devices.
To really understand the trade-offs, here's a quick look at the key differences between the two formats.
WAV vs MP3 Quick Comparison
| Feature | WAV (Waveform Audio File Format) | MP3 (MPEG Audio Layer III) |
|---|---|---|
| Compression | Uncompressed (lossless) | Compressed (lossy) |
| File Size | Very large (approx. 10 MB per minute) | Small (approx. 1 MB per minute) |
| Audio Quality | Studio/CD quality; retains all original data. | Good to excellent; minor quality loss. |
| Best For | Professional audio editing, mastering, archiving. | Music libraries, streaming, mobile devices. |
| Compatibility | Widely supported, but large size is an issue. | Universal support on nearly all devices. |
Ultimately, choosing between them depends entirely on what you plan to do with the audio file. For listening on the go, MP3 is usually the right call.
Real-World Scenarios for Conversion
So, when does it make sense to convert a WAV to an MP3? Here are a few common situations I run into all the time:
- Saving Storage Space: If you're building a massive personal music library, those WAV files will chew through your hard drive or cloud storage in no time. Converting your collection to MP3 frees up a staggering amount of space.
- Mobile Listening: Trying to load a playlist of uncompressed WAVs onto your phone for a run is a recipe for frustration. MP3s take up a fraction of the space and are guaranteed to work with any music app you use.
- Sharing and Uploading: Ever tried to email a WAV file? You probably hit the "file too large" error. Converting to an MP3 first makes sharing with friends, uploading to social media, or sending to a colleague a quick and painless process.
The demand for good audio converters has exploded for these very reasons. As more of our lives involve digital audio, the need to make large files portable has become a routine task for almost everyone, which you can see reflected in the market analysis of audio converter software.
Get High-Quality Conversions with Free Desktop Software
When you really need to get things right, nothing beats dedicated desktop software for turning a WAV into an MP3. Forget those quick-and-dirty online tools. A proper desktop app gives you the keys to the kingdom, letting you control every aspect of the final audio, from quality settings to the metadata that keeps your library organized. A fantastic, and completely free, tool for this job is Audacity.
What I love about this approach is that you're not just doing a blind conversion. You're actually importing the audio into a project. This gives you a chance to do some final polish—maybe trim a bit of silence from the start, adjust the volume, or even apply a subtle effect. It turns a simple file conversion into a mini-mastering session, which always leads to a better result.
Getting Your WAV File into Audacity
First things first, open up Audacity. You can literally just drag and drop your WAV file right into the main window. If you prefer menus, you can always go to File > Import > Audio.
You'll immediately see the audio's waveform pop up on the screen. This visual feedback is a huge plus, letting you see the structure of your audio before you do anything else.
This is the perfect moment to make any final tweaks. Need to clean up the intro or isolate a specific section for your karaoke track? Now's the time. If you’re dealing with a long recording and only need a piece of it, our guide on how to split audio files walks you through the process in detail.
Navigating the MP3 Export Settings
Once you’re happy with the audio, it's time to export. Head over to File > Export > Export as MP3. This is where the magic happens. A dialog box will appear with the settings that determine the final quality and file size of your MP3.
The most important decision you'll make here is the Bit Rate Mode. It sounds technical, but it’s pretty straightforward. Here’s how they break down:
- Constant (CBR): This is the old-school method. It uses the exact same amount of data for every single second of audio, whether it's a loud chorus or dead silence. It’s super compatible but not very efficient.
- Variable (VBR): This is almost always the best choice for music. VBR is smart—it uses more data during complex parts of a song and less during simple or quiet parts. You get fantastic quality without a bloated file size.
- Average (ABR): Think of this as a middle ground between CBR and VBR. It tries to hit a target average bitrate for the whole file. It’s a decent compromise if VBR gives you trouble on an older device.
- Preset: The easiest option by far. Just choose a quality level like "Standard" or "Extreme," and Audacity handles the technical VBR settings for you. Simple.
For almost any kind of music, my go-to recommendation is Variable Bit Rate (VBR) using a high-quality preset. The audio quality is virtually identical to a massive 320 kbps CBR file, but you'll end up with a much smaller, more manageable file.
Adding Metadata and Finalizing Your File
Before you hit that final save button, Audacity will show you an "Edit Metadata Tags" window. Don't just click past this! This is where you embed all that useful info—like artist name, album, and track title—directly into the MP3. This is what music players and software use to keep your collection neat and searchable.
Taking a few seconds to fill this out properly will save you headaches later. Once that’s done, click "OK," pick a name and a place to save your file, and you’re finished. You’ve just created a professional-grade MP3.
While Audacity is a powerful tool for this, it's really just the tip of the iceberg. If you find yourself needing even more advanced audio editing capabilities, it might be worth exploring some of the best free Digital Audio Workstation software out there.
Choosing a Safe and Reliable Online Converter
Sometimes, you just need a quick conversion. You don't want to install software for a one-off task, and that's where online converters come in. They're fast, work straight from your browser, and seem like the perfect fix.
But here's the catch: the web is saturated with these tools, and frankly, a lot of them are sketchy. Choosing the wrong one can be a real headache, leading to a minefield of aggressive ads, potential malware, or even privacy breaches. When you upload a file, you're trusting a third-party server with your data. You have to be sure it's in good hands.

Spotting the Red Flags
From years of experience, I can tell you that a trustworthy converter feels clean and professional. It focuses on getting the job done, not distracting you. Here are the immediate warning signs that tell me to hit the back button and find another site:
- A minefield of pop-ups and redirects: If the page is exploding with ads or constantly trying to send you elsewhere, it’s a bad sign. Legitimate services don't need to rely on such aggressive tactics.
- Asking for personal info: Why would a file converter need your email address? It shouldn't. If a site demands you sign up or provide any personal details just to convert a file, be very suspicious.
- A missing or vague privacy policy: A good service will be upfront about how they handle your files—specifically, how long they keep them. If you can't find a clear policy, just assume they aren't protecting your data.
- Pushing browser extensions: This is a huge red flag. Some sites will claim you need to install an extension to proceed. Never do this. These are often a trojan horse for adware or other junk you don't want on your system.
A Safe and Simple Workflow
Once you’ve landed on a site that looks clean and trustworthy, the actual conversion process is usually a breeze. You’ll upload your WAV, pick your settings, and kick off the conversion.
When it comes to the settings, the most important one is the bitrate. For most listeners, 192 kbps is the sweet spot—it delivers great audio quality without creating a massive file. If you're an audiophile and can't compromise on sound, bumping it up to 320 kbps will give you the richest quality an MP3 can offer.
My Golden Rule for Privacy: Never, ever upload sensitive audio to a public online converter. This means no private voice memos, confidential business meetings, or unreleased song demos. For anything that needs to stay private, stick with offline desktop software where your files remain securely on your own computer.
If you’re hunting for reliable, free tools for various audio jobs, checking out reviews on the best free YouTube to MP3 converter tools can point you toward some well-vetted options.
After the conversion finishes, a good service will offer a direct download link and, crucially, will automatically wipe your file from their servers within a few hours. That's the sign of a platform that respects your privacy.
2. Using the Command-Line with FFmpeg
If you're comfortable with a little bit of code and need to convert audio files regularly, nothing beats the power and speed of FFmpeg. Think of it as the Swiss Army knife for audio and video. It's the engine running under the hood of countless media apps, and using it directly from the command line gives you complete control over your conversions.
For anyone in production, development, or even just archiving a large music library, converting files one by one is a nightmare. FFmpeg turns that multi-hour, click-heavy chore into a single command that you can fire and forget. It might look a bit technical at first, but once you get the hang of a few basic commands, you'll wonder how you ever managed without it.
The official website is all business—no fluff, just direct access to downloads and deep-dive documentation. This is typical for powerful tools built for people who just want to get things done.
Your First Conversion: One File at a Time
First things first, you'll need to have FFmpeg installed on your computer. Once that's sorted, open up your Terminal (on Mac/Linux) or Command Prompt (on Windows) and use the cd command to get to the folder where your WAV file lives.
The simplest command for a single conversion is short and sweet. You just tell FFmpeg your input file, a few quality settings, and what to name the new file.
Here's the basic recipe:
ffmpeg -i input.wav -vn -ar 44100 -ac 2 -b:a 192k output.mp3
Let’s quickly translate that into plain English:
-i input.wav: The input file. Just swapinput.wavwith your actual file name.-vn: This is a handy flag that tells FFmpeg to ignore any video data. It's good practice for clean audio-only conversions.-ar 44100: Sets the audio sample rate to 44100 Hz, which is standard CD quality.-ac 2: Specifies 2 audio channels, giving you stereo sound.-b:a 192k: This is the audio bitrate. We're using 192 kbps here, which is a fantastic sweet spot between file size and listening quality.output.mp3: And finally, the name for your shiny new MP3 file.
That's it! You can tweak the -b:a value up to 320k for maximum quality or down to 128k if you need smaller files. The principles of adjusting audio parameters like this are universal, and if you work with video, our guide on how to boost MP4 volume touches on similar concepts.
Table: Common FFmpeg Commands for WAV to MP3 Conversion
To give you a head start, here are a few common FFmpeg commands you'll likely use for converting WAV to MP3. These examples cover everything from a basic single file to more advanced batch processing and quality adjustments.
| Task | FFmpeg Command Example |
|---|---|
| Basic Conversion (192kbps) | ffmpeg -i input.wav -b:a 192k output.mp3 |
| High-Quality Conversion (320kbps) | ffmpeg -i input.wav -b:a 320k output_hq.mp3 |
| Variable Bitrate (VBR) | ffmpeg -i input.wav -q:a 2 output_vbr.mp3 |
| Batch Convert All WAVs in a Folder (Windows) | for %a in ("*.wav") do ffmpeg -i "%a" -b:a 192k "%~na.mp3" |
| Batch Convert All WAVs in a Folder (macOS/Linux) | for f in *.wav; do ffmpeg -i "$f" -b:a 192k "${f%.wav}.mp3"; done |
| Convert and Normalize Audio | ffmpeg -i input.wav -af "loudnorm" -b:a 192k output_normalized.mp3 |
These commands are your building blocks. You can copy, paste, and adapt them to fit just about any conversion scenario you can think of.
The Real Magic: Batch Processing
Converting one file is cool, but what if you have a folder with 50 WAV files from a recent recording session? This is where FFmpeg truly shines. You can use a simple for loop to tell it to process every single WAV file in a folder automatically.
If you're on Windows, use this command in Command Prompt:
for %a in ("*.wav") do ffmpeg -i "%a" -b:a 192k "%~na.mp3"
For my fellow macOS and Linux users, the syntax is a little different:
for f in *.wav; do ffmpeg -i "$f" -b:a 192k "${f%.wav}.mp3"; done
Just paste the appropriate command into your terminal when you're in the right folder, hit Enter, and lean back. FFmpeg will churn through every
.wavfile and spit out a perfectly converted MP3, keeping the original filename. This is automation at its most practical.
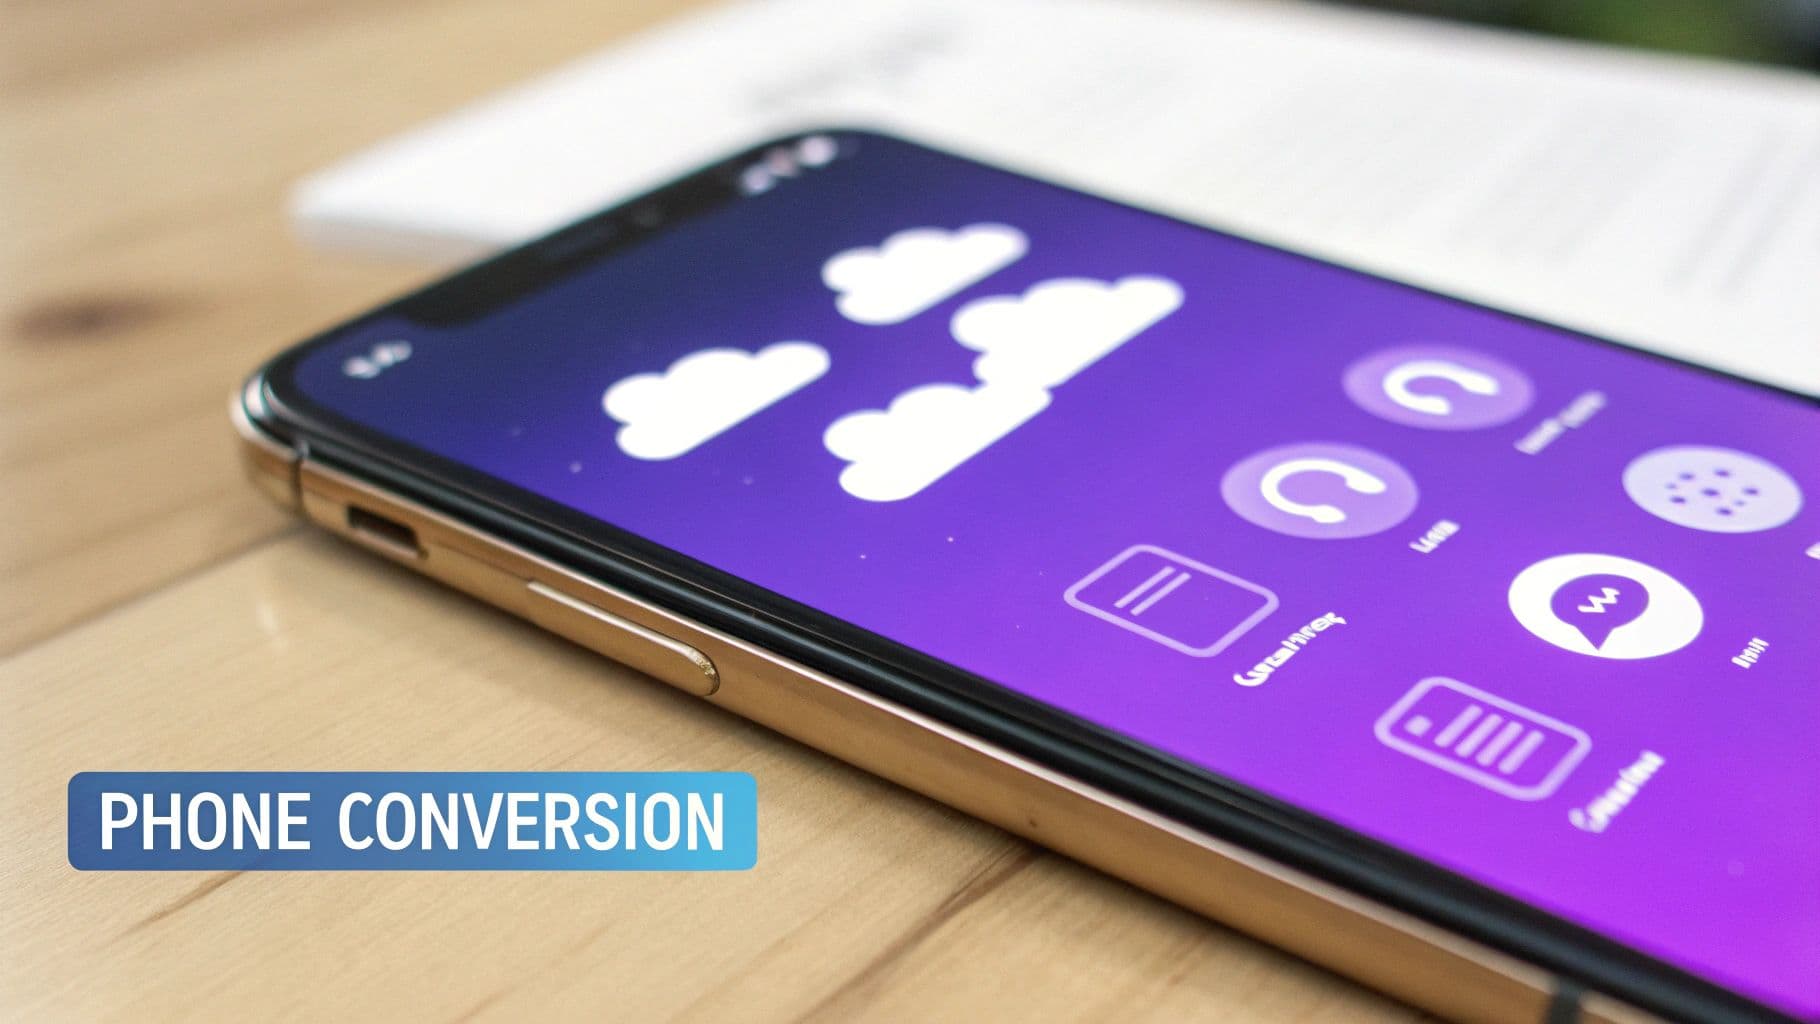
How to Convert Audio Directly on Your Phone
Let's be honest, your phone is a powerful little computer. It’s more than capable of handling audio conversions, especially when you’re away from your main workstation. If you need to quickly turn a WAV file into an MP3, a good mobile app is your best bet.
This comes in handy all the time. Maybe you're a journalist sending a field recording back to the newsroom or a musician who just recorded a quick demo and needs to email it. Mobile conversion frees you from being chained to your desk.

Of course, the App Store and Google Play are flooded with options. The trick is to find an app that feels focused and secure, not one that's just a vehicle for intrusive ads. You're trying to do a simple task, and the best apps respect that with a clean, straightforward interface.
Key Features in a Mobile Converter
Not all apps are built the same, and some are frankly a waste of time. To make sure you’re downloading a tool you'll actually use, here are a few key features that I always look for. These are what separate a basic, one-trick pony from a genuinely powerful mobile utility.
- Bitrate Control: This is non-negotiable. The ability to choose your audio quality—whether it's 128, 192, or 320 kbps—is essential. It puts you in direct control of the balance between file size and sound fidelity.
- Cloud Integration: Apps that can pull files directly from Google Drive, iCloud, or Dropbox are a lifesaver. This simple feature lets you grab a file from your cloud storage, convert it, and save it right back without ever needing to touch a computer.
- Batch Processing: If you ever need to convert more than one file, this is a must-have. You can just select a whole folder of WAVs and let the app convert them all in one shot while you grab a coffee.
The process is usually pretty simple. You open the app, import your WAV file from your phone's local storage or a cloud service, pick MP3 as the output format, tweak the bitrate if you want, and hit the convert button. The app does its thing and then gives you the option to save or share the new MP3 right from your phone.
One of the biggest headaches with mobile audio is compatibility. As instructional designers often point out in online forums, a format like WAV can be fussy and sometimes fails to play correctly in mobile learning apps. MP3 is just a much safer, more universal format.
Finding a Trustworthy App
When you’re browsing the app store, always start with apps that have high ratings and recent updates. A recent update log shows the developer is still actively supporting the app.
Take a minute to read a few user reviews, too. You're looking for red flags like hidden subscription fees, privacy issues, or major bugs. A good developer is usually pretty transparent.
Once you find an app you like, you'll be able to quickly convert recordings, voice notes, or music stems no matter where you are. It's a perfect workflow for anyone who's constantly on the move and needs to manage their audio files with that same kind of flexibility.
Solving Common Audio Conversion Problems
Even with the best tools, converting a WAV file into an MP3 doesn't always go off without a hitch. You might end up with a file that sounds distorted, refuses to play, or is missing all its song info. Don't worry—most of these issues are surprisingly easy to fix.
If you get a frustrating error message or a corrupted file, the culprit is often a simple interruption during the conversion, especially with online tools. The first thing to do? Try the conversion again. If you're using a web-based converter, just make sure you have a stable internet connection before you re-upload the file. It often works the second time.
Dealing with Poor Audio Quality
One of the most common letdowns is a noticeable drop in sound quality. Your new MP3 might sound thin, tinny, or have weird digital artifacts that weren't there before. This almost always comes down to choosing a bitrate that's too low for the original audio.
- For music: A bitrate of 192 kbps is a great starting point for solid quality. If you can still hear imperfections, bumping it up to 256 kbps or even 320 kbps should give you a perfect result.
- For spoken word: Things like podcasts or voice notes are much more forgiving. You can usually get away with 128 kbps without anyone noticing a difference.
Remember, garbage in, garbage out. If your original WAV has background hiss or noise, converting it won't magically make it disappear. You'll need to clean up the source audio first. We've got a great guide on how to remove background noise from a mic that walks you through some practical fixes before you start converting.
Fixing Missing Song Information
Another classic headache is creating an MP3 only to see it show up as "Track 01" by "Unknown Artist." This happens when the metadata—the embedded artist, album, and title information—gets lost in translation.
This is actually a fundamental weakness of the WAV format itself. It doesn't have a standardized, robust way to handle metadata tags like MP3s do, so this info often has to be added manually when you export.
Luckily, adding it back is simple. Desktop software like Audacity has a dedicated metadata editor that pops up right before you save the file, letting you fill everything in. If you used an online tool that skipped this step, you can use a fantastic free app like MP3Tag to easily add or correct the track information after the fact. Taking a moment to do this keeps your music library from becoming a disorganized mess.
Still Have Questions About Converting WAV to MP3?
https://www.youtube.com/embed/-ov3RCcaDTw
Even with the right tools, a few questions always seem to pop up when you're converting WAV files to MP3. Let's tackle some of the most common ones so you can get the job done right and avoid any headaches.
Can I Convert an MP3 Back to WAV to Get the Quality Back?
That's a common question, but unfortunately, the answer is no. Once a WAV file is compressed into a lossy format like MP3, audio data is permanently thrown away to save space.
Converting that MP3 back to WAV just puts the compressed audio into a larger, uncompressed container. You can't magically restore the data that was lost. It’s like trying to turn a blurry, low-resolution photo back into a sharp, high-resolution original—the detail is gone for good.
What's the Best Bitrate for Music vs. Podcasts?
The ideal bitrate really hinges on what you’re listening to.
- For music: A bitrate of 192 kbps is a fantastic sweet spot. It delivers rich, clear sound that most people can't distinguish from a CD, all while keeping the file size manageable.
- For podcasts or voice recordings: You can easily drop down to 128 kbps. For spoken word content, you won't notice any real drop in clarity, and you'll save a good chunk of storage space.
Your choice of format and bitrate matters. As digital music consumption grows, with projections hitting $48.95 billion by 2025, understanding these settings ensures your audio is both high-quality and accessible. You can learn more about the audio converter market.
Ready to create stunning lyric videos without the hassle of file conversions and complex software? MyKaraoke Video lets you upload your music and lyrics directly in your browser. Our AI-powered tools and intuitive editor make it simple to produce professional-quality karaoke videos in minutes. Try it now at https://www.mykaraoke.video.