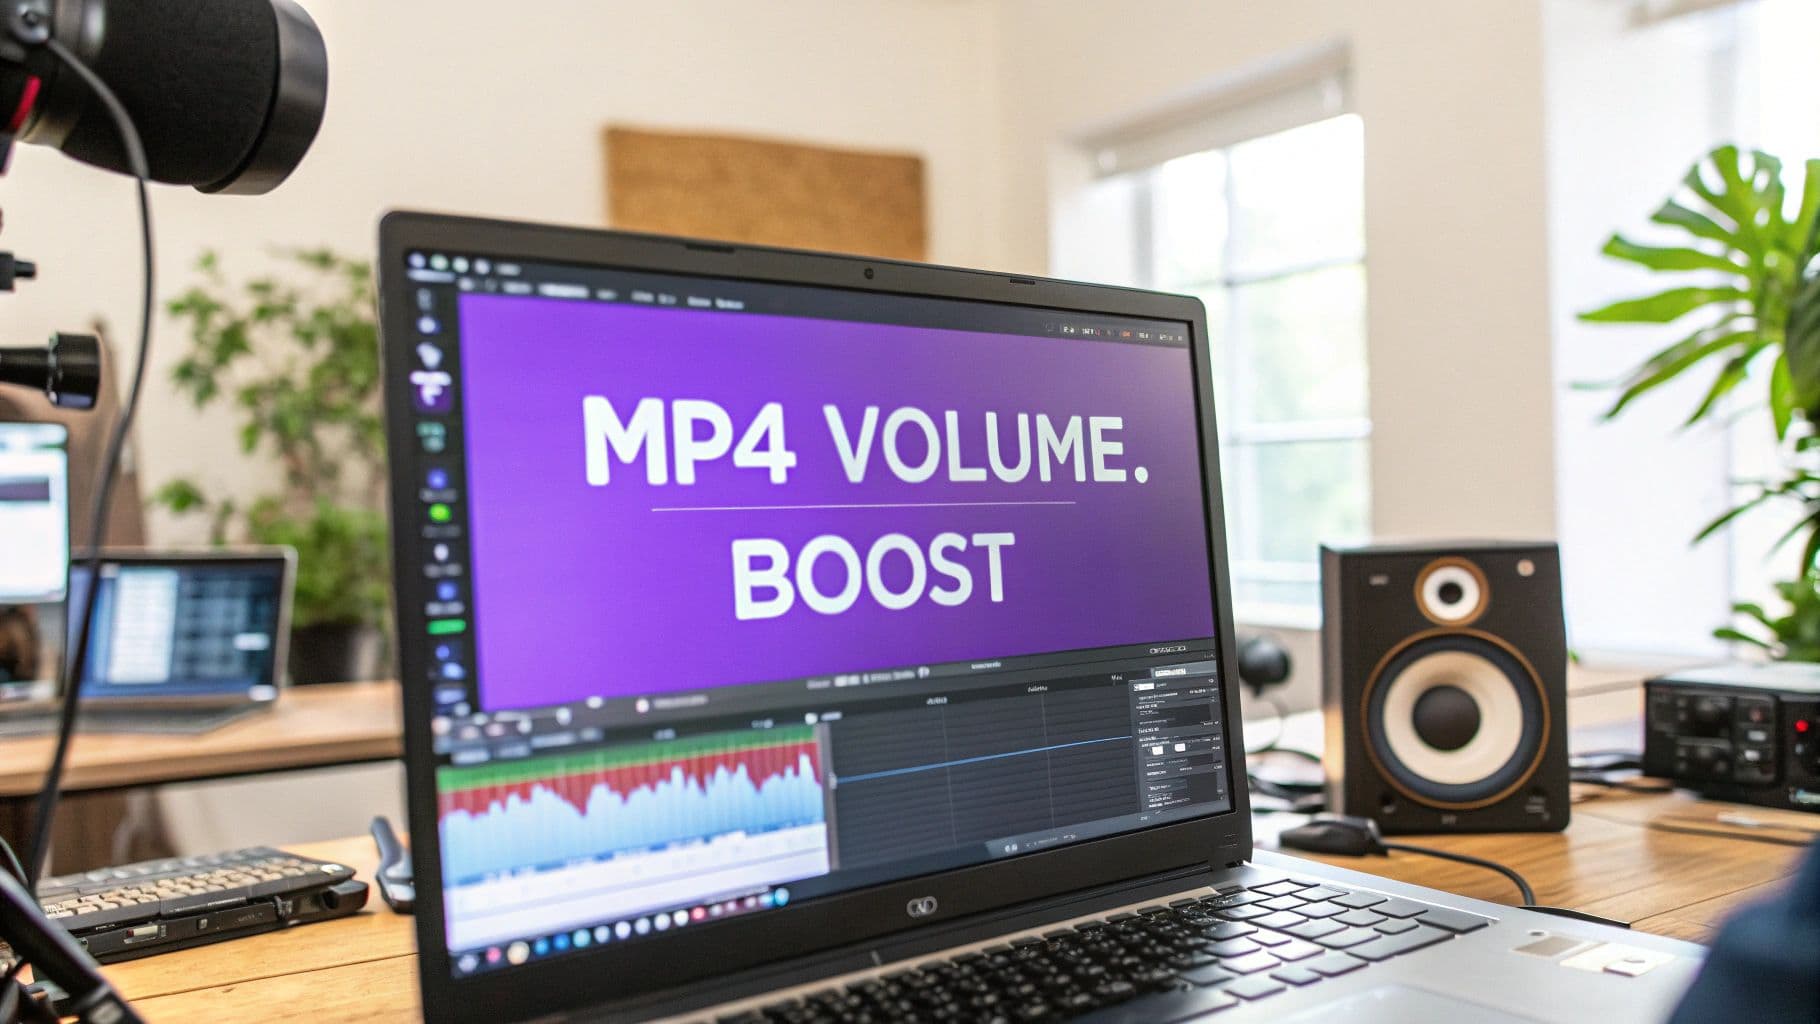
Why Your MP4 Audio Is Too Quiet And How To Fix It
It stings to wrap up a video edit only to find the sound is barely audible. An MP4 volume boost simply means turning up the audio level in your MP4 file, and you don’t need a degree in audio engineering to pull it off. Whether you lean on an online utility, the powerful command-line tool FFmpeg, or the software you already know, the fix is straightforward.
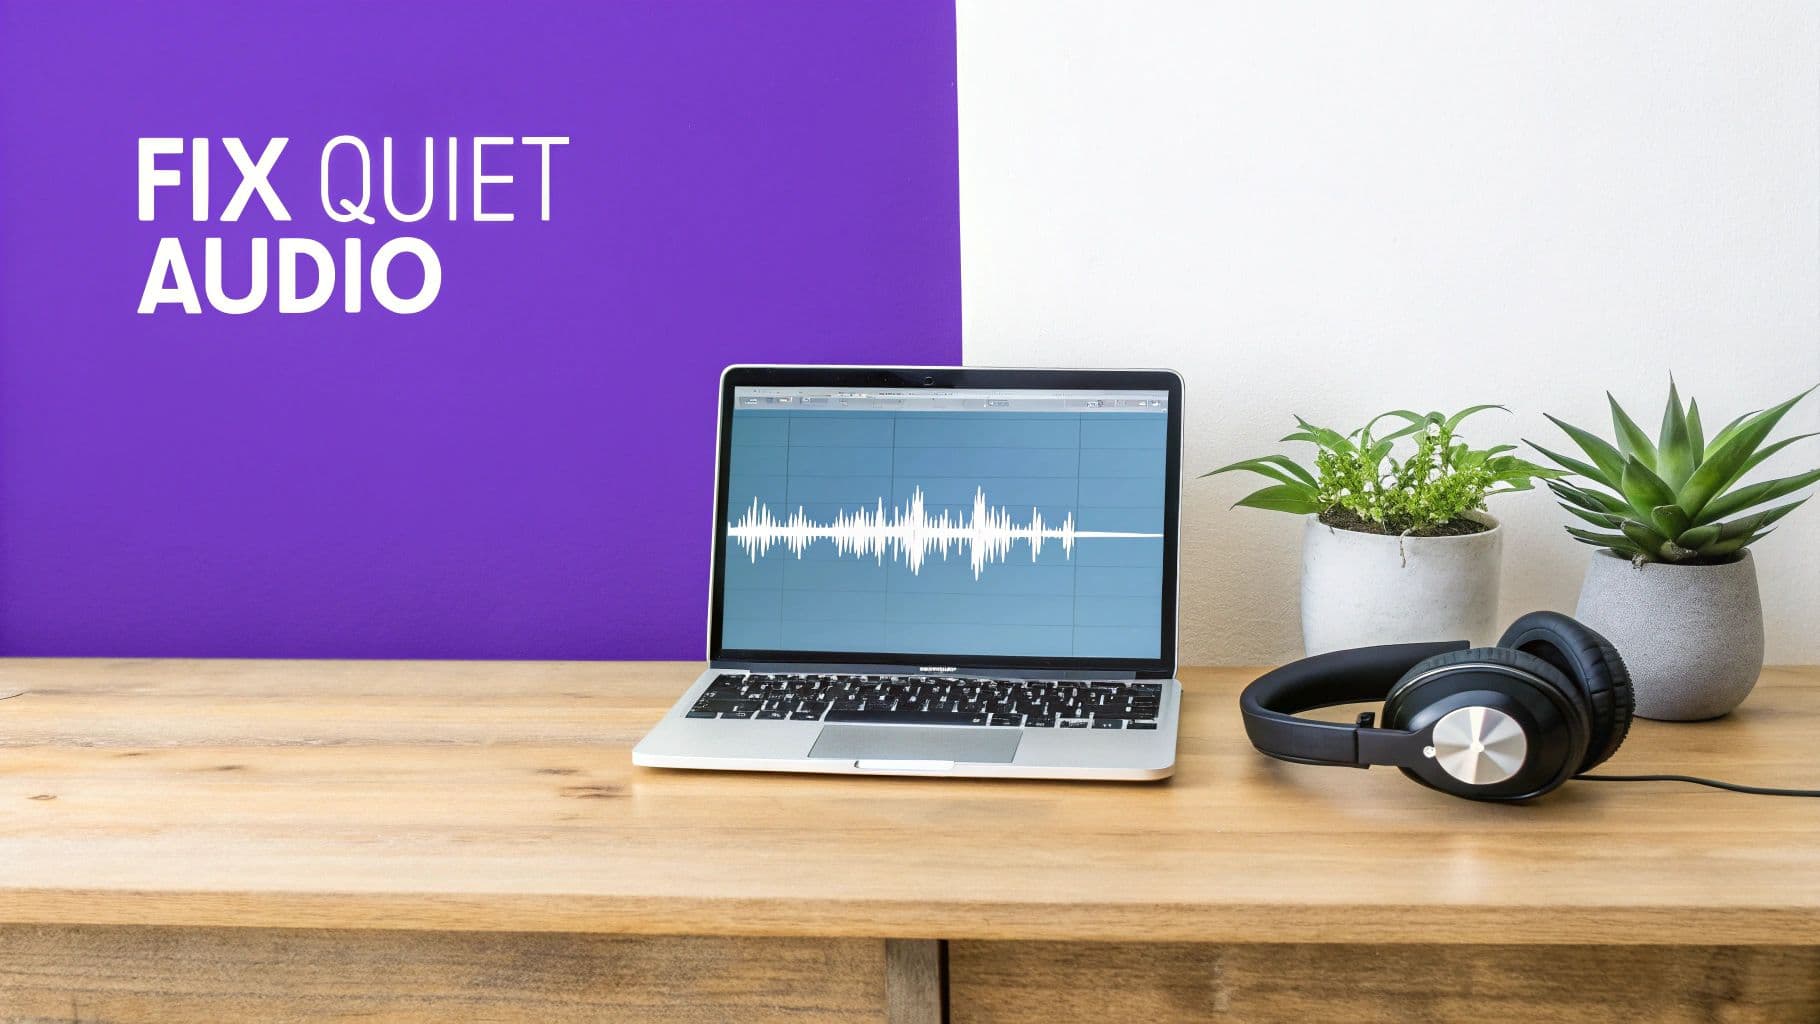
Quiet audio can turn a solid video into a frustrating experience. Often, it’s just misplaced microphones or export settings set too low. Good sound is crucial—especially when optimizing vertical video for platforms like TikTok, Reels, and Shorts where viewers often skip on headphones.
Below are three paths you can take:
- Simple Online Tools: Upload your MP4, drag a volume slider, and download the boosted file in seconds.
- FFmpeg Command Line: Add a filter like
-filter:a "volume=1.5"for precise control and batch processing. - Built-In Video Editor Features: Most editors let you raise gain or apply audio effects without leaving your timeline.
Choosing Your MP4 Volume Boosting Method
Here’s a quick comparison to help you decide which option fits your workflow:
| Method | Best For | Difficulty | Cost |
|---|---|---|---|
| Online Audio Boosters | One-off volume fixes | Very Easy | Free or Freemium |
| FFmpeg | Precise control, batch processing | Intermediate | Free |
| Video Editors | Seamless workflow, creative projects | Easy to Moderate | Varies (often included) |
No matter which route you pick, each method preserves audio clarity while turning up the volume just enough.
The term “MP4 volume boost” dates back to when the MP4 format surged in popularity. By 2005, developers added specific tools to amplify audio without introducing distortion. You can dive into the evolution of portable media players to see how audio features improved over time.
Whether you need a quick fix or a solution you can fold into your regular editing routine, boosting your MP4’s volume is easier than you think. A few clicks or a short command line is all it takes to deliver clear, professional-sounding videos.
Get Instant Results with Online Volume Boosters
When you need a quick fix and don't want the hassle of installing new software, online tools are your best bet for a fast MP4 volume boost. I've found these browser-based platforms are fantastic for their simplicity. You can upload your video, crank up the volume, and download the new file in just a few minutes.
They're perfect for those one-off adjustments where a full-blown video editor feels like overkill.
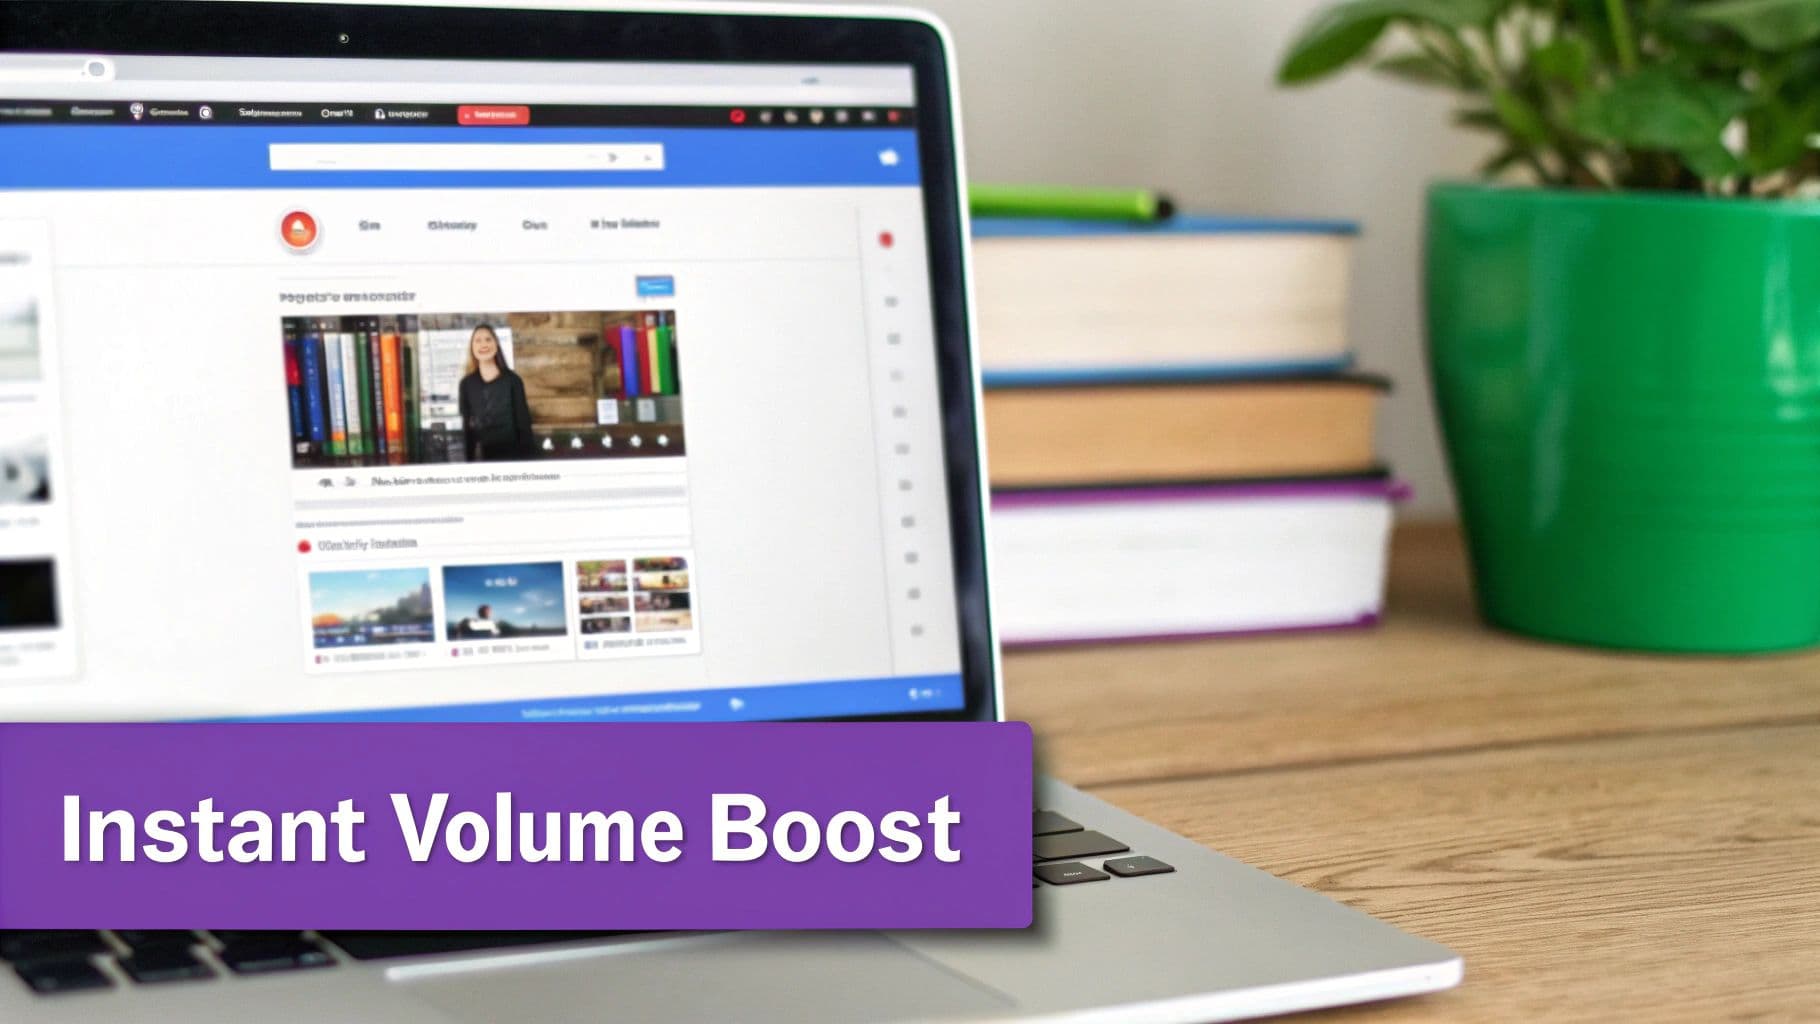
The whole process couldn't be easier. You just upload your MP4 file right to the website. From there, you'll usually find a simple slider or a box to increase the volume. If you need a quick, no-fuss adjustment, a dedicated online audio enhancer can give you instant results.
How to Safely Increase Volume
Here’s a crucial tip I’ve learned from years of editing: start with a small increase. A boost of just 3 to 6 decibels (dB) is often all you need to make dialogue crisp and music more impactful.
If you push the volume too high right away, you risk getting nasty distortion or "clipping," which makes the audio sound harsh and pretty much unlistenable.
My rule of thumb is simple: boost a little, listen back, and repeat if it's still too quiet. It's always better to make two small, careful adjustments than one giant one that ruins your audio track.
The Typical Online Workflow
Most online boosters follow a very similar, user-friendly process, which is great because it saves you from getting bogged down in technical details.
- File Upload: First, you’ll select the MP4 file from your computer. Just keep an eye out for file size limits, as most free services have them.
- Volume Adjustment: Next, you'll use the on-screen slider or input a number to set your desired decibel increase.
- Processing and Download: The tool then gets to work, applying the audio change without re-encoding or affecting the video quality. Once it's done, you just download your new, louder MP4 file.
This whole method is incredibly efficient for a quick turnaround. It's really the ideal solution for boosting the audio on social media clips, personal videos, or any project that needs a fast, simple fix without a steep learning curve.
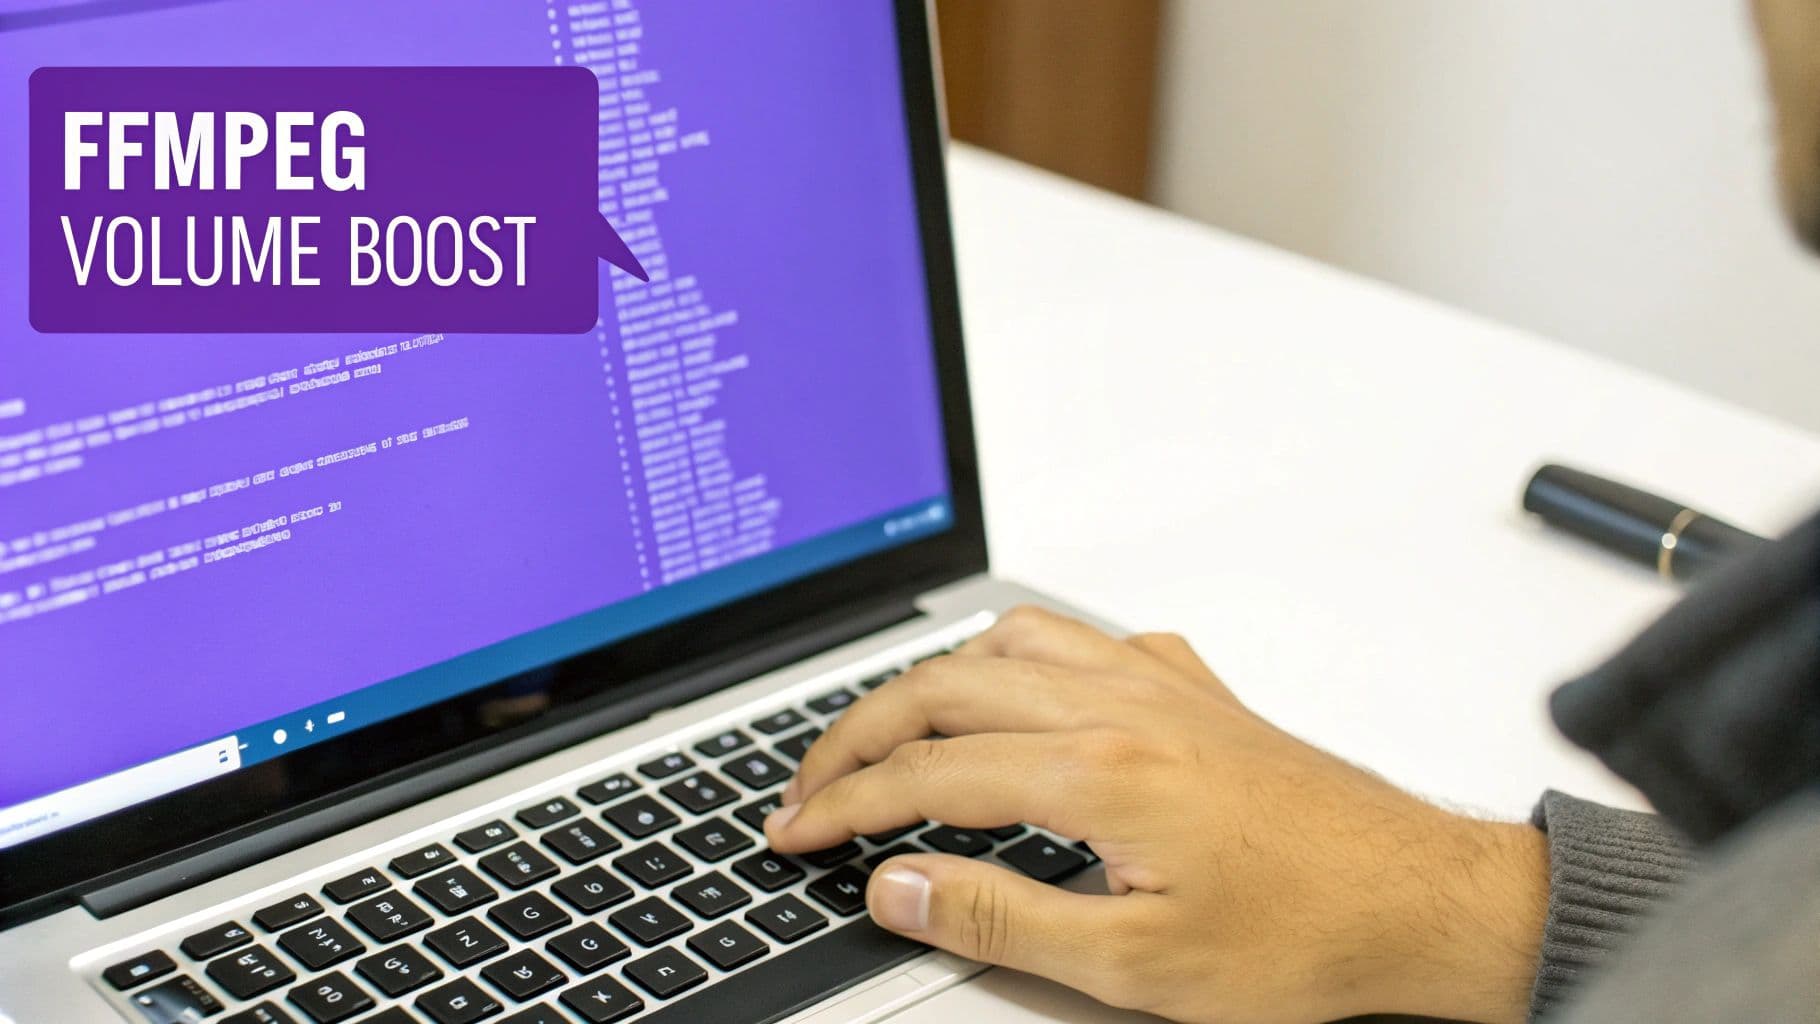
Gain Full Control Using FFmpeg For A Precise Boost
If you’re comfortable in a terminal, FFmpeg is like a Swiss Army knife for multimedia. You get pinpoint control over audio levels on MP4 files without spending a penny on extra software.
Imagine you’ve recorded a series of classroom lectures. Some students complain the audio is too faint on different devices. FFmpeg lets you crank up the volume on every clip at once, instead of wrestling with sliders in a GUI over and over.
Once FFmpeg is installed on Windows, macOS or Linux, batch processing becomes second nature. Whether it’s five videos or fifty, you’ll appreciate the speed and consistency when scripting your audio tweaks.
Understanding The Core FFmpeg Command
Here’s a straightforward example to lift volume by 6 dB:
ffmpeg -i input.mp4 -af 'volume=6dB' -c:v copy output.mp4
Key parts explained:
- -i input.mp4: Points to your source file. Change it to your actual filename.
- -af 'volume=6dB': The audio filter. You can choose a decibel value or use a multiplier like
volume=1.5. - -c:v copy: Skips re-encoding the video, so picture quality stays intact.
- output.mp4: This becomes your new, louder file.
Once this clicks, you can loop the command over entire folders. That means zero manual clicks and no chance of missing a file. If you ever need to split audio tracks before boosting them, check out our guide on splitting audio files.
Decibels Vs Multipliers: Which To Choose
Decibels offer predictable results, while multipliers can be quicker for rough adjustments. A +6 dB lift usually sounds twice as loud to listeners, whereas volume=2.0 applies a 2× amplitude scale.
| Option | Syntax | Typical Use Case |
|---|---|---|
| Decibels | volume=+6 dB | Precise doubling of perceived loudness |
| Multiplier | volume=2.0 | Quick, straightforward amplitude scaling |
My rule of thumb: bump by +3 dB first. If it still feels soft, go up to +6 dB. This approach helps you avoid clipping—those harsh peaks you want to steer clear of.
Say you have ten customer testimonials recorded at varying levels. A simple script in your terminal applies the exact same +5 dB boost to every file. It’s a huge time-saver compared to dragging faders in a video editor.
In short, the command line may look daunting at first. But once you get comfortable with this syntax, you’ll wonder how you ever managed bulk audio fixes any other way.
Boost Audio in Your Favorite Video Editor
Before you go hunting for a new app, the perfect tool to boost your MP4 volume might already be sitting on your computer. Most popular video editors—think DaVinci Resolve, CapCut, and Adobe Premiere Pro—have incredibly powerful audio features built right in.
If you're already in the middle of a project, this is easily the most efficient route. You get to keep your entire workflow consolidated in one place, which means no more exporting, fixing the audio in another program, and then re-importing. Total time-saver.
The great thing is, the basic process is nearly identical no matter what software you use. You just import your MP4, drop it onto the timeline, and start working directly with the audio track. For a refresher on the basics, our guide on how to edit an MP4 video is a great place to start.
A Universal Workflow for Boosting Volume
Once your video is on the timeline, you’ll see its audio represented as a waveform. From there, it's pretty straightforward.
- First, click the audio clip to select it.
- Next, look for the volume or gain control. This is usually in an "inspector" or "effects" panel on the side of your screen.
- Then, just crank it up. You can either drag a slider or type in a specific decibel (dB) number.
A small bump of 3-6 dB is often the sweet spot. I've found that's usually all it takes to make quiet dialogue clear or give background music the presence it needs. It's a quick, intuitive fix right inside your editor.
Going Beyond a Simple Volume Boost
But what if you want a more polished, professional sound? That's where a tool called a compressor comes in handy. A compressor is a smart effect that automatically turns down the loudest parts of your audio and boosts the quietest parts.
The result is a much more even and consistent sound. It makes the entire track feel louder and punchier without actually causing that nasty digital distortion known as "clipping."
I like to think of a compressor as an audio engineer automatically riding the volume fader for you. It ensures whispers are still audible and sudden shouts don't blow out your speakers, giving your audience a much better listening experience.
By getting comfortable with the tools you already have, you're not just doing a quick MP4 volume boost. You're opening the door to a world of audio enhancements that can seriously elevate the quality of your videos.
Common Mistakes That Can Ruin Your Audio
It’s tempting to just crank the volume slider all the way up for a quick fix, but that's a one-way ticket to harsh, distorted audio. This is a classic rookie mistake that causes clipping, where the tops of your audio waveforms get flattened out, creating a really unpleasant sound that nobody wants to hear.

Instead of making one massive jump, think incrementally. Nudging the volume up in small steps of 2–3 dB at a time is the way to go. This gentle approach protects your headroom and keeps the audio clean, preventing those nasty, sudden spikes in volume.
Here are a few pitfalls I've learned to sidestep over the years:
- Overdriving with too much gain: This is the fastest way to get clipping and that crunchy distortion we're trying to avoid.
- Relying on laptop speakers: They're notorious for hiding problems. What sounds fine on them can be a mess on good speakers or headphones.
- Skipping good headphones: This is a big one. You’ll miss the subtle artifacts and distortions that can completely ruin your audio's clarity.
I learned this the hard way once when I boosted a podcast track by 12 dB in one shot. It sounded loud, sure, but it was also a clipped, distorted disaster. That's when it really clicked for me: always trust your meters, not just your ears.
Do yourself a favor and always check your work on a pair of studio-quality headphones, not the built-in speakers on your laptop. Headphones will reveal clipping, imbalances, and other issues that those tiny drivers simply can’t reproduce.
Making small, incremental boosts lets you hear problems as they start to appear, giving you a chance to back off before any real damage is done.
Why Incremental Changes Matter
Taking it slow with small dB steps prevents those sudden, jarring jumps in amplitude that can throw your entire mix off balance. It’s a simple technique that translates to fewer do-overs and a lot less frustration.
Pro Tip: If you start to hear even a hint of a harsh, digital "sheen" at the peaks of the waveform, dial the gain back immediately. That's the sound of your audio begging for mercy.
Pushing a clip’s volume up by +10 dB or more in a single move is asking for trouble. A much safer bet is to monitor your levels in real time and make small, careful adjustments as you go.
For more tips on getting pristine sound, check out our guide on how to remove background noise from mic recordings.
At the end of the day, clean, clear audio is what grabs your audience's attention and keeps them engaged. It's worth the extra few minutes of care.
Common Questions About Boosting MP4 Volume
When you start tweaking audio levels, a few questions always pop up. Let's get them answered so you can adjust your video's sound with confidence.
Will Making My Video Louder Hurt The Picture Quality?
It really depends on the tool you use. If you're using a command-line tool like FFmpeg and specify that you only want to change the audio (-c:v copy), the video stream is left completely alone. This is the best way to guarantee zero quality loss.
On the other hand, many simple online tools and standard video editors have to re-render the entire file. When you go this route, just be sure to crank up the export quality settings to keep your video looking as sharp as possible.
How Loud Is Too Loud? What's A Good Decibel Boost?
There's no single perfect number, but a 3 to 6 dB boost is a great place to start. For most people, a 6 dB increase sounds about twice as loud, which is often more than enough.
A little pro-tip: start small. Boost it a little, pop on a good pair of headphones, and really listen. You can always add more. Pushing the volume too high, especially past 12 dB, is the fastest way to get that awful, distorted, clipped sound.
Can I Just Make One Part Of My Video Louder?
Absolutely, but you'll need a more advanced tool for that job. The simple boosters and basic FFmpeg commands we've discussed apply the volume change across the entire clip.
To fix just one section—like boosting a single person's dialogue in a conversation—you'll need to jump into a proper video editor. Software like DaVinci Resolve or Adobe Premiere Pro lets you slice up the audio track and use keyframes to precisely control the volume level from one moment to the next.
Ready to create stunning lyric videos with perfectly balanced audio? With MyKaraoke Video, you can easily sync lyrics and customize your visuals, all in your browser. Start crafting your next viral hit today at https://www.mykaraoke.video.