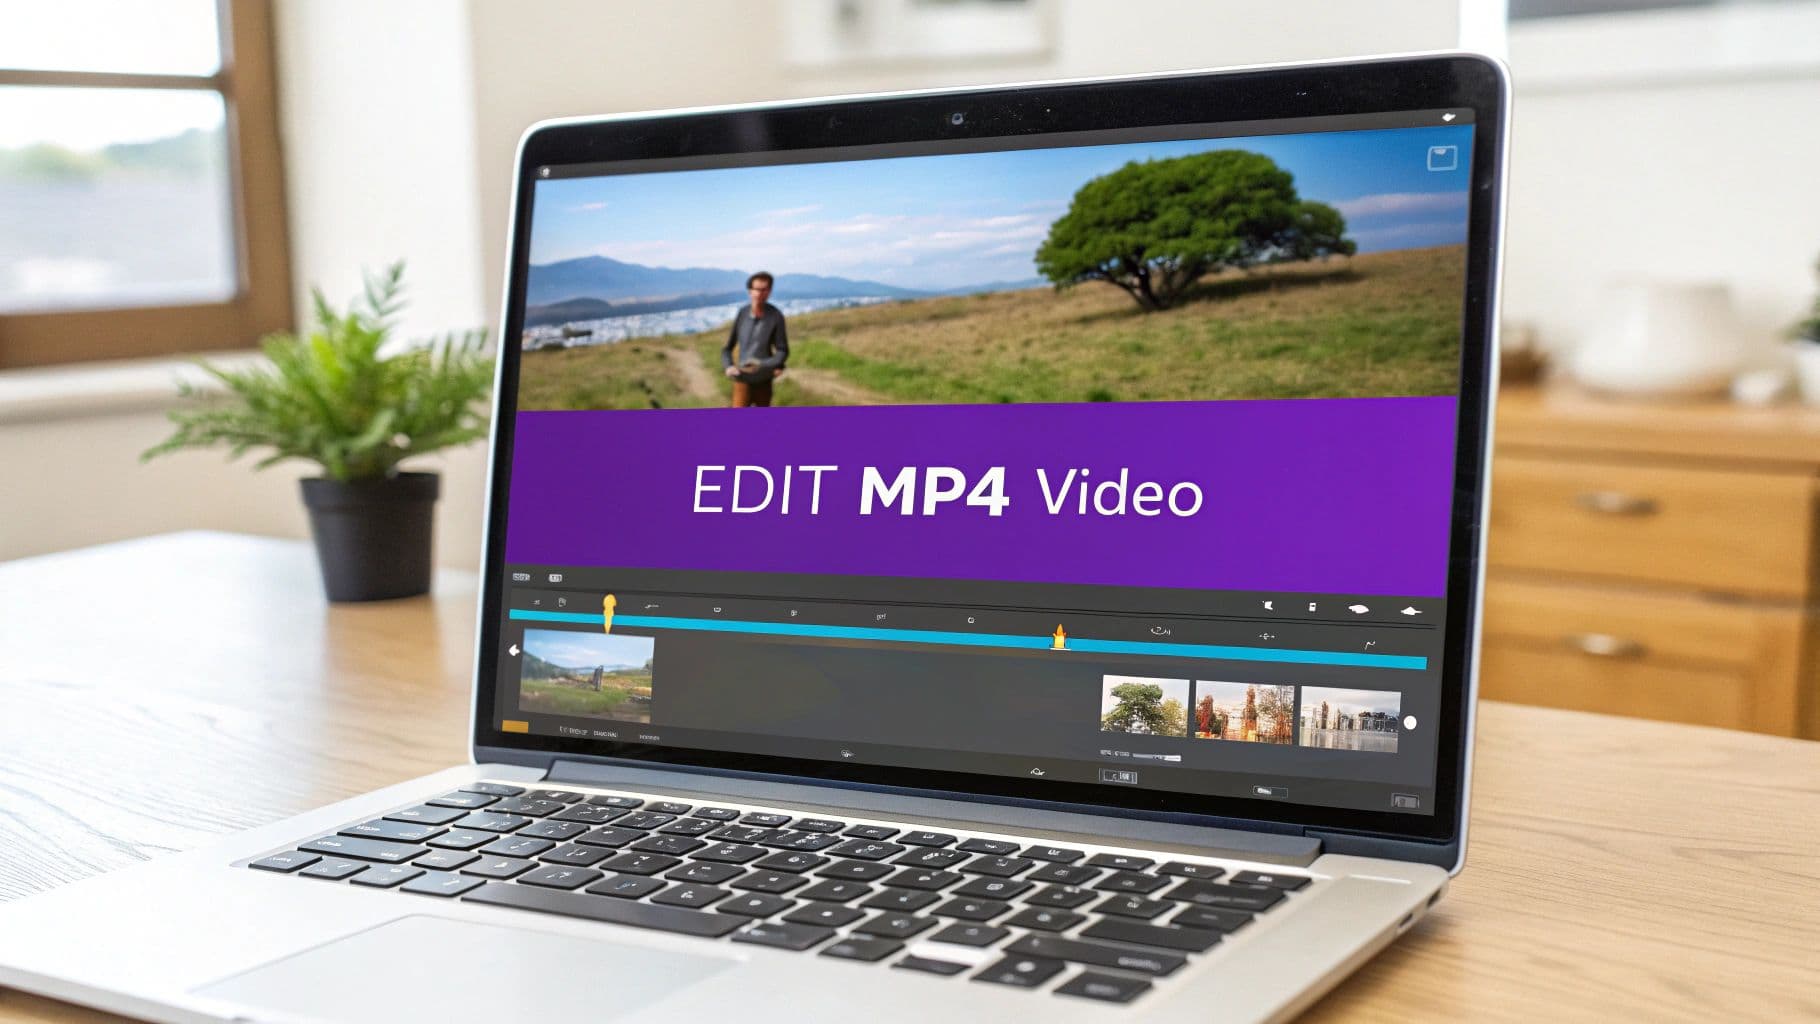
Got an MP4 file burning a hole in your hard drive? Awesome. Let's turn that raw footage into something you're excited to share. The fastest way to learn how to edit an MP4 video is to skip the intimidating, overly-complicated software and jump right into a browser-based tool like MyKaraoke Video. You can trim, sync your audio, and get a finished video in minutes. No installation required.
Your First MP4 Edit: Let's Make It Easy
Diving into video editing can feel like trying to pilot a 747 with no training. All those knobs, buttons, and confusing menus... no thanks. What if it felt more like hopping on a bike? With the right tools, you can skip the complex cockpit of traditional desktop software and get straight to the fun part: creating.
This is exactly why starting with a browser-based editor is such a smart move. They give you a direct path from a raw file to a polished project. It's a perfect fit for the MP4 format, which is an absolute powerhouse in the video world. It holds about 40% of the market share for a reason—it strikes a brilliant balance between fantastic quality and manageable file size.
Getting Off the Ground
Think of a tool like MyKaraoke Video as your personal editing launchpad. The idea is to get you comfortable with the essentials, fast. Once you've got the basics down, you'll feel much more confident tackling the more creative stuff later on.
This workflow isn't just a concept; it's your new reality. You bring your file in, you make your tweaks on the timeline, and you export your masterpiece. You don't need a beast of a computer or a degree in film studies to make it happen.
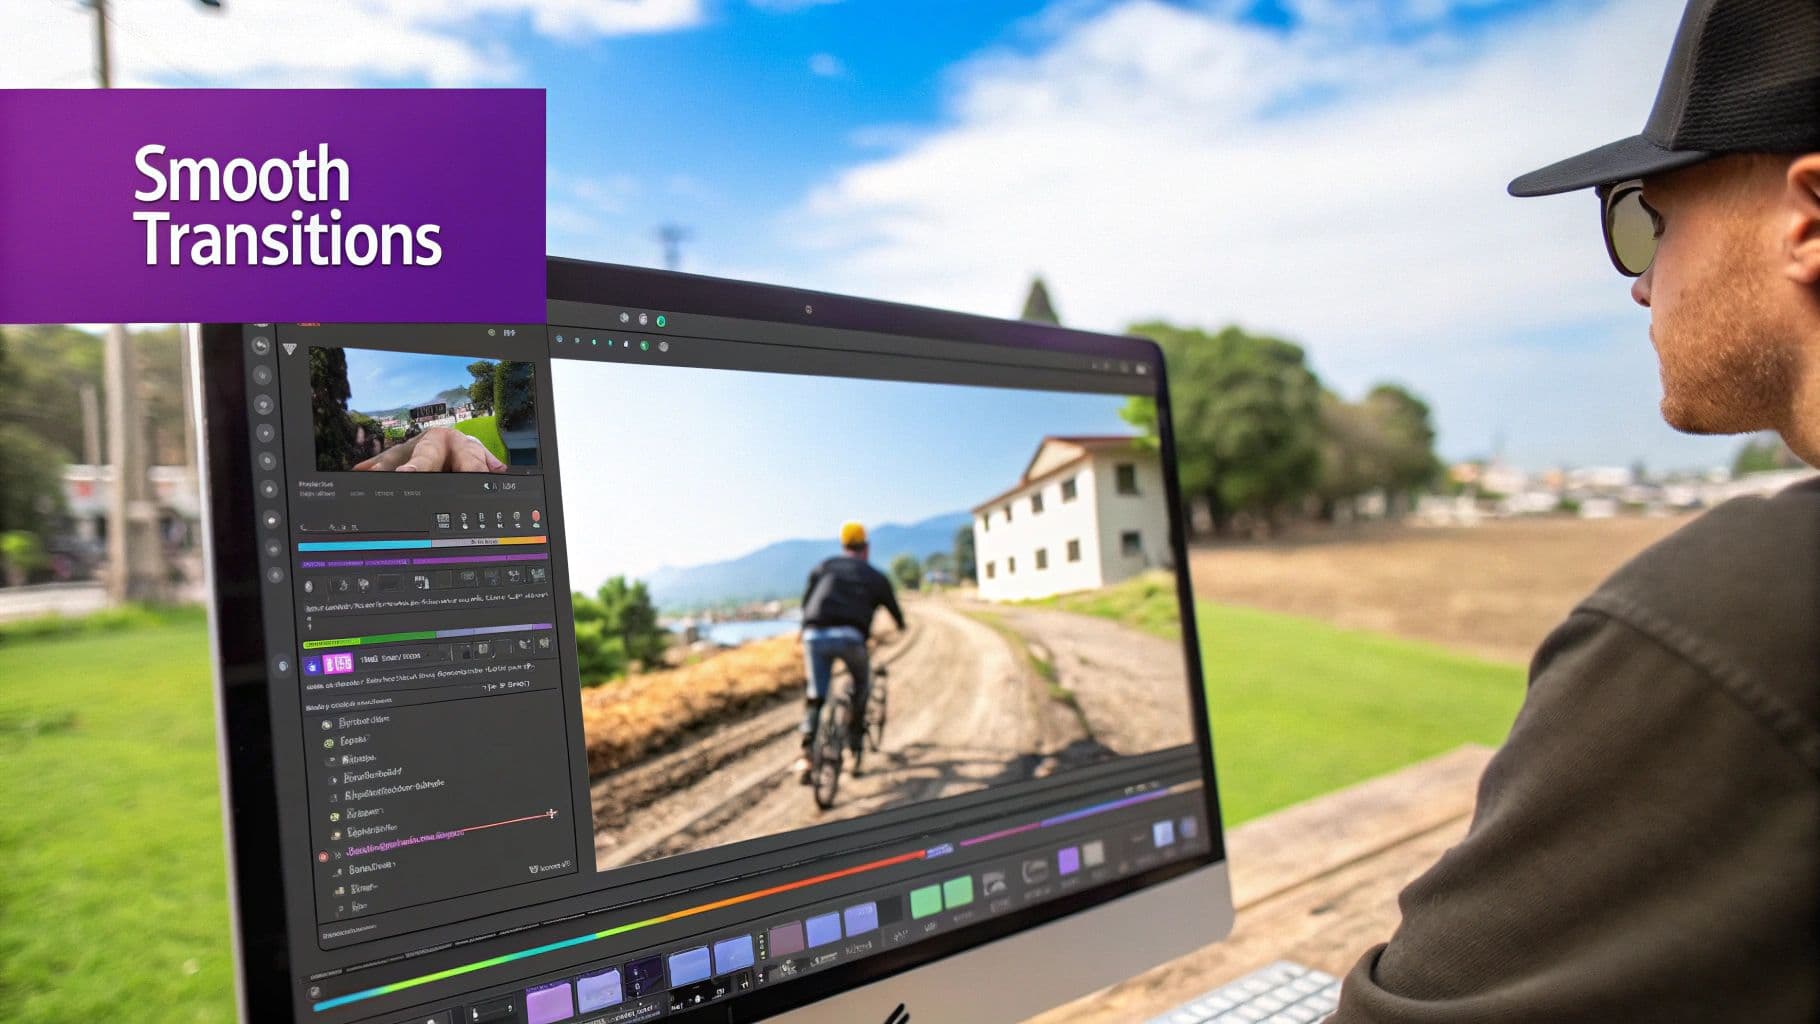
The real secret to learning how to edit an MP4 video is just getting comfortable with the timeline. It’s your playground. It’s where you'll snip out the awkward pauses, arrange clips to tell your story, and watch your creation take shape in real-time.
Browser vs. Desktop: A Quick Rundown
Still on the fence about where to start? I get it. To help you see why a browser tool is often the best first step, here’s a quick comparison. It really highlights the difference between jumping right in and, well, waiting for a massive program to install.
Browser vs Desktop MP4 Editors At a Glance
| Feature | Browser-Based Editor (e.g., MyKaraoke Video) | Traditional Desktop Software |
|---|---|---|
| Installation | None. Just open a tab and go. | Requires download and installation. |
| Accessibility | Edit on any computer with an internet connection. | Tied to the specific computer it's installed on. |
| Learning Curve | Gentle. Designed for speed and ease of use. | Often steep, with a professional-focused interface. |
| Cost | Often free or has affordable subscription tiers. | Can be a significant one-time purchase or pricey subscription. |
| Collaboration | Simple. Just share a link. | Can be complex, requiring shared project files. |
| Performance | Relies on cloud servers, freeing up your computer. | Demands significant local CPU and RAM resources. |
Ultimately, starting in a browser just removes all that initial friction. If you want a more detailed breakdown, our video editing software comparison digs deeper into the pros and cons of different platforms.
And once you’re hooked? To truly level up your skills, it helps to understand the whole process—from storyboarding to sharing. Learning how to create compelling video content will give you a huge advantage in the long run.
Laying the Groundwork for a Flawless Edit
Listen, I've been there. You're excited to dive into your video, but you just dump a bunch of randomly named files onto your desktop and hope for the best. Don't do it! A truly great edit starts before you even open your editor. Think of it like a chef's mise en place—getting all your ingredients prepped and organized makes the actual cooking process a breeze.
Before you even think about uploading that MP4, give it a quick "health check." It’s super simple. On a Mac, just right-click the file and hit "Get Info." On Windows, it’s right-click and "Properties." You’re looking for two key specs: the resolution (e.g., 1920x1080) and the frame rate (e.g., 30fps).
Jotting this down now helps you match your project settings inside an editor like MyKaraoke Video from the get-go. Trust me, this tiny step prevents a world of technical headaches and weird glitches down the road.
My Two Cents: If you're working with more than one clip, double-check that their frame rates match. Mixing 24fps and 30fps footage, for example, is a classic recipe for choppy, jittery playback in your final export.
Ditch the Default File Names
Okay, time for some real talk about file names. If your folder is full of files like "VID_20240821.mp4," you're setting yourself up for a massive headache. This is a small habit that separates the pros from the amateurs, and it pays off big time.
A descriptive, consistent naming system is your best friend. Try a format that tells you the story of the clip at a glance:
- ProjectName_SceneNumber_ShotAngle_TakeNumber.mp4
- A real-world example: CookingDemo_Intro_Wide_01.mp4
- And another: CookingDemo_Sizzle_Closeup_01.mp4
I know, it might feel like overkill when you only have one or two clips. But once you're juggling multiple takes trying to find that one perfect shot, you'll thank yourself. This discipline is a core part of learning how to edit an MP4 video without pulling your hair out. It turns that messy folder into a clean, searchable library so you can focus on being creative, not on being a digital detective.
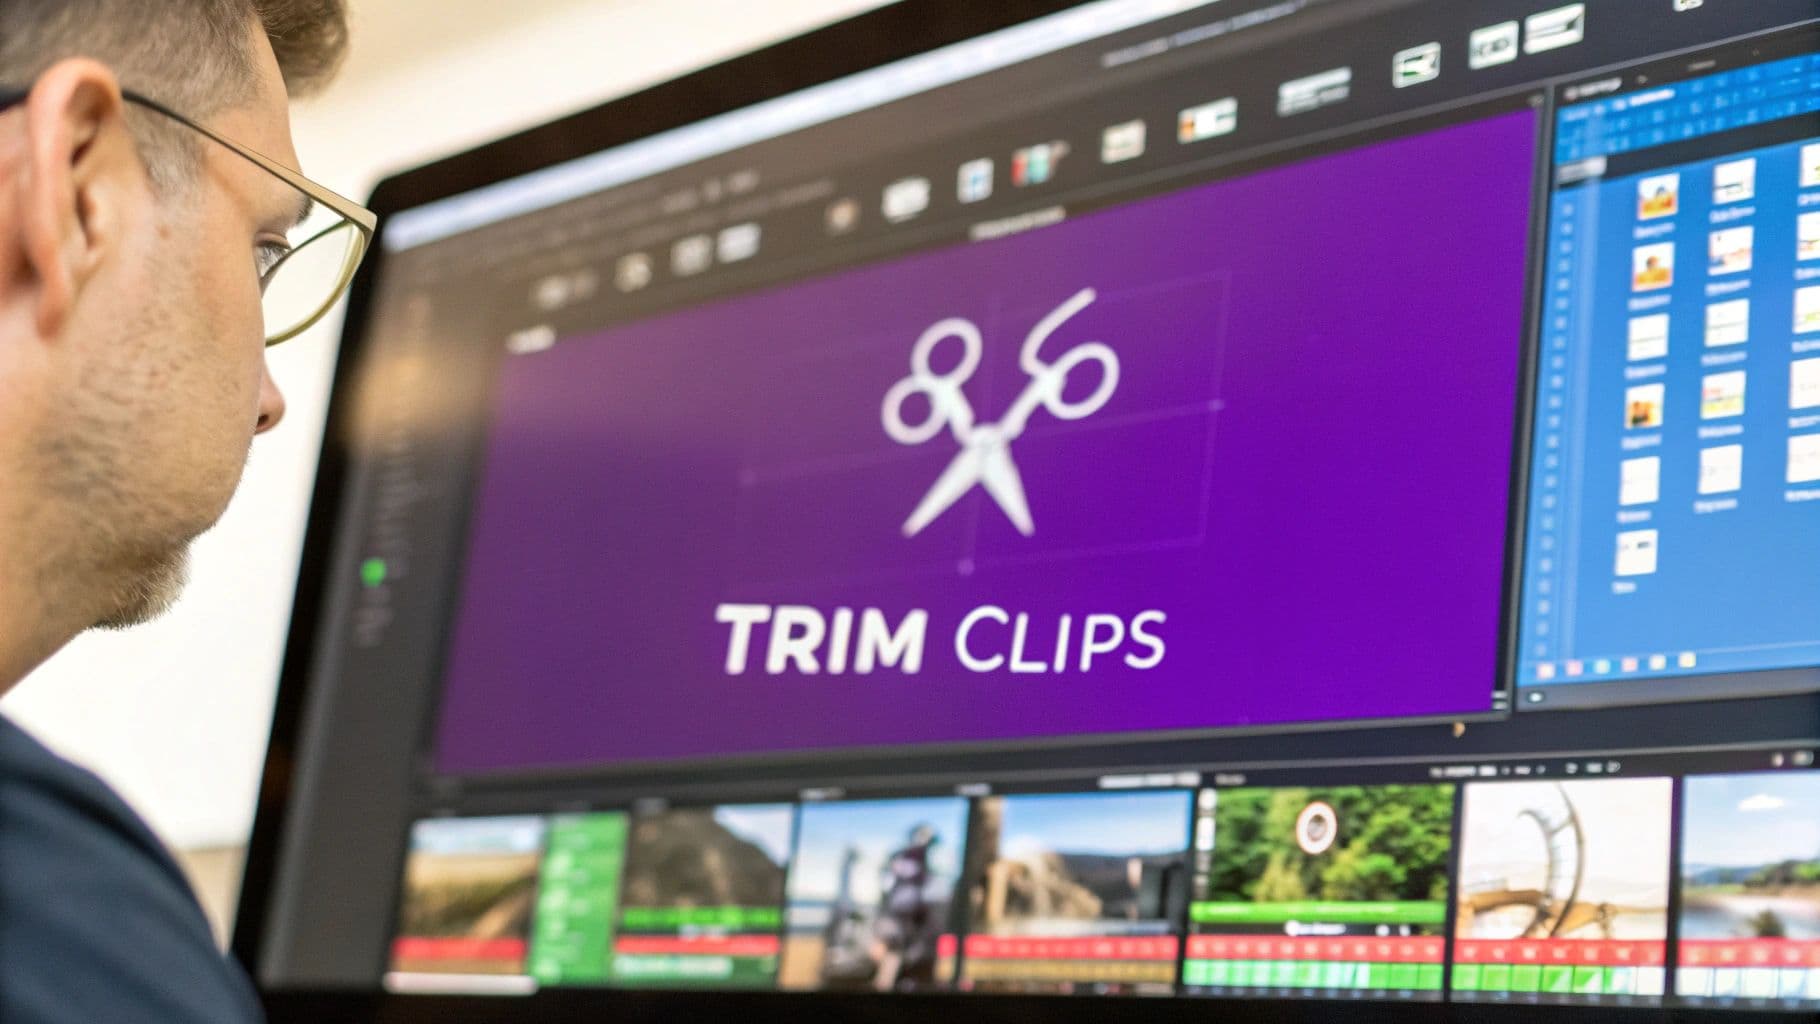
Making the Cut: How to Trim and Arrange Your Clips
Alright, this is where the fun really begins. You’ve got your raw MP4 files, and now it’s time to shape them into a compelling story. Editing is all about making choices—deciding what stays, what goes, and where everything fits. We're not just talking about splitting a clip in half; we're diving into the fine art of precision trimming. This is where the magic happens.
Think of yourself as a sculptor, but instead of a block of marble, you have a raw video file. Your job is to chip away all the fluff—the awkward pauses, the shaky camera work at the beginning, or the moments that just don't push your story forward. This isn't just about cleaning up mistakes; it's about building a rhythm and controlling the pace of your video.
Once your footage is in the editor, whether it’s from your camera or a screen capture, you get to make those precise cuts. For those of you starting with raw screen recordings, knowing the basics of how to edit screen recordings on Mac can save you a ton of time, letting you clean up your captures before you even start building your timeline.
Building Your Story on the Timeline
Let's get practical. Imagine you're editing a quick cooking tutorial. Nobody wants to watch a single, five-minute shot of you chopping onions. That’s a one-way ticket to Boredomville. Instead, you create a dynamic, engaging video by cutting between different shots and angles.
- You might start with a wide shot to establish your kitchen.
- Then, jump to a tight close-up of your hands expertly dicing veggies.
- Cut to the ingredients sizzling in the pan (because who doesn't love that sound?).
- Finally, show off the beautifully plated final dish.
Each cut has a job to do. It keeps the viewer's eyes moving and tells the story efficiently. You can do this by simply dragging your clips onto the timeline in an editor like MyKaraoke Video and shuffling them around until the flow feels just right. Don't be afraid to play around! The best part about non-destructive editors is that you can always hit "undo" and try something else.
Pro Tip: Trimming is more than just deleting stuff. Shaving off even half a second from the beginning of a clip can totally change its impact and how it flows from the previous shot.
Of course, the tool you use matters. While browser-based editors are incredibly convenient, it's worth noting that on-premise video editing software still holds the largest market revenue share, at over 55%. This is often because locally installed editors can offer more horsepower and features for complex projects without needing a constant internet connection. You can dig deeper into these trends and the future of video editing software.
Once you get the hang of trimming and arranging your clips, you'll start to think like a professional editor, instinctively knowing what each piece of footage adds to your final masterpiece.
Adding Polish with Audio and AI Tools
Let's be honest, stunning visuals are great, but it's the audio that truly sells the story. A video with bad sound just feels… cheap. Once you’ve got your video clips laid out on the timeline, it's time to shift your focus to what your audience will hear. This is the moment your project transforms from a simple sequence of shots into a genuinely professional-feeling experience.
Whether you’re dealing with dialogue from a separate mic or trying to make a background track hit all the right emotional beats, syncing is everything. Here’s a classic trick for syncing dialogue: just clap your hands on camera at the beginning of the take. That sharp visual and audio spike gives you a perfect, unmistakable point to align your external audio with your video. Super simple, super effective. If you find yourself in a trickier spot, our guide on how to enhance audio quality dives into some more advanced fixes.
Let AI Be Your Creative Assistant
This is where editors like MyKaraoke Video really start to feel like magic. Instead of losing hours to the monotonous, repetitive parts of editing, you can hand those jobs over to the built-in AI. Picture this: your video is edited and looks great, but now you have to create subtitles. The old way meant typing and timing every single line. The new way? AI listens to your audio and spits out perfectly synced captions in just a few seconds.
These AI features can do so much more, too. They can:
- Detect scenes automatically, which is fantastic for finding logical places to make your cuts.
- Apply one-click color grades to give your whole project a consistent, cinematic vibe.
- Wipe out background noise from your audio, leaving you with nothing but crisp, clean sound.
The whole point is to let the technology do the heavy lifting. This frees you up to pour your energy into what actually matters: your creative vision and telling a compelling story.
And if you want to add some professional narration without hiring a voice actor, checking out different AI voice generators can completely change the game. This explosion of helpful AI is part of a much bigger picture. The video editing software market was already valued at a hefty $3.09 billion** and is on track to smash **$5.13 billion by 2032. Why? Because everyone from social media creators to digital marketers needs these powerful creative tools. By learning how to edit an MP4 video today, you're planting yourself right in the middle of this creative boom.
Bringing It All Home: Exporting a Flawless 1080p Video
You’ve done the hard work. You’ve sliced, diced, and synced your clips into a masterpiece. Now for the victory lap: exporting your video so the world can see it. This isn't just a technical step; it's the moment your project goes from a timeline of clips to a single, shareable MP4 file ready for its big debut.
When you’re ready to wrap things up in an editor like MyKaraoke Video, you’ll be greeted with a few export options. Don’t get overwhelmed! For just about any social platform you can think of—YouTube, Instagram, TikTok—the magic number is 1080p. It’s the industry standard for a reason, delivering that sharp, high-definition look without creating a monstrously large file that takes forever to upload.
Dialing in the Perfect Export Settings
While resolution is king, a couple of other settings can make or break your final output: frame rate and bitrate.
Simply put, the frame rate (FPS) should match whatever you originally recorded in. Most of the time, this will be 24 or 30 FPS. Sticking to the original prevents any weird, jittery motion. Bitrate, on the other hand, controls the amount of data in your video file. More data means higher quality, but also a bigger file.
My Two Cents: For a standard 1080p web video, I always aim for a bitrate between 8 and 12 Mbps. This has always been the sweet spot for me, giving me a crisp video that uploads quickly and looks fantastic on any screen.
Before you hit that final button, do yourself a favor and run through a quick pre-flight check. It’ll save you headaches later.
- Check Those Audio Levels: Give your audio a final listen. Make sure nothing is too loud (in the red) or too quiet.
- One Last Look: Watch the entire video from start to finish. You’d be surprised what you catch on the final viewing!
- The Sync Test: Are the audio and video still perfectly aligned? If something looks a little off, it's an easy fix. We have a whole guide on how to sync audio and video that can get you sorted in minutes.
Once everything looks and sounds perfect, go ahead and click export. The editor will do its thing, and in no time, you'll have a polished, professional MP4 file ready to impress your audience. Job done
Got Questions About Editing MP4s? We've Got Answers.
Jumping into video editing for the first time? It's totally normal to hit a few snags. Let's clear up some of the common questions that pop up when you're figuring out how to edit an MP4 video, so you can get back to the fun part—creating something awesome.
So, Will Editing My MP4 Wreck the Quality?
Not if you play it smart! You can absolutely edit an MP4 without turning it into a pixelated mess. The trick is to avoid re-compressing it over and over again.
Imagine making a photocopy of a photocopy. Each time you do it, the image gets a little grainier, right? The same thing happens with video files.
The best way to keep your video looking sharp is to do all your edits in one go. Start with the best quality video file you have, make all your trims and additions, and then export it just once at a high-quality setting. This “one and done” method is your ticket to a crisp, clean final product.
How Do I Slap Some Text on My Video?
This is one of the easiest and most effective edits you can make! Pretty much any video editor out there, especially the browser-based ones, will have a big friendly "Text" or "Titles" button. You just drag a text box where you want it on your video, type away, and then fiddle with fonts and colors until it looks just right.
And when it comes to subtitles? Forget the old days of manually typing out and timing every single line of dialogue. That’s a one-way ticket to a headache. A modern AI-powered tool like MyKaraoke Video can be a real game-changer here. Its auto-caption feature listens to your audio and spits out perfectly timed subtitles for you. It's a massive time-saver.
What's the Best Free Editor for MP4s?
Ah, the million-dollar question! The honest answer is that the "best" editor really depends on what you're trying to do.
- Need something fast and simple? Go for a browser-based tool. You can't beat the convenience. A platform like MyKaraoke Video is perfect for this—you just open a new tab and you're ready to roll, no downloads necessary.
- Tackling a complex film project? You might need the horsepower of a desktop program. Something like DaVinci Resolve has an incredibly powerful free version, but be warned: it has a serious learning curve.
Ready to stop wondering and start creating? With MyKaraoke Video, you can jump right into editing your MP4 files in your browser—no downloads, no hassle. Get started for free today!