Ready to dive into iMovie? It’s a lot easier than you might think. The best way to learn is by jumping right in and getting your hands dirty. Forget trying to master every single button and menu option on day one.
Instead, let’s focus on getting a quick win. You can have your first project up and running in just a few minutes. Open the app, click Create New, and select Movie. Just like that, you’ll be staring at a blank timeline, ready for you to work your creative magic.
Your First Look at the iMovie Workspace
When you first open iMovie on a Mac, you’ll see the screen is split into three main sections. Getting familiar with these areas is the key to a smooth workflow, so let's quickly break them down.
- The Media Library: This is your command center for content, usually found in the top-left corner. All your video clips, photos, and audio files will appear here once you've imported them.
- The Viewer: Sitting in the top-right, this is simply your preview window. It lets you watch any clip you've selected from the library or see your project play back from the timeline.
- The Timeline: This is the big workspace at the bottom of the screen. It's where the real editing happens—you’ll drag and drop your media here to build your video, trim clips, add titles, and more.
Mac vs. iPhone/iPad: What’s the Difference?
While the core editing principles are identical no matter what device you're on, the layout does change slightly. On a Mac, you get that spacious, three-panel view I just described. But on an iPhone or iPad, iMovie uses a more compact, touch-friendly interface where tools pop up only when you need them to maximize your screen space.
My Advice: Don't get overwhelmed by all the features at first. For your very first project, just focus on three simple tasks: import a couple of video clips, make one cut using the 'Split Clip' command, and drag a 'Cross Dissolve' transition between them. Nailing these small steps will show you just how quickly you can start building a real video.
To make it even clearer, here’s a quick look at how you'd start a project on either platform.
| Action | On a Mac | On an iOS Device (iPhone/iPad) |
|---|---|---|
| Start a Project | Click Create New > Movie | Tap the + icon > Movie |
| Import Your Media | Click the Import Media arrow | Tap the + icon from the timeline |
| Find the Timeline | Always visible at the bottom | The main screen essentially is your timeline |
Once you get these initial actions down, the whole process starts to click. In just a few minutes, you can have a basic sequence assembled and ready for more advanced edits. It really is that straightforward to start creating videos that look polished and professional.
Importing and Organizing Media for a Flawless Workflow
Every great video starts with solid prep work, long before you ever touch the timeline. Getting your files into iMovie and keeping them organized is the single best thing you can do to avoid headaches later on. Think of it as your digital mise en place—everything you need is prepped, sorted, and ready to go.

The simplest way to get your media in is to click the big Import Media arrow, which lets you pull files from your Mac, an iPhone, or any connected hard drive. You can also just drag and drop files from a Finder window right into the media library. Easy.
Gather Your Assets First
Before you even think about importing, do yourself a huge favor: put everything for your project into one dedicated folder on your computer.
This includes:
- Video Clips: The main footage you shot.
- B-roll: Any extra shots for cutaways and visual interest.
- Audio Files: Your background music, voiceovers, or sound effects.
- Graphics & Images: Logos, photos, and any other visual elements.
This one step will save you from the dreaded "missing media" error if you ever move or delete a file from its original spot. iMovie just references files, so keeping them all in a project folder is a non-negotiable best practice for me.
A rookie mistake I see all the time is importing directly from an SD card and then ejecting it. iMovie will lose the connection to those files. Always, always copy files from the card to your computer first, then import them into iMovie from that secure location.
The Karaoke Channel Workflow: A Smarter Way to Import
For anyone running a karaoke channel, speed is the name of the game. If you're using a tool like MyKaraoke Video to generate an MP4 that already has the lyrics synced up, your import process becomes incredibly simple. Instead of juggling separate audio tracks and lyric overlays, you're starting with a nearly complete video.
Your main task is just importing that single, pre-synced MP4 file. From there, you can jump straight into the fun stuff—adding a slick intro, an outro with a subscribe button, or maybe blending the karaoke track into a larger compilation video.
The import workflow for a standard video project versus one using a pre-synced file is quite different. Understanding this can save you a ton of time.
iMovie Import Workflow Comparison
| Workflow Step | Standard Video Workflow | MyKaraoke Video Workflow (Optimized) |
|---|---|---|
| Asset Gathering | Collect separate video, audio, and graphic files into a project folder. | Download the single, pre-synced MP4 from MyKaraoke Video. |
| Importing Media | Import multiple files (video, B-roll, music, etc.) into iMovie. | Import the single MP4 file. |
| Timeline Setup | Layer video and audio tracks, then manually sync them. | Drag the single MP4 onto the timeline. |
| Lyric Syncing | Manually add and time text titles for each lyric line—a very tedious process. | Already done! The lyrics are baked into the video file. |
| Initial Editing | Focus on syncing audio and video, basic cuts. | Focus on adding intros, outros, and branding. |
As you can see, starting with a pre-synced file completely bypasses the most time-consuming parts of creating a lyric video, letting you focus on polish instead of painstaking setup.
First launched by Apple Inc. back in 1999, iMovie completely changed the game for aspiring video creators. By 2024, its popularity had exploded to 1.46 billion users globally—a staggering 230% jump from 442 million in 2013, as reported by Sendshort.ai. This massive user base is a testament to how effectively it helps creators turn ideas into polished videos.
Organize Inside iMovie to Work Faster
Once your files are imported, don't let them sit in one giant, messy pile. Take a few minutes to organize within iMovie's Event Library. This is how the pros work quickly.
- Mark Favorites: Watch your clips and hit the
Fkey to mark the best parts. A green line appears above the selection, so you can instantly spot your "hero" takes. - Reject Junk: Got a shaky or out-of-focus clip? Just hit the
Deletekey to "Reject" it. This doesn't permanently delete the file; it just hides it from view, clearing out the clutter. - Use Keywords: Select a clip (or even just a range within a clip) and press
Command-Kto add keywords. Use tags like "intro," "B-roll," or "outro." Later, you can filter by these keywords to find exactly what you need in seconds.
Honestly, spending just 10 minutes keywording and rating your footage upfront can save you hours of frustrated searching later. This is the discipline that separates a casual user from an efficient editor.
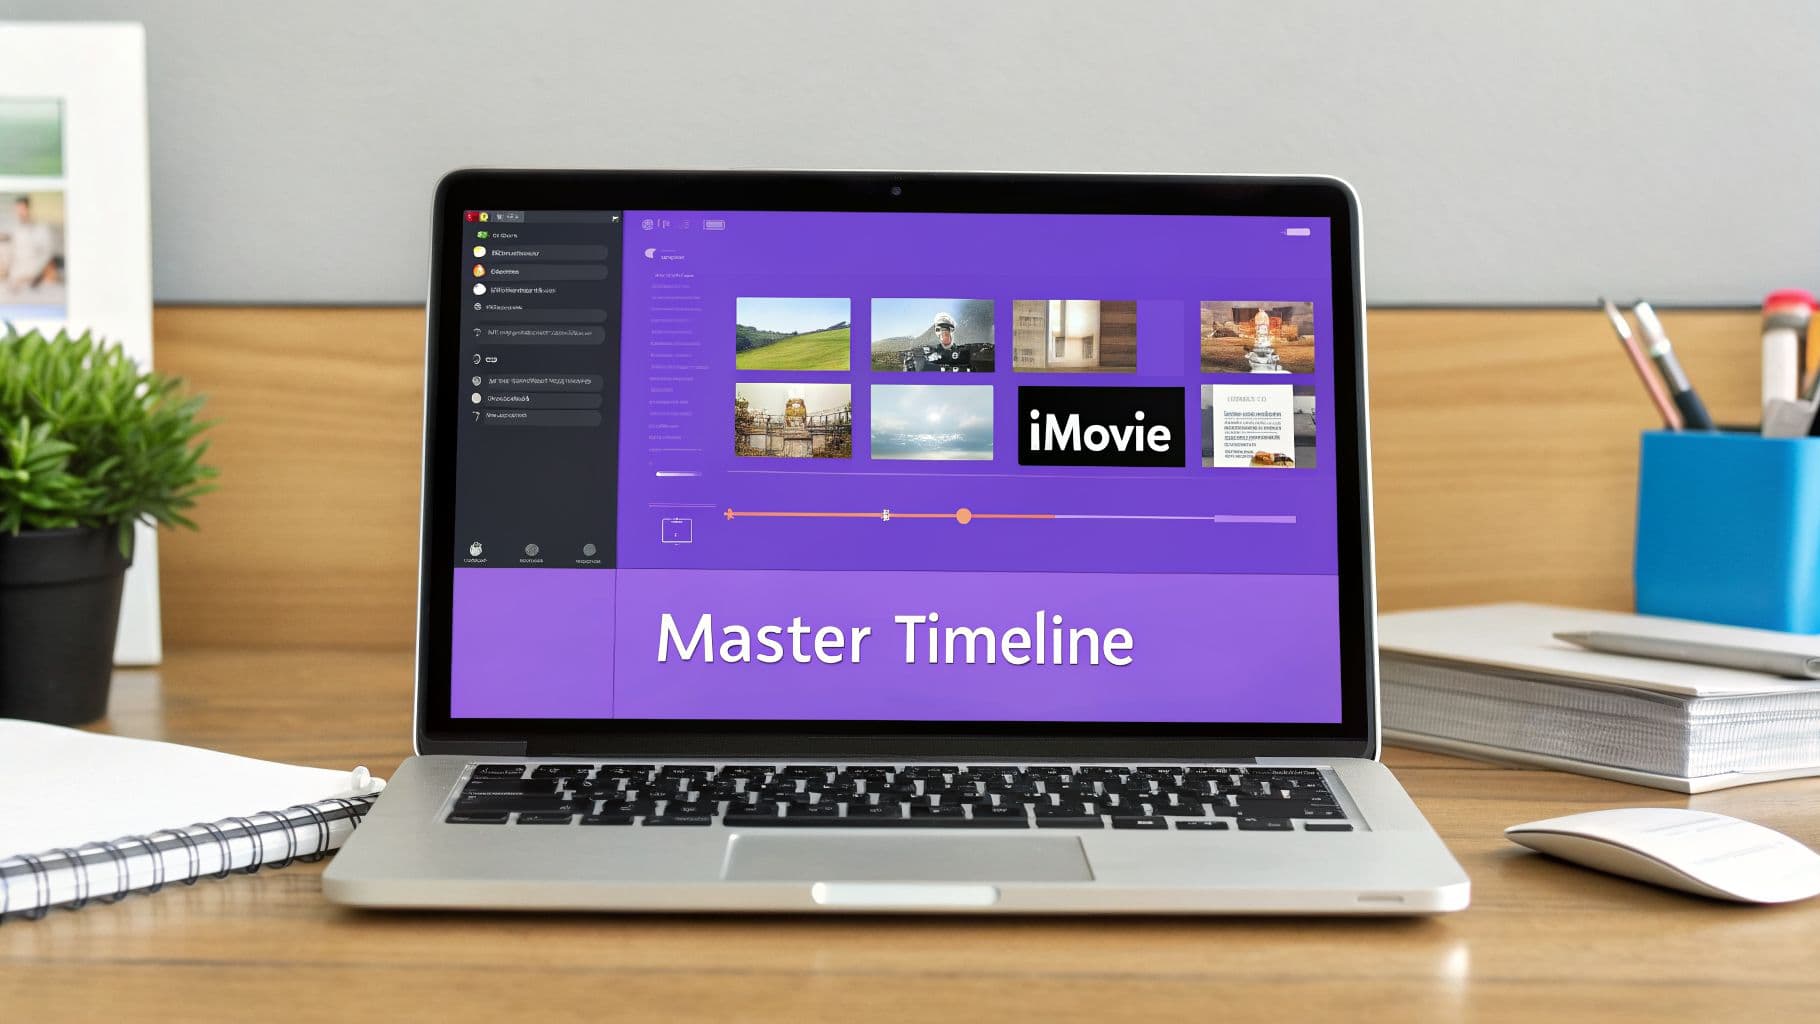
Mastering the Timeline with Essential Editing Techniques
The timeline is where all the magic happens. Think of it as your digital cutting room floor—the space where you’ll arrange, slice, and polish your clips until they tell a compelling story. Getting comfortable with the timeline is the single most important step in really understanding how to use iMovie.
Once you've imported your media, it's time to start shaping it. The two most fundamental actions you'll use over and over again are trimming and splitting clips. Honestly, these two skills are the absolute heartbeat of video editing.
Trimming is your go-to for cleaning up the start or end of a clip. It's perfect for removing that awkward pause before you start speaking or the shaky camera movement at the end. Just hover your mouse over the edge of a clip in the timeline until the cursor turns into a double-sided arrow, then click and drag. It’s that intuitive.
Splitting, on the other hand, lets you chop a clip into two or more separate pieces. I use this constantly to remove a flubbed line from the middle of a great take. To do it, just place the white vertical playhead exactly where you want to cut, right-click (or Control-click), and choose Split Clip. The keyboard shortcut Command-B will become your best friend.
Polishing Your Story with Transitions and Effects
With your clips arranged in order, you need to think about how they flow together. Hard cuts can feel jarring, and that's where transitions save the day. iMovie has a whole library of effects designed to seamlessly guide your audience from one scene to the next.
You can find them by clicking the Transitions tab just above the media library. My personal favorite for a clean, professional feel is the Cross Dissolve. It's subtle and just works. To use it, simply drag and drop your chosen transition right between two clips on the timeline.
A word of caution: it's easy to get carried away. Overusing flashy star wipes or page peels is a classic rookie mistake that can make your video look amateurish. Stick with simple dissolves and fades for a polished, high-quality feel.
One of the biggest mistakes I see beginners make is trying every transition in the book. A simple cut is often the most powerful tool you have. Reserve effects for moments that need special emphasis, like a shift in time or location.
Beyond basic cuts, adopting practical video editing workflows can seriously improve your efficiency and the final product, no matter what software you're using.
Unlocking Advanced Visual Techniques
Ready to level up? iMovie has some surprisingly powerful tools that can give your videos that professional gloss you see on popular channels. And the best part? They're incredibly easy to use.
Three of the most useful advanced features are:
- Picture-in-Picture: Absolutely essential for reaction videos, gaming streams, or tutorials.
- Split-Screen: Shows two video clips at once. I love this for interviews or before-and-after reveals.
- Green Screen (Chroma Key): This is the one that really wows people. It lets you replace a solid-colored background with any image or video clip you want.
To get to these options, you first need to drag one clip on top of another in your timeline. When you select that top clip, a new icon (a small box with a dropdown arrow) will pop up above the viewer. This is the Video Overlay Settings menu, and it's where you'll find these three effects.
For example, if you're making a karaoke reaction video, you’d place your main music video on the bottom track. Then, drag your reaction clip to the track above it. Select the reaction clip, click the overlay icon, and choose Picture-in-Picture. You can then drag and resize your reaction shot anywhere on the screen. It's a professional-looking effect that takes seconds to create.
Mastering Titles for Maximum Impact
Text is a powerful tool. Whether you're displaying song lyrics, adding context, or hitting your viewers with a call-to-action, iMovie’s title tool is your best friend. It has plenty of animated and static options that you can tweak to fit your brand.
To add one, just head to the Titles tab and browse the options. When you find one you like, drag it onto your timeline. You can place it on a black background for a classic title card or drop it directly over a video clip.
For karaoke creators, timing is everything. Here’s a quick workflow I use all the time:
- Add Your Title: Grab a simple title like "Lower Third" and drag it over your video where you want your "Subscribe!" message to appear.
- Customize the Text: Select the title clip on the timeline, then just click the text in the main viewer window to edit it. This is also where you can change the font, color, and size.
- Adjust the Timing: Drag the edges of the title clip to control how long it stays on screen. For perfect lyric sync, I play the video and listen for the exact audio cue, then line up the start of the title clip with that moment.
By getting a handle on these foundational and advanced techniques, you can turn iMovie from a simple app into a serious content creation machine. For a closer look at the core principles that apply to all editing, check out our guide on video editing tips for beginners.
5. Perfecting Your Audio for a Professional Sound
You can have the most beautiful video in the world, but if the audio is bad, viewers will click away in a heartbeat. Honestly, getting your sound right is what separates the amateurs from the pros. The good news is that iMovie gives you more than enough tools to make your project sound incredible.
The first thing you'll always do is manage the volume. It's rare for every clip you import to have the same audio level, and jumping from a quiet clip to a loud one is jarring. To fix this, just select a clip in your timeline, find the horizontal line on the audio waveform, and drag it up or down. Your goal is a consistent, comfortable listening experience from start to finish.
Detaching Audio for More Creative Control
If you really want to step up your editing game, you'll need to separate the audio from the video. This is a simple move that unlocks a ton of creative power. Just right-click a video clip in the timeline and choose Detach Audio. You'll see the audio pop onto its own green-colored track right below the video.
Now that it's separate, you can edit the audio and video independently. This is how you create professional edits like J-cuts and L-cuts.
- J-Cut: Imagine hearing someone start talking before you actually see them on screen. That's a J-cut. It pulls your audience smoothly into the next scene.
- L-Cut: This is the opposite. The video cuts to a new shot (like someone's reaction), but the audio from the previous clip keeps playing. It's a fantastic storytelling technique.
To make them, just drag the edge of your detached audio clip. To make a J-cut, you'll drag the start of the audio to the left, so it begins under the previous video clip. For an L-cut, you'll drag the end of the audio to the right, letting it extend under the next video clip. Trust me, these subtle edits make a huge impact on your video's flow.
Layering Sound for a Richer Experience
Professional videos almost never rely on a single audio track. Think about it: you have dialogue, background music, and maybe some subtle sound effects all working together. To do this, simply drag your music or sound effect files into the timeline, placing them in the tracks below your main audio.
The real key here is balance. Your background music should support the video, not fight with the main dialogue.
A common mistake is leaving all your audio tracks at the same volume. A good rule of thumb is to set background music to about 15-20% volume when someone is talking. Then you can bring it back up when there’s no speech.
You can automate this process using "ducking." Select your music track, hold down the Option key, and click on the volume line to add little dots called keyframes. You can create a few points to automatically lower the music volume during dialogue and then raise it back up afterward.
Sometimes, you’ll run into pesky background hiss or unwanted noise. While iMovie has some basic tools, there are times you might need to learn how to remove background noise from audio with more specialized software. It can be a real project-saver.
The Art of Fades and Pinpoint Timing
Just like you wouldn't use harsh video cuts everywhere, you shouldn't have abrupt audio starts and stops. Always use fades. See those little circles at the very beginning and end of an audio clip? Hover your mouse over one and drag it inward. This creates a smooth fade-in or fade-out. A quick fade on nearly every audio clip adds a subtle layer of polish.
For anyone making karaoke or lyric videos, timing is everything. While a tool like MyKaraoke Video gets your initial sync incredibly close, I always use iMovie for those final, tiny adjustments. The audio waveform is your best friend here.
Zoom way into your timeline (Command and +) until you can see the peaks and valleys of the sound clearly. This visual map lets you line things up perfectly. You can nudge a title to appear the exact moment a lyric is sung or sync a sound effect to a visual cue on screen. This is how you get that tight, professional feel that makes your content stand out.
Exporting Your Video for YouTube and Social Media
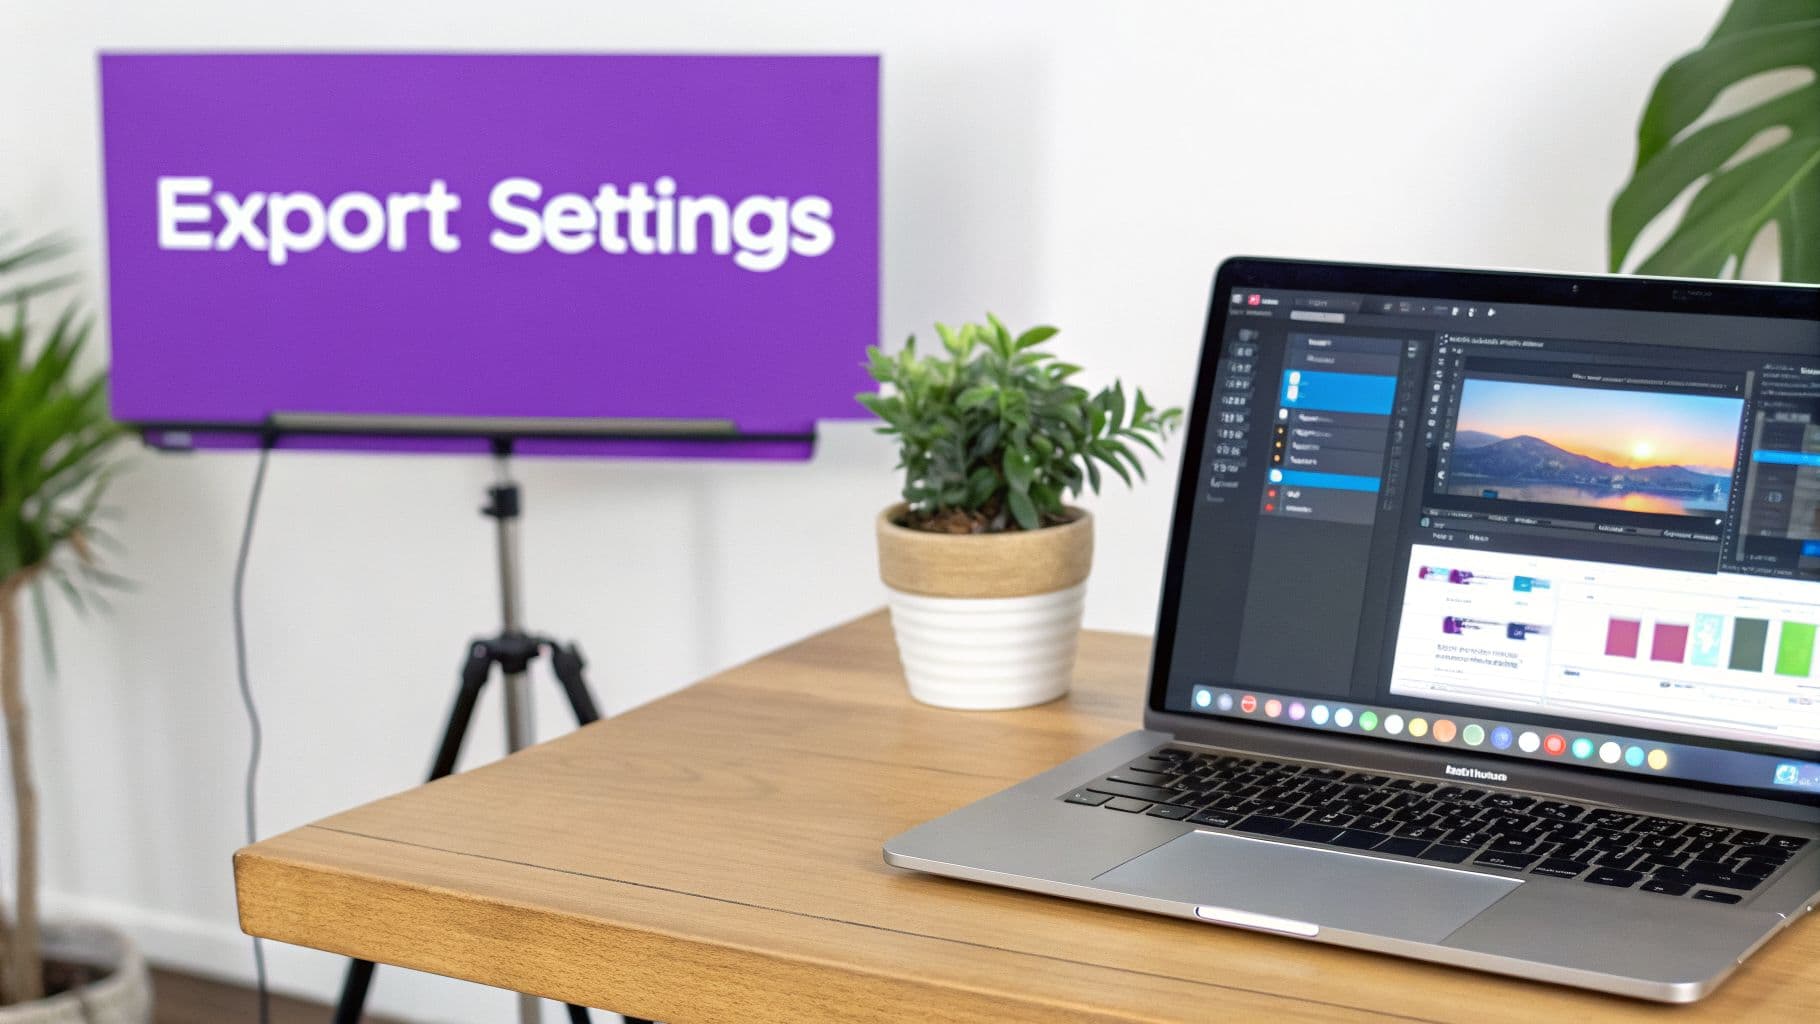
You’ve tweaked the last transition, the lyrics are perfectly synced, and your audio is sounding just right. Now for the final step: getting your video ready for the world. This is where all your creative work gets packaged up, and getting the export settings right is what makes the difference between a video that looks professional and one that looks, well, homemade.
Look for the Share button in the top-right corner of the iMovie window. You'll see options to share directly to YouTube or Facebook, and while that sounds convenient, I almost always skip it. My advice? Choose Export File. This gives you a high-quality master copy that you can upload anywhere, giving you far more control over the final product.
Decoding the Export Settings
Clicking "Export File" brings up a window with a few settings that can look a bit technical at first glance. Don’t worry, they’re actually pretty straightforward. Getting a handle on these is essential for anyone creating content for social media.
Here's the breakdown of what really matters:
- Resolution: This is all about sharpness. For the web, 1080p is the sweet spot. It delivers fantastic quality without creating a file that takes forever to upload.
- Quality: Think of this as the trade-off between file size and visual detail. High is the setting I use for almost everything. It finds the perfect balance. "Best (ProRes)" is overkill for social media and will give you a gigantic file you just don't need.
- Compress: This is how iMovie packages your video. Stick with Better Quality. This option gives you a standard MP4 file, which is exactly what you want for maximum compatibility across platforms.
For a karaoke video or any other social content, a 1080p MP4 exported at High quality is your go-to recipe. It's a reliable formula that produces a great-looking video every time.
The goal is to export at the highest quality your audience will actually see. Since YouTube and Instagram will compress your video anyway, feeding them a clean, high-quality 1080p file from the start ensures it still looks crisp after their processing is done.
After you've exported your video, the next step is getting it seen. You can learn more about growing your channel by checking out this guide on how to use YouTube to market your website.
Customizing Exports for Different Platforms
A standard horizontal 1080p video is perfect for YouTube, but what about vertical formats for TikTok, Instagram Reels, or YouTube Shorts? This is where things get a little tricky with iMovie on a Mac.
The desktop version doesn't have a simple "make it vertical" button. But here's a pro tip: the iOS version on your iPhone or iPad handles vertical video beautifully. My workflow often involves doing the heavy lifting on my Mac, then Airdropping the finished project to my iPhone for a quick re-format and export in a 9:16 vertical aspect ratio. It’s an extra step, but it’s the best way to get a true vertical video from iMovie.
To stay on top of the ever-changing specs, keep our guide to https://www.mykaraoke.video/blog/social-media-video-specs bookmarked.
The Power of a Master File
So, why bother exporting a file instead of using the direct "Share to YouTube" option? It all comes down to control and flexibility.
When you have a master MP4 file saved on your computer, you gain a few key advantages.
- You have a permanent backup. If an upload fails or the platform glitches, you don't have to waste time re-exporting.
- You can upload that single file to multiple places—YouTube, Facebook, your website—without any extra work.
- You gain full control over your thumbnail. Uploading manually to YouTube lets you add a custom thumbnail, which is one of the biggest factors in getting people to click on your video.
Think about it: those first two seconds are crucial for stopping someone from scrolling. Exporting a master file lets you pair your polished video with a carefully designed, click-worthy thumbnail. It’s a professional habit that makes a real impact on your video's performance.
Let's be honest, even the best software has its moments. Sooner or later, every video editor hits a wall with a frustrating glitch or a seemingly simple task that takes forever. Getting good with iMovie isn't just about the creative stuff; it's also about knowing how to fix things when they break and how to work smarter, not harder. This is your cheat sheet for solving those common headaches and seriously speeding up your editing game.
One of the first things that drives new users crazy is choppy or stuttering playback. You hit the spacebar to review your masterpiece, but the video looks like a slideshow. Don't panic! This is almost never a problem with your final video. It’s usually just your Mac’s processor crying for help as it tries to render all your effects and high-res clips in real-time.
There's a quick fix for this. Head up to View > Quality in the top menu and switch the setting to Better Performance. This tells iMovie to show you a slightly lower-quality preview, which takes a huge load off your computer. The playback will smooth out instantly, letting you get back to editing without the stutter.
Stomping Out Common iMovie Bugs
Beyond jerky playback, a few other classic problems can throw a wrench in your workflow. Here’s how to deal with them when they pop up.
- The Dreaded "Missing Media" Error: This error means iMovie has lost track of your original file. The best way to prevent this is to get organized before you even start. Create one single, dedicated folder for your project and put everything in it—your video clips, your audio track, and any images. Then, import from that folder. If you've already got the error, you'll need to play detective, find the file on your Mac, and relink it.
- Audio Drifting Out of Sync: Ever notice that on a longer video, the audio slowly starts to lag behind or run ahead of the picture? This is a classic symptom of using footage with a variable frame rate, which is common on phones. The most reliable fix is to detach the audio from the video clip. Just
Control-clickthe clip, choose Detach Audio, and you can then manually nudge the audio waveform back into perfect sync. - Sudden Crashes: An unexpected crash is terrifying, but iMovie is actually pretty good about auto-saving your work. If it does crash, the first step is to restart your computer. When you reopen iMovie, hold down the Option and Command keys. This resets the app's preferences, which is a surprisingly effective cure for all sorts of stability issues.
Your iMovie library can get bloated over time, slowing the whole app to a crawl. Make it a habit to occasionally clear out the junk files it creates. Just select a project or event in the browser, go to
File > Delete Generated Project Files, and tell it to delete the render files. You'll be surprised how much space you get back.
Fly Through Your Edits with Keyboard Shortcuts
If you want to know the single biggest difference between a beginner and an experienced editor, it's this: keyboard shortcuts. Clicking through menus is for day one. Your keyboard is where the real speed is. Committing just a handful of these to memory will feel like a superpower.
I genuinely couldn't edit without Command-B to split clips—it's pure muscle memory at this point. Another absolute game-changer is using the J, K, and L keys for playback. L plays forward (tap it again to speed up), K pauses, and J plays in reverse. It lets you shuttle back and forth through your footage with incredible precision.
Here’s a quick list of the shortcuts that will give you the most bang for your buck right away.
| Shortcut | Action | What It Does For You |
|---|---|---|
| Command + B | Split Clip | Instantly cuts your selected clip right where the playhead is. |
| Spacebar | Play/Pause | The most basic and essential playback control. You'll use this constantly. |
| I and O | Set In/Out Points | Marks the start (I) and end (O) of a section you want to use. |
| R | Select Range | Lets you click and drag to highlight a specific portion of any clip. |
| Command + Z | Undo | Your best friend. It instantly reverses your last mistake. Experiment freely! |
Learning these is like learning to touch-type. It feels clumsy at first, but once it clicks, you'll wonder how you ever put up with all that slow clicking. You’ll spend way less time fighting with the software and more time actually being creative.
Common Questions About Making Videos in iMovie
As you get more familiar with iMovie, you'll naturally run into some specific questions. Let's walk through a few of the most common ones that pop up for creators, whether you're just starting out or have been editing for a while.
Can iMovie Really Be Used for Professional Projects?
You bet it can. Don't let its reputation for being simple fool you—iMovie is more than capable of handling professional work. I see it used all the time by successful YouTube creators, social media managers, and small businesses that need polished marketing content.
It’s a solid editor that fully supports 4K resolution, offers surprisingly good green screen effects, and has all the essential audio tools you need. For a huge range of projects, it has everything required to produce a high-quality final product without the steep learning curve of more advanced software.
Movie vs. Trailer: Which One Should I Choose?
When you create a new project in iMovie, you're faced with two choices: "Movie" and "Trailer." They serve very different purposes.
- A "Trailer" project is basically a template. It gives you a pre-set structure with Hollywood-style graphics, built-in music, and placeholders for your clips. It's a quick and fun way to make a movie preview, but it’s very rigid.
- A "Movie" project is where the real work happens. It gives you a completely blank timeline, offering total creative control. For virtually any project you'll tackle, from vlogs to detailed karaoke videos, "Movie" is the option you'll want to use.
Here's a tip that took me years to truly appreciate: the secret to a great-looking video often happens outside of iMovie. Focus on good lighting, stable camera work, and clean audio before you even start editing. Once in iMovie, simple color correction and subtle background music will do more for your video than any flashy effect ever could.
How Do I Make My iMovie Videos Look Better?
To make your videos look more professional, focus on telling a clear story instead of piling on effects. It’s tempting to use all the wild transitions iMovie offers, but restraint is key.
Stick to simple cross-dissolves or even just straight cuts. This simple discipline instantly gives your project a cleaner, more polished feel and keeps the viewer focused on your content, not the editing.
Ready to stop wrestling with lyric timing? MyKaraoke Video turns any song into a perfectly synced karaoke video in minutes, letting you focus on creativity, not tedious editing. Create your first video for free at https://www.mykaraoke.video.