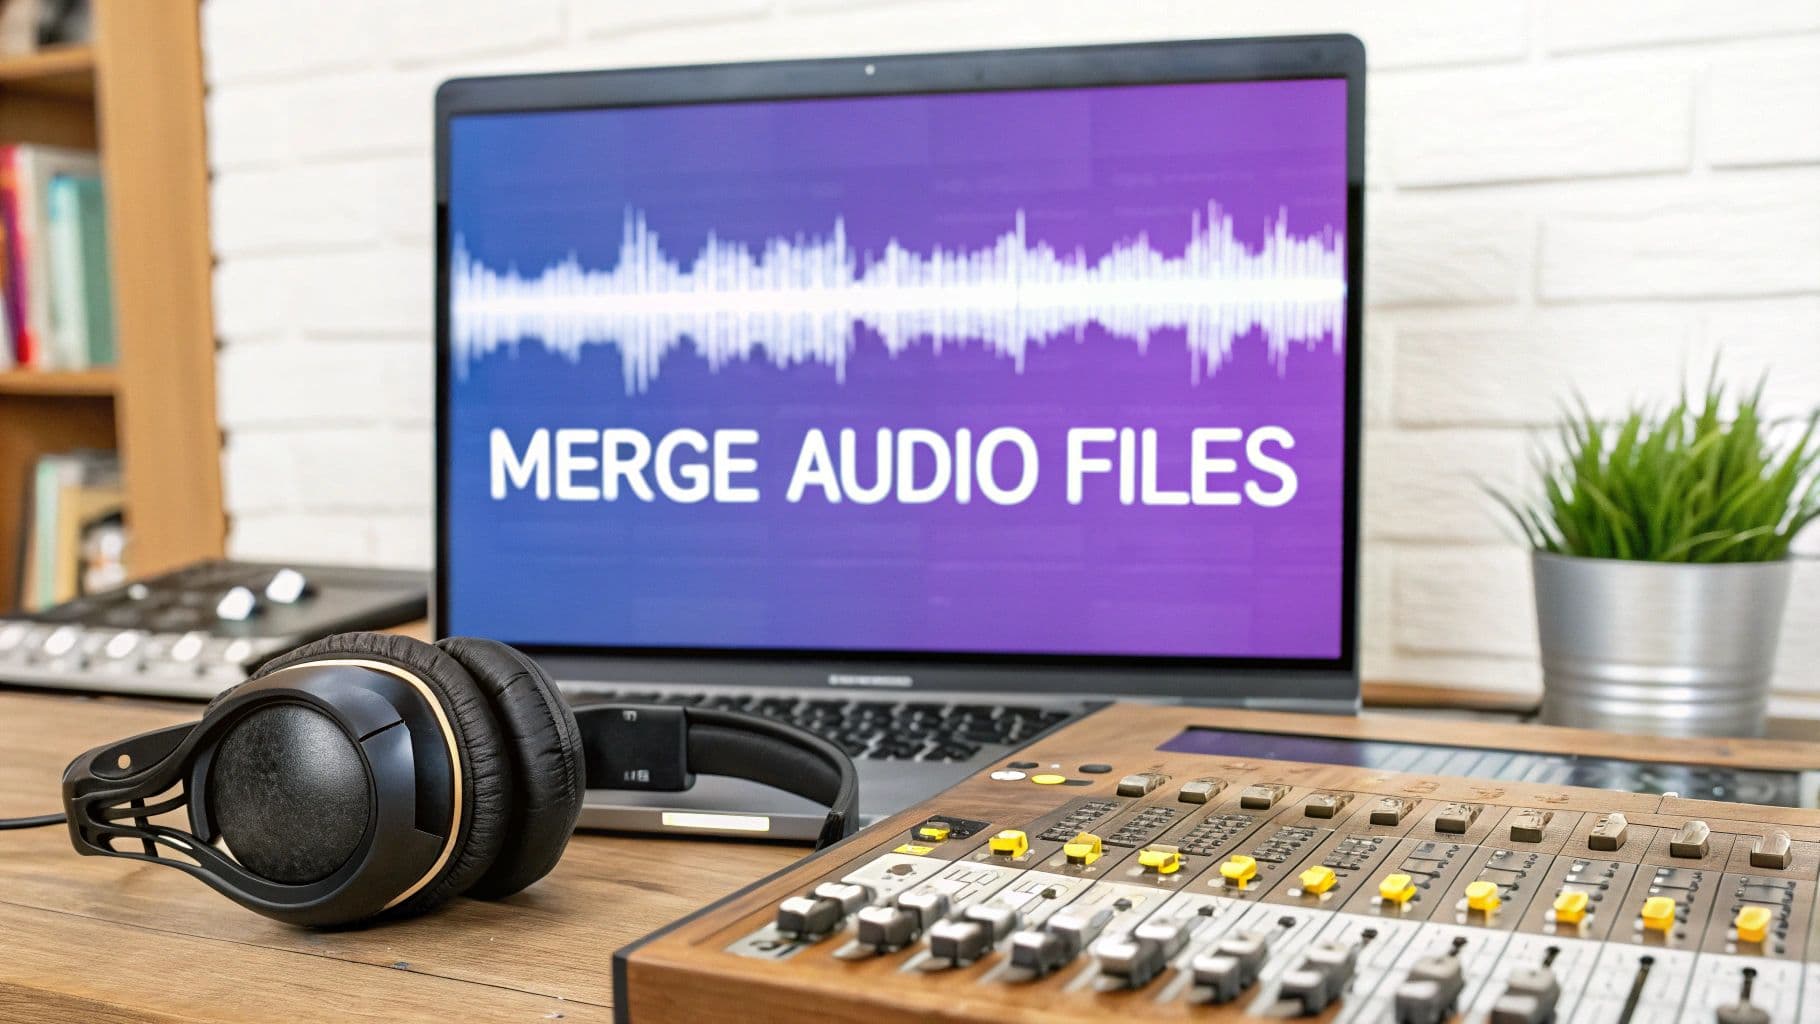
Combining audio files is one of those fundamental skills that opens up a world of creative possibilities. It’s all about taking separate audio clips and weaving them together into a single, cohesive track. You can get this done with simple online tools for quick jobs, fire up dedicated software like Audacity for more precise control, or even use command-line utilities if you need to automate things. The right method really just boils down to what your project demands and how comfortable you are with the tech.
Your Practical Guide to Combining Audio Tracks
Welcome to your go-to resource for mastering audio merging. Whether you're a podcaster trying to make an episode flow smoothly, a musician layering different instrument tracks, or a video creator adding background music to a voiceover, this is a skill you'll use constantly. This guide is designed to cut through the jargon and give you clear, actionable steps for a variety of tools and techniques.
We’ll kick things off with the easiest browser-based tools for when you need a quick fix. From there, we'll dive into more powerful software that gives you total control over the final product. My goal is to show you not just how to merge files, but why certain choices matter—like understanding the difference between file formats, knowing when a crossfade will make a transition seamless, and prepping your final track for any project you can dream up.
Why Merging Audio is an Essential Skill
Stitching audio clips together is much more than a technical task; it's a creative one. Think about a podcaster who needs to merge an intro jingle, the main interview, and an outro ad to create a professional-sounding episode. Or a musician who layers a vocal track over a guitar melody and a drum beat to build a full song from individual parts.
For those who want to take this even further, you can explore the concept of audio remixing, which elevates merging into an art form by blending and transforming sounds in unique ways.
At its core, merging audio is about storytelling. It’s how you control the narrative, pace, and emotional feel of your content, ensuring a polished and engaging experience for your listeners.
Choosing the Right Path for Your Project
The ability to merge audio efficiently has never been more important. With the global audio streaming market projected to hit USD 101.83 billion by 2030, the demand for high-quality content is exploding. It's no surprise that over 75% of audio professionals rely on software for these tasks, often performing multiple merges a week, especially with the continued boom in podcasting.
So, which tool should you use? The answer depends entirely on your specific needs. This quick comparison table should help you decide.
Choosing Your Audio Merging Method
| Method | Best For | Ease of Use | Key Features |
|---|---|---|---|
| Browser Tools | Quick, simple joins of 2-3 files. | Very Easy | No installation, drag-and-drop, fast processing. |
| Audacity | Precise editing, crossfading, and format control. | Intermediate | Multi-track editing, effects, lossless export options. |
| FFmpeg | Automated batch processing and scripting. | Advanced | Command-line interface, highly customizable, lightweight. |
| DAWs | Professional music production and complex mixing. | Advanced | VST support, advanced automation, non-destructive editing. |
| Mobile Apps | On-the-go editing and social media content. | Easy | Simple interface, direct sharing, basic trimming/joining. |
Ultimately, there's no single "best" tool—only the right tool for the job. This decision tree can also help you visualize the best path forward.
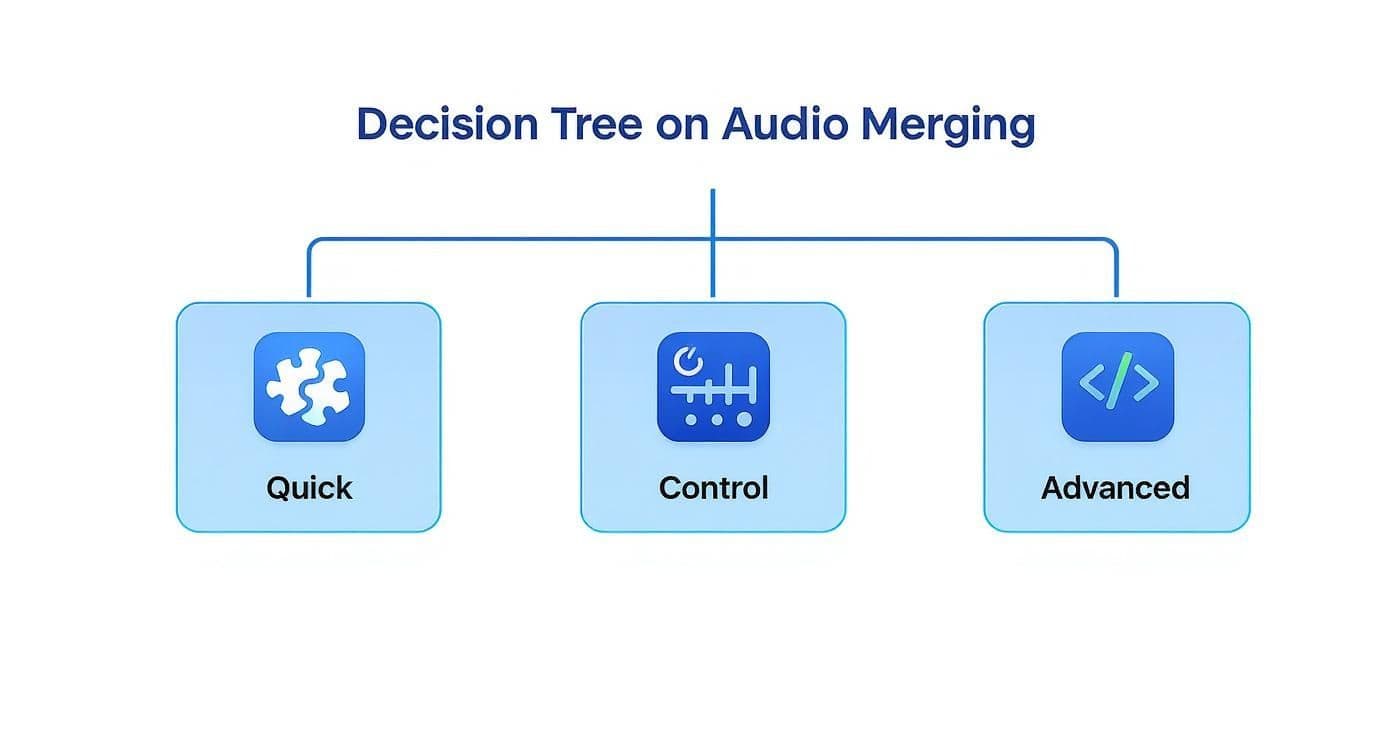
The key takeaway here is to match your tool to your task. For a simple join, an online tool is perfect. For a multi-layered podcast episode, you'll want the control that something like Audacity offers. It’s all about balancing speed, control, and technical capability.
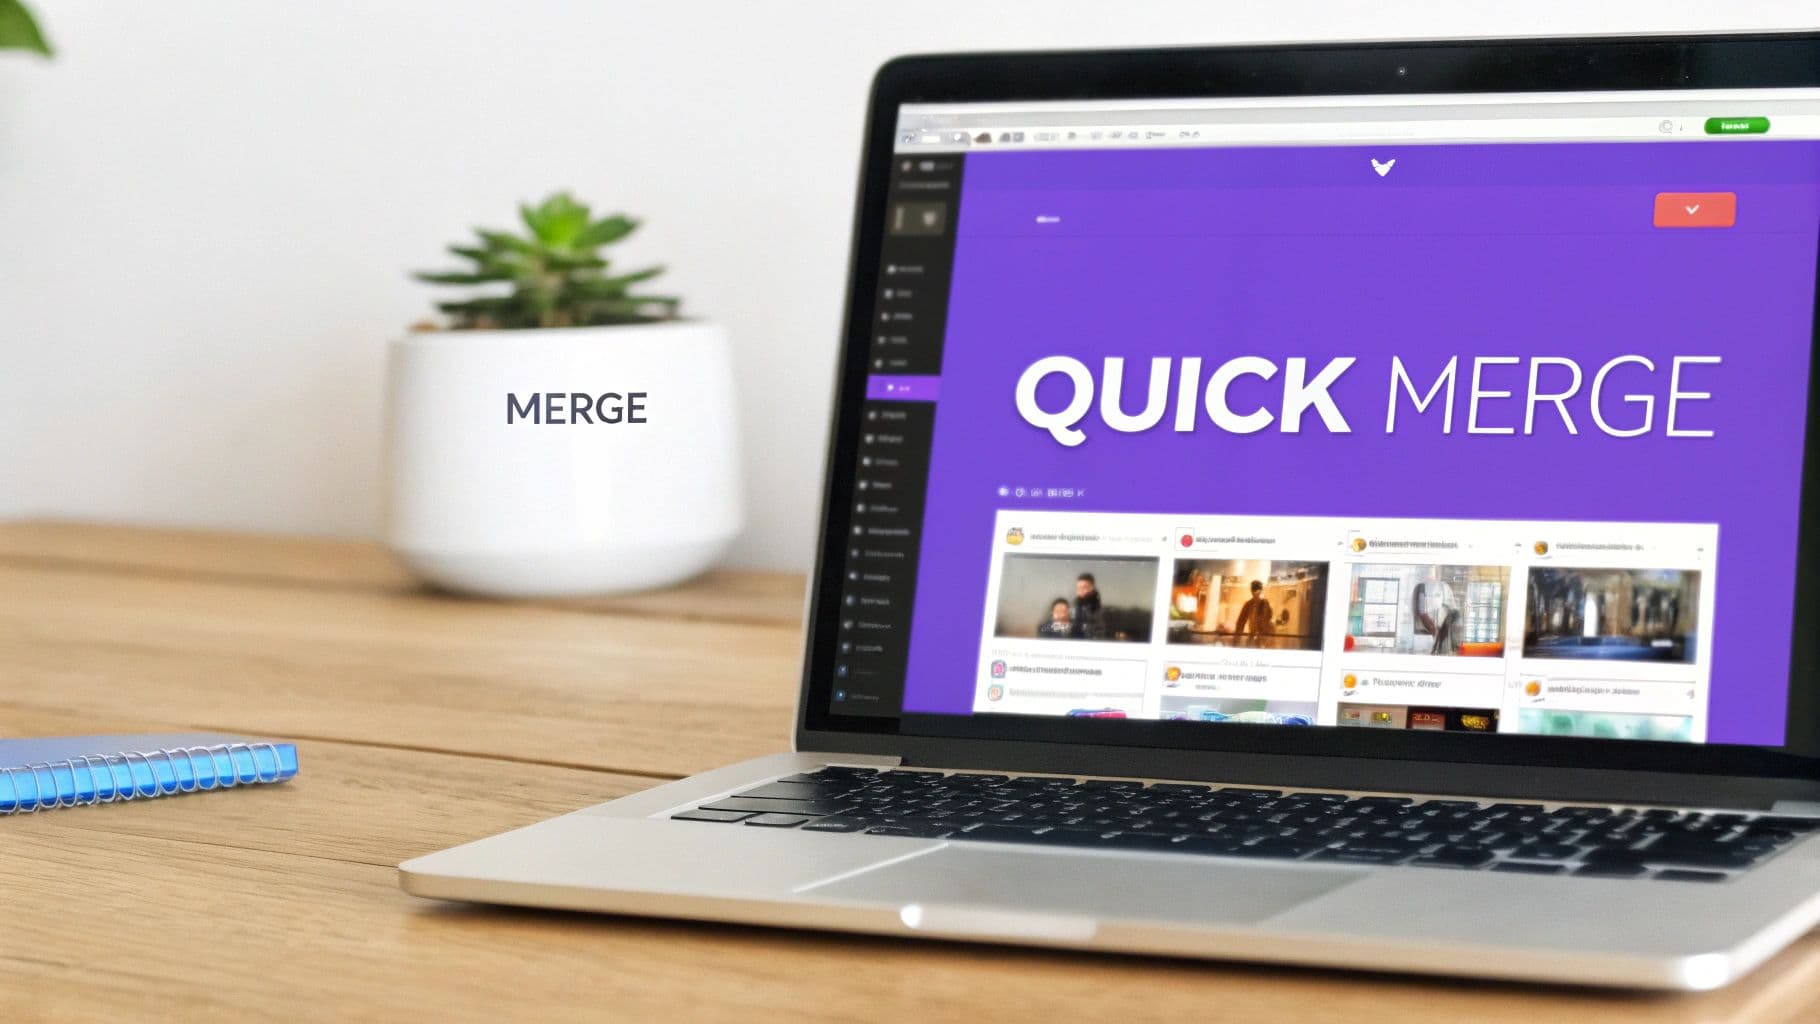
Quick Merges with Online Audio Joiners
Sometimes you just need to stick a few audio files together, and you don't want the headache of downloading and installing a big software package. For that, online audio joiners are your best friend. These are simple, browser-based tools built for one thing: getting the job done fast.
Think about it. You’ve got a few voice notes from a meeting you want to combine for your records. Or maybe you're cobbling together some song clips for a workout mix. Pulling out a full-blown audio editor for something that simple is like using a sledgehammer to crack a nut. An online tool lets you get in, get it done, and get out in minutes.
Most of these tools handle the usual suspects—MP3, WAV, M4A, and FLAC—so you probably won't run into any compatibility problems. The process is pretty much always the same: upload your files, drag them into the right order, and hit the big "Join" button.
Getting Started with a Browser Tool
The best part about these online joiners is how straightforward they are. You don't need to know anything about audio editing to use them. The whole workflow is designed to be dead simple.
Let’s say you’re trying to create a seamless clip from two different parts of a song. Here’s how you’d tackle it.
- Get your tracks in there: Look for an "upload" or "add tracks" button. This is where you’ll grab the audio files from your computer. Most tools let you select multiple files at once, which is a nice time-saver.
- Line them up: Once your files are uploaded, they'll pop up in a simple timeline or list. Now you just drag them around until they’re in the order you want. The first clip goes on the left, the second one after it, and so on. Easy.
- Smooth out the transition: This is a small step that makes a huge difference. Many tools offer a crossfade option. It smoothly fades out the end of one clip while fading in the beginning of the next. A quick crossfade of 1-2 seconds is usually all you need to get rid of that jarring, sudden cut between tracks.
A well-placed crossfade is the secret to making your merged audio sound intentional and polished. It creates a gentle overlap that guides the listener from one clip to the next, instead of just slamming them together.
Choosing Your Final Output Format
Once your clips are in order and you’ve added your crossfade, the last thing to do is pick an output format. What you choose really depends on what you’re using the final file for.
Here’s a quick rundown of your most common options:
- MP3: This is the go-to for pretty much everything. It’s the perfect balance of decent quality and small file size, which makes it great for sharing, podcasts, or just listening on your phone. For good quality, aim for a bitrate of 256kbps or 320kbps.
- WAV: If you need the absolute best, uncompressed audio quality for more serious editing or professional work, WAV is your format. Just be prepared for much larger file sizes.
- M4A: A popular format, especially in the Apple ecosystem. It gives you good quality and often a smaller file size than an equivalent MP3.
- FLAC: Think of this as the best of both worlds. It’s a lossless format like WAV (meaning no quality is lost), but it’s compressed to save space.
After you've picked your format, just hit that final merge or export button. The tool will churn for a moment and then give you a download link. The whole thing, from start to finish, often takes less than five minutes. It’s a perfect example of how convenient these online tools can be.
Gaining Precision with Audacity
When you've outgrown the simple online tools but aren't quite ready to dive into a full-blown professional Digital Audio Workstation (DAW), Audacity hits the sweet spot. It’s free, open-source, and packs a surprising amount of power. It gives you the granular control you need to merge audio files perfectly, all without spending a dime.
Think of it as the difference between a point-and-shoot camera and a DSLR. Suddenly, you have manual control over the details—from the exact placement of your clips to their volume levels. This is a must-have for something like a podcast episode, where you’re stitching together an intro, an interview, and an outro, and you need it all to sound like one cohesive show.
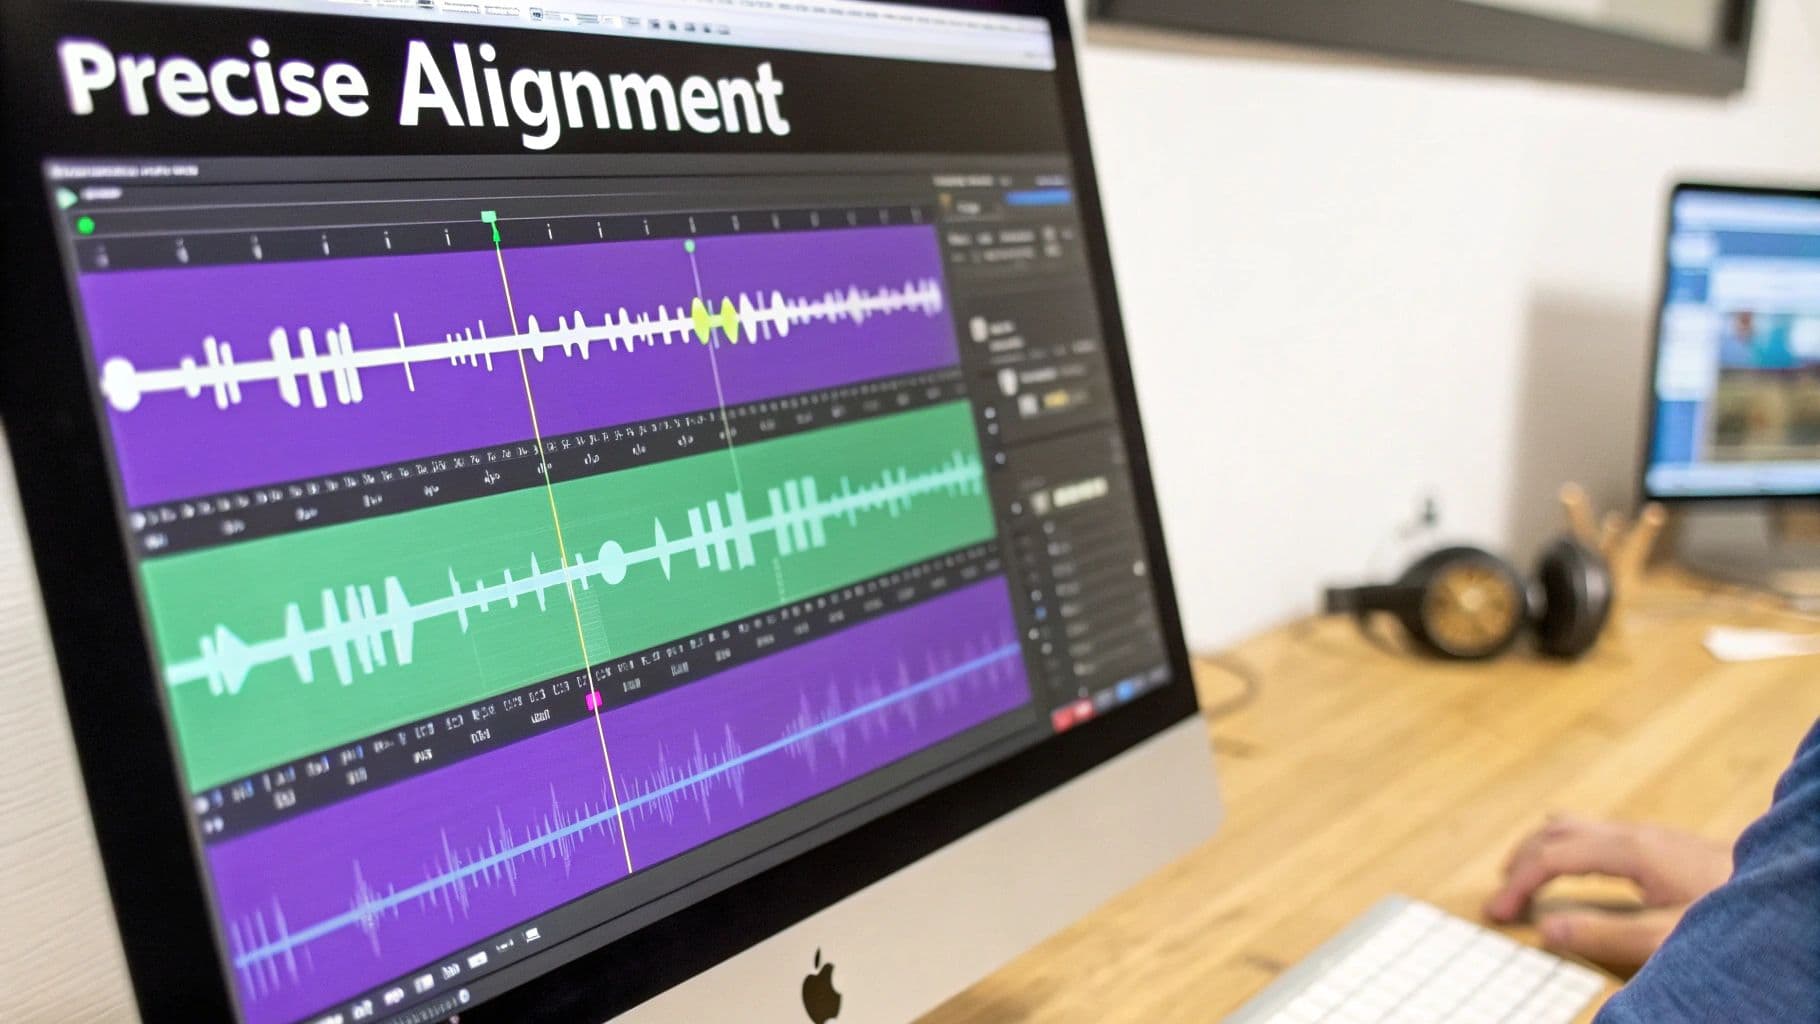
The heart of Audacity is its multi-track timeline, which lays everything out visually. Seeing how your audio clips are arranged and layered is a massive advantage over the "upload and merge" simplicity of browser-based tools, giving you the feedback you need for truly precise editing.
Setting Up Your Audacity Project
Getting your project started is pretty straightforward. Instead of a single "upload" button, you'll import your files directly onto the timeline.
Just head to File > Import > Audio and select all the clips you want to work with. Each file will pop up on its own horizontal track, stacked one on top of the other. This initial separation is what gives you all that editing power.
Aligning and Positioning Your Audio Tracks
Once your clips are loaded, it's time to get them in order. Your go-to tool for this is the Time Shift Tool, which looks like a little double-headed arrow. Grab it, and you can click and drag any audio clip left or right along its track.
Let's say you're merging a voiceover with some background music. You’d have the voiceover on one track and the music on another. With the Time Shift Tool, you can just slide the voiceover clip to start right as the music's intro finishes. That's the kind of precision that makes everything sound intentional.
If your clips are meant to play one after another, you can just drag them end-to-end on the same track. Audacity has a handy snapping feature that helps them lock into place, so you don't leave any weird gaps or overlaps. This ability to merge audio with such accuracy is a real game-changer.
The real power of Audacity is its timeline. It turns merging audio from a simple "join" command into a deliberate act of arrangement, giving you complete authority over the timing and flow of your project.
Creating Seamless Transitions with Crossfades
Nothing screams "amateur" like an abrupt, jarring cut between audio clips. The professional solution is a crossfade, a smooth transition where one clip fades out while the next one fades in.
Here’s a simple way to create one in Audacity:
- Overlap Your Clips: Use the Time Shift Tool to create a slight overlap between the end of the first clip and the start of the second on separate tracks. The length of this overlap determines how long your crossfade will be.
- Apply Fades: Highlight the overlapped section on the top track and go to Effect > Fading > Fade Out. Now do the opposite for the bottom track: select its overlapped section and apply a Fade In.
- Mix and Render: Finally, select both tracks (a quick Ctrl+A or Cmd+A works) and go to Tracks > Mix > Mix and Render. Audacity will combine them into a single, new track with that buttery-smooth crossfade built right in.
Normalizing Volume for Consistency
Ever merged a quiet voice recording with a loud piece of music and had to constantly adjust the volume? The Normalize effect is your friend. It adjusts the peak volume of all your clips to a consistent level (usually -1.0 dB to avoid distortion), so the final track is balanced.
Before you export, select all your audio and find the effect under Effect > Volume and Compression > Normalize. This one simple step ensures a much more pleasant listening experience from start to finish. If your source files have some hiss or hum, you might want to clean them up first; our guide on how to remove background noise from a mic can walk you through it.
This kind of professional touch is more important than ever. With the boom in remote work, a recent survey found that 68% of businesses are using audio merging for meeting recordings and training sessions where consistent volume is critical. For more on this, check out the audio conference marketing statistics on amraandelma.com.
Once you’re happy with how everything sounds, just go to File > Export and pick your format. For high-quality, lossless audio, WAV is the way to go. If you're sharing online, a high-bitrate MP3 will give you a great balance between quality and file size.
Going Pro: Power Tools Like FFmpeg and DAWs
When you've outgrown the simple online tools and need more muscle for your audio projects, it's time to step up to the heavy hitters. We're talking about tools that trade point-and-click simplicity for surgical precision and automation power.
For anyone who's comfortable with a command line and needs to process files in bulk, FFmpeg is your secret weapon. For musicians and sound designers who live and breathe audio production, a Digital Audio Workstation (DAW) is home base. Let's dive into how these power tools get the job done.
Get it Done Fast: Automating with FFmpeg
Don't let the lack of a pretty interface fool you. FFmpeg is the powerhouse engine running behind countless media apps you probably already use. It’s a free, open-source command-line tool that can chew through almost any audio or video task you throw at it.
Its real magic is automation. Got 50 pairs of audio files to join? Doing that by hand is a soul-crushing afternoon. With a simple FFmpeg script, you can have it all done in seconds. This is how you merge audio files at scale.
First, you’ll need to get FFmpeg installed on your computer. Once that's set up, you can run commands directly from your Terminal (Mac/Linux) or Command Prompt/PowerShell (Windows).
Here are a couple of my go-to recipes:
-
Lining up files end-to-end (Concatenation): This is perfect for assembling a podcast from an intro, main segment, and outro. First, just create a plain text file, maybe call it
mylist.txt, and list your files in order.file 'intro.mp3' file 'main_content.mp3' file 'outro.mp3'
Then pop open your terminal and run this command. It tells FFmpeg to concatenate the files from your list and copy the audio data without re-encoding, which is fast and preserves quality.
ffmpeg -f concat -safe 0 -i mylist.txt -c copy final_podcast.mp3
-
Layering files on top of each other (Mixing): Need to add background music to a voiceover? This command will do the trick. It takes your voiceover and music, then mixes them together. The
volume=0.2part is key—it lowers the music to 20% of its original volume so the voice punches through clearly.ffmpeg -i voiceover.wav -i background_music.mp3 -filter_complex "[1:a]volume=0.2[a1];[0:a][a1]amix=inputs=2:duration=first" final_mix.mp3
Total Control: Merging Tracks in a DAW
For anyone producing music or designing sound, merging audio is just another Tuesday. Inside a Digital Audio Workstation (DAW) like Ableton Live, Logic Pro, or the ever-popular GarageBand, "merging" usually goes by another name: consolidating, joining, or "bouncing" tracks.
This isn't just about sticking two files together. It's the final step after you've spent hours arranging instrument parts, layering vocal harmonies, or building a soundscape. For example, you might have three separate tracks for your backing vocals. Bouncing them down to a single stereo file cleans up your project and frees up your computer's CPU.
Think of it less as merging and more as a final performance. You’re taking multiple tracks—each with its own volume, effects, and edits—and rendering them into a single, polished audio file.
While the exact menu item might differ from one DAW to another, the workflow is pretty much the same everywhere:
- First, you select the audio clips you want to combine. These can be on the same track or spread across several.
- Next, find the command. You’re looking for something like "Consolidate Clips," "Join Regions," or "Bounce in Place."
- The DAW then works its magic, creating a brand-new audio file that includes all your edits, effects, and volume adjustments.
This method gives you the ultimate control, letting you tweak every little detail before you commit. If your work involves complex narratives for video, you might also find that exploring cutting-edge audio editing tools like Descript offers even more specialized features for that workflow.
Of course, none of this matters if your files are in the wrong format to begin with. If you need a refresher, we've got a great guide on how to convert a WAV file to MP3.
Merging Audio Files on Your Phone
You don't need to be tied to a desk to edit audio anymore. Your phone is a surprisingly capable little studio, and with the right app, you can merge audio files on a train, in a coffee shop, or anywhere inspiration strikes. The freedom of mobile editing is a real game-changer for creators on the go.
Think about a journalist in the field who needs to quickly splice together interview clips to meet a deadline. Or a podcaster who wants to assemble an episode during their morning commute. These are the moments where mobile audio editors prove their worth, packing a solid punch of features right in your pocket.
Finding the Right Mobile App
A quick search on the App Store or Google Play will show you dozens of options, but the best apps for combining audio tracks all have a few things in common. They make it a breeze to pull in files, give you a clean timeline to work with, and don't make you jump through hoops to export your final mix.
When you're browsing, keep an eye out for these must-have features:
- Simple Timeline: A visual, drag-and-drop interface is non-negotiable. You need to see your clips and reorder them easily.
- Trimming Tools: The ability to snip the start and end of each clip is fundamental for clean edits.
- Basic Effects: Even simple fade-in and fade-out options can make the transitions between your clips sound way more professional.
- Direct Sharing: A good app lets you send your finished file straight to the cloud, a messaging app, or social media without a fuss.
This mobile-first approach is popping up everywhere in media production. The demand is huge, even in unexpected places like digital advertising. In fact, over 55% of digital audio advertisers use this type of software to mix voiceovers and music for their campaigns. You can check out more stats on the booming digital audio advertising market on Statista.com.
A Quick Walkthrough on Mobile
While the look and feel might vary between apps, the basic steps for merging audio are pretty much the same whether you're on iOS or Android. Let's run through a typical session.
First, you'll fire up the app and create a new project. The app will then ask you to import your audio files. Most can grab files saved on your phone or from cloud services like iCloud Drive or Google Drive. Once you've selected them, the clips will pop up on a timeline.
From there, it’s all hands-on. Just tap and hold a clip to drag it into place. Need to shorten it? Tap the clip to bring up the trimming handles and drag them in from either end. When you butt two clips up against each other, they'll play seamlessly one after the other. For a smoother handoff, look for a crossfade option to apply between them.
A quick tip for mobile editing: Keep it simple. Mobile apps are fantastic for straightforward joining and trimming. If you're planning a complex, multi-track masterpiece, you're still better off heading back to a desktop editor.
Once everything sounds right, just look for the export or share button. You can usually pick your format (MP3 is a safe bet) and quality setting. With just a few taps, your newly merged audio file is saved to your phone, ready for action.
Common Questions About Merging Audio Files

As you start stringing audio clips together, you’re bound to run into a few common questions. Sorting these out from the get-go can save you a ton of headaches and help you get that polished, professional sound you're after.
Let's dive into some of the things that trip people up the most.
Can I Merge Audio Files of Different Formats?
Yes, absolutely. This is one of the most frequent worries I hear, but modern tools have made it a non-issue.
Whether you're using a simple online joiner or a full-fledged editor like Audacity, you can throw pretty much anything at it. Got an MP3, a WAV, and an M4A? No problem. Just import them all into your project.
The software handles the conversion behind the scenes. When you’re ready to export, you’ll just pick a single, unified format for the final track, and the program will consolidate everything into that new file.
How Can I Make Transitions Sound Smooth?
The key to avoiding those jarring, clunky cuts between clips is the crossfade. It’s a simple technique that makes a world of difference.
Instead of one track just stopping and the next one starting, a crossfade gently fades out the end of the first clip while simultaneously fading in the beginning of the second. This slight overlap creates a seamless, natural-sounding transition that’s easy on the ears.
Most audio editors have a dedicated crossfade tool, and many browser-based mergers even offer a simple checkbox to apply it automatically. A fade duration of just 1-2 seconds is usually enough to work wonders.
Using a crossfade is the single best way to elevate your merged audio from sounding like separate clips stuck together to feeling like a single, cohesive piece.
What Is the Best Format for My Final File?
This really comes down to what you plan to do with the audio next. It's always a classic balancing act between file size and audio quality.
- For maximum quality: If this merged track is a master copy for professional use or more editing, you'll want a lossless format. WAV or FLAC are the industry standards here because they don't discard any of the original audio data.
- For sharing and streaming: When you need a smaller file for a podcast, a website, or just sending to a friend, a high-quality MP3 is perfect. Stick to an encoding rate of 256kbps or 320kbps for the best results without a massive file size.
While we're focused on joining clips together, sometimes you need to go the other way. If you ever need to break a track into smaller pieces, our guide on splitting audio files has you covered.
Ready to pair your perfectly merged audio with stunning visuals? With MyKaraoke Video, you can create professional-quality karaoke or lyric videos in minutes, automatically syncing your audio and lyrics. Try it today at https://www.mykaraoke.video.