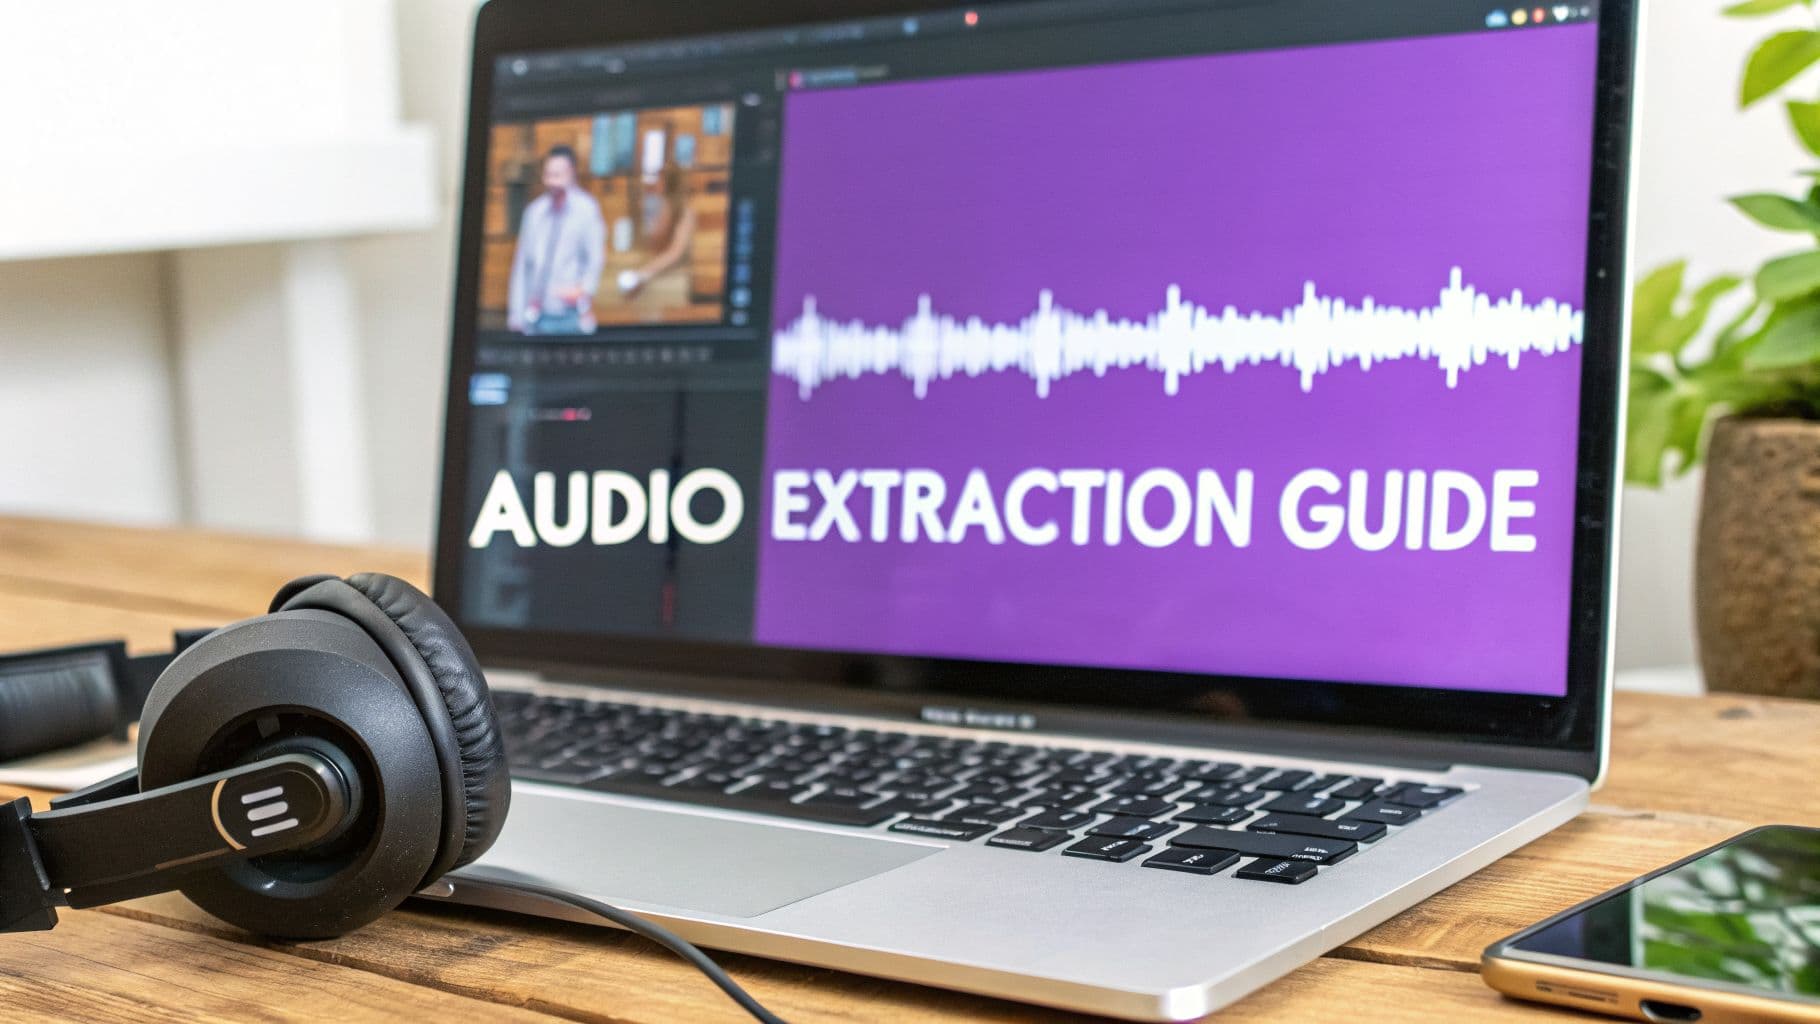
Stripping the audio from a video file is one of those fundamental skills every creator needs sooner or later. It's essentially just separating the sound from the visuals, and you can do it with everything from powerful desktop programs to quick-and-easy mobile apps.
Depending on what you need, you can grab that audio as a high-quality WAV file or a more convenient MP3.
Your Quick Guide to Audio Extraction
So, you've got a video, but the audio is what you're really after. This is a super common scenario. Maybe you recorded an interview and want to turn it into a podcast episode. Perhaps you're a musician who needs to lift a backing track from a performance video, or you just need a specific soundbite for a new project.
Think of a video file as a container holding two separate things: a video stream and an audio stream. The process of pulling them apart is sometimes called "demuxing," and it's a cornerstone of modern media work.
This need has been around since digital video first hit the scene in the early 2000s, driving a huge demand for user-friendly editing software. That market has ballooned from $4 billion** to a projected **$8 billion by 2033, growing at a steady 7.1% clip as more people get into content creation.
Choosing Your Method
The right tool for the job really comes down to your priorities: are you chasing speed, quality, or convenience? There's a big difference between needing a flawless, uncompressed audio file for a music project versus just grabbing a quick MP3 for a social media clip.
This flowchart breaks down the decision-making process perfectly. It guides you to the best tool based on what matters most to you.
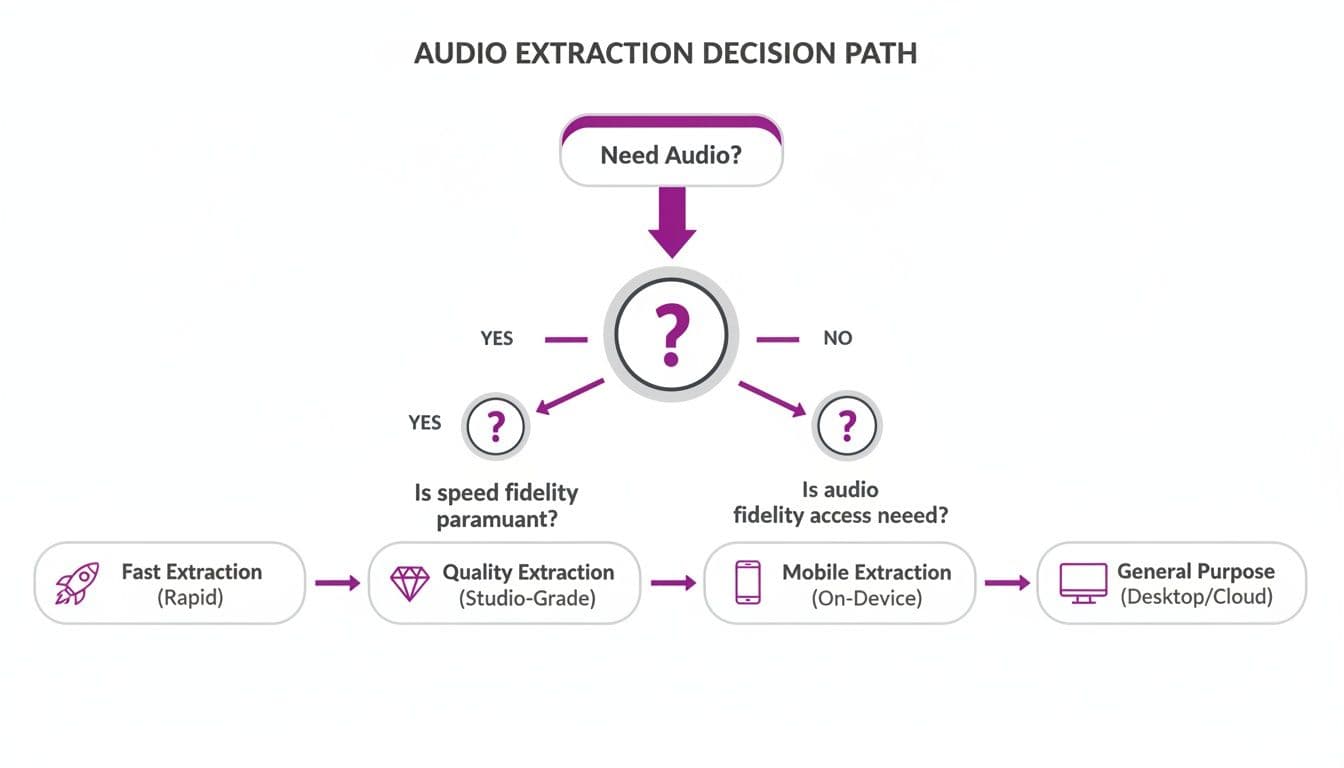
As you can see, it's all about trade-offs. Online converters are blazing fast but offer very little control over the final quality. On the other hand, desktop software gives you total control but might take a few extra minutes to set up.
The best method is the one that fits your specific goal. Don't overcomplicate it. For professional-grade results, always lean on desktop software. For a quick, one-off task, a browser-based tool is your best bet.
Comparing Your Options
To help you decide at a glance, here’s a quick comparison of the most common methods for getting audio from video.
Choosing Your Audio Extraction Method
| Method | Best For | Speed | Quality Control | Ease of Use |
|---|---|---|---|---|
| Desktop Software | Professional projects, batch processing, and lossless quality. | Moderate | High | Moderate |
| Online Converters | Quick, one-off extractions without software installation. | Fast | Low | Easy |
| Mobile Apps | On-the-go editing and extracting audio from phone recordings. | Fast | Low-Moderate | Easy |
This table lays out the core strengths of each approach. If you're creating a karaoke track to import into MyKaraoke Video, for example, you'll want the best possible foundation. That means starting with a high-quality audio file extracted using desktop software.
Once you get the hang of pulling audio, you can explore other skills like adding voiceovers to your video to take your projects to the next level.
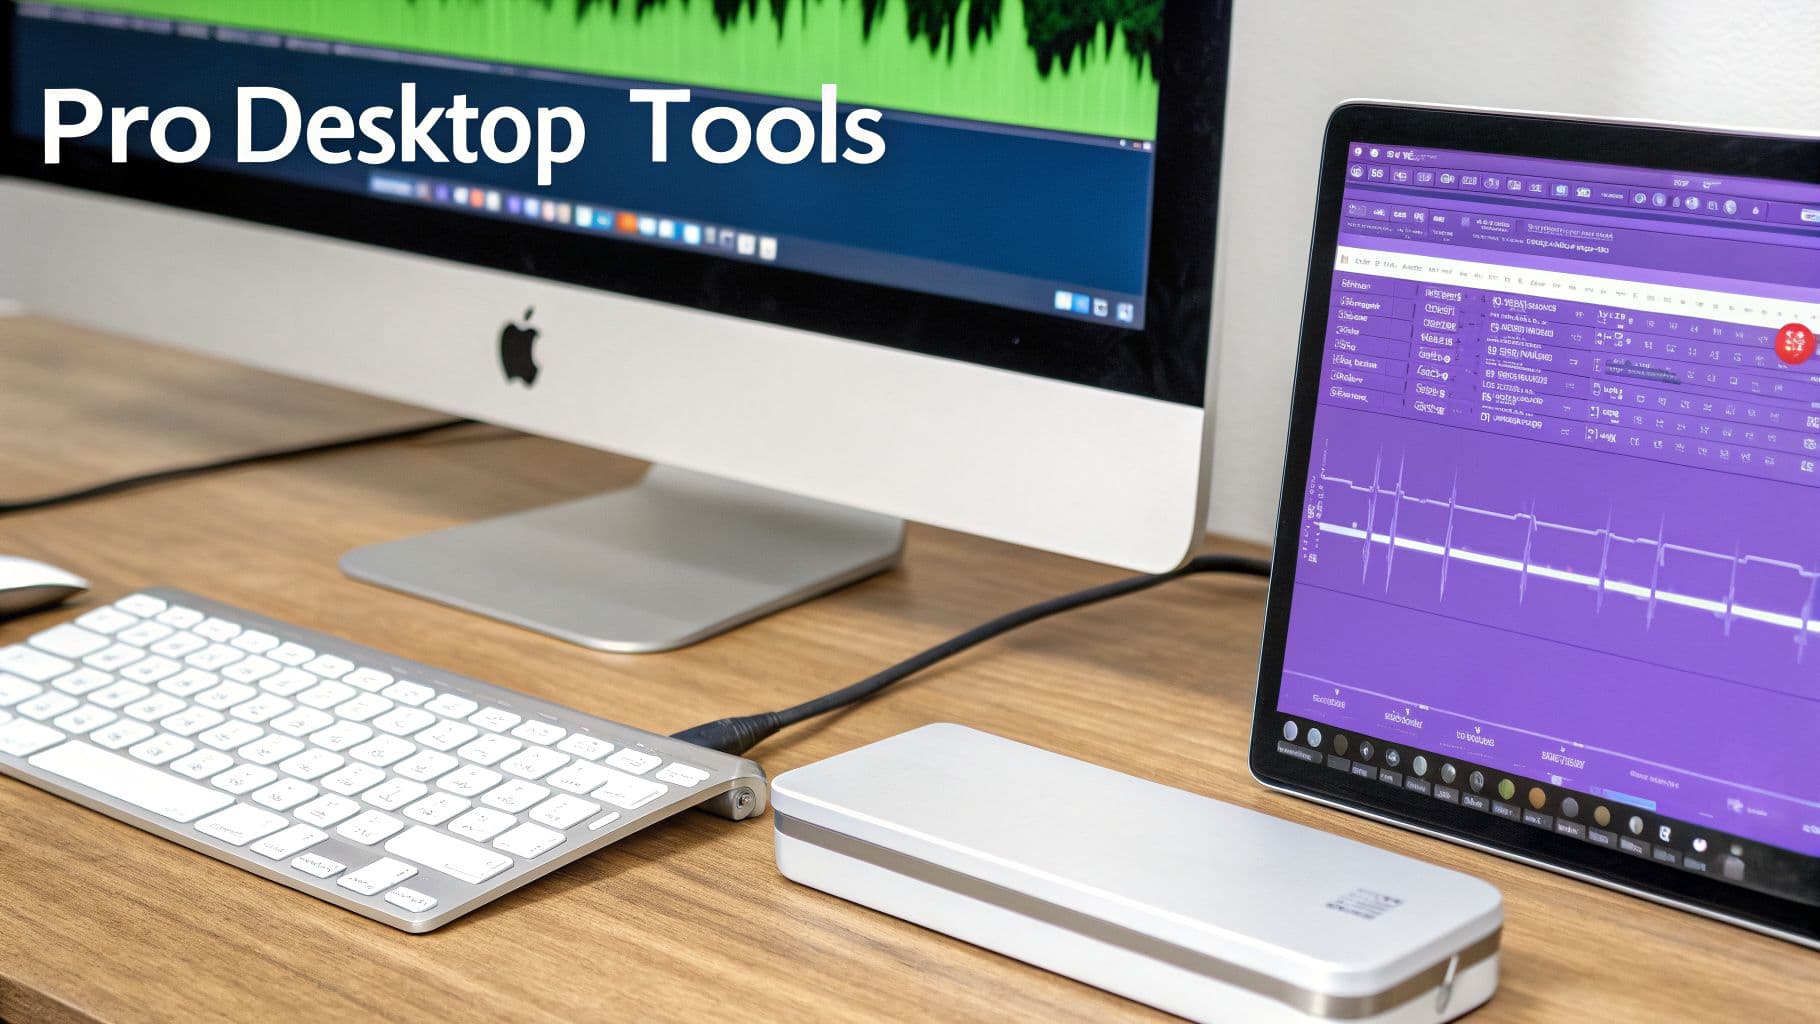
Using Desktop Software for High-Quality Audio
Sure, online tools are fast for a quick job, but when quality is non-negotiable, you’ve got to turn to desktop software. There's a reason the pros stick to dedicated programs on their Windows, Mac, or Linux machines: you get total control.
Working locally means you dictate everything, from choosing lossless formats like WAV or FLAC to fine-tuning the audio bitrate and sample rate. This is exactly what you need for creating pristine karaoke backing tracks, producing a podcast from a video interview, or just archiving a perfect audio copy for later.
This need for powerful, reliable tools is huge. The audio and video editing software market was valued at $7.03 billion** in 2024 and is expected to explode to **$20.08 billion by 2032. That staggering 14.02% growth rate makes sense when you consider that 86% of marketers use video to generate traffic—and every one of them needs clean audio. With 80% of US adults carrying a 4K-capable smartphone, the demand for pulling high-quality audio from all that video has never been higher.
VLC Media Player: The Versatile Workhorse
Almost everyone has VLC Media Player on their computer, but most people only see it as a simple player that can handle any video format you throw at it. What they don't realize is that it has a fantastic audio extraction tool hiding in plain sight.
The "Convert / Save" feature is a hidden gem for ripping audio quickly and easily. You don’t need a technical background to figure it out, which makes VLC a perfect starting point.
Here's how it works:
- First, head to
Media > Convert / Savein the menu. - Add the video file you want to work with.
- Find the "Profile" dropdown and pick an audio format, like "Audio - MP3."
- Choose a name and location for your new audio file.
- Click "Start," and VLC will handle the rest.
Pro Tip: For the absolute best quality, I recommend creating a custom profile. Set both the encapsulation and the audio codec to WAV. This gives you a lossless, uncompressed file—the perfect foundation for a karaoke track you'll be using in MyKaraoke Video.
Audacity: The Audio Specialist
If your goal is to do more than just extract the audio—if you want to actually edit it—then Audacity is the tool for you. This free, open-source audio editor can import video files, and when it does, it automatically isolates the audio track for you.
Once your audio is in Audacity, you have an entire editing suite ready to go. You can trim out dead air, normalize the volume levels, add effects, and then export the finished product in just about any format you can think of. It’s an ideal workflow for cleaning up a video interview for a podcast.
For Mac users, getting audio from different applications can be a little tricky. If you're trying to capture more than just a file's audio track, our guide on how to record internal audio on a Mac has some great techniques that can help.
Adobe Premiere Pro: The Professional's Choice
For anyone already in the Adobe creative world, Premiere Pro offers the most seamless and powerful workflow. It's built from the ground up to handle complex projects and huge amounts of media, making it the go-to for professional editors.
The real power of Premiere Pro is its ability to batch-process files. You can line up a dozen video clips and tell it to export the audio from all of them at once, which saves an incredible amount of time.
Imagine you're creating a whole album's worth of karaoke videos. Instead of the slow, one-by-one process, your workflow in Premiere looks more like this:
- You'd start by importing all your video clips into your Premiere Pro project.
- Next, you select all the clips you need audio from in your project panel.
- Then, go to
File > Export > Media. - In the export window, you’d change the format to an audio-only option like WAV (for quality) or MP3 (for smaller files).
- Instead of hitting "Export," you click "Queue." This sends the whole batch over to Adobe Media Encoder.
- Finally, in Media Encoder, you just hit the "Start Queue" button, and it crunches through all the files automatically.
This kind of efficiency is a lifesaver on big projects. It’s exactly why a professional setup like Premiere Pro is essential for anyone dealing with demanding, high-volume work.
Using Online Converters for Fast Extractions
Sometimes you just need the audio, and you need it now. No time to download software, no patience for a complex setup. This is where browser-based tools really shine. For those one-off tasks where speed is everything, an online converter is often the quickest way to strip the audio from a video file.
The whole process is designed to be dead simple. You land on a website, upload your video, pick an audio format, and download the finished file just moments later. It’s perfect for grabbing the sound from a short social media clip you want to use in a presentation or pulling the audio from a quick phone recording without any fuss.
This demand for easy-to-use tools is exploding right alongside the video market itself. The global video streaming industry was valued at $811.37 billion** in 2025 and is on track to hit a staggering **$3,394.56 billion by 2034. North America makes up a 37.7% share of that market, where an estimated 70% of streams might need audio separation for other projects like podcasts, remixes, or lyric videos. You can dive deeper into these trends over at fortunebusinessinsights.com.
The Typical Online Workflow
Hop onto any online converter, and you'll find they all follow a very similar, intuitive path. While the button colors and layouts might change, the journey from video to audio is pretty much the same everywhere you go in 2026.
First, you’ll be greeted by a big, obvious button prompting you to "Choose File" or "Upload Video." This lets you grab a video file directly from your computer. Some services also let you paste a link to a video that's already online. Just remember, when you upload from your computer, the speed is tied directly to your internet connection.
Once your video is up, the site will ask what kind of audio file you want. You'll almost always see MP3 as an option, which is a fantastic all-rounder for compatibility. If you see AAC, consider it—it often delivers better quality than an MP3 of the same size. For purists who need uncompressed audio, a few advanced tools might even offer WAV.
With your format chosen, you’ll hit the final "Convert" or "Extract Audio" button. The website’s server does the heavy lifting, and in a few moments, it will serve up a download link for your brand-new audio file.
If your video is coming from a platform like YouTube, it’s a good idea to get it into a standard video format first. Our guide on how to convert a YouTube video to MP4 walks you through that initial step.
Navigating Privacy and Security
The sheer convenience of online converters comes with a big catch: you’re handing your video over to a third-party server. This is a huge consideration, especially if the video contains anything personal, private, or sensitive.
Before you upload anything, ask yourself one simple question: "Am I okay with this video potentially becoming public?" If the answer is no, you should absolutely use a desktop app instead.
To play it safe, always look for a service with a clear privacy policy. A trustworthy site will tell you exactly how they handle your files and, more importantly, how long they keep them. Most reputable services automatically delete files from their servers within a few hours.
Here are a few red flags that should make you think twice:
- Too Many Ads: If a site is plastered with aggressive pop-ups and blinking ads, it’s often a sign of a low-quality service that might not have your security in mind.
- No "HTTPS": Look at the URL in your browser's address bar. If it doesn't start with "https," your connection isn't encrypted, and you shouldn't upload anything.
- A Missing or Vague Privacy Policy: If a company isn't upfront about how it handles your data, that's a major warning sign. Find another service.
By being a little cautious, you can easily enjoy the speed of online tools without putting your data at risk.
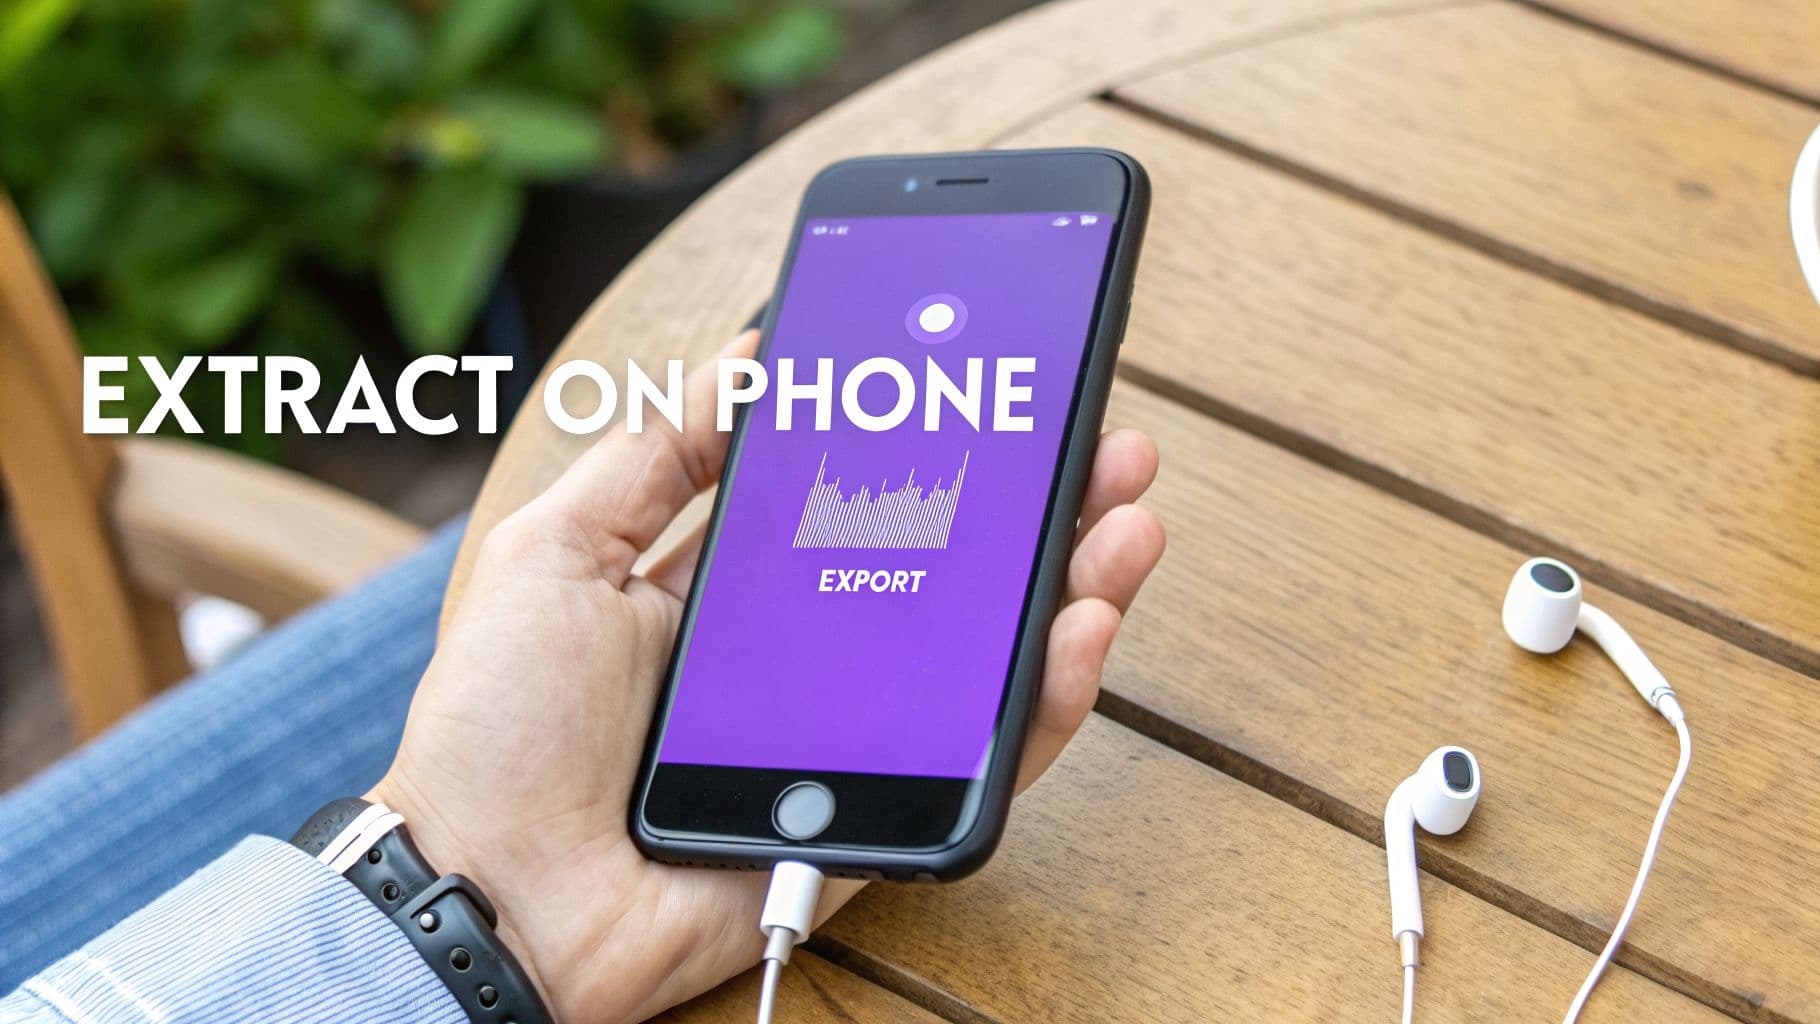
Grab Audio Straight From Your Phone or Tablet
Let's be real—sometimes you need to pull audio from a video, and you're nowhere near a computer. Maybe you just filmed an interview and need to grab a great soundbite for an Instagram Reel, or you want to turn a live music clip into a karaoke track. The good news is, your phone is more than capable of handling it.
You don't need a fancy desktop setup for this. Thanks to a ton of great apps on both the iOS App Store and Google Play Store, you can go from video to an audio-only file in just a few minutes.
Finding the Right Mobile App
When you search for a "video to audio" app, you'll find they generally fall into two camps: simple converters and full-blown video editors.
- Dedicated Converters: These are your no-fuss, one-trick ponies. They do one thing and do it well: you pick a video, and it spits out an audio file. They're perfect for when you need the audio from an entire clip without any edits.
- Video Editors: Apps like CapCut or Adobe's mobile offerings give you a ton more control. They let you drop your video onto a timeline, trim it down to the exact second you need, and then export just the audio track. This is the way to go when you need to isolate a specific quote, sound effect, or song chorus.
The workflow is pretty similar no matter which app you choose. You’ll usually start by grabbing the video from your camera roll, trimming the start and end points if you're using an editor, and then looking for an export option like "Export Audio" or "Save as MP3." From there, you can save it to your phone or send it straight to a cloud service.
Managing Quality and Files on Mobile
Working on a phone is incredibly convenient, but it has its quirks. File management, especially on iOS, can sometimes feel like a treasure hunt. Your freshly extracted audio file might live inside the app's private folder or get dumped into the generic "Files" app, so be prepared to do a little digging.
Quality is the other big thing to watch out for. To save space, many mobile apps default to some pretty aggressive audio compression. While that's fine for a quick social media sound, it's not going to cut it for a karaoke track you want to sound great in MyKaraoke Video.
Here's a pro tip: Always hunt for the export settings before you hit save. If you have the option, choose a higher bitrate MP3 (like 320 kbps) or go with AAC. AAC generally gives you better audio quality than an MP3 of the same file size.
To help you make the right call when you're staring at a settings menu, here’s a quick breakdown of the most common formats you'll encounter.
Recommended Audio Formats and Quality Settings
This table breaks down the best formats to use for balancing pristine quality with a manageable file size.
| Format | Best For | Quality | File Size | Notes |
|---|---|---|---|---|
| WAV | Professional editing, archiving. | Lossless | Large | The highest quality possible, but not always available in mobile apps. |
| AAC | General use, online sharing. | High | Medium | A modern format offering great quality, often in an M4A file. |
| MP3 | Maximum compatibility. | Good | Small | The universal standard. Aim for at least 192 kbps for decent sound. |
By paying attention to these simple settings, you can get surprisingly high-quality audio right from your phone. It’s a fast and efficient workflow that lets you create what you need, wherever you happen to be.
Turning Your Audio into a Karaoke Video
So, you’ve pulled the audio from your video and now have a clean MP3 or WAV file ready to go. This is where the real creativity kicks in. That extracted audio isn't just a sound file; it's the raw material for your next project, whether that's a professional-looking karaoke track or a sharp lyric video.
This is the moment extraction turns into creation. The audio you just isolated—be it an instrumental backing track or a full song—is your starting point. Now, we’ll walk through how you can use that file with our platform, MyKaraoke Video, to build something new and exciting from the ground up.
You’ve already handled the technical part of getting the audio. We’re here to make the next part easy and fun.
From Audio File to Finished Video
Anyone who’s tried to make a karaoke video the old way knows the headache. You’d spend hours wrestling with complicated software, manually syncing lyrics, and nudging text line by line to get the timing just right. It was a tedious process, to say the least.
We built our browser-based editor specifically to get rid of that frustration.
Instead of a clunky, multi-step ordeal, the workflow is incredibly direct. You start by uploading the MP3 or WAV file you just made. After that, you just paste the song's lyrics into the editor. This is where things get interesting.
The biggest win here is the time you save. Our AI-powered system automatically handles the most difficult part—syncing the lyrics to the audio. This feature alone can cut your production time by up to 80% compared to traditional manual methods.
What used to take an entire afternoon can now be finished in just a few minutes. This frees you up to focus on the creative side of things, like choosing the perfect background and customizing the text, instead of getting bogged down in technical busywork.
The MyKaraoke Video Workflow
Getting started is simple, and you don't need to download or install a thing. It all happens right in your web browser.
Here’s a quick look at how it works:
- Upload Your Audio: Just drag and drop your extracted audio file. Whether it's a high-quality WAV or a versatile MP3, the platform is ready for it.
- Add Your Lyrics: Copy and paste the complete lyrics for your song into the text box.
- Let AI Do the Syncing: Our tool automatically analyzes the audio and aligns the lyrics with the vocal or instrumental cues, giving you a perfectly timed foundation to start with.
- Fine-Tune with the Editor: While the AI gets you most of the way there, you always have the final say. You can easily adjust the timing of any line or word to make sure it's frame-perfect.
- Customize Your Look: This is your chance to get creative. Experiment with different fonts, play with colors, and pick a background video or image that captures the song's mood.
This entire process turns audio extraction from a final step into the first step of a fast and enjoyable creative session.
Beyond Basic Karaoke
The audio you've extracted opens up more possibilities than just standard karaoke. For example, if your audio is a full song with vocals, you can create a dynamic lyric video that’s perfect for YouTube or social media. If you're working with an instrumental-only track, you have the ideal foundation for a classic sing-along video.
But what if your audio still has vocals you want to get rid of? We’ve got you covered there, too. To learn more about separating vocals from music, check out our guide on the best vocal remover apps, which can help you create a truly clean instrumental.
Ultimately, the goal is to produce a polished, professional-grade video. Once you’re happy with your creation, you can export it as a high-quality 1080p MP4 file, ready to be shared anywhere. It’s the perfect way to bridge the gap between a simple audio file and a finished video you can be proud of.
Common Questions About Audio Extraction
Even when you've got the right tools, pulling audio from a video file can sometimes throw you a curveball. Let's walk through some of the most common questions that pop up so you can sidestep these issues from the get-go.
The first thing people usually worry about is audio quality. Will it sound worse after you extract it? Not necessarily. Think of your original video's audio as the quality ceiling—you can't get better than what you start with.
If you export the audio as a WAV file, you're getting a perfect, uncompressed copy. For most other situations, a high-quality MP3 is perfectly fine and the tiny bit of quality loss from compression is usually impossible to hear.
Legal and Compatibility Issues
Of course, there's also the legal side of things. It's totally fine to strip the audio from your own home movies or personal recordings. The trouble starts when you're working with copyrighted material like music videos or movies without getting permission first. That can quickly land you in hot water for copyright infringement.
The golden rule is to make sure you have the rights to any audio you use, especially if you plan on sharing it publicly or using it in a commercial project. For creative work, your safest bet is always to use royalty-free music sources.
Another snag you might hit is an unsupported file format. It's a common headache, especially with older or more obscure video files. The simplest workaround is to convert the video first. Just run it through a program like VLC or a reliable online converter to get a standard MP4 file, and then you can easily extract the audio from that.
And once you have your audio file, what's next? You might want to turn that spoken audio into a written document. You can find out how to transcribe audio to text for free using a variety of great tools. This is incredibly useful for turning interviews, lectures, or meetings into searchable text.
Ready to turn your extracted audio into an amazing karaoke track? MyKaraoke Video makes it easy with AI-powered lyric syncing and a powerful editor. Create your first karaoke video in minutes at https://www.mykaraoke.video.