If you've ever tried to record internal audio on a Mac, you've probably hit a wall. It seems like it should be simple, but macOS doesn't let you do it right out of the box. This isn't a glitch; it's a deliberate security and copyright protection feature baked deep into the system. The good news is there's a straightforward workaround: using a free virtual audio driver to build a digital bridge between your Mac’s sound output and your recording software.
Why Your Mac Makes Audio Recording Difficult
That moment you finish a screen recording with QuickTime Player only to discover the video is completely silent? That’s a classic Mac experience. This limitation isn't a recent change—it’s been a core part of the operating system's architecture for years.
Unlike Windows, macOS has never had a built-in function to directly capture system audio. You can dig through old discussions on Apple's own forums and see people grappling with this for decades. The root of the issue is that your Mac sees audio output (what you hear) and audio input (what a mic hears) as two entirely separate, one-way streets. There’s no native "loopback" to route the speaker sound back into an application as an input.
Understanding the Virtual Audio Driver Solution
The solution is to create that loopback yourself with a tool that works like a set of digital audio cables inside your computer. This is where a virtual audio driver comes in. A free utility like BlackHole creates a new "device" in your sound settings, letting you reroute audio.
It helps to think of it like this:
- Your Mac's Default Path: App Audio → Speakers/Headphones
- With a Virtual Driver: App Audio → Virtual Driver → Recording App AND Speakers/Headphones
You set up this new audio path using a built-in macOS utility called Audio MIDI Setup. It’s the control center for all your Mac's audio inputs and outputs.
Inside this tool, you'll create something called a "Multi-Output Device." This is the key step. It lets you send your Mac's sound to two places at once: your speakers (so you can hear what's happening) and the virtual driver (so your recording app can capture it). Getting this configured is essential before you even think about hitting record, and it’s a foundational step for using the best screen recording software effectively.
The key takeaway is that you aren't hacking your Mac. You're simply using a free, widely-accepted tool to create an audio pathway that macOS doesn't provide out of the box.
The Best Free Method: Using BlackHole and QuickTime
If you need to record internal audio on your Mac and don't want to spend a dime, the combination of BlackHole and QuickTime Player is the go-to solution. I've used this setup for years, and it's what countless creators, educators, and podcasters rely on because it’s free, dependable, and delivers a perfectly clean recording of your system's sound.
At its core, this method uses BlackHole—an open-source virtual audio driver—to build a new audio pathway inside your Mac. Think of it as creating a "virtual cable" that routes your Mac's sound from its output right back into an input that QuickTime can actually hear.
Before we get into the nitty-gritty of the setup, this visual perfectly illustrates why a tool like BlackHole is even necessary.
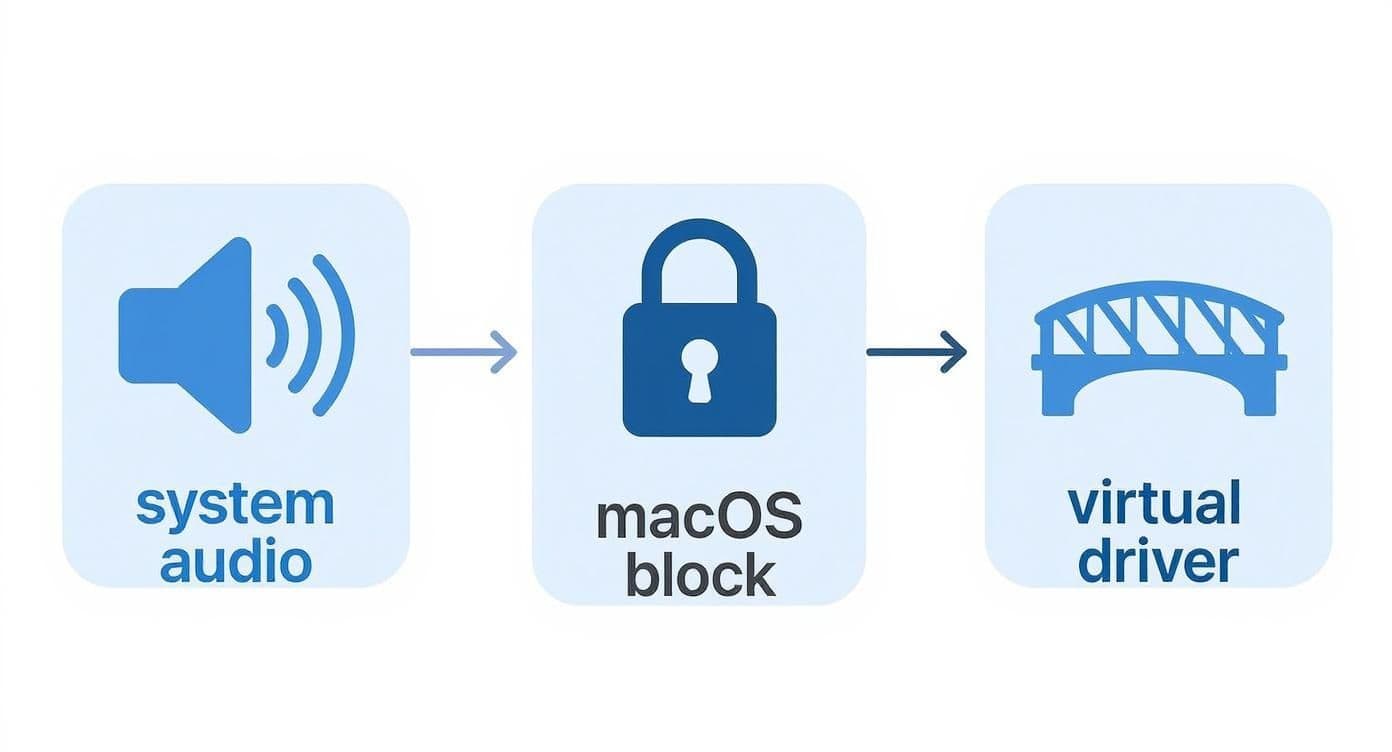
As you can see, BlackHole builds a bridge over the gap macOS intentionally creates, turning your system's output into a recordable input source.
Setting Up Your Virtual Audio Bridge
First thing's first: you need to install BlackHole. Head over to the official Existential Audio website to download the free installer. The installation is straightforward, but you will need to grant it permission to make changes to your system audio settings.
With BlackHole installed, our next stop is a powerful utility that's already on your Mac: Audio MIDI Setup. The quickest way to find it is with Spotlight (Command + Spacebar), but you can also find it in Applications > Utilities. This is where the magic happens.
Once you have Audio MIDI Setup open, look for the small + icon in the bottom-left corner and give it a click. From the menu that pops up, select Create Multi-Output Device.
This step is absolutely critical. It lets you hear your Mac's audio through your speakers while also sending it to BlackHole for recording. If you skip this, your recording will have sound, but you'll be working in complete silence. Not ideal.
A new device will appear in the list on the left. Let’s configure it:
- First, check the box next to your primary audio output—this will be something like MacBook Pro Speakers or whatever headphones you have plugged in.
- Next, check the box for BlackHole 16ch.
- Finally, make sure the Drift Correction box is checked for BlackHole. This is a crucial little setting that prevents the audio signals from falling out of sync, which can be a real headache on longer recordings.
Pro Tip: For convenience, right-click on your new Multi-Output Device and select "Use This Device For Sound Output." This tells your Mac to send all system audio to both your speakers and to BlackHole simultaneously.
Recording with QuickTime Player
Now for the fun part—capturing the audio. Open up QuickTime Player, which is already installed on every Mac.
From the menu bar at the very top of your screen, navigate to File > New Screen Recording. A small control panel will pop up. Before you hit that big red button, click the Options menu.
Look for the "Microphone" setting. You'll see a list of available inputs, but instead of choosing your built-in mic, you’re going to select BlackHole 16ch. This tells QuickTime to listen to the audio stream coming from our new virtual driver—a perfect copy of your system sound.
That’s it! You're ready to go.
You can record your entire screen or just a selected portion, and when you play it back, you'll hear the internal Mac audio captured with crystal clarity. This simple, free setup is incredibly versatile for everything from recording a software tutorial to capturing browser audio for a karaoke video. It’s the most effective way to solve the system sound problem on a Mac.
Using Audacity to Record and Edit Your Audio
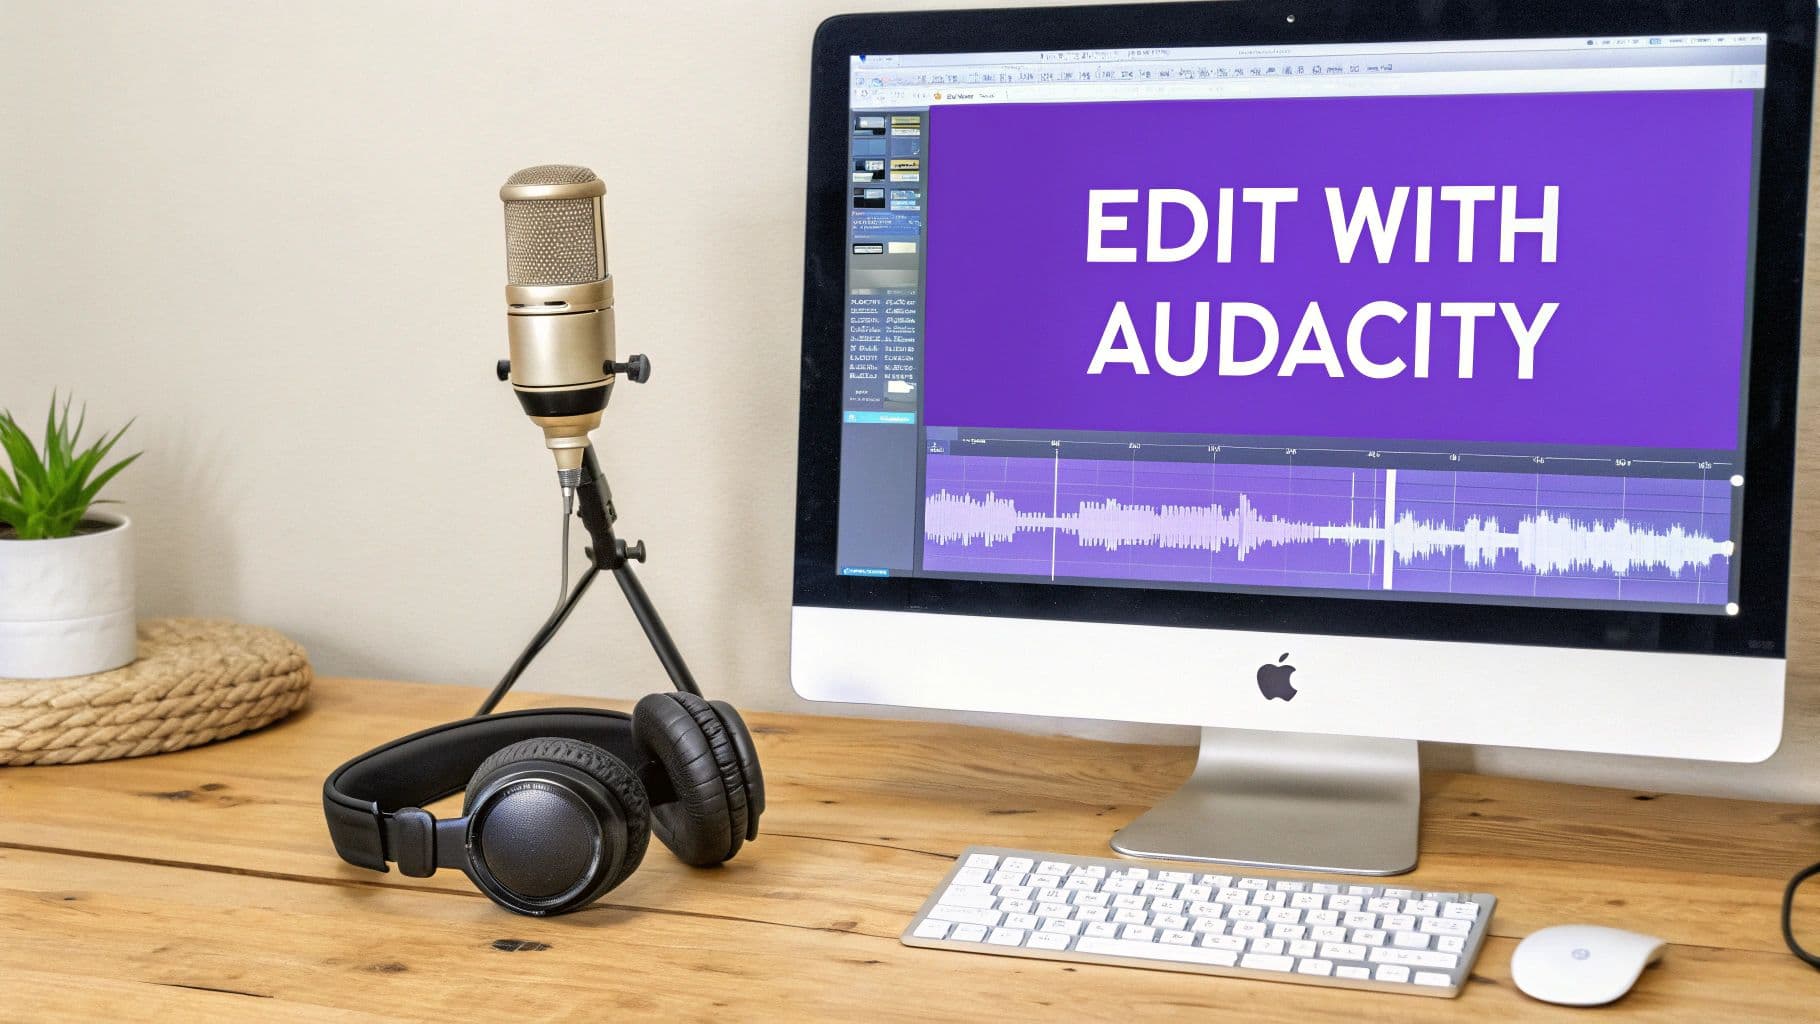
QuickTime is a great tool for simple, no-fuss screen recordings. But what happens when you need to actually edit that audio? For that, you’ll want to step up to a more powerful tool, and Audacity is the perfect choice. It's a completely free, open-source audio editor that has been the go-to for podcasters and creators for years.
When you combine Audacity with the BlackHole setup we just created, you turn your Mac into a surprisingly capable recording studio. You can trim mistakes, mix in other audio, and clean up your recordings—all things you simply can't do in QuickTime.
Getting Audacity Set Up for Recording
If you don't have it already, go ahead and grab the free download from the official Audacity website. Once it's installed, the most important step is telling Audacity where to listen for the audio.
Open Audacity, and you'll see a toolbar near the top with several dropdown menus. Look for the one next to the microphone icon, which controls the Recording Device. Click on that menu and select BlackHole 16ch. This simple change tells Audacity to grab its input from our virtual audio cable instead of a physical microphone.
Now, you could just hit record, but you wouldn't be able to hear anything while it's capturing. To fix that, we need to turn on live monitoring.
- In the top menu bar, click on Transport, then Transport Options.
- Look for Software Playthrough (on/off) and make sure it has a checkmark next to it.
This feature routes the incoming audio from BlackHole straight to your headphones or speakers, so you can hear exactly what Audacity is recording in real-time. It’s a game-changer for avoiding silent, unusable recordings.
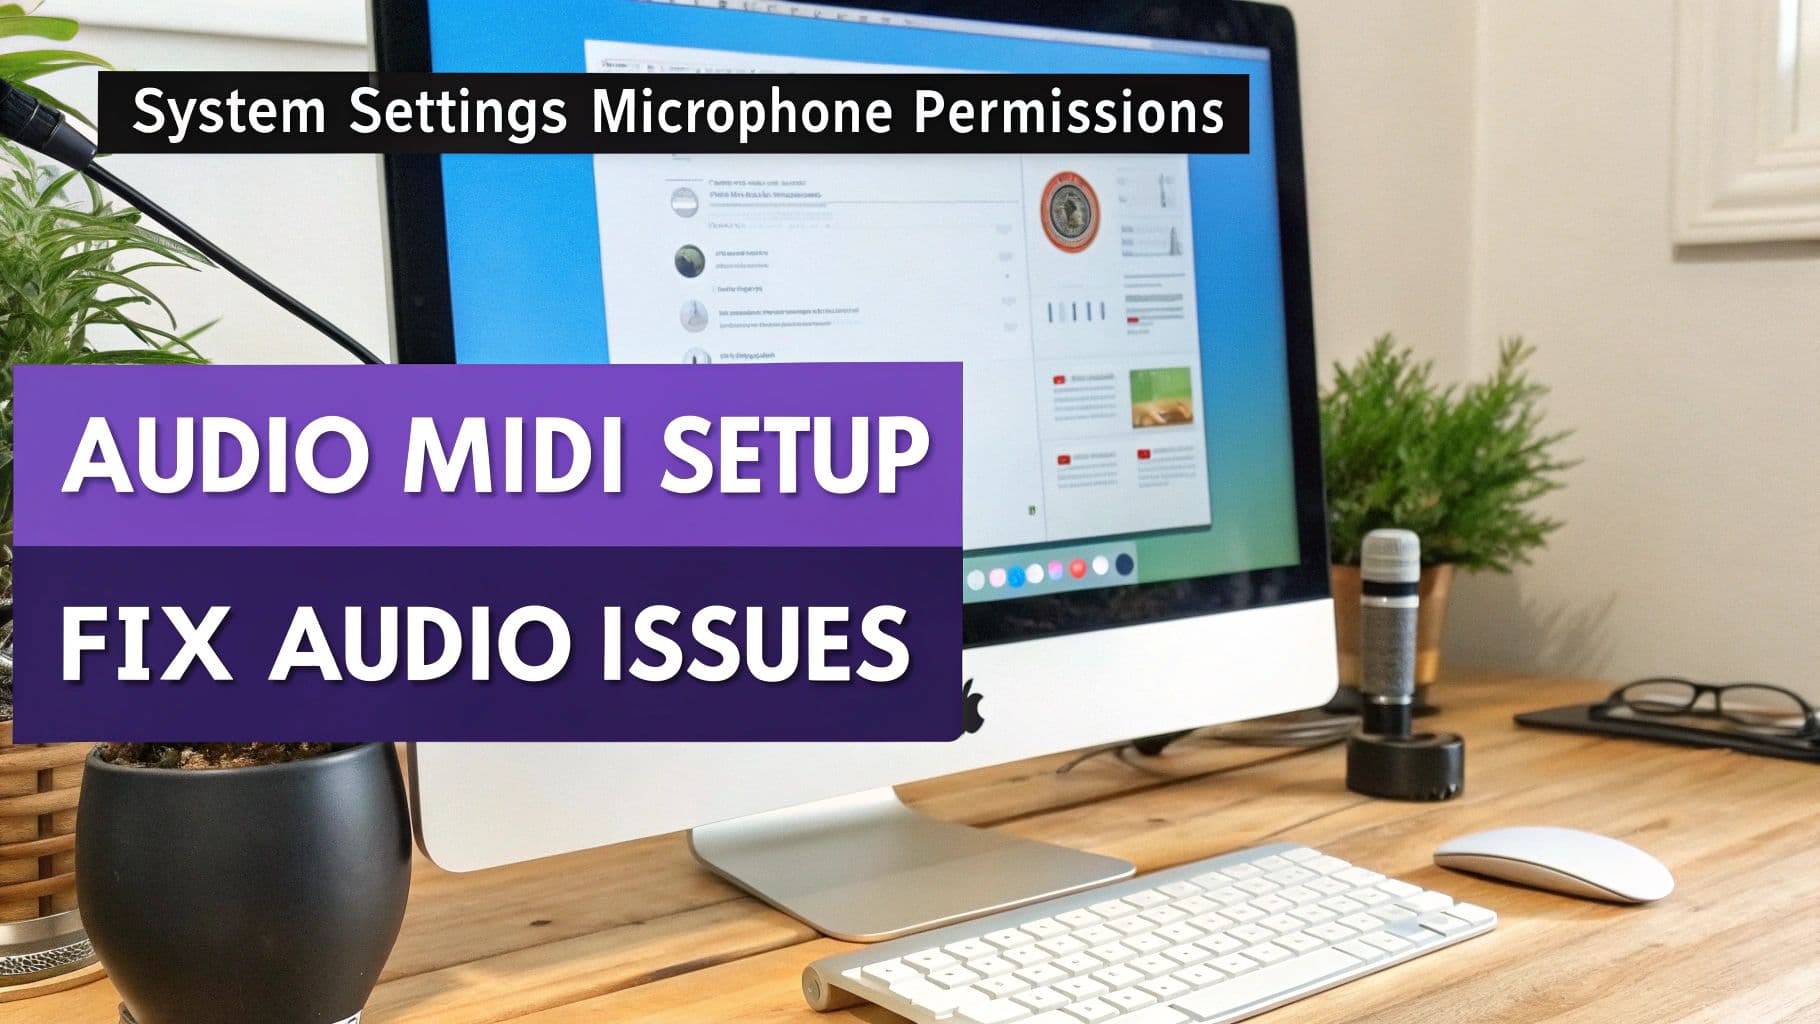
Checking Mac Permissions and Project Settings
Modern macOS is pretty strict about security, which is a good thing, but it can sometimes get in the way. The first time you try to record in Audacity, your Mac will almost certainly pop up a request for microphone access. You have to click OK on this prompt.
If you accidentally clicked "Don't Allow" or just didn't see the pop-up, don't worry. It's an easy fix.
- Open your Mac’s System Settings.
- Navigate to Privacy & Security and find the Microphone section.
- You'll see a list of apps. Just find Audacity and flip the toggle switch on.
There's one last, critical setting to check inside Audacity itself: the Project Sample Rate. Down in the bottom-left corner of the window, you'll see a dropdown menu labeled "Project Rate (Hz)." Make sure this is set to 48000 Hz to match our BlackHole configuration. This is a pro tip—mismatched sample rates are one of the most common reasons people end up with distorted or garbled audio.
With all that configured, you're ready to go. Hit the big red record button, and you should see the waveforms start populating the track. You're now officially recording your Mac’s internal audio.
Once you have your audio clip, you can get to work editing. For creators who need to isolate different parts of a recording, learning how to start splitting audio files into separate tracks is a fantastic next step in leveling up your production skills.
Choosing the Right Virtual Audio Driver for Your Needs
While BlackHole is the reliable workhorse for anyone wanting to record internal audio on a Mac for free, it's certainly not your only option. Picking the right virtual audio driver really boils down to a simple trade-off: your budget versus your need for convenience.
For most people, BlackHole hits the perfect sweet spot. It's completely free, open-source, and once you get through the initial configuration in Audio MIDI Setup, it’s rock-solid. The need for tools like this has exploded with the rise of the creator economy.
This isn't a niche problem anymore; it's a mainstream requirement for anyone making digital content or even just trying to manage online meetings. A 2022 survey on software trends showed that over 60% of Mac users in multimedia production rely on third-party audio routing tools. You can dig into more insights about these software trends and see how they’re shaping content creation.
The Power of Loopback
If tinkering in Audio MIDI Setup feels a bit daunting, or if you need to get surgical with your audio sources, then Loopback from Rogue Amoeba is the gold standard. It completely replaces the abstract, technical setup process with a beautifully simple, visual, drag-and-drop interface.
Imagine you want to record a track from Spotify but not the constant "ping" of your Mail notifications. With Loopback, that's incredibly easy to set up.
- Ease of Use: Its interface is legendary for a reason. You literally build virtual audio devices by dragging application icons and output channels onto a canvas.
- Flexibility: It gives you per-application audio routing, which is a game-changer for complex setups like recording podcasts or managing a live stream.
- Cost: This level of convenience and power comes at a price. Loopback is a premium, paid application, which might be a steep investment if you only need to record audio once in a while.
Loopback is the classic "it just works" solution. If you value your time and need a foolproof way to manage complex audio without the headache, the cost is often more than justified by the simplicity and power it delivers.
What About Soundflower?
You’ll definitely stumble across older tutorials that mention another free tool called Soundflower. For years, it was the default choice for Mac users needing to route system audio. However, it has largely been replaced by BlackHole in the modern era.
Soundflower's development has stalled, making it unreliable on newer versions of macOS, especially on machines with Apple Silicon chips (M1, M2, M3). While you might get it to work on an older system, BlackHole is actively maintained and guarantees far better stability and compatibility. For this reason, I strongly recommend new users stick with BlackHole for a much smoother ride.
Comparison of Mac Virtual Audio Drivers
To make the decision a bit easier, it helps to see these tools side-by-side. Each has its place, depending on what you're trying to accomplish.
| Feature | BlackHole | Loopback | Soundflower (Legacy) |
|---|---|---|---|
| Cost | Free | Paid (Premium) | Free |
| Ease of Use | Moderate (Requires manual setup) | Very Easy (Visual interface) | Moderate to Difficult |
| Flexibility | Good (System-wide routing) | Excellent (Per-app routing) | Basic (System-wide) |
| Reliability | Excellent | Excellent | Varies (Outdated) |
Ultimately, the choice is yours. BlackHole is the perfect free solution if you don't mind a one-time technical setup. But if your workflow demands maximum control with minimum fuss, and you have the budget, Loopback is hands-down the best tool on the market.
Solving Common Mac Audio Recording Problems
Even with a perfect setup, you can still hit a snag trying to record your Mac's internal audio. It happens to everyone. The good news is that the fixes are usually pretty straightforward once you know where to look, whether you're dealing with a silent recording or a weird audio echo.
The most common complaint I hear is a completely silent recording. Nine times out of ten, this is just a simple case of the wrong audio device being selected. Before you start pulling your hair out, check two key places.
First, pop open System Settings > Sound > Output. Make sure your Multi-Output Device is selected as the active sound output.
Next, jump into your recording software, whether it’s QuickTime, Audacity, or something else. Check that its microphone or input source is set to BlackHole (or whatever virtual driver you're using). If both of those are correct, the culprit is almost certainly a permissions issue.
Fixing Permissions and Audio Glitches
Modern versions of macOS are pretty locked down for security, which is a good thing until it gets in your way. Your Mac sees your virtual driver as a "microphone" and needs your permission to let an app access it.
To grant access, go to System Settings > Privacy & Security > Microphone. Find your recording app in the list and just make sure the little toggle next to it is switched on. You'll probably need to restart the app for the change to take effect.
Another classic problem is a distracting echo or a robotic, tinny sound in your final recording. This almost always means audio is being captured from two sources at once—for example, from both BlackHole and your Mac's built-in microphone. The fix is easy: just mute any physical microphones inside your recording software to ensure you're only capturing the pure system audio.
Here's a pro tip that solves a lot of headaches: Inside the Audio MIDI Setup app, when you're configuring your Multi-Output Device, always check the "Drift Correction" box for BlackHole. This is crucial for longer recordings, as it prevents the different audio streams from slowly falling out of sync.
Finally, if you're using Bluetooth headphones and notice crackles or dropouts, it's likely a connectivity issue, not a problem with your virtual audio setup. Learning how to troubleshoot Bluetooth audio problems on Mac can save you a lot of grief. And if your microphone is picking up keyboard clicks or room echo, our guide on https://www.mykaraoke.video/blog/how-to-remove-background-noise-from-mic can help you get a much cleaner sound.
Common Questions and Roadblocks in Mac Audio Recording
Even with the best guides, you're bound to run into a few specific questions when you start routing and recording your Mac's internal audio. It’s totally normal. Let's clear up some of the most common issues people face so you can get your project done right.
Can I Just Record Audio from One Specific App?
Yes, you absolutely can, but this is where the free tools hit their limit. A virtual driver like BlackHole is an all-or-nothing solution; it grabs every sound your Mac makes. If you’re recording a tutorial and a notification pops up, that "ping" is going straight into your final audio.
To cherry-pick audio from a single application—like Safari, Spotify, or a Zoom call—you'll need to step up to a commercial tool. Apps like Loopback or Audio Hijack are the gold standard for this. They let you build virtual audio pipelines that listen only to the app you specify, completely ignoring everything else. For podcasters or anyone who needs a pristine, isolated audio track, this is a non-negotiable feature.
Is It Okay to Record Copyrighted Music or Movie Audio?
This is a big one, and the answer is layered. If you’re recording a song or a movie clip strictly for your own private use—say, to practice a guitar part or analyze a scene—you’re generally in the clear under what’s known as fair use.
But the line gets crossed the second you share it. Uploading that recording to YouTube, posting it on social media, or distributing it in any way almost certainly puts you in violation of copyright law. The golden rule is simple: if you didn't create it, you don't own the rights to share it without explicit permission.
Are These Virtual Audio Drivers Going to Bog Down My Mac?
Not at all. This is a common worry, but virtual drivers like BlackHole are incredibly lightweight. They’re designed to be lean, running quietly in the background with a barely noticeable impact on your CPU or memory. You can record high-quality audio for hours without ever noticing a performance hit.
If you do see your Mac’s fans spin up, the culprit is almost always the recording software itself (like Audacity or OBS), not the virtual driver. For more on keeping your machine in top shape, you can find some great additional Mac tips and resources.
Tired of wrestling with complex audio setups? If your goal is to create great-looking karaoke or lyric videos, there's a much easier way. MyKaraoke Video is a browser-based editor that lets you make professional videos in minutes—no downloads or virtual drivers needed. Just upload your track, paste the lyrics, and let our AI sync everything perfectly. Give it a try and see how simple video creation can be!