The secret weapon behind an endless stream of karaoke hits isn't a complex recording studio—it's a powerful remove vocals app. These clever tools use AI to instantly separate vocals from instruments, leaving you with a clean, professional-sounding backing track. Best of all, you can do it right from your web browser, no clunky software required.
Why Browser-Based Tools Are a Game Changer
Ever scrolled through YouTube and wondered how creators pump out so many high-quality karaoke videos? They're not spending days fiddling with audio filters. Instead, they're using smart, browser-based tools that do all the heavy lifting. This shift turns a once-technical nightmare into a simple, creative process.
The old way involved downloading programs like Audacity, learning about complex concepts like phase cancellation, and hoping for a decent result. Now, all you need is an internet connection. This accessibility is what truly changes the game, opening up high-quality karaoke creation to everyone.
The Modern Karaoke Creation Workflow
Today's tools have boiled the process down to just a few clicks. For a YouTuber, this means more time spent on what matters—designing cool visuals for their videos—and less time getting bogged down in the technical weeds. A wedding DJ can create a custom track for the happy couple in minutes, right before the event. It’s all about speed and quality.
The entire workflow is designed to be intuitive.
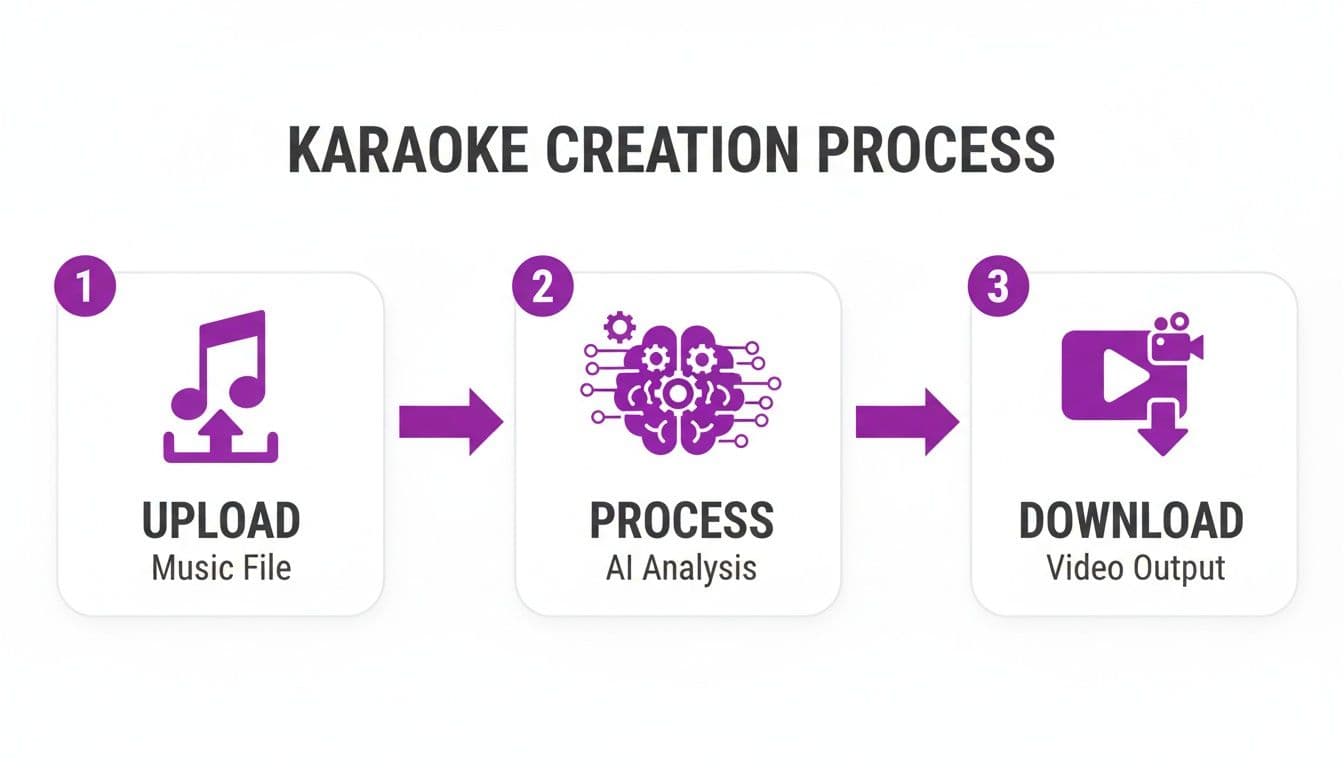
As you can see, the AI handles the tricky parts. Your job is just to upload the song, make a few creative choices, and hit download.
Why Browser-Based Vocal Removers Win
The difference between wrestling with old software and using a modern web app is night and day. Here's a quick breakdown of why creators are making the switch.
| Feature | Traditional Software | Browser-Based AI Tool |
|---|---|---|
| Setup | Lengthy downloads, installations, and updates. | Nothing to install. Just open a website. |
| Learning Curve | Steep. Requires knowledge of audio engineering. | Minimal. AI handles the complex steps. |
| Processing | Relies entirely on your computer's power. | Uses powerful cloud servers. Your PC stays fast. |
| Accessibility | Tied to one specific machine. | Access your projects from anywhere, on any device. |
| Workflow | Juggling multiple programs (audio, lyrics, video). | All-in-one: vocal removal, lyric sync, and video creation. |
| Cost | Often requires a significant one-time purchase. | Flexible, affordable subscription plans. |
Ultimately, browser-based tools offer a smarter, faster, and more integrated way to get the job done without the technical headaches of the past.
Key Benefits for Creators and Planners
Switching to a browser-based solution isn't just about convenience; it directly boosts your productivity and the final quality of your work.
- No Audio Engineering Degree Needed: The AI does the complicated work of splitting the audio tracks for you. It's truly a point-and-click process.
- Create From Anywhere: Start a project on your laptop at a coffee shop and finish it on your desktop at home. No files to transfer, no software to sync.
- One-Stop Karaoke Shop: The best platforms don’t just handle audio. They bundle vocal removal with automatic lyric syncing and video design tools, keeping everything in one place.
- Budget-Friendly: You're not shelling out hundreds for a perpetual software license. Affordable subscriptions make these tools accessible, even if you only need them for a single event.
The real win here is the time you get back. A process that once took hours of meticulous audio editing and manual video syncing can now be done in less than 15 minutes. For anyone trying to build a YouTube channel, that efficiency is everything.
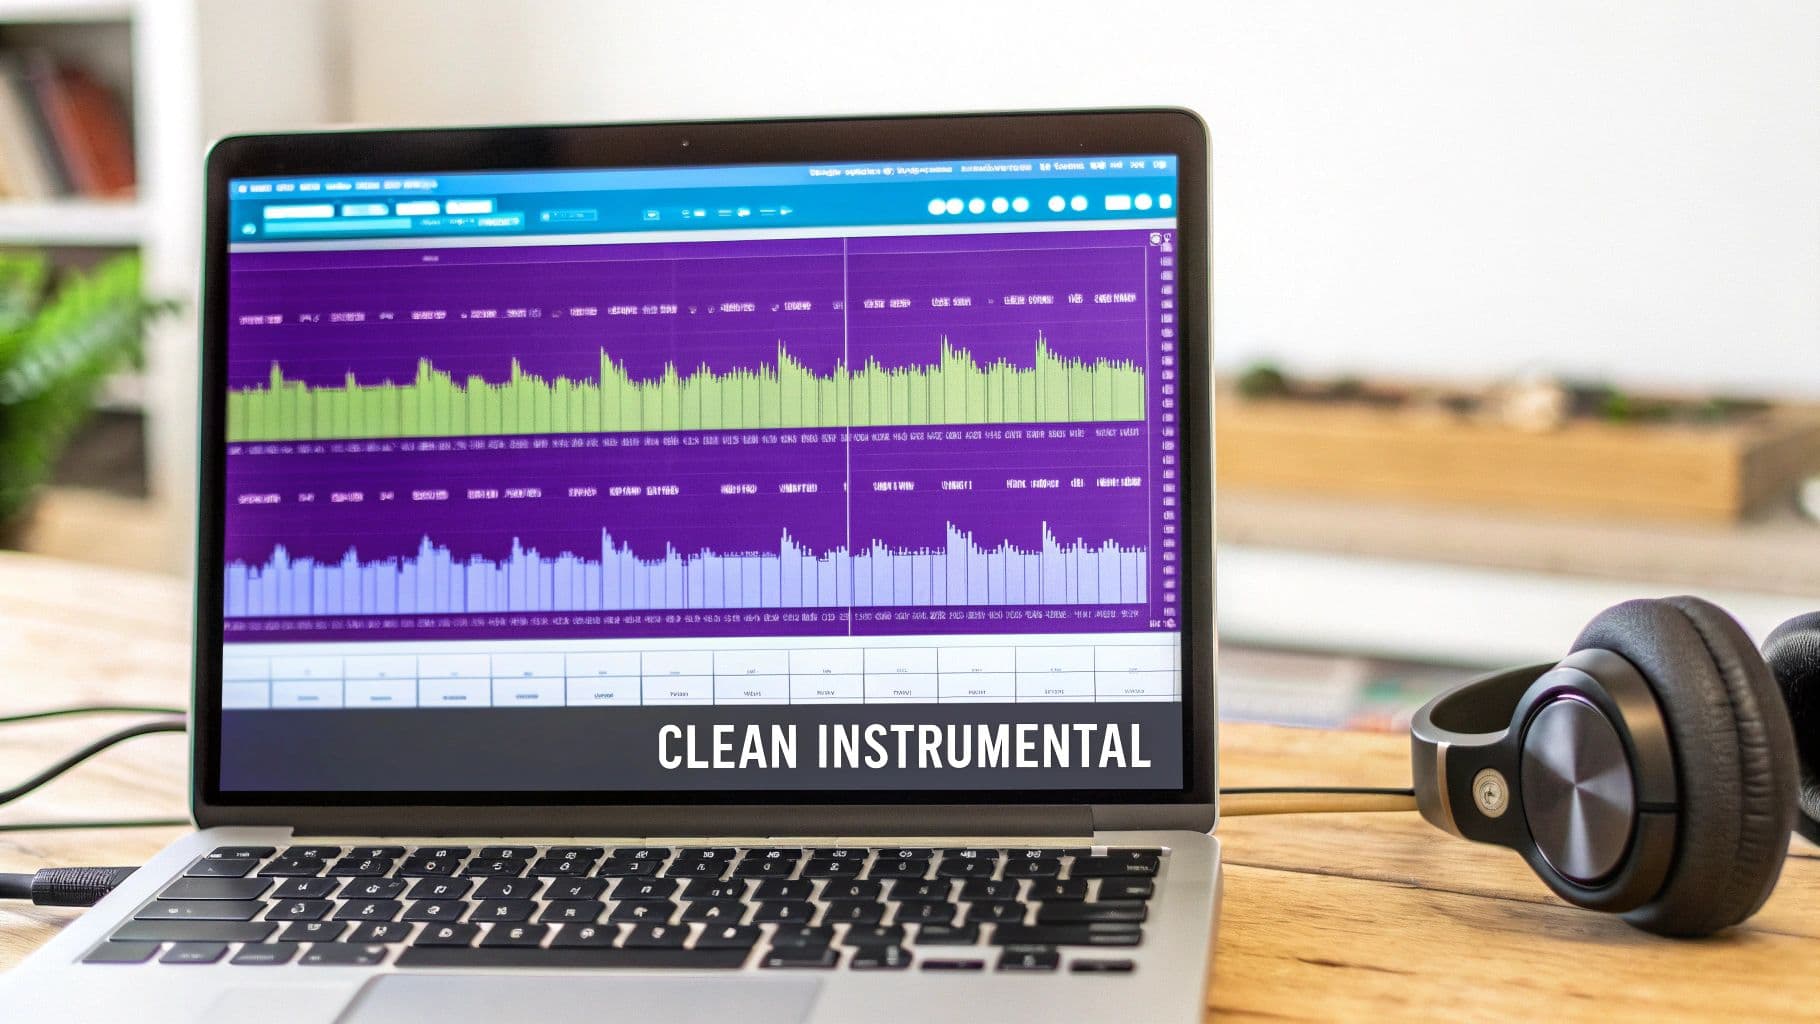
Getting a Clean Instrumental with AI Vocal Removal
Every great karaoke video starts with one thing: a clean, crisp instrumental track. This is where a good remove vocals app does the heavy lifting, stripping the lead singer out of a studio recording to give you a perfect backing track. It all begins with a simple upload, but the old saying "garbage in, garbage out" absolutely applies here.
Think of it like a photo. If you start with a blurry, low-resolution image, no amount of editing will make it sharp and clear. The same goes for audio. To get the best results, you need to feed the AI the highest quality audio file you can get your hands on. A lossless format like WAV or FLAC is the gold standard, but a high-bitrate MP3—think 320 kbps—will work beautifully too. Avoid low-quality, compressed files, as they're often full of digital artifacts that can trip up the AI and leave you with a muddy-sounding instrumental.
Picking the Right Song to Work With
Modern AI vocal removers are incredibly smart, but they're not magic. Some songs are just plain harder to work with than others. Tracks with tons of vocal reverb, a choir of background singers, or a really dense mix where the vocals and instruments are all competing for the same space can be a real challenge.
A live concert recording, for example, is going to be much tougher to clean up than a polished studio version because of all the crowd noise and natural echo.
- Studio Recordings: These are your best friend. The vocals are usually mixed right down the middle, making it much easier for the AI to grab them and pull them out.
- Live Performances: These can be a gamble. The AI sometimes struggles to tell the difference between the lead singer, the audience singing along, and the room's reverb.
- Older Tracks: Songs recorded decades ago used different mixing techniques, which can sometimes throw a curveball at modern AI. Still, you can often get surprisingly great results.

As you can see, the interface is designed to get you straight to the good stuff without getting bogged down in complicated settings.
How the AI Works and Why You Should Preview
Once your file is uploaded, the AI gets to work. It scans the entire song, picking out the unique sonic fingerprints of the human voice and separating them from the instruments. It then splits the audio into two separate files, or "stems": one with just the vocals (the acapella) and one with just the music (the instrumental).
This isn't just turning down the volume on the singer; it's a far more complex process of deconstructing the audio. Afterwards, you'll have the chance to preview both stems. This is a step you should never skip.
Pro Tip: Don't just listen to the instrumental. Take a second to listen to the isolated vocal track. It's the quickest way to hear how clean the separation was. If you hear a lot of guitar or drums "bleeding" into the vocal track, you'll know there might be some faint vocal remnants left in your instrumental.
If this is your first time diving into vocal separation, you might want to check out our detailed guide on using a free vocal remover online. Once you've previewed the tracks and you're happy with how clean the instrumental sounds, you're ready to move on. You've now got the solid foundation you need to build a fantastic karaoke video.
How to Synchronize Lyrics Perfectly
Alright, so you’ve got your clean instrumental track. Now comes the part that used to be a real headache for creators: adding and timing the lyrics. I can't tell you how many hours I've lost in the past, painstakingly nudging text lines frame by frame to get them just right. Luckily, a modern remove vocals app pretty much does the heavy lifting for you with some seriously smart AI.
You start by just pasting your lyrics straight into the editor. The app’s AI then listens to the song, figures out the timing, and automatically places each line where it belongs. It's an incredible shortcut that gets you about 90% of the way to a finished video in a matter of seconds.
For anyone churning out content regularly, this auto-sync feature is a game-changer. But let’s be real—sometimes you need that extra bit of polish or want to match a tricky rhythm. That’s when you roll up your sleeves and jump into the manual sync editor.
Fine-Tuning with the Manual Sync Editor
This is where the magic really happens. The manual editor gives you complete control over every single word. Automated tools are great, but they can sometimes stumble on complex rhythms or unusual phrasing.
Think about making a lyric video for a fast rap track. The auto-sync might just flash the whole line on screen at once, but that doesn't capture the artist's flow. With the manual editor, you can highlight each word exactly as it's rapped. This creates a much more dynamic and engaging experience for your audience.
You’ll typically find yourself working with a timeline that’s surprisingly intuitive. You can:
- Drag and Drop: Just grab a lyric block and move it to the precise millisecond you need it to appear or disappear.
- Adjust Duration: Easily stretch or shrink how long a line stays on screen.
- Split Lines: Break down long sentences into shorter, punchier phrases that are easier to follow.
Honestly, this level of control is what separates an amateur karaoke video from a professional-looking one. It’s those tiny tweaks—like making a word light up right on the downbeat—that give your video that polished, high-quality feel.
If you want to get even more creative with formatting, we have a whole guide on how to add lyrics to songs with some more advanced tips.
Preparing Your Lyrics for Best Results
Before you even get to the syncing part, a little prep work can save you a ton of time. The AI works best when you feed it clean, well-formatted text.
- Ditch the Extra Stuff: Get rid of any labels like "[Verse 1]," "[Chorus]," or timestamps like "[00:15.32]." This kind of clutter can confuse the AI and mess up the initial sync.
- Proofread Everything: Give your lyrics a once-over for typos. It's much faster to fix a mistake in a simple text document than to spot it later in the timeline editor.
- Break Up Long Lines: If you’re working with a fast song, think about breaking long sentences into shorter, more readable lines yourself. It helps viewers keep up and sing along without getting lost.
Taking a minute to do this cleanup makes the automated syncing far more accurate, leaving you with only minor tweaks. It's this kind of efficiency that’s fueling a boom in user-generated content. The global karaoke market is expected to hit a massive USD 14,457.1 million by 2034, with the app segment growing at a blistering 11.00% CAGR. This growth is all about creators using these powerful tools to build huge libraries of content for their audiences.
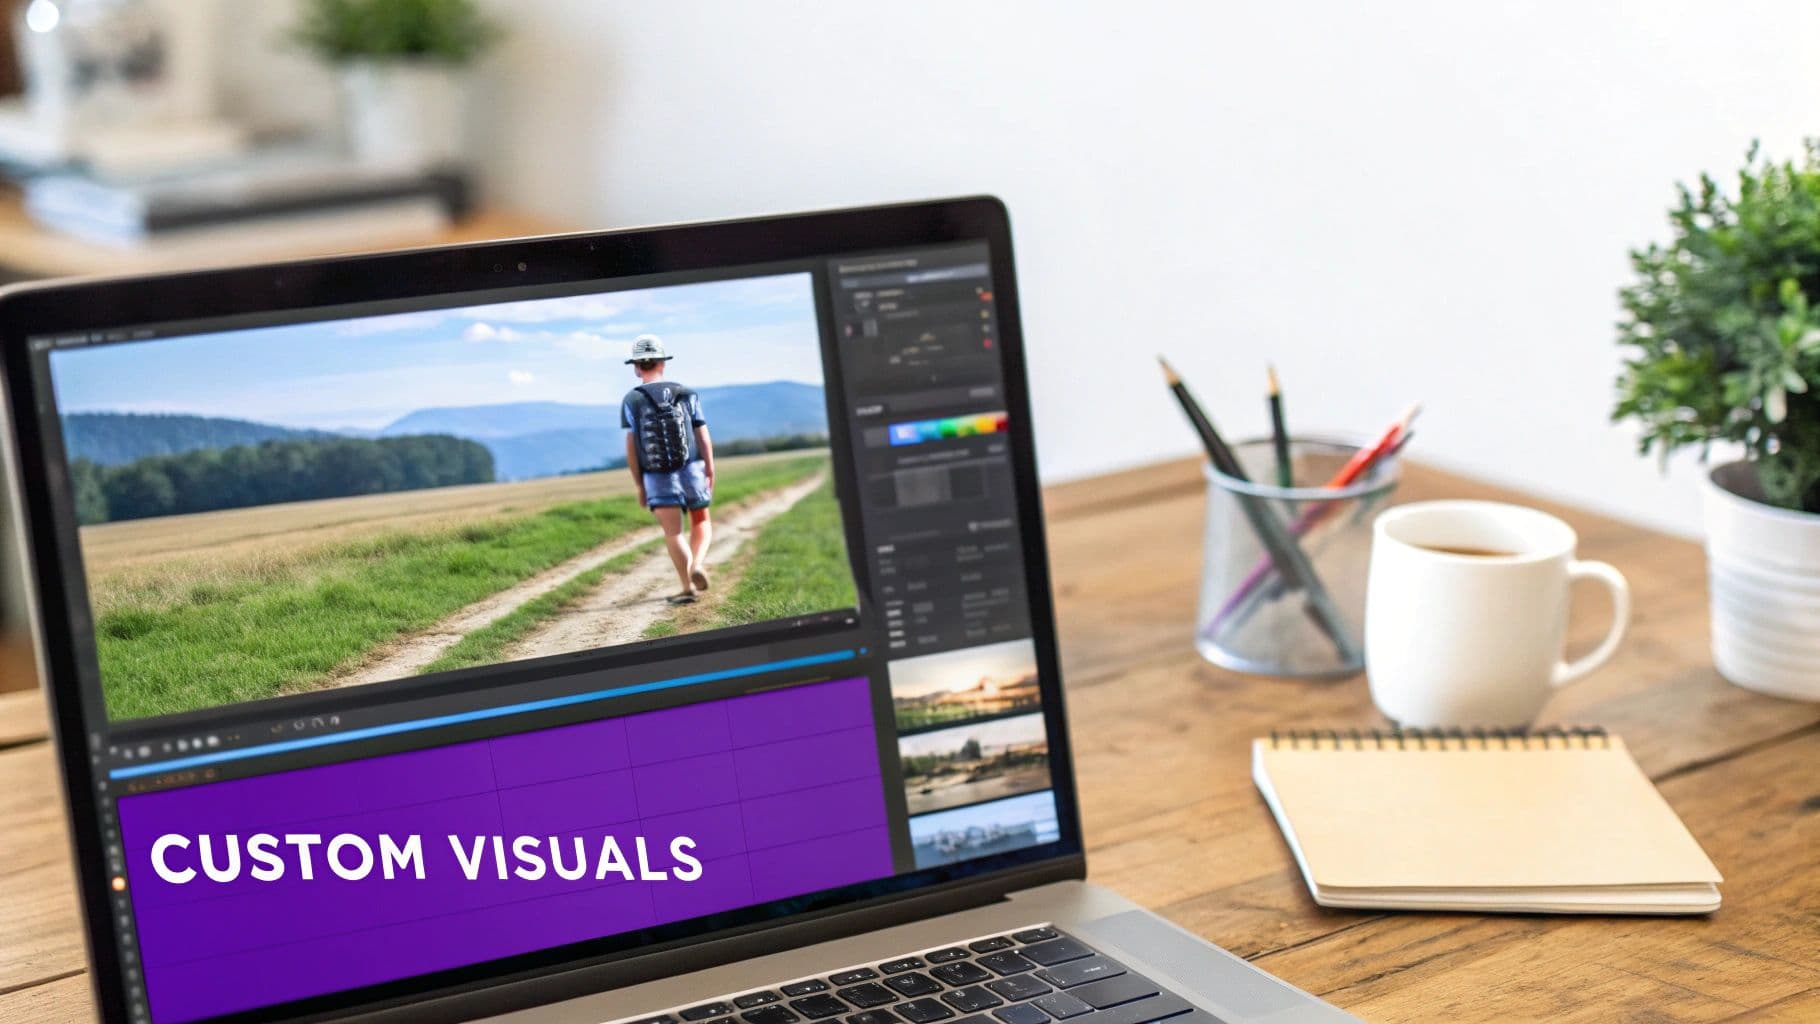
Designing Your Custom Video Aesthetics
Alright, you've got a clean instrumental track and your lyrics are synced up perfectly. The heavy lifting is done. Now comes the really fun part: making your video actually look good.
Let's be honest, a generic, black-screen lyric video isn't going to turn any heads on a platform as crowded as YouTube. This is where you get to stamp your personality on the project and build a visual experience that truly matches the song's energy.
The right visual flair is what elevates a simple karaoke track into a piece of content people remember and share. Inside a good remove vocals app, the customization tools are your playground for turning this project into something polished and professional.
Choosing the Perfect Background
Your background sets the entire mood. A boring, static image can be a real snooze-fest and might even cause people to click away. It's worth taking a minute to nail this down.
You've got a few different paths you can take here:
- Solid Colors & Gradients: Simple, clean, and surprisingly effective. A solid dark background makes bright text pop, while a subtle gradient can add a modern design touch without being a distraction.
- Custom Images: This is where you can get personal. A photo of a quiet beach is perfect for a ballad, while a shot from a high-energy concert totally fits a rock anthem. The possibilities are endless.
- Video Loops: For a truly dynamic and professional feel, nothing beats a seamless video loop. Think abstract motion graphics, slow-moving clouds, or a nighttime cityscape. These add a layer of visual interest that keeps eyes glued to the screen.
Think of the background as the stage for your lyrics. I once saw a wedding planner create a karaoke video for a couple using their engagement photos as a slideshow in the back. That simple touch turned a fun activity into a deeply personal keepsake.
Mastering Your Typography
The lyrics are the star of the show, so how they look is just as important as their timing. The right font and color choices make your video not only beautiful but, more importantly, readable. If people are squinting to see the words, the whole experience falls apart.
The golden rule here is contrast. Don't put light text on a light background or dark text on a dark background. You need high contrast—like bright yellow text on a deep blue background—so that anyone can follow along, whether they're on a tiny phone screen or looking at a TV from across the room.
The font style itself should echo the song's vibe.
| Song Genre | Recommended Font Style | Example |
|---|---|---|
| Modern Pop | Clean, sleek sans-serif | Helvetica, Montserrat |
| Rock Anthem | Bold, impactful font | Bebas Neue, Impact |
| Acoustic Ballad | Elegant, classic serif | Garamond, Playfair Display |
Beyond just picking a font, you can dial in the size, color, and even the highlighting effect for the active lyrics to get a completely custom look. For those who want to take their visuals to the next level, this practical guide on how to create AI videos has some great ideas for producing unique backgrounds. Imagine pairing your custom fonts with a slick, AI-generated video loop—that’s how you make something truly one-of-a-kind.
Getting Your Karaoke Video Ready to Share
You’ve put in the work, and now it’s time to get your masterpiece out into the world. This final step is all about making sure your video looks and sounds professional, whether it’s being watched on a phone or projected onto a giant screen at a party.
Before you even think about hitting that export button, do one last run-through. Seriously. Watch the entire video from start to finish. Are the lyrics perfectly in sync? Does the background video loop smoothly? It’s amazing what little hiccups you can catch with a final, focused viewing.
Dialing in Your Export Settings
Once you’re happy with the final product, it’s time to export. You’ll see a few options, but for nearly any online platform—YouTube, Facebook, Instagram—the sweet spot is 1080p MP4. This format delivers that crisp, high-definition look everyone expects without creating a gigantic file that takes forever to upload.
Choosing 1080p is a non-negotiable for me. It guarantees your video looks sharp and polished. If you go any lower, you risk it looking blurry or pixelated on bigger screens, which instantly undermines all your hard work.
If the final file is still a bit too hefty for a specific platform's limits, you might need to compress it. We've got a whole guide on how to shrink video files without wrecking the quality; you can find it right here: https://www.mykaraoke.video/blog/best-video-compressor.
Smart Sharing for Your Specific Audience
Who is this video for? Answering that question changes everything about how you share it. A public YouTube channel needs a completely different approach than a video you’re preparing for a friend’s wedding reception.
Tips for YouTube Channel Creators
- Nail the Title: Don't just put the song name. Use a format like "[Artist Name] - [Song Title] (Karaoke Version with Lyrics)" to help people find you.
- Beef Up the Description: Paste the full lyrics in the description box, and don't forget to include credits and links back to your social media. This is great for YouTube's search algorithm.
Tips for Event Organizers
- Always Download: Never, ever try to stream a video at a live event. The Wi-Fi will fail you. Download the MP4 file and save it directly onto the laptop or a USB stick you'll be using.
- Do a Full Test Run: Connect the laptop to the actual projector and sound system you’ll be using for the event. What looks great on your screen might have weird colors or cut-off text on the big screen. A quick test prevents major headaches later.
Remember to also think about where you're posting. For example, if you’re making a short clip for socials, you’ll want to make sure it’s formatted for the optimal Instagram Stories size.
Knowing your audience is crucial. The market for this stuff is huge—North America alone makes up 38% of the global karaoke app market. In fact, the US market is projected to hit a value of USD 2,320.6 million by 2025, which just goes to show how many people are looking for high-quality karaoke content just like yours.
Got Questions? We've Got Answers
Even with a tool designed to be simple, you're bound to have a few questions. From technical snags to legal gray areas, getting the right answers is what keeps your creative projects moving forward. Here are some of the most common things creators ask us.
Is It Legal to Remove Vocals from a Song?
This is the big one, and the answer really boils down to how you'll use the track. Are you just making a karaoke video for a party at your house or for your own singing practice? You're almost certainly fine.
But the game changes the second you go public. Uploading your creation to YouTube or using it in any commercial way means you’ve stepped into the world of copyright. To be fully compliant, you'd need licenses for both the musical composition and the original recording. A good rule of thumb: always assume a song is copyrighted unless you know for a fact it's public domain.
What File Formats Can I Upload?
Most modern browser-based tools are built to handle pretty much anything you throw at them. You'll find they're quite flexible with both audio and video files.
- For audio, you can't go wrong with the classics: MP3, WAV, FLAC, and AAC are all standard. A quick pro-tip: for the cleanest vocal removal, always start with the highest-quality audio file you can get your hands on. Garbage in, garbage out, as they say.
- For video, if you’re starting with a music video, common formats like MP4, MOV, or MKV will upload without a hitch. The app just pulls the audio track from the video to work its magic.
Why Can I Still Hear Faint Vocals After They've Been Removed?
Ever notice a faint, ghost-like vocal echo lingering in your instrumental track? It's a common issue, and it usually comes down to how the original song was mixed. Sometimes, heavy vocal effects like reverb and delay are spread so wide across the stereo field that the AI has a tough time grabbing every last bit.
Another culprit can be complex background vocal arrangements that are mixed differently than the lead vocal. While the AI is incredibly smart, it’s not infallible. Your best bet for a perfect instrumental is always starting with a high-quality, clean studio recording.
It's worth remembering that the competition in this space is fierce, which is great news for us creators. Companies are constantly improving their AI and sound separation tech. The tools we're using today will be even more impressive tomorrow. If you're curious, you can find more insights about the global karaoke market's growth and see where the technology is headed.
Tired of fighting with clunky software? MyKaraoke Video brings everything you need—AI vocal removal, dead-simple lyric syncing, and slick video tools—right into your browser. Start your first project for free today and see for yourself.