When you're trying to find the best video compressor, the first big decision is whether to go with a web-based tool or a desktop application. It’s really a classic trade-off: do you need the convenience of an online tool, or the deep-level control that comes with desktop software? The right answer depends entirely on what you're trying to accomplish.
Choosing Your Video Compression Tool
Think of this as the first, most important choice you'll make. It sets the stage for everything else. Are you looking for a quick, no-fuss solution, or do you need to get your hands dirty with advanced settings for a professional project?
The Case for Web-Based Simplicity
Online video compressors are all about speed and simplicity. If you just need to shrink a video file to send in an email or upload to Instagram without a hassle, a browser-based tool is perfect. You don't have to download or install anything, and the interfaces are usually dead simple.
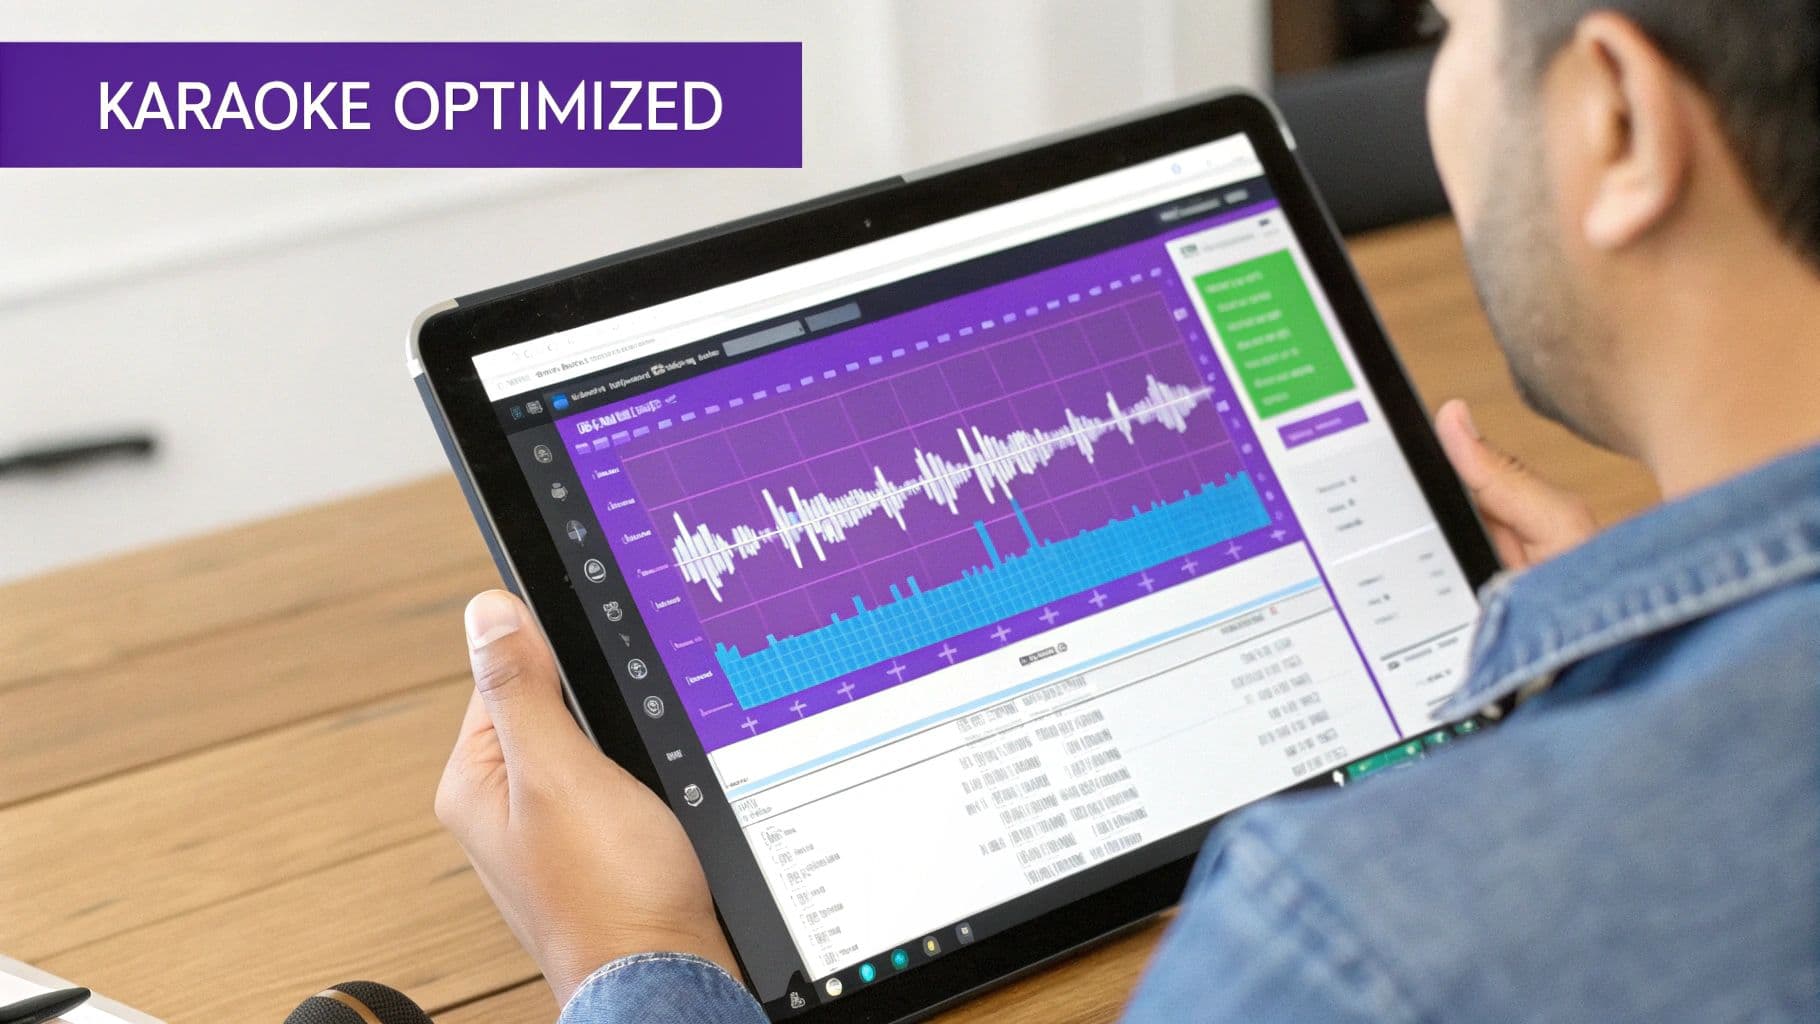
For more specific jobs, like making lyric or karaoke videos, a specialized platform like MyKaraoke Video is a game-changer. It’s designed not just to compress the video but to ensure the text overlays stay sharp and perfectly timed—something generic compressors often struggle with. If you're looking for more general-purpose options, this guide on The 12 Best Video Compressors of 2025 is a great place to start.
When Desktop Power Is Non-Negotiable
On the flip side, desktop applications are the heavy lifters for video pros and anyone who needs total control. They work offline, which is a massive plus when you're dealing with huge files or sensitive content and can't rely on your internet connection. These tools let you dive deep into the technical details, like choosing specific codecs, manually setting bitrates, and running multi-pass encodes to squeeze out every last drop of quality.
If you’re working with 4K footage, doing complex color grading, or need to process a whole batch of videos at once, a powerful desktop program is really your only option. They definitely have a steeper learning curve, but the precision they offer is essential for high-stakes projects.
Key Takeaway: Go with a web-based tool for quick, easy tasks or specialized outputs like karaoke videos. Pick desktop software when you need maximum control, offline processing, and are working with large or multiple files.
To help you decide, here’s a quick breakdown of how the two types of tools stack up against each other.
Web-Based vs Desktop Video Compressors
| Feature | Web-Based Compressor (e.g., MyKaraoke Video) | Desktop Compressor |
|---|---|---|
| Accessibility | Access from any device with a browser. No installation needed. | Requires installation on a specific computer. |
| Ease of Use | Very user-friendly, often with presets and simple sliders. | Steeper learning curve with many technical options. |
| Performance | Depends on internet speed for uploads and downloads. | Uses your computer's hardware for fast, offline processing. |
| Control | Limited control over advanced settings (codec, bitrate, etc.). | Full, granular control over all encoding parameters. |
| Best For | Social media clips, email attachments, lyric videos, quick tasks. | Professional video production, batch processing, 4K footage. |
| Security | Files are uploaded to a server, which can be a concern. | Files stay on your local machine, ensuring privacy. |
Ultimately, understanding the tool's role in your overall workflow is key. For more context on how different video tools compare, check out our video editing software comparison to see how compression fits into the bigger picture.
Getting to Grips With Core Compression Settings
If you’ve only ever hit the default "Export" button, you’re missing out on a ton of control. Getting your hands dirty with a few key compression settings is how you strike that perfect balance between a crisp, clean video and a file size that won't give your audience a headache. This is the secret sauce, whether you're using a simple online tool or a pro-level desktop app.
First up is the codec, which is short for coder-decoder. You can think of it as the engine that does all the heavy lifting to shrink your video file. It’s the language your video is written in.
For the longest time, H.264 (AVC) has been the go-to standard. Why? Because it just works. Everywhere. A video encoded with H.264 will play smoothly on pretty much any phone, browser, or social media platform you can think of. It’s the safe bet for maximum compatibility. If you're curious about the MP4 video format that usually wraps this data, we've got a guide for that.
What About Newer Codecs?
Lately, you've probably heard more about codecs like H.265 (HEVC). There's a good reason for that: they're incredibly efficient. An H.265 video can look just as good as its H.264 counterpart while being 25-50% smaller. That's a huge deal if you’re working with 4K footage or just trying to save on storage. The only catch is that some older devices might struggle to play it.
The tool you pick often dictates which codecs you can even access. Your choice between a web-based or desktop compressor really comes down to what you need to accomplish.

As you can see, online tools are all about speed and convenience. For the kind of granular control needed to really dial in specific codecs and settings, you'll want to be on a desktop application.
Mastering Bitrate for Quality Control
Once you've picked your codec, the next big dial to turn is the bitrate. This is simply the amount of data dedicated to each second of your video, and it has a direct, undeniable impact on both file size and visual quality.
You generally have two ways to handle it:
- Constant Bitrate (CBR): This method assigns the exact same amount of data to every single second of video. It doesn't matter if it's a still frame or a massive explosion; they get the same budget. CBR is predictable, which makes it good for live streaming, but it's not very efficient.
- Variable Bitrate (VBR): This is the smarter approach. VBR analyzes your video and gives more data to complex, action-packed scenes while saving data on simpler, static shots. For nearly any pre-recorded video, VBR will give you a much better quality-to-size ratio.
Many advanced tools offer an even better way to control quality called Constant Rate Factor (CRF). Instead of telling the encoder to aim for a certain file size (bitrate), you tell it to aim for a certain look. A lower CRF value (like 18) means higher quality and a bigger file. A higher CRF (like 28) prioritizes a smaller file, and you might see some artifacts.
For most videos you'll put on the web, a CRF value between 20 and 23 is an excellent sweet spot to start with.
A Pro Tip From the Trenches: When quality absolutely cannot be compromised, look for a two-pass encode option. The software runs through your entire video once just to analyze it and figure out the best way to distribute the data. Then, it does a second pass to perform the actual compression. It takes more time, for sure, but the results are almost always noticeably better for the same file size.
Tailoring Your Workflow for Different Video Types
Trying to apply the same compression settings to every video is a recipe for frustration. A video for a TikTok feed has completely different technical needs than a professional clip heading to Vimeo. You just can’t use a one-size-fits-all approach.
The secret is to adapt your compression strategy to the video's final destination. This not only makes your content look better but also saves you from the headaches of blurry uploads, platform rejections, or videos that buffer endlessly.
Crafting Content for Social Media Feeds
When you're creating videos for Instagram, TikTok, or X (formerly Twitter), you're fighting for attention in a fast-moving scroll. Speed is everything. Your video has to load instantly and look sharp on a phone screen, which means file size is your number one enemy.
Your whole goal here is to make the file as compact as possible without sacrificing visual punch on a small screen.
- Resolution: Don't go overboard. Stick to 1080p (1920x1080 for landscape, 1080x1920 for vertical). Platforms will just downscale anything larger, and their automated process can make your video look worse.
- Bitrate: A variable bitrate (VBR) between 4-6 Mbps is the sweet spot. It's enough data to keep motion looking clean on a phone without making the file huge.
- Codec: H.264 is still the undisputed champ for social media. Its universal compatibility means your video will play on just about any device without a hiccup.
Specialized platforms often have their own requirements. For example, many tools for user-generated content (UGC) videos are built around efficient compression to keep file sizes manageable for sharing and streaming.
Preparing Videos for Major Streaming Platforms
Uploading to a platform like YouTube or Vimeo is a different game entirely. You have to remember: they are always going to re-compress your video no matter what. Your job is to hand their powerful encoders a high-quality source file so the final version they show to the world looks as clean as possible.
One of the most common mistakes is over-compressing your video before uploading it. When you do that, you're essentially starving the platform's encoder of the data it needs, which leads to nasty visual problems like blockiness in dark areas or ugly banding in color gradients.
Key Insight: Don't try to outsmart YouTube's compression. Instead, feed it a high-quality, lightly compressed master file. Giving their system a higher bitrate file to work with results in a much cleaner final stream for your audience.
For a standard 1080p video, uploading a file with a bitrate around 10-15 Mbps using the H.264 codec is a solid, reliable strategy. It gives their system plenty of information to produce a great-looking result.
The Unique Challenge of Karaoke and Lyric Videos
Karaoke and lyric videos are a real compression puzzle. The most important parts of the video—the crisp text and its synchronized movement—are the very things that generic compressors tend to mess up. Standard algorithms are built to prioritize the moving background, which can leave your text looking soft, blurry, or jittery.
For this kind of content, you really need a specialized tool. A platform like MyKaraoke Video is a perfect example, as its compression settings are specifically tuned to keep on-screen text crystal clear. Its encoder prioritizes sharp edges and smooth text animations, ensuring the lyrics stay perfectly readable, even on a big TV screen. This completely sidesteps the common problem of fuzzy text that can make a karaoke video unusable.
The need for smarter video solutions is skyrocketing. The global video compressor market hit a value of about $2.5 billion in 2024 and is on track to more than double by the early 2030s, thanks to the explosion of 4K content and our streaming habits. This growth shows just how important it is to have specialized tools that can handle specific challenges, like keeping text sharp in a lyric video.
A Modern Solution for Karaoke and Lyric Videos
Let's be honest: most video compressors just aren't built for lyric and karaoke videos. Their algorithms are tuned for natural scenery and complex motion, which means they often see crisp, clean text as noise. The result? Blurry, soft, or jittery lyrics that completely ruin the experience.
This is where a specialized tool makes all the difference. Instead of wrestling with a dozen settings in a general-purpose app, a purpose-built solution like MyKaraoke Video gives you a simple, browser-based workflow that understands text-heavy videos from the start. It's designed to avoid the common pitfalls right out of the box.
Built for Clarity and Precision
The real power of MyKaraoke Video is how everything works together. It’s an editor and an AI-powered lyric-syncing tool all in one place, so you can build and finalize your video without jumping between programs. You can read more about the tech in our guide on the AI lyric video generator.
This integration is key. The compression engine knows exactly what it's looking at and what to prioritize.
Instead of just blindly shrinking a file, the compressor is finely tuned to protect the sharp edges and smooth motion of your text overlays. This makes sure your lyrics stay perfectly readable and professional-looking on any screen, from a phone to a big-screen TV. It’s a huge time-saver compared to the manual tweaking you’d do in other software.
Key Advantage: A specialized tool like MyKaraoke Video doesn't just compress a file; it intelligently preserves the most important element—the lyrics. This saves creators hours of tedious work and delivers a far better viewing experience.
Leveraging Modern Compression Technology
This specialized approach also takes advantage of huge efficiency gains happening in video encoding. The industry is moving past old-school presets toward smarter, AI-assisted codecs. While H.264 is still king, next-gen codecs like HEVC (H.265) and AV1 can improve bitrate efficiency by 20–50%.
What does that mean in the real world? A 1080p video that once needed 6 Mbps can now be streamed at the same quality using just 3–4 Mbps. For creators publishing a lot of content, those savings add up fast.
By using these modern codecs and an AI-assisted cloud pipeline, MyKaraoke Video can cut per-video bandwidth by a third or more. This means lower storage and delivery costs for you, all while keeping your synchronized lyrics and backgrounds looking fantastic.
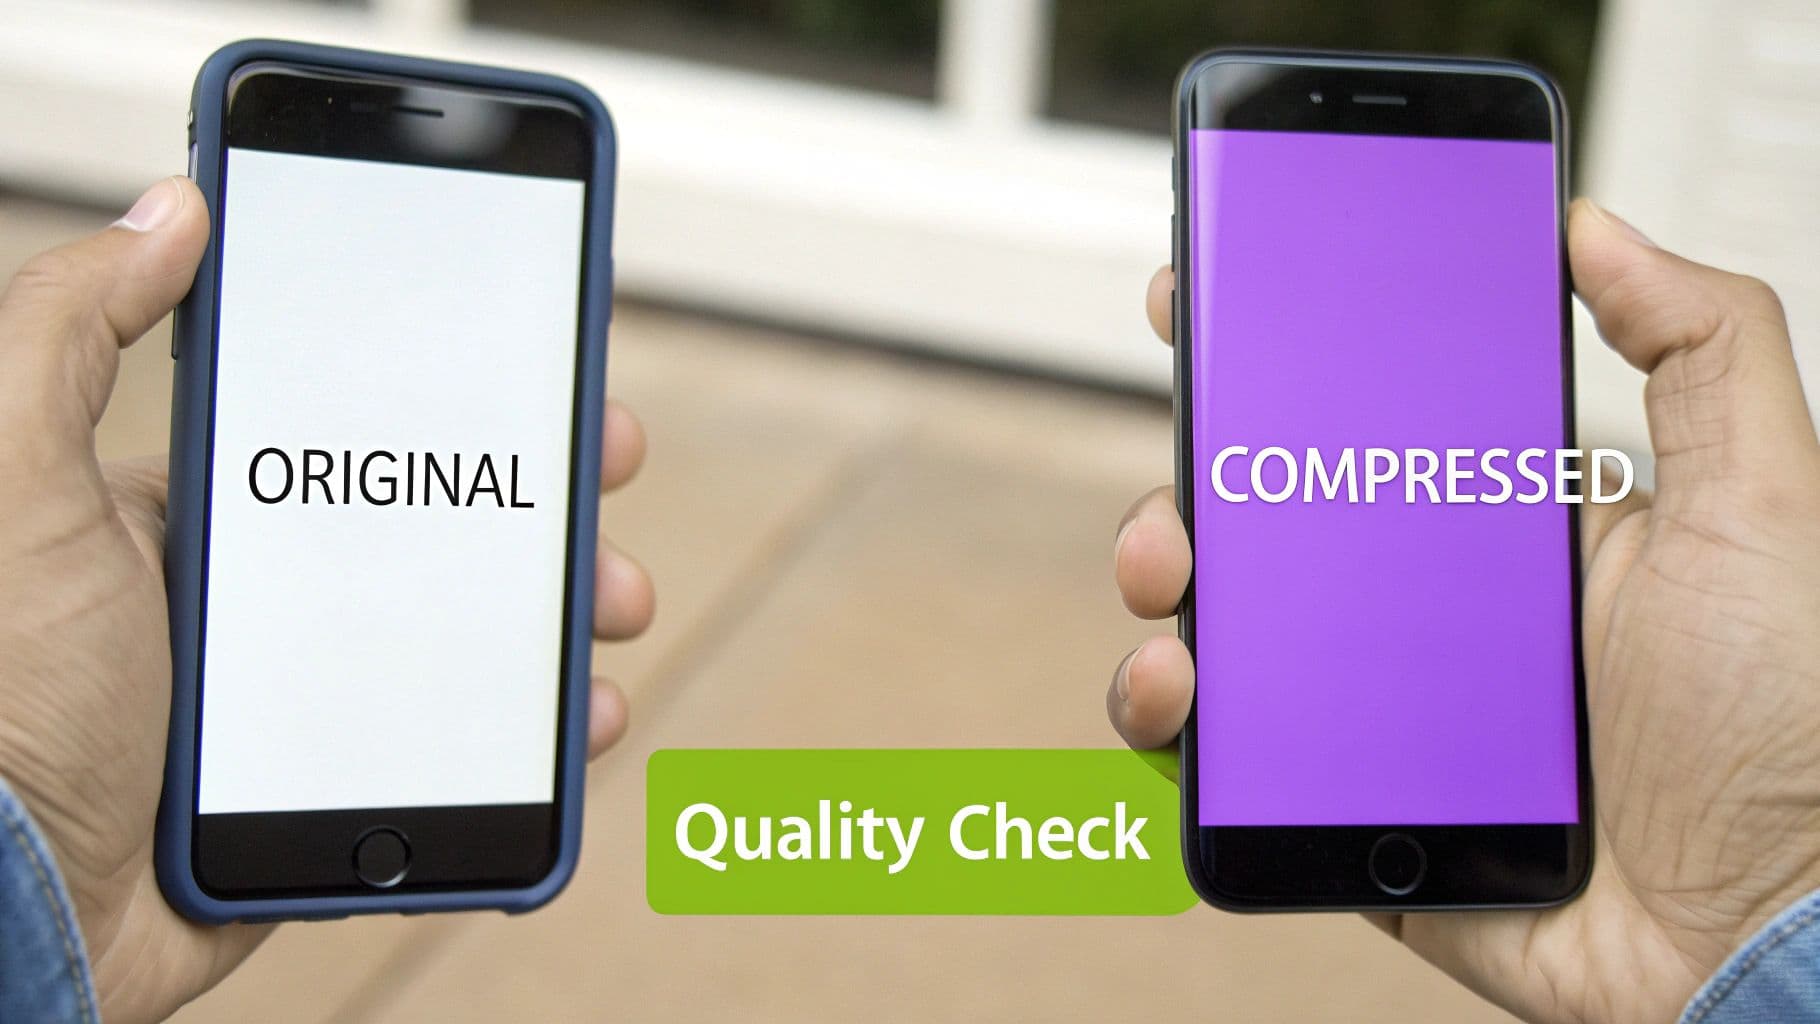
How to Quality Check Your Compressed Videos
You've spent all this time tweaking settings and running your video through a compressor. The finish line is in sight, and it’s tempting to just upload it and be done. Don't do it. Skipping the final quality check is a rookie mistake that can undo all your hard work.
This is your last line of defense before your video goes live. A quick glance won't cut it—you need to actively hunt for the subtle (and not-so-subtle) problems that compression can introduce.
What to Look For
First things first, scan for the most obvious red flags. These visual artifacts are dead giveaways that your settings were too aggressive and stripped out too much data.
You need to know where to look, because some issues only pop up under specific conditions.
- Dark Scenes and Shadows: This is where compression artifacts love to hide. Watch for ugly blockiness (pixelated squares) or banding, where smooth color gradients turn into chunky stripes.
- Fast-Paced Motion: In scenes with a ton of action, keep an eye out for excessive motion blur that wasn't in the source file. This happens when the compressor can't keep up with the changes between frames.
- Text and Graphics: For lyric or karaoke videos, this is absolutely crucial. Pause on any text or graphic overlays. Is every letter sharp and clean? Or are the edges fuzzy and pixelated?
Pro Tip: The best way to catch problems is with a side-by-side comparison. Open the original, uncompressed video right next to your new compressed version. Play them at the same time on the same screen. This makes it so much easier to spot subtle shifts in color, sharpness, and overall clarity.
Test Like Your Audience
Here's a hard truth: watching the video on your big, beautiful desktop monitor doesn't tell you the whole story. Flaws that are practically invisible on a 27-inch screen can be painfully obvious on a 6-inch phone.
You absolutely have to test your compressed video on a smartphone. A huge chunk of your audience will be watching on mobile, so this isn't an optional step.
If you can, check it on both an iPhone and an Android device to see how different screens render the colors and details. Flip between portrait and landscape mode. Is the text still readable? Do the colors still pop? This simple check can save you from a lot of embarrassing discoveries after you've already hit publish.
Common Questions & Quick Answers
Even after you've got your workflow down, a few nagging questions can still pop up. Let's tackle some of the most common compression headaches I see people run into so you can get back to creating.
These are the things that trip creators up all the time. Getting them right will save you a ton of frustration.
What's the Best Video Codec to Use for the Web?
For sheer, go-anywhere compatibility, H.264 (AVC) is still the king. Think of it as the universal language of online video—it just works, everywhere. If you need a file that will play on any device or browser without a second thought, this is your safest bet.
That said, newer codecs like HEVC (H.265) and AV1 are much more efficient, giving you the same quality at a smaller file size. Big platforms are already jumping on board—YouTube, for example, uses AV1 for its popular streams to save a massive amount of bandwidth. My advice? Stick with H.264 for general use, but if you know your audience is on modern devices and you want to optimize for size, exploring HEVC or AV1 is a smart move.
Key Takeaway: Start with H.264 for maximum compatibility. Only switch to HEVC or AV1 if you know your specific platform (and your audience's devices) can support it. The main benefit is better compression, not wider playback.
How Far Can I Push Compression Before the Quality Drops?
This is the million-dollar question, and the honest answer is: it completely depends on what’s in your video.
A video with simple, static graphics—like a slideshow or a basic lyric video—can be squeezed down significantly without anyone noticing. There just isn't that much visual information to lose. But a video with fast action, complex textures, or rapid lighting changes? It will start showing ugly compression artifacts much, much faster.
A good rule of thumb is to aim for a 50-70% file size reduction as a starting point. If you’re using a quality-based setting like CRF (Constant Rate Factor), a value between 18 and 22 is usually the sweet spot. No matter what, always watch the compressed file back. Your eyes are the final judge.
Why Does My Video Look So Blurry on Social Media?
I hear this one all the time. The culprit is almost always double compression.
When you upload your video to Instagram, Facebook, or TikTok, they don't care how much you've already compressed it. They run it through their own aggressive compression algorithms to fit their delivery standards.
If you upload a file that you've already squeezed the life out of, you're essentially feeding their machine a low-quality source. Garbage in, garbage out. The result is a blurry, blocky mess.
The fix? Don't over-compress before uploading. Give the platform a high-quality, high-bitrate file that meets their recommended specs. By starting with a pristine source, you allow their compressor to do its job properly, and your video will look much cleaner on the other side.
Ready to skip the compression guesswork for your karaoke and lyric videos? MyKaraoke Video is a browser-based tool built specifically to keep your text sharp and your files perfectly optimized. See how simple it can be. Try MyKaraoke Video today.