
You finish editing a video on your Mac, export it, and then hit the main problem. The file is too big for email, too slow to upload, and large enough to make cloud storage feel expensive fast.
That frustration is normal. Modern phones, cameras, screen recordings, and editing apps all lean toward quality first. Sharing comes second. If you're trying to figure out how to compress a video on Mac without making it look smeared or soft, the good news is that macOS gives you a few solid paths. The trick is picking the right one for the job instead of randomly lowering settings and hoping for the best.
Why Your Mac Video Files Are So Large
A lot of people assume a video is large because it's “long.” Length matters, but it usually isn't the whole story. File size comes from a mix of resolution, codec, bitrate, frame rate, and the format your editing app exported in.
If you've ever exported a short clip and still ended up with a file that feels absurdly heavy, that's usually because the video was saved in a high-quality format meant for editing, not sharing. That's common with footage from iPhones, mirrorless cameras, and apps that preserve more detail so you can color-correct, trim, and re-export later.
What usually causes the bloat
Some patterns show up over and over:
- High-resolution exports: A 4K file carries far more visual data than a 1080p one.
- Editing-friendly formats: Some formats are excellent for post-production but terrible for sending to clients or uploading quickly.
- Aggressive quality defaults: Many apps would rather give you a large clean file than risk visible quality loss.
- Wrong format for the task: A file that works fine in an editor can be overkill for email, social posting, or cloud sharing.
If file formats still feel murky, this guide to common video file types and what they actually mean helps connect the dots.
Big video files aren't always a mistake. Often, your Mac is preserving quality for editing. Compression is the step that makes the file practical to share.
The real goal
The goal isn't “make it tiny at any cost.” The goal is to remove waste without wrecking the image.
That means different tools make sense in different situations. QuickTime is fine when you need a smaller file now. iMovie works when you already have the clip there and want a simple export. HandBrake is where you go when size and quality both matter and you want more control than Apple's built-in apps give you.
The Built-In Fix with QuickTime and iMovie
If you need a smaller file quickly, start with the tools already on your Mac. They won't give you deep control, but they're fast, simple, and good enough for a lot of everyday jobs.
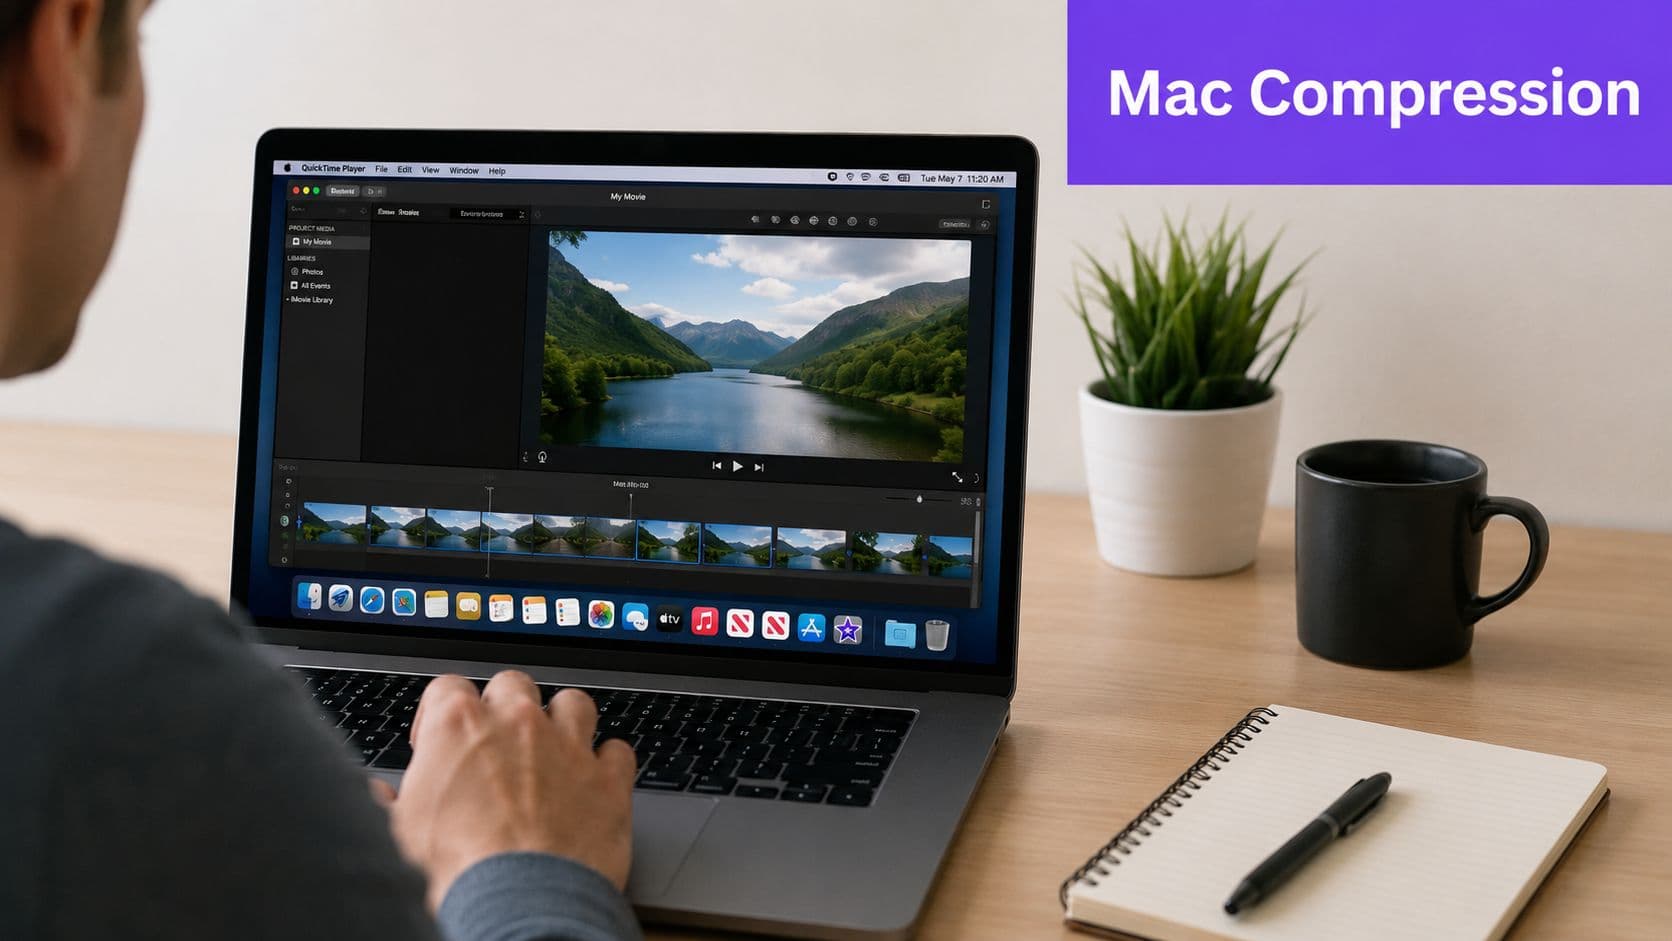
QuickTime for the fastest result
QuickTime Player is the easiest place to start.
- Open the video in QuickTime Player
- Click File
- Choose Export As
- Pick a lower resolution such as 1080p or 720p
- Save the new file
That's it. No plugins, no setup, no hunting through complicated menus.
There's a real reason this works well for quick jobs. QuickTime uses native macOS export options, and exporting a 275 MB file as 1080p can bring it down to about 202.8 MB, which is a 26.3% reduction according to Compresto's QuickTime compression example. That same source notes that QuickTime relies on native HEVC support on modern macOS, and HEVC can deliver up to 50% smaller file sizes than H.264 while maintaining visual quality.
When QuickTime is the right choice
QuickTime is best when:
- You need speed: You just want the file smaller and don't want to install anything.
- You don't need precision: You're fine choosing 1080p or 720p and moving on.
- The video is for casual sharing: Email, messaging, simple uploads, or passing a draft to someone else.
The downside is control. QuickTime doesn't let you shape the output the way a dedicated encoder does. You get broad presets, not fine-tuning.
Practical rule: Use QuickTime first if the file only needs to be “smaller.” Use a dedicated encoder if it needs to hit a specific size or preserve quality in a difficult scene.
iMovie is useful when you're already editing
If your clip is already inside iMovie, exporting there can be even more convenient. You can trim the video, remove dead space, and export a more shareable file in one pass.
The basic flow is simple:
- Import the clip into iMovie
- Make any trims or edits you need
- Go to File and export the project
- Choose a smaller resolution or a more practical quality setting
- Save the new file
If you need help with the app itself, this walkthrough on how to use iMovie is a solid companion.
iMovie makes sense for creators who want one clean export step after editing. But like QuickTime, it favors simplicity over control. That's fine until you care about exact file size, bitrate behavior, or getting the best possible quality for a given upload limit.
For Total Control Advanced Compression Using HandBrake
When QuickTime gives you a file that's still bigger than it should be, HandBrake is usually the next move. It's free, reliable, and much better at squeezing size out of a file without forcing obvious quality loss.
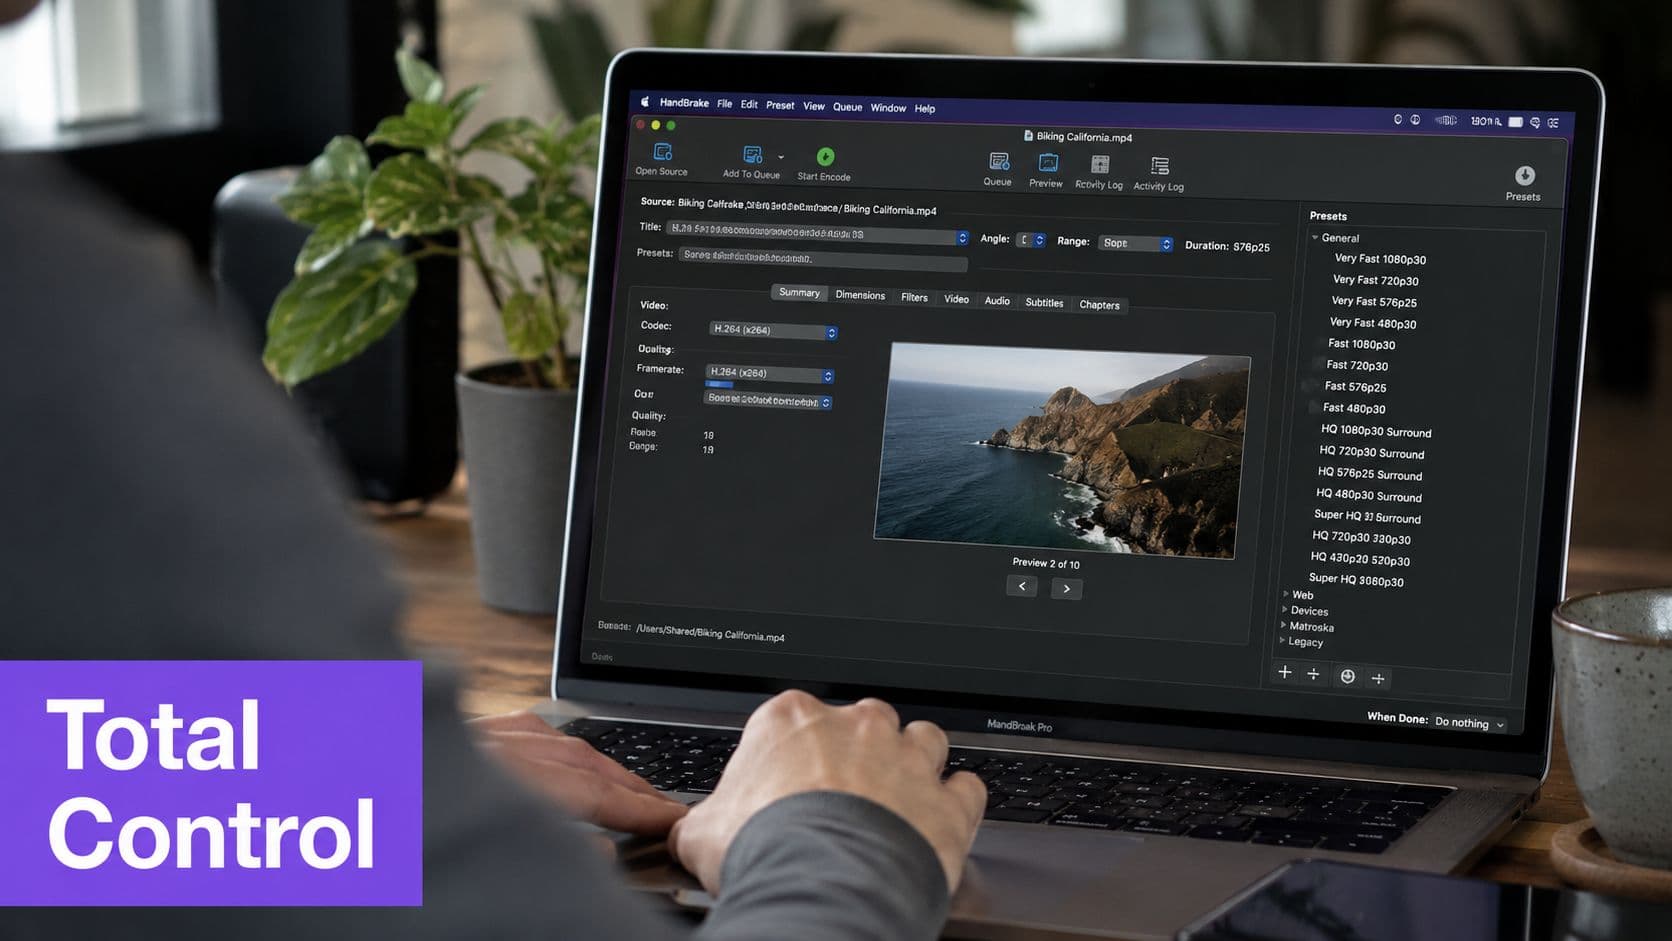
One of the biggest advantages is control. Native tools like QuickTime can leave files 20–30% larger than necessary, while dedicated software like HandBrake supports manual quality settings and has achieved mean compression ratios of 55% compared to H.264 sources while maintaining perceptual quality scores above 95% in visual assessments, according to Setapp's comparison of Mac compression methods.
A HandBrake setup that works for most people
HandBrake has a lot of settings, but you don't need to master the entire app to get a good result.
A practical starting workflow looks like this:
- Open HandBrake
- Drag in your source video
- Pick a preset from the preset menu
- Choose your output format
- Check the video settings
- Start the encode
- Compare the new file against the original before deleting anything
For many everyday files, the preset called Very fast 720p30 is a good balance of speed and size reduction. The workflow described in this Reddit compression discussion recommends encoding to HEVC (H.265) inside an MP4 container, and notes that using a preset like Very fast 720p30 can achieve a 40–60% file size reduction while keeping playback compatibility broad.
The settings that matter most
You can ignore a lot of HandBrake's advanced tabs at first. Focus on these:
Format
Choose MP4 if you want fewer playback headaches. It's widely supported and a safe default for uploads, clients, social platforms, and archiving files you may open later on another device.
Codec
If available, choose HEVC (H.265) when file size matters. It compresses more efficiently than older options. The trade-off is that older devices and some workflows can be less friendly with HEVC than with H.264.
Resolution
Don't slash resolution automatically. If your video is already 1080p and you only need a cleaner export, keep it at 1080p. If the clip is 4K but only needs to live online or in a messaging app, dropping to 1080p often makes sense.
Quality control
HandBrake surpasses QuickTime in this regard. You're not stuck with a broad export preset. You can decide how aggressive the compression should be.
If your first HandBrake export still feels too large, don't immediately crush the resolution. Adjust quality settings first. That's usually where the smarter savings happen.
Here's a simple decision table:
| Situation | Good default |
|---|---|
| Sending a rough draft | 720p preset, MP4 |
| Uploading a polished video | 1080p, MP4, HEVC if supported |
| Archiving a smaller copy | Keep resolution, use HEVC |
| Sharing with mixed devices | MP4 and conservative settings |
What HandBrake does better than Apple's built-in tools
QuickTime is excellent for “I need this smaller in two minutes.” HandBrake is better for “I care what this looks like after compression.”
That difference shows up in real projects:
- Talking-head videos: HandBrake keeps these compact without much visible trouble.
- Screen recordings: Text and interface elements benefit from more careful settings.
- Performance footage or dance clips: Fast motion exposes bad compression quickly, so better control matters more.
- Portfolio or channel uploads: A smaller file that still looks clean is worth the extra few minutes.
Later in the process, this video walkthrough can help if you want to see the app in action:
What to avoid in HandBrake
A few mistakes show up all the time:
- Picking a tiny resolution too early: You may get a small file, but the image can look soft before you even touch quality settings.
- Changing too many settings at once: If the result looks bad, you won't know what caused it.
- Deleting the original immediately: Keep it until you've checked the output on the device or platform that matters.
HandBrake rewards small, deliberate adjustments. One test export tells you more than guessing through ten settings you don't fully trust yet.
Decoding the Jargon A Practical Guide to Compression Settings
Most frustration around video compression comes from the same problem. The menus use technical language, but the choices are practical. Once you understand what the key settings do, compressing video stops feeling random.
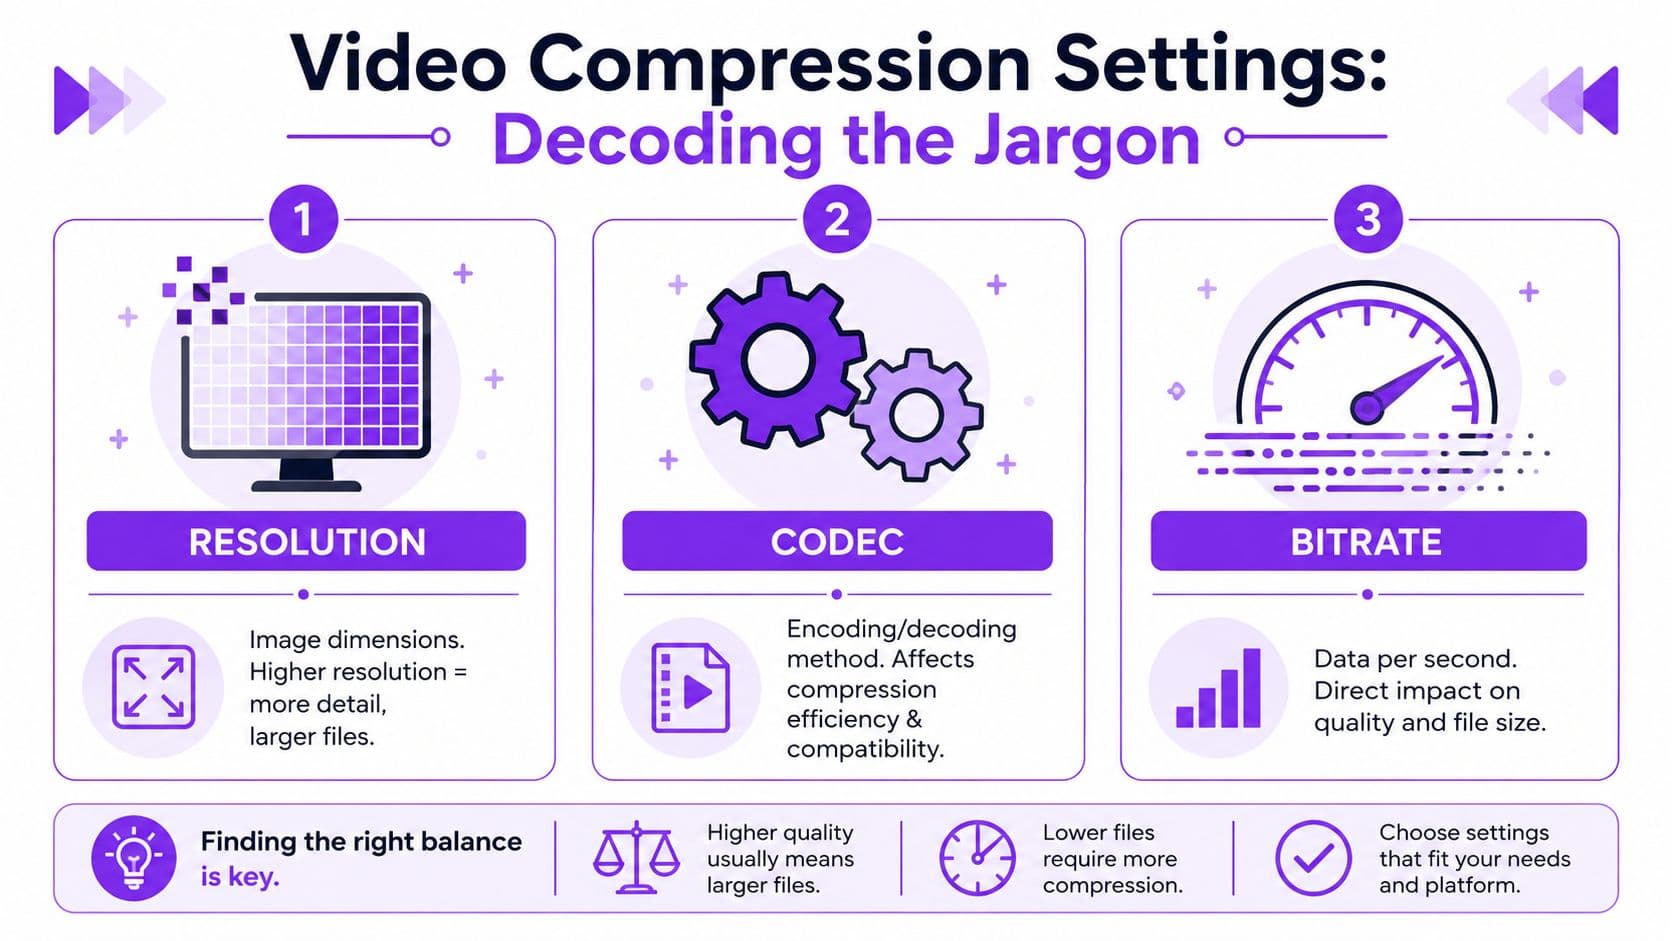
Resolution means frame size, not file efficiency
Resolution is the number of pixels in each frame. Think 4K, 1080p, or 720p.
Lowering resolution reduces detail. Sometimes that's fine. Sometimes it's the wrong fix. If your video is a screen capture with text, dropping resolution too far can make the image feel cheap fast. If it's a casual clip for messaging, the loss may be perfectly acceptable.
A good rule is simple: lower resolution when the destination doesn't need the original detail. Don't lower it just because the file is big.
Codec decides how smart the compression is
A codec is the system used to encode and decode the video. This is significant because two files at the same resolution can look similar while taking up very different amounts of space.
Older workflows often rely on H.264 because it's widely compatible. Newer workflows increasingly use HEVC (H.265) because it packs the same visual information more efficiently. That's why codec choice can matter more than people expect.
Here's the plain-English version:
- H.264: Safe, common, easy to play almost everywhere
- HEVC: Smaller at similar quality, but sometimes less convenient in older workflows
Bitrate is the size valve
Bitrate controls how much data the video gets over time. More data usually means better quality and larger files. Less data means smaller files, but if you push it too far, motion breaks apart, detail smears, and gradients can show ugly banding.
This is why “just lower the bitrate” can be bad advice. It works, but it can fail hard in fast motion, dark scenes, stage lighting, or footage with lots of texture.
A low-motion interview can survive settings that would wreck concert footage, dance reels, or water shots.
CRF is the setting most tutorials skip
This is the part most guides leave out, and it matters a lot.
CRF, or Constant Rate Factor, tells the encoder to aim for a consistent visual quality level instead of forcing the same bitrate all the way through the video. That's useful because different scenes need different amounts of data. A static shot of someone talking doesn't need the same data budget as confetti, flashing lights, or handheld movement.
According to ScreenCharm's explanation of CRF for video compression, creators using CRF 21–23 achieve 40–60% better perceived quality at half the file size compared to fixed-bitrate methods. The same source says CRF 24–28 can reduce file sizes by 70% with only minor artifacts for general viewing.
That's why CRF is such a useful setting in HandBrake. It adapts.
How to think about CRF in practice
You don't need to memorize encoder theory. Just think of CRF as a quality dial.
| CRF approach | What it usually means |
|---|---|
| Lower CRF value | Better quality, larger file |
| Higher CRF value | Smaller file, more visible compression |
| Mid-range CRF | Usually the best starting point for web delivery |
If you're compressing for upload and want a sensible starting point, CRF is often a better place to work than a rigid bitrate target.
The three-setting mindset that works
When compressing a video on Mac, users often change everything at once. That makes troubleshooting harder. A better approach is to ask three questions in order:
- Does this need to stay at the current resolution?
- Can I use a more efficient codec?
- Should I control quality with CRF instead of forcing bitrate?
That order keeps you from destroying the image before you've tried the smarter options.
Online Compressors and Choosing Your Workflow
Online compressors are tempting for one reason. They feel easy. Open a browser, upload the file, wait, download the result.
Sometimes that convenience is enough. Often it isn't.
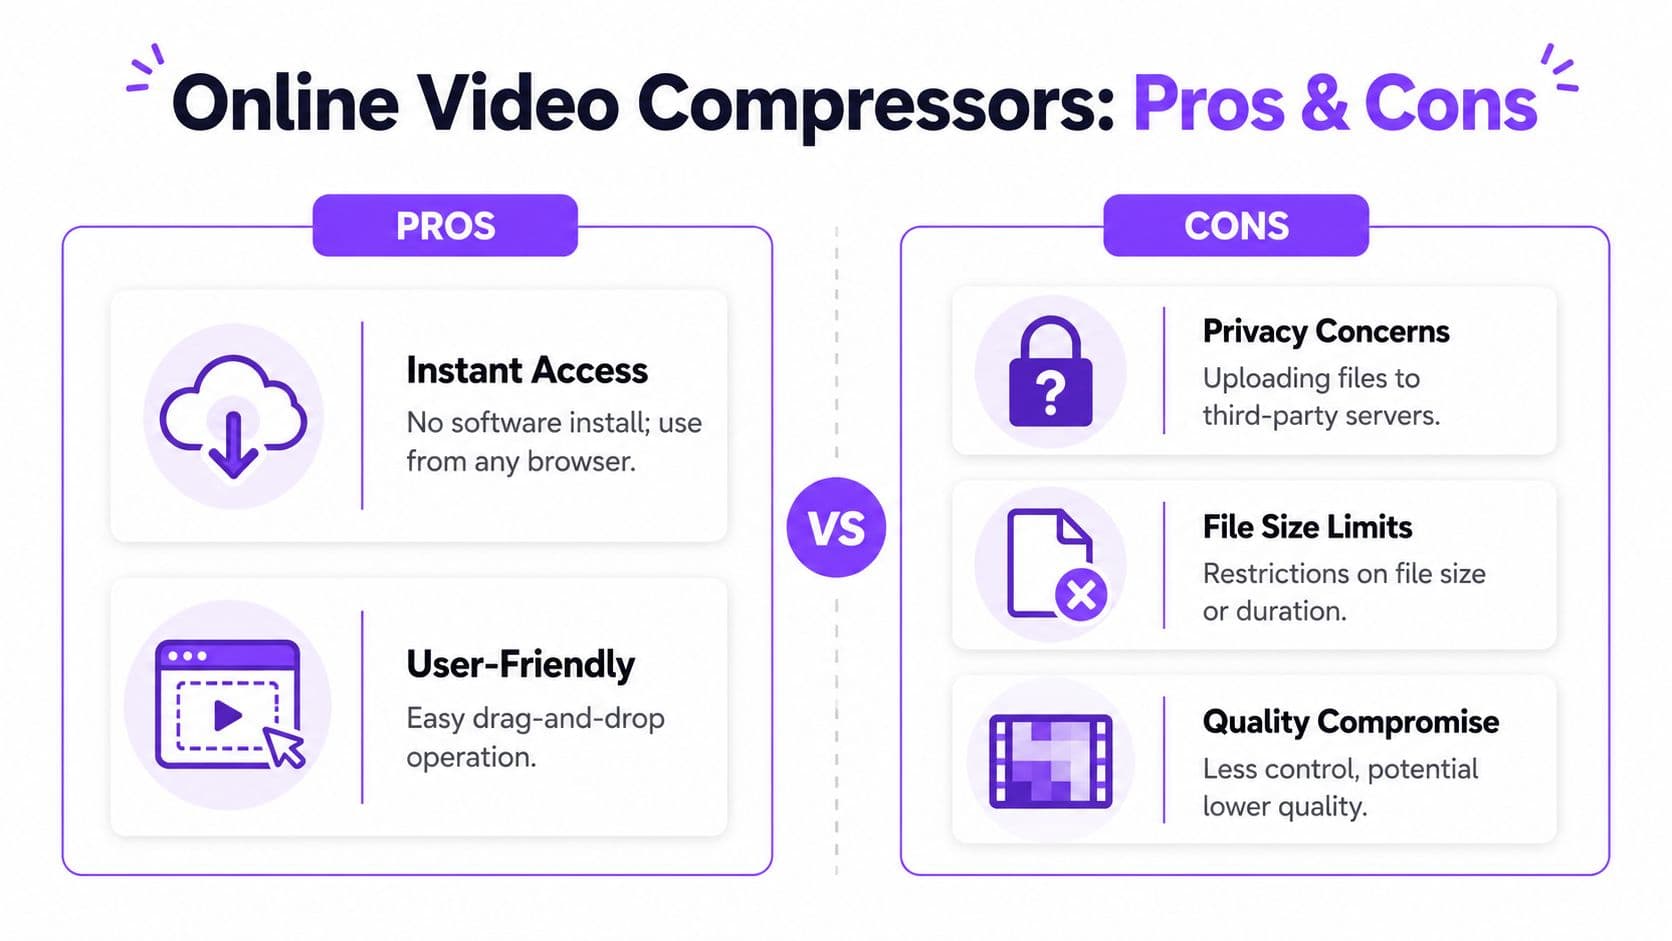
Where browser tools help
If you're away from your own Mac, helping someone remotely, or compressing a non-sensitive clip in a hurry, an online tool can be useful. You don't install anything, and the interface is usually simple enough that anyone can use it.
That's the appeal. Low friction.
Where they fall short
The trade-offs matter:
- Privacy: You're uploading the file to someone else's server.
- Control: Many browser tools hide the settings that actually matter.
- Quality: Some services compress too aggressively.
- Limits: Free tiers often restrict output, length, features, or export quality.
For anything confidential, client-facing, or visually important, desktop tools are the safer bet.
A workflow that makes sense
You don't need one perfect tool for every job. You need a repeatable system.
| If your priority is... | Use this |
|---|---|
| Fastest built-in option | QuickTime |
| Simple edit plus export | iMovie |
| Best control and better efficiency | HandBrake |
| No install, emergency use | Online compressor |
For a more detailed look at desktop and browser options, this roundup of the best video compressor tools is worth bookmarking.
Use online compressors for convenience, not for your default workflow.
For a balanced expert workflow, encoding to HEVC (H.265) in an MP4 container is a strong choice, and the same Reddit workflow referenced earlier recommends HandBrake's Very fast 720p30 preset as a practical option that can deliver 40–60% file size reduction while keeping playback widely compatible. I'm not repeating that link here because the setup already matters most in the HandBrake section. The key idea is the workflow: efficient codec, common container, and settings you can repeat.
Final Checks Troubleshooting and Batch Processing
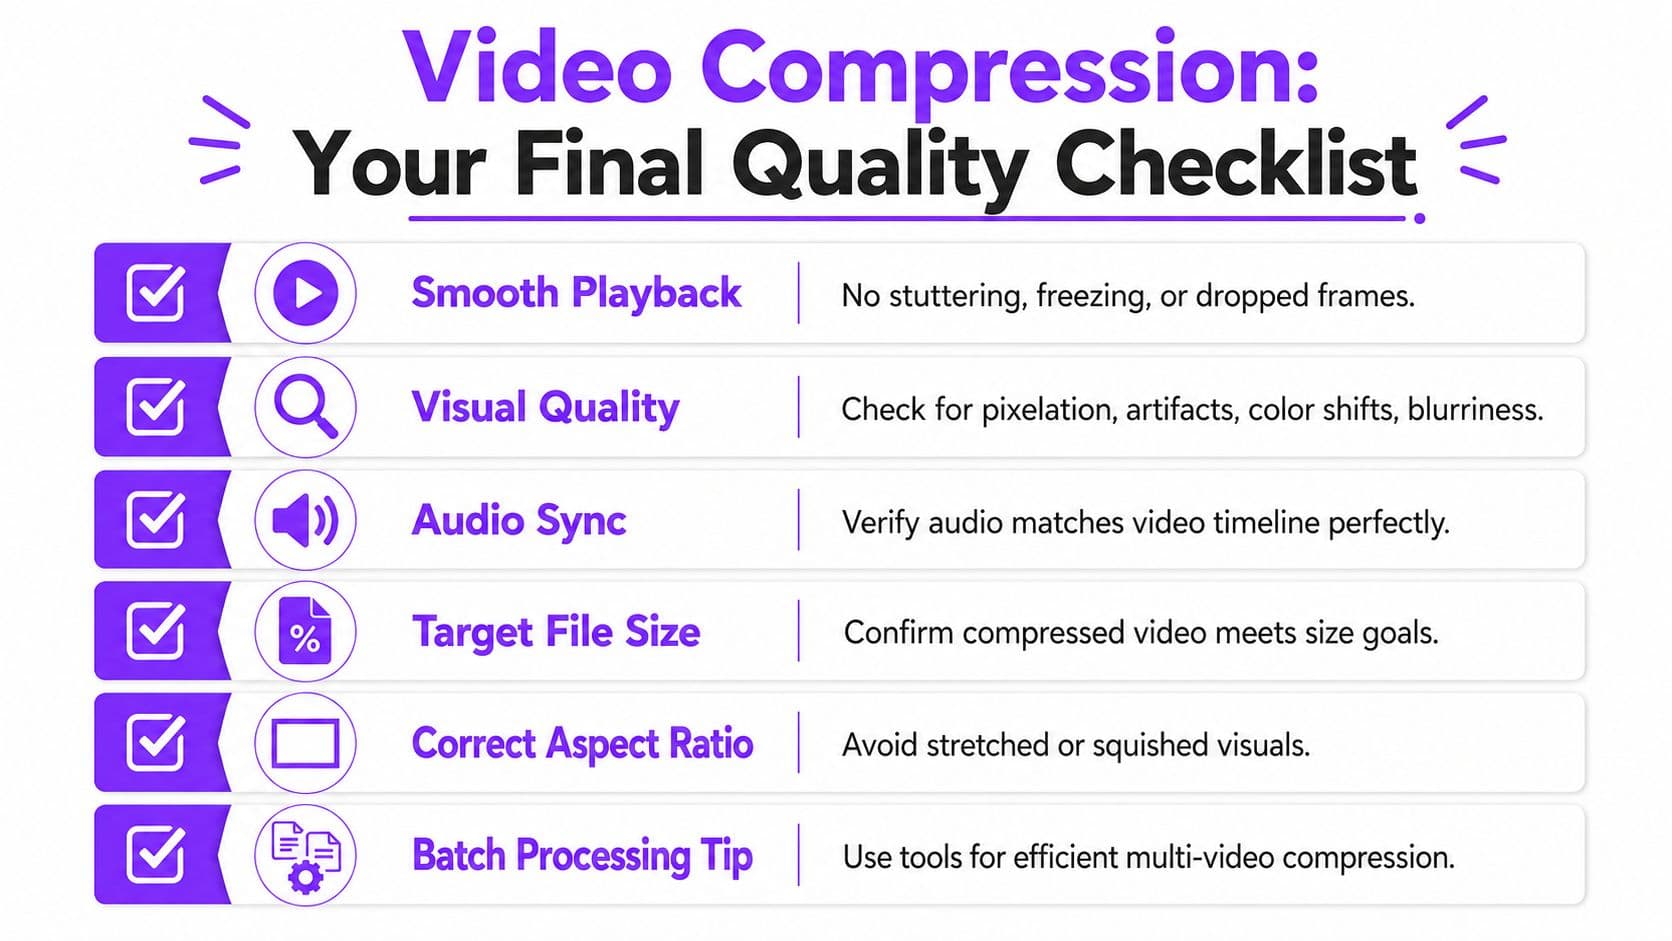
Compression isn't finished when the export ends. It's finished when you've watched the output and confirmed it works.
A quick review routine
Check the compressed file before you delete the original:
- Start and end: Make sure the export didn't trim unexpectedly.
- High-motion section: Scrub to the busiest moment and look for blocking or blur.
- Audio sync: Watch someone speaking or a strong beat hit.
- Aspect ratio: Confirm nothing looks stretched or squashed.
- Playback test: Open it on the device or platform that matters most.
If something looks wrong
Use the symptom to guide the fix.
- File is still too large: Try a more efficient codec, use a smarter quality setting, or lower resolution only if the destination allows it.
- Video looks rough: Back off the compression. If you used aggressive settings, ease them up before changing everything else.
- Text looks soft: Keep more resolution or use gentler compression.
- Motion looks messy: Fast scenes need more data than static ones.
Batch processing saves serious time
If you have a whole folder of videos, HandBrake's queue is worth using. Load one file, dial in the settings, add it to the queue, repeat for the rest, then let your Mac process them in one run. That's much better than babysitting each export manually.
Keep the originals until you've spot-checked the batch. One bad setting can repeat itself across every file.
If you create karaoke videos, lyric videos, or music-based content, MyKaraoke Video gives you a browser-based way to build polished 1080p MP4 outputs without wrestling with old desktop tools. It's especially handy when you want to move from raw audio and lyrics to a shareable video quickly, with synced text, visual customization, and no software install.
