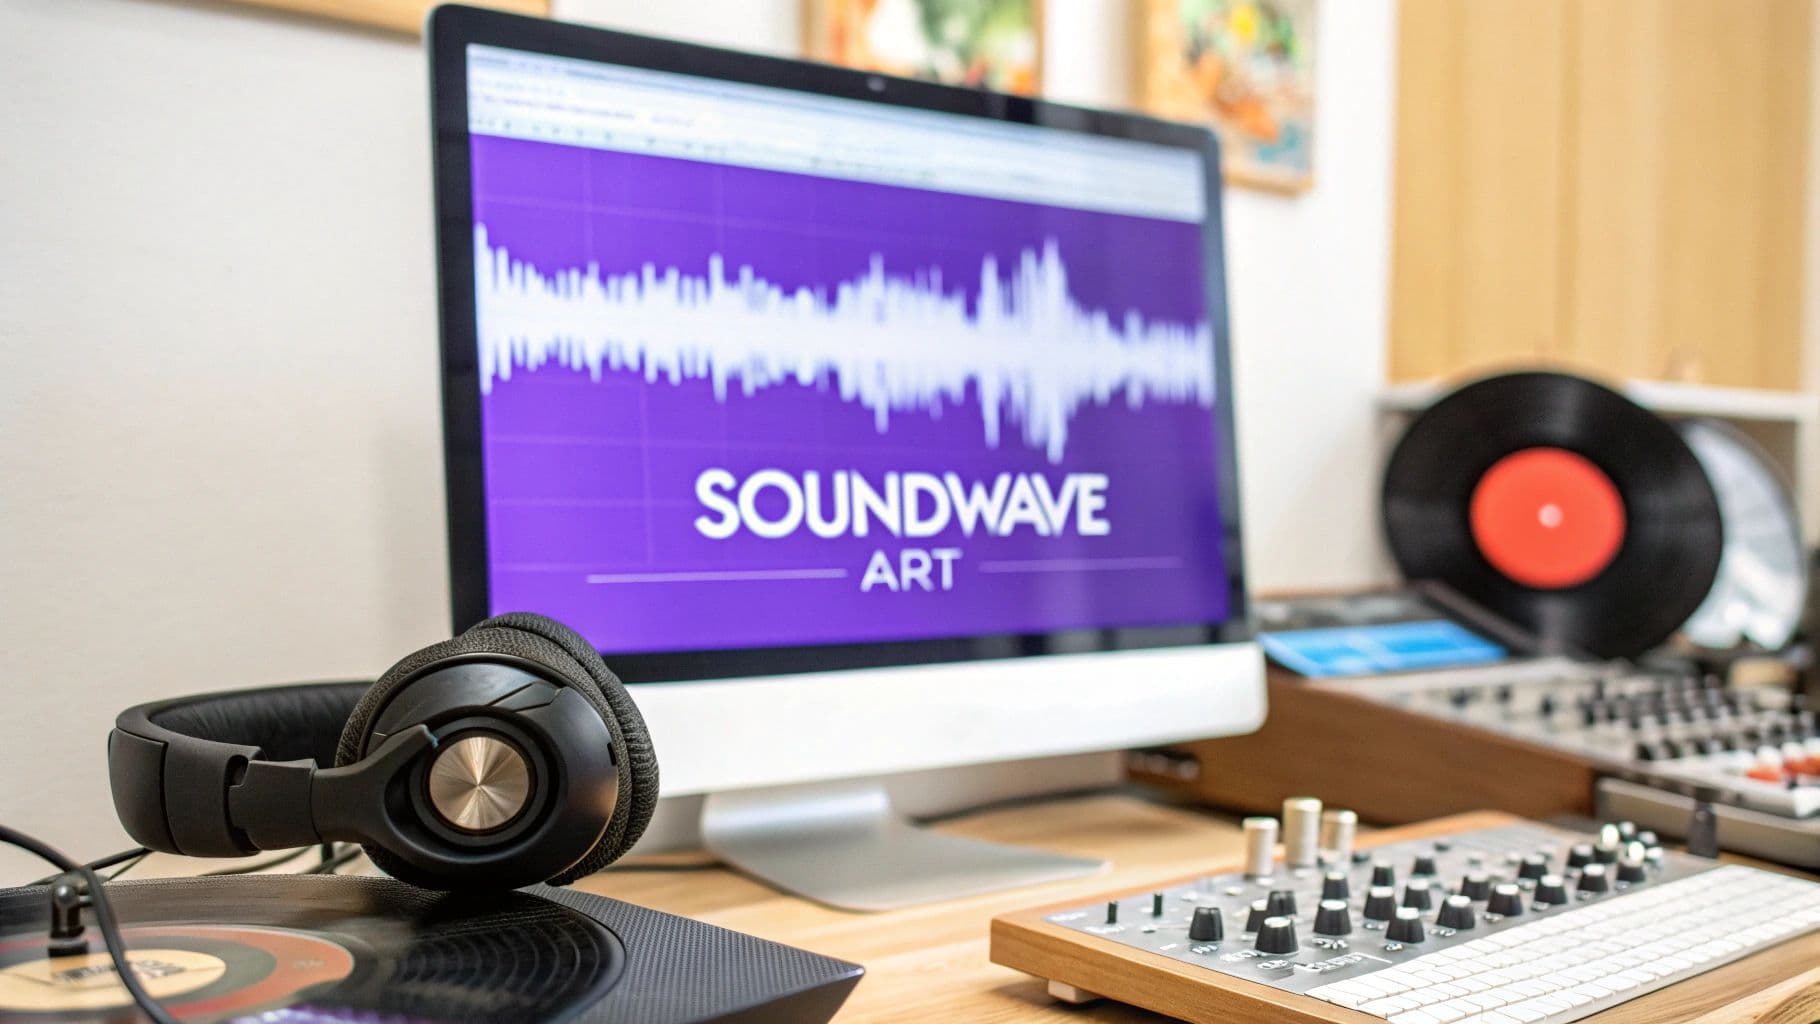
Ever thought about what your favorite song, a heartfelt voice note, or a killer podcast segment looks like? That's the idea behind custom soundwave art—taking the unique fingerprint of an audio file and turning it into a stunning piece of visual media. It’s a powerful way to make your content unforgettable.
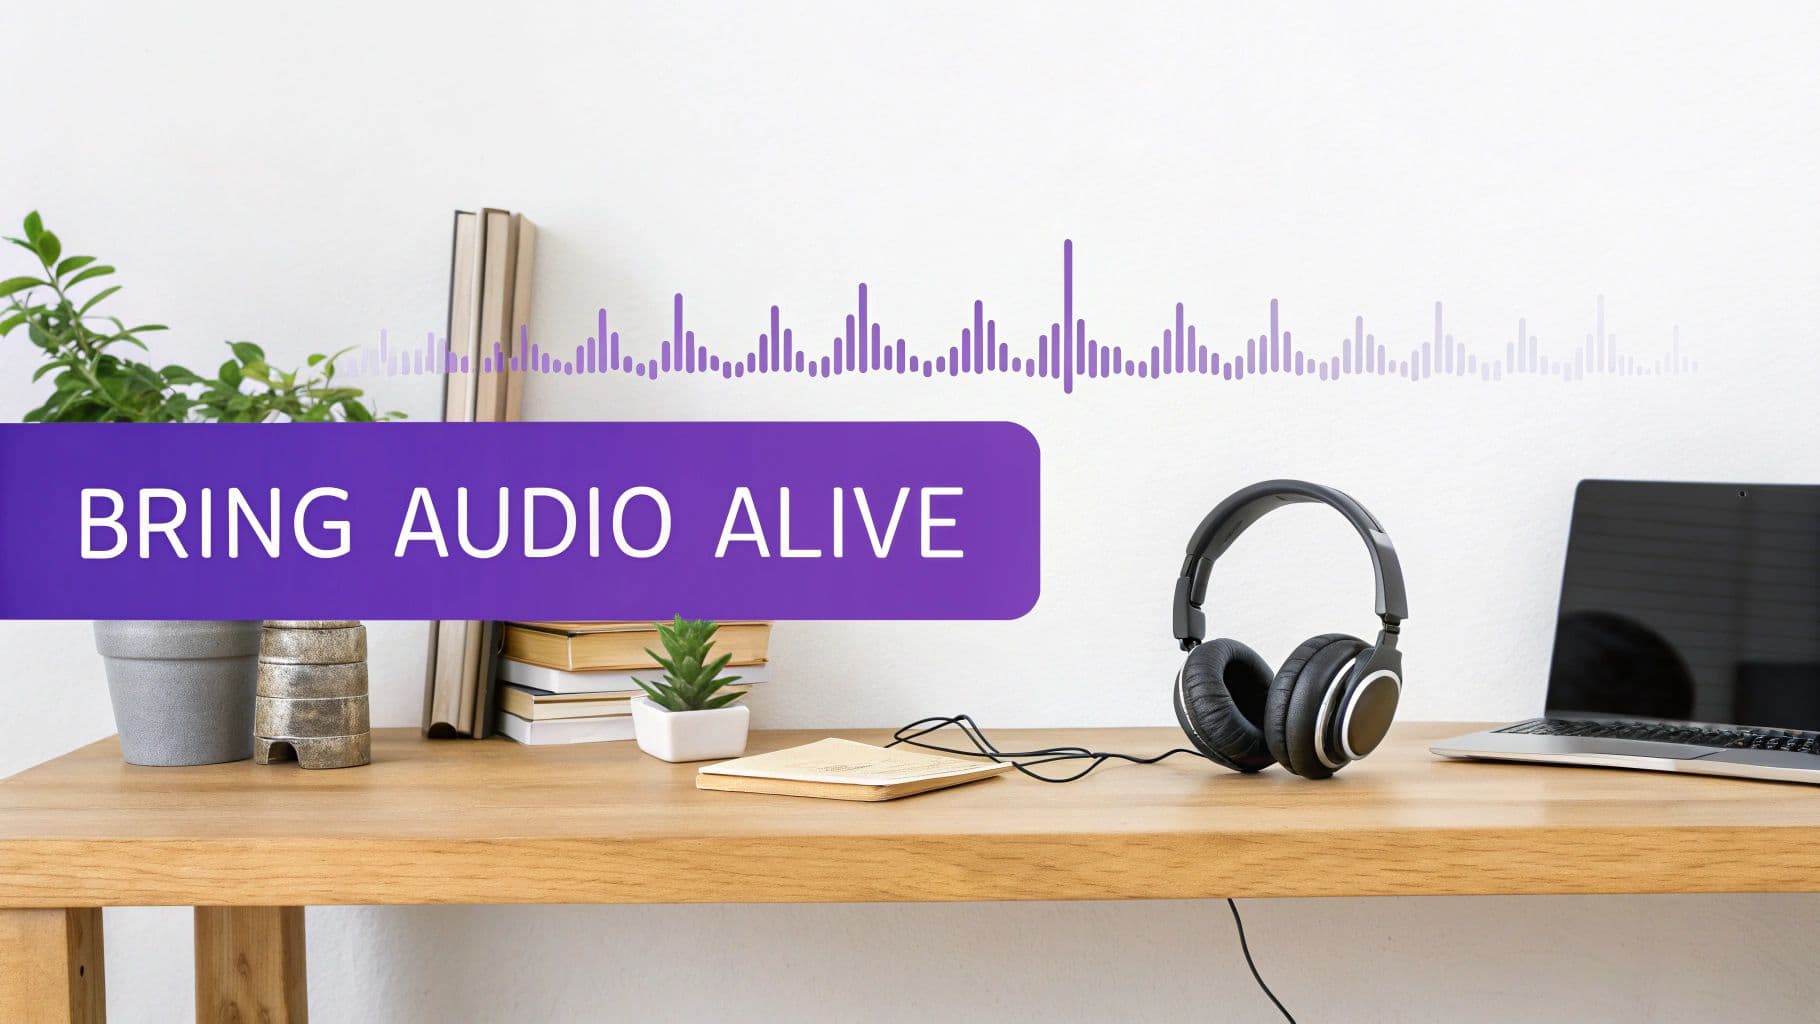
Bringing Your Audio to Life with Visuals
This isn't just about dropping a generic visualizer onto a track. A custom soundwave is a direct, personal representation of a moment in time. Think of it as the visual DNA of your audio, mapping out every peak, dip, and subtle change in a way that stock graphics just can't match. For creators, this opens up a whole new way to connect with an audience.
Why Visual Audio Matters
We're all drowning in visual content. Soundwaves cut through the noise by creating a direct link between what people hear and what they see. This sync makes the whole experience more immersive and memorable. Instead of a boring static image, you're giving them a living piece of art that pulses and breathes right along with your audio.
This technique is incredibly flexible and works for all kinds of creators:
- Musicians: Imagine launching a new single with a video that visualizes the drop or the most powerful vocal run.
- Karaoke Channels: It adds a polished, dynamic element to lyric videos, helping singers feel the song's energy and timing.
- Social Media Creators: You can turn short podcast clips or voiceovers into super engaging videos for Instagram Reels, TikTok, or YouTube Shorts.
A custom soundwave is more than just decoration; it's a storytelling tool. It doesn't just sit next to your audio—it becomes part of the narrative, visually explaining the rhythm, emotion, and structure of the sound itself.
The Rise of Personalized Digital Art
The hunger for unique digital content is bigger than ever. This is all part of a huge shift toward personalization, feeding a digital art market valued at around USD 5.8 billion in 2025. And it's not slowing down; projections show significant growth, proving that people want customized visual experiences.
For anyone using tools like MyKaraoke Video, this is a massive opportunity to create high-value content that people are actively looking for. You can discover more about the digital artwork market and see just how big this trend is. This isn’t just about making cool graphics—it’s about tapping into a multi-billion dollar ecosystem where personalized art reigns supreme.
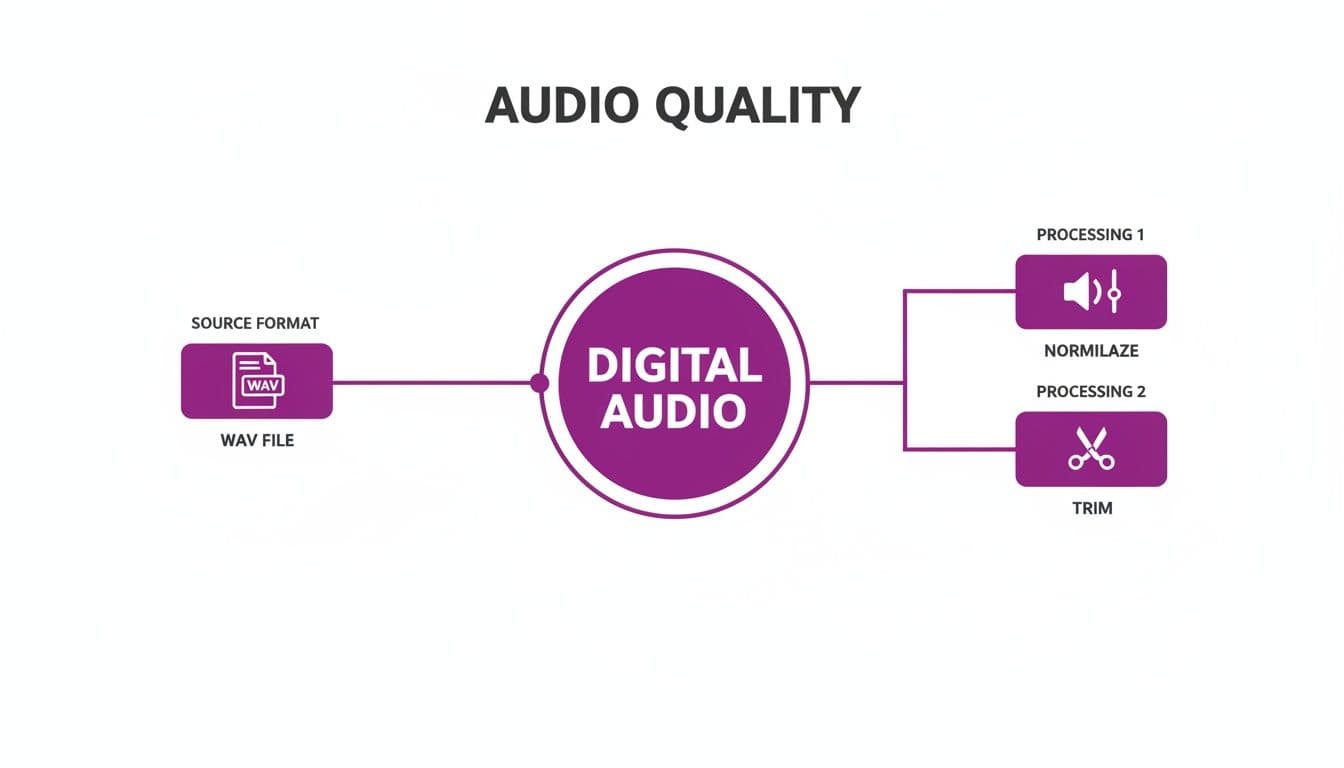
Setting the Stage with High-Quality Audio
The secret to a stunning piece of custom soundwave art isn’t really in the visuals—it all starts with your audio. A clean, crisp recording is the bedrock for a detailed and dynamic waveform. On the other hand, a muffled or noisy file will just give you a chaotic, undefined mess.
It’s a bit like photography. You wouldn't expect a sharp, high-resolution print from a blurry, low-quality photo, right? The same principle applies here.
Your audio file’s format is the first big decision. MP3s are everywhere because they're small, but they use lossy compression. This means data is permanently stripped out to shrink the file size, and that lost data translates directly into a less detailed, less interesting soundwave.
For the best possible result, you should always start with a lossless format. Think WAV or FLAC. These formats keep all the original audio data intact, making sure every little nuance of the sound is captured. This fidelity creates a much richer, more intricate waveform with clear peaks and valleys, which makes your final artwork far more compelling.
Preparing Your Audio Clip
Once you have your high-quality file, it's time to prep it. Not all audio is ready for visualization straight away. A few simple tweaks can make a world of difference in how your soundwave looks. To really get a handle on this, a basic grasp of what makes up an audio clip is super helpful; you can learn more by checking out this great resource on understanding audio clips.
Effective prep really comes down to a few key steps:
- Trimming the Fat: Pinpoint the most impactful part of your audio. You'll want to snip out any dead air at the beginning or end. Focus on the specific moment you want to bring to life—a powerful chorus, a single meaningful phrase, or a dramatic musical swell. This keeps the visual focused and powerful.
- Cleaning Up the Noise: Background noise is the absolute enemy of a clean soundwave. Any hums, static, or ambient chatter will create visual clutter that distracts from the main waveform. Getting rid of this interference is a must for a professional look. For a deeper dive, check out our guide on how to remove background noise from your audio.
Normalizing for Visual Balance
The final, crucial touch is normalization. This process is all about adjusting the overall volume of your audio clip to a consistent, standard level. It ensures the loudest parts don't clip (which causes distortion) and the quietest parts aren't completely lost in the visual.
Normalizing is what keeps your soundwave from looking either too "spiky" or too "flat." It creates a balanced visual where the dynamic range is clear and looks good, making the whole piece more engaging to look at.
Without normalization, a really quiet recording might just look like a flat line. An overly loud one could look like a dense, unreadable block of noise. Taking a moment to normalize ensures your soundwave beautifully and accurately reflects the audio’s true character. Trust me, this one small step makes a massive difference in the end result.
Designing Your Signature Soundwave Style
With your audio file prepped and ready to go, the fun really starts. This is where you get to transform that clean audio signal into a piece of art that truly represents the sound. The shape, color, and texture you choose can completely change the vibe, turning a simple waveform into your signature look.
Think of the raw waveform as a blank canvas. It's less about technical wizardry and more about making creative choices that align with your audio. Your first big decision? The overall shape. This one choice sets the visual tone for everything else.
Choosing Your Waveform Shape
The actual structure of your soundwave is its most defining feature. Different shapes just feel different, and some are a better fit for certain sounds or brands.
- Linear Waves: This is the classic, what-you-think-of-when-you-hear-"soundwave" look. It’s clean, direct, and perfect for things like voiceovers, podcasts, or songs where you want that straightforward, recognizable feel. It’s a workhorse that never goes out of style.
- Bar Shapes: Instead of a single flowing line, this style uses vertical bars of different heights. It has a modern, digital, almost architectural feel to it. I find this works great for electronic music, tech-related content, or any brand going for a sharp, clean aesthetic.
- Circular Waves: When a waveform radiates out from a central point, it creates this mesmerizing, almost mandala-like effect. This shape is a natural fit for meditative audio, ambient tracks, or anything meant to feel immersive and all-encompassing.
The initial audio prep work—starting with a good WAV file, normalizing the volume, and trimming the ends—is what makes these creative choices possible. You're building your art on a solid foundation.
Building Your Color Palette
Color is your secret weapon for conveying emotion. A killer color palette can instantly tell someone what your audio feels like before they even press play. You can stick to your brand colors for consistency or just let the audio itself inspire you.
An energetic house track? A vibrant neon gradient that pulses from electric blue to hot pink just makes sense. A soft, acoustic love song, on the other hand, might feel more at home with a simple black-and-white look or a gentle pastel gradient. For spoken word content, using your brand's primary and secondary colors is a great way to reinforce your identity. Don’t be afraid to play with transparency and blending modes to add some real depth.
To give you a head start, here’s a quick guide I’ve put together from my own experience to help match your visual style to different music genres.
Soundwave Style Guide for Different Music Genres
| Music Genre | Recommended Waveform Shape | Color Palette Suggestion | Visual Effect |
|---|---|---|---|
| Electronic/EDM | Bar Shapes or Abstract Glitch | Neons, high-contrast gradients (pinks, blues, purples) | Add a subtle glow or flicker effect |
| Acoustic/Folk | Classic Linear or Delicate Line | Earth tones, muted pastels, monochrome | Soft, slightly transparent lines |
| Hip-Hop/Rap | Bold Linear or Thick Bars | Gritty, urban colors (deep reds, grays, gold) | Sharp, defined edges; high contrast |
| Ambient/Classical | Circular or Smooth, Flowing Linear | Cool, calm gradients (blues, greens, soft whites) | Slow-fading trails or ethereal glow |
| Rock/Metal | Jagged, Spiky Linear or Bars | Intense, fiery colors (reds, oranges, blacks) | Distorted or "noisy" texture overlay |
| Podcast/Spoken | Clean Linear or Minimalist Bars | Brand-specific colors or a professional blue/gray | Crisp and clear, no extra effects |
This table is just a starting point, of course. The best results always come from experimenting and finding what feels right for your specific track.
Adding Depth with Finer Details
Beyond the big stuff like shape and color, it’s the little tweaks that add that professional polish. For instance, adjusting the line thickness or bar spacing can totally change the perceived weight and density of the design. A thick, beefy line feels bold and powerful; a thin, delicate one feels more intricate and detailed.
It's worth mastering these skills. The market for rich media is exploding—3D and advanced audio tech is projected to become a USD 33.0 billion industry by 2035. As people get more used to immersive sound, they're going to expect visuals that can keep up. That makes knowing how to create killer soundwave art a seriously valuable skill.
For even more ideas on creating visuals that pop, you should check out our guide on how to make visuals for music. It's packed with tips that work perfectly alongside soundwave design.
Fusing Soundwaves with Lyrics and Video
Alright, you've created a soundwave that looks fantastic and really speaks to your audio's vibe. Now for the fun part: bringing it to life inside your video. This is where your custom soundwave art stops being a static image and becomes a dynamic, breathing part of your content.
The trick is to make the soundwave feel like it truly belongs in the video, not just slapped on top as an afterthought. You can layer it over anything—a solid color, a subtle looping video, or even your main footage. Where you put it makes all the difference.
Mastering Composition and Placement
Think of your video frame as a blank canvas. Your soundwave needs to be placed where it supports the other visuals, like text or on-screen action, without creating a mess. Clumsy placement is a dead giveaway of an amateur video.
Over the years, I've found a few placement strategies that just work:
- Bottom Third: This is a classic for a reason. Placing the waveform along the bottom of the screen anchors the visuals and gives you plenty of space for lyrics or other graphics up top.
- Top Third: A great choice if you want to pull the viewer's eyes up, or if the most important action is happening in the lower half of the frame.
- Central Focus: If the audio is the star of the show—like for a podcast clip or a new song premiere—making the soundwave the main event can have a huge impact.
Getting the layers and timing right is crucial. If you're new to this, brushing up on some essential video editing tips can really help you nail the final composition.
The best videos I've seen treat the soundwave as an interactive element. It shouldn't just sit there. It needs to feel connected to everything else on screen, guiding the viewer's focus and amplifying the mood.
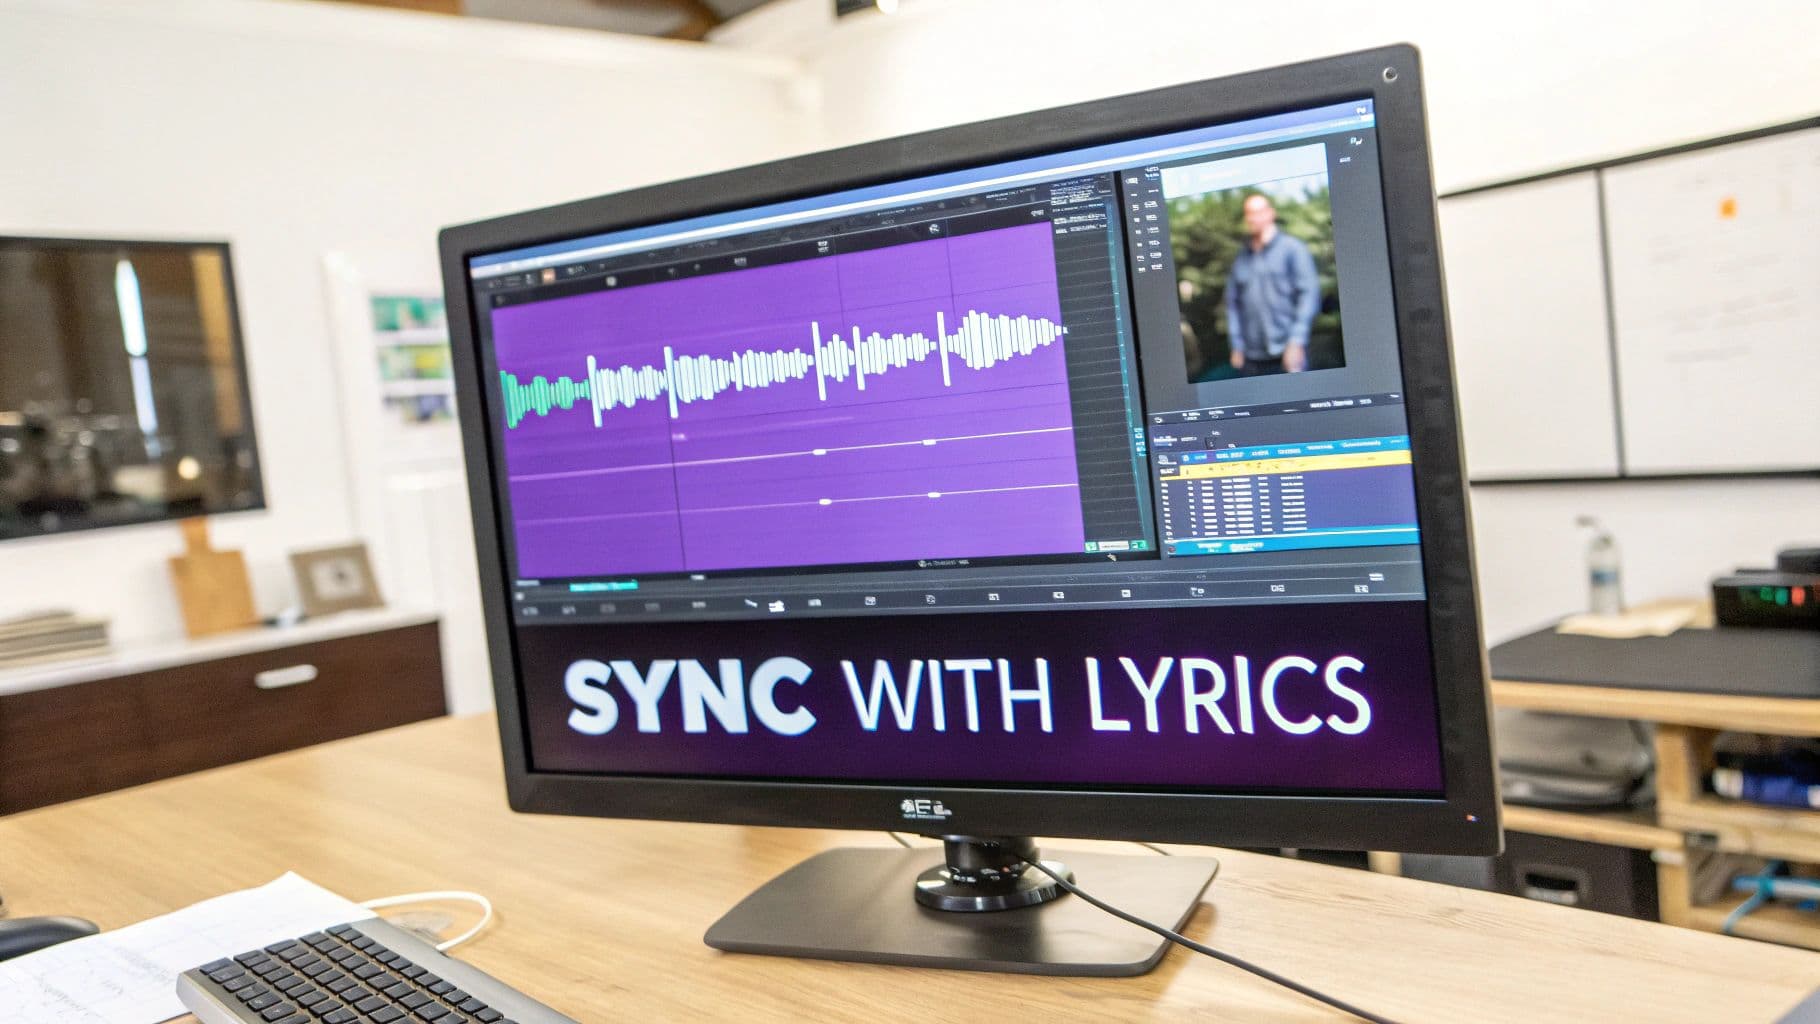
Syncing with Lyrics for Maximum Impact
This is where the real magic comes in. When you synchronize your soundwave's movement with other timed elements like lyrics, everything just clicks. Tools like MyKaraoke Video are built for this, handling all the tricky timing automatically. The result is a seamless, immersive experience.
Picture this: the waveform pulses or changes color right as the chorus hits, perfectly in sync with the highlighted words on screen. That's the kind of powerful, professional detail that pulls your audience in and keeps them watching.
This is exactly what creators are looking for today. The data shows a huge preference for cloud-based creative tools, which dominate the market with around 65% market share in some AI-art sectors. It's clear that creators want to work in their browsers. Offering integrated features like custom soundwaves with one-click MP4 exports is simply meeting that demand.
Trying to sync everything by hand is a massive headache. Integrated platforms do the heavy lifting, freeing you up to think about the creative side—how you want the waveform to react, not how to line up a million tiny keyframes. It's this automation that makes high-quality, dynamic soundwave art possible for everyone, not just pro video editors.
Getting Your Soundwave Masterpiece Out Into the World
You’ve poured your creativity into designing a stunning piece of soundwave art. Now it's time to share it. The way you export your video isn't just a technicality; it's the final polish that ensures your hard work looks just as amazing on someone else's screen as it does on yours.
The settings you pick here are all about striking the right balance between crisp quality and practical performance.
The first choice you'll make is the resolution. For most places you'll share online, like YouTube, 1080p (1920x1080 pixels) is the sweet spot. It delivers a sharp, professional-looking image without creating a massive file that takes forever to upload or buffers endlessly for your viewers.
Of course, if your art has incredibly fine details or you're aiming for that ultra-premium, cinematic look, stepping up to 4K (3840x2160 pixels) is the move. Just be ready for much bigger files and longer waits while your computer processes everything.
Tailor Your Video for Where It's Going
Think about where this video is going to live. A one-size-fits-all approach just doesn't cut it anymore, especially with social media. To really grab attention, you need to format your video for the specific platform it’s on.
Here’s a simple guide to get it right:
- YouTube: Stick with the standard 16:9 aspect ratio. This is the classic widescreen look that’s perfect for desktops, smart TVs, and phones held sideways.
- TikTok & Instagram Reels: Go vertical with a 9:16 aspect ratio. This is non-negotiable. It fills the entire phone screen, making your content feel native and immersive as people scroll.
- Instagram Feed Posts: A square 1:1 ratio is still your safest bet for the main grid, ensuring nothing important gets cut off.
Getting the aspect ratio right is critical. A video that's been awkwardly cropped or has those ugly black bars just screams amateur. It can immediately turn viewers off and tank your engagement before they even hear a single note.
After you export, you might notice the file is still pretty chunky. Large files can be a pain to upload or share. This is where a good video compressor comes in handy. If you want to shrink your file without turning your beautiful art into a pixelated mess, check out our guide on the best video compressor tools out there.
How to Get the Most Out of Your New Soundwave Video
Don't just post it once and forget it! Your new soundwave art is a flexible visual asset you can use in a ton of different ways.
Think of it as your audio's visual signature. You could use it as a slick, branded intro or outro for all your YouTube videos. You could also chop up the most visually interesting 15-second segments and use them as eye-catching promo clips on social media. It's a fantastic way to give your sound a visual identity wherever you connect with your audience.
Answering Your Top Soundwave Art Questions
As you start bringing your audio to life, a few questions are bound to pop up. It happens to everyone. Let's tackle some of the most common hurdles I see people encounter so you can keep your creative flow going.
So, can you really use any audio file? Pretty much, yes. Whether it’s an MP3 of your favorite song, a WAV file from a studio session, a quick voice note, or even a sound effect, you can generate a waveform from it.
But here’s the thing: the source audio is everything. It dictates the entire shape and feel of your final piece. A rich, dynamic orchestral track is going to give you a complex, beautifully intricate waveform. On the other hand, a flat, monotone voice memo will look… well, flat. For the best results, always start with a clean, high-quality audio file with as little background noise as possible.
How Can I Make My Soundwave More Interesting?
If your waveform feels a bit static, it's time to add some life to it. The secret is motion and reactivity. Don't just settle for a still image. Most modern visualizers let you apply effects that make the waveform pulse to the beat or shift colors as the song progresses from a verse to a chorus. It’s a simple change that makes a world of difference.
Another pro tip is to use layering. Try placing your animated soundwave over a subtle, looping video background or a clean graphic. This creates a real sense of depth and instantly makes your project look more polished and professional. It’s those small touches that take a visualizer from good to great.
What If I Want to Print My Soundwave Art?
Taking your art from the screen to the real world is a great idea, but it requires a totally different approach. When you're aiming for a physical print, you're not exporting a video—you need a high-resolution static image.
The absolute golden rule for printing is to export at a minimum of 300 DPI (dots per inch). This is non-negotiable if you want a sharp, clear print. Anything less might look okay on your monitor, but it will come out blurry and pixelated on paper.
You'll also need to pick the right file format. You've got two main choices here:
- PNG: Perfect for smaller prints or for sharing a high-quality version online. Its big advantage is that it supports a transparent background.
- SVG (Scalable Vector Graphic): This is the holy grail for printing. If you're thinking of making a large poster or a canvas print, an SVG is the way to go. Because it’s a vector, you can scale it up to the size of a billboard, and it will never lose quality.
Nailing the format and resolution ensures your soundwave art looks just as incredible hanging on a wall as it does on a screen.
Ready to transform your audio into a visual masterpiece? With MyKaraoke Video, you can create stunning, professional-quality custom soundwave art and lyric videos right in your browser. Get started today and see your sound in a whole new way.