
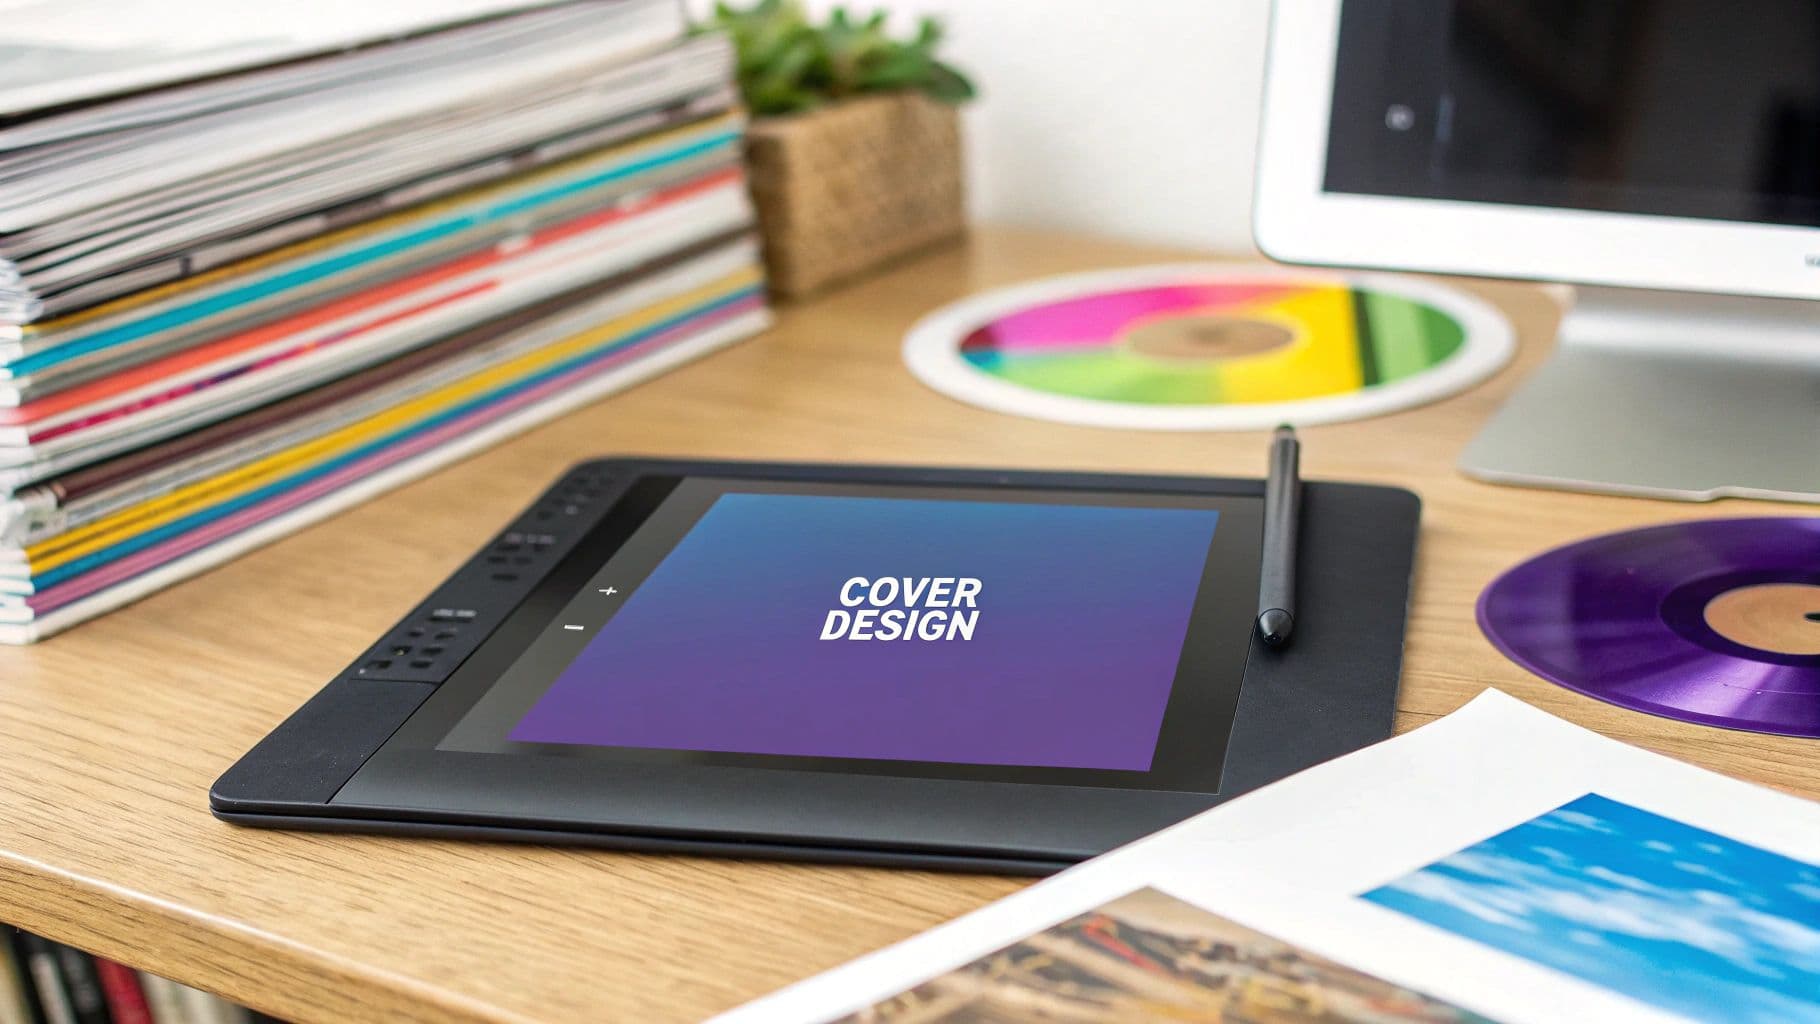
So, you've poured your soul into a track. The mix is tight, the master is punchy, and the sound is perfect. Now what? Just throwing it up online with a static album cover? You're better than that.
The real challenge is turning that audio masterpiece into something people can't just scroll past. It’s about creating a visual hook that grabs someone by the eyeballs and forces them to listen. This is where your sound's mood becomes a visual theme, where you sync every pulse and beat to the action on screen, and where the visuals and audio become one single, unforgettable experience.
Why Your Music Desperately Needs Visuals
Let's be brutally honest. In the endless feed of social media, your music is just another blip. A song with a static image on YouTube, TikTok, or Instagram is basically begging to be ignored. Think of killer visuals as your unfair advantage—the thing that makes someone slam the brakes on their thumb-scrolling and actually pay attention.
This isn't just about slapping some cool patterns over your track. It's about turning a passive listen into an active one. It's the magic that transforms your song from background noise into an immersive, can't-look-away experience. This is how you snag real fans, the kind who do more than just stream—they share, they comment, and they buy into your entire artistic world.
It's Your Brand, Build It Right
Visuals are the fastest way to show people who you are. They scream your vibe, your story, and what you're all about before a single note plays. You don’t need a Hollywood budget, either. A clever, lo-fi aesthetic can feel more raw and authentic than a polished, million-dollar video, creating a genuine connection with your audience.
You're not just making music; you're building a universe around your sound that people can step into and explore.
The whole point of eye-catching visuals is to pull people in and get them to interact. For a deeper dive on this, check out these tips on how to increase social media engagement to really get your content moving.
Riding the Visualizer Wave
This isn't just a niche trend; it's a full-blown explosion. The demand for mesmerizing audio-visual content is through the roof.
The global music visualizer market is absolutely skyrocketing. It's set to jump from $0.16 billion in 2024 to a whopping $0.2 billion by 2025. That's a staggering 31.4% growth in a single year. What's driving it? Everything from the dominance of streaming platforms to the insatiable appetite of the gaming and EDM worlds. If you want to see just how massive this is, learn more about the rapid growth in the music visualizer market.
Getting in on this shows you're not just dropping a song—you're launching a complete, must-share piece of modern content.
Finding Your Visual Story and Vibe
Every killer music visual is born from a single, solid idea—not from fancy software. Before you even think about dragging a clip onto a timeline, you have to ask yourself one crucial question: what does my music look like? This is where the magic happens, where you translate sound into sight and make sure your visuals feel like they grew right out of the track itself.
This part of the process is all about brainstorming. Just listen to your track on repeat and let your mind wander. Don't filter anything. What images pop into your head? What colors, feelings, and textures does the music bring up?
Maybe that downtempo electronic track feels like a slow, dreamy drive through a rain-slicked city at 3 AM, with neon signs blurring past. Or perhaps your stripped-back acoustic song conjures up images of a raw, windswept coastline at sunrise. Those feelings are the seeds of your entire visual story. Nail this, and you're on your way to making something that truly connects.
Let's Build a Mood Board
Once you have a gut feeling, it’s time to make it real with a mood board. A mood board isn't just a collage of pretty pictures; it’s your visual blueprint, your North Star for the entire project. It's the thing that will keep you from getting lost in a sea of creative choices later on.
A good mood board should lock down a few key things:
- Your Color Palette: Are we talking warm, saturated, and vibrant? Or cool, muted, and moody? Try to stick to a tight palette of 3-5 core colors to keep everything feeling cohesive.
- Texture & Style: Does this project feel grainy and analog like old Super 8 film, or is it crisp, clean, and digital? Hunt down examples of lighting, textures, and camera work that just feel right.
- Pacing & Energy: Find images and clips that match the song's energy. A frantic punk track needs chaotic, quick-cut visuals. A slow, ethereal ballad? That calls for graceful, lingering shots.
I usually just use Pinterest or a simple folder on my desktop to hoard screenshots, stock photos, and video clips that fit the vibe. This collection will be your guidepost for every decision you make. If you’re feeling stuck on this step, you can find great tips on how to generate ideas and spark creativity to get the ball rolling.
From Vague Ideas to a Simple Storyboard
With a solid mood board in hand, you can start sketching out the visual journey with a storyboard. I know, the word "storyboard" sounds intimidating, but you don't need to be an artist. Seriously, stick figures and scribbled notes are all you need. The goal here is just to plan the sequence of your visual moments.
Look at the structure of your song. Where does the beat drop? Where does the chorus hit? Where's that killer guitar solo? Your storyboard needs to mirror this emotional map, ensuring your visuals build and release right alongside the music.
A simple storyboard forces you to be intentional. Instead of just throwing random effects at the wall to see what sticks, you're making deliberate choices about what the audience sees and when they see it—like right as the first chorus kicks in.
For example, you could plan for some subtle, pulsing shapes during the intro, bring in a central character or graphic when the vocals start, and then unleash your craziest, most dynamic animation for the song's climax. This little bit of planning is what separates a chaotic mess from a visual that feels professional, intentional, and makes the music hit so much harder.
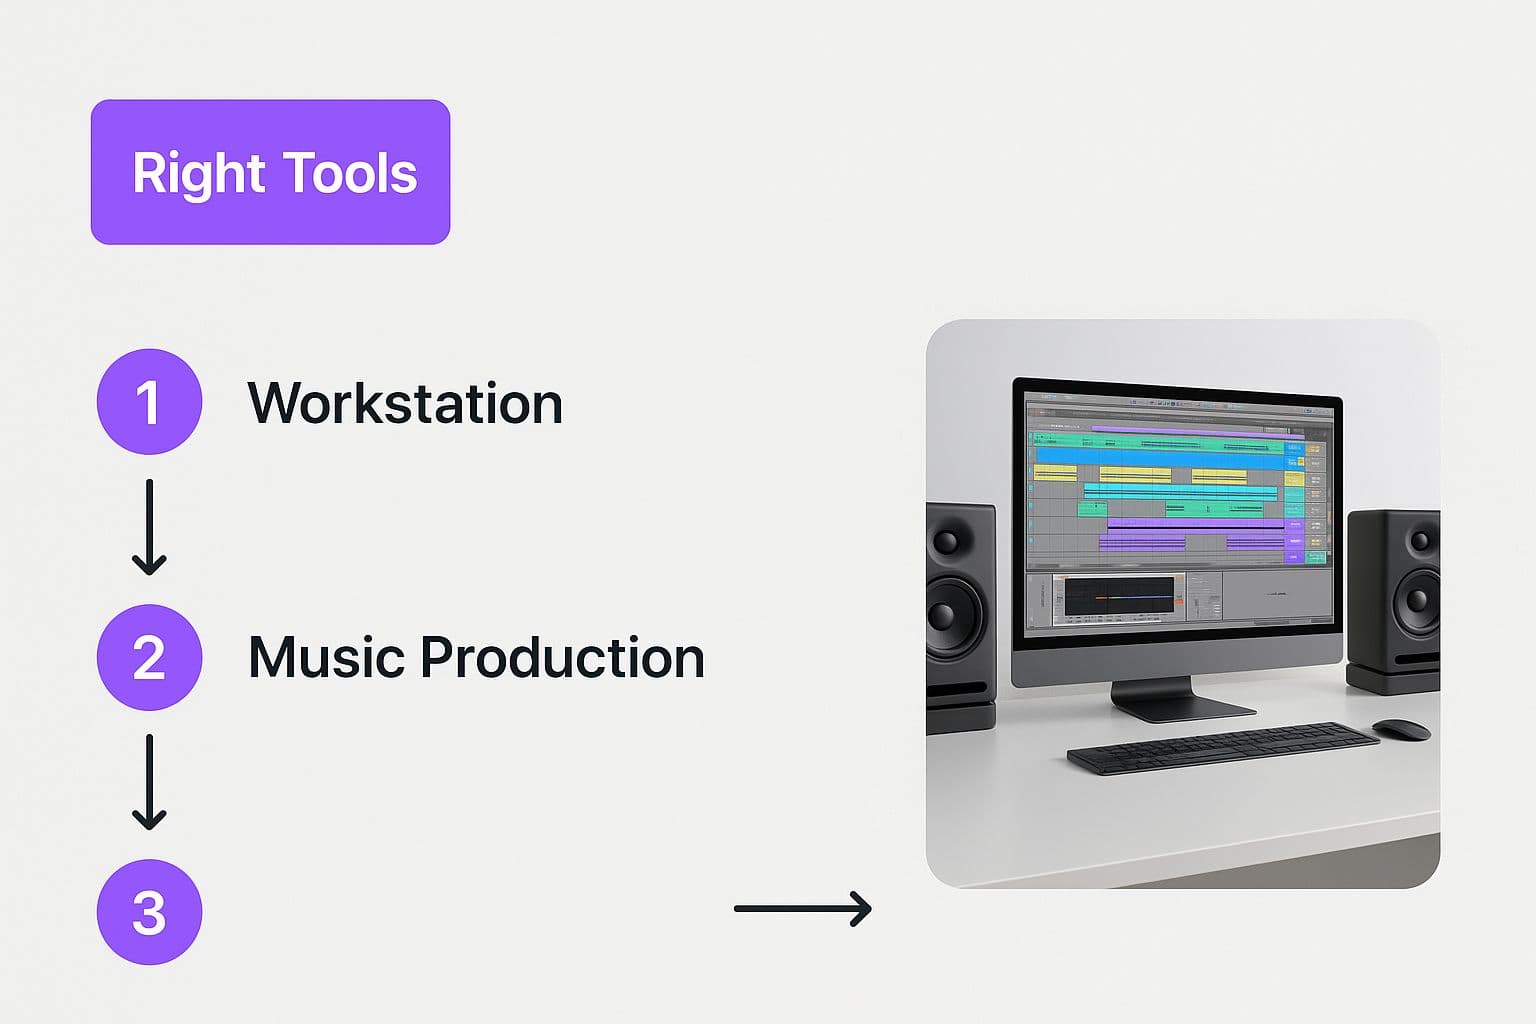
2. Choosing Your Creative Toolkit and Software
The tools you pick can either be your greatest ally or your biggest headache. Seriously. Finding the right software is all about a delicate dance between your artistic vision, your budget, and how much time you actually have to learn a new program.
Let's cut through the noise and figure out what you really need, whether you're looking for a quick fix or ready to dive into the deep end of motion graphics.
It really boils down to one simple question: do you need it fast and easy, or do you need total creative control? There's no wrong answer, just the right tool for the job at hand.
As you can see, the path you choose here sets the stage for everything that follows.
The Trade-Off: Speed vs. Power
To make this super clear, let's break down the main software options. I've seen artists get amazing results from every category here—it's all about knowing what you're getting into.
Here’s a quick comparison to help you find your footing.
Comparison of Music Visual Software Options
| Tool Category | Best For | Example Tools | Pros | Cons |
|---|---|---|---|---|
| Template-Based Visualizers | Quick YouTube uploads, social media promos, lyric videos | Renderforest, Veed.io | Super fast, no learning curve, great for getting content out now. | Can look generic, limited customization options. |
| Video Editing Software (NLEs) | Combining live-action footage with music, basic effects. | Adobe Premiere Pro, DaVinci Resolve | Great for traditional music videos, powerful editing tools. | Can be less intuitive for purely abstract or animated visuals. |
| Motion Graphics/VFX Software | Building complex, unique visuals from scratch. | Adobe After Effects, Apple Motion | Limitless creative freedom, industry-standard results. | Steep learning curve, can be very time-consuming. |
| Real-Time Visual Generators | Live performances, interactive visuals. | Resolume, TouchDesigner | Reacts to audio in real-time, perfect for VJs. | Requires powerful hardware, not ideal for pre-rendered videos. |
Ultimately, the "best" tool is the one that lets you bring your idea to life without pulling all your hair out.
When You Need Visuals, Like, Yesterday
Let's be real—sometimes you just need to get your track on YouTube without spending a week learning new software. This is where template-based visualizers are a lifesaver. You just upload your audio, pick a vibe you like, maybe tweak the colors, and you’re done.
- Who they're for: Artists and producers needing a simple, professional-looking visual for an audio upload or a quick social media blast.
- The upside: They are incredibly fast and easy. You can have a finished video in under an hour with zero prior experience.
- The catch: You sacrifice creative control. Your video might look similar to others who used the same template.
The real win here is efficiency. When speed is your number one priority, these tools are unbeatable. You're trading a bit of originality for a whole lot of time saved.
For The Visionaries: Professional Powerhouses
But what if you have a specific, complex idea that a template just can't handle? That's when you roll up your sleeves and dive into professional motion graphics and video editing software. This is the world of building from a blank canvas, where every flicker, pulse, and animation is crafted by you.
The undisputed king of this realm is Adobe After Effects. It’s the industry standard for a reason, giving you an insane amount of power to create anything you can dream up.
This level of control is what separates the standard from the spectacular, but it definitely comes with a learning curve. Don't expect to master it overnight.
Investing the time here pays off, though, letting you create visuals that are 100% unique to your sound. For a deeper dive, our guide on https://www.mykaraoke.video/blog/video-editing-software-for-music-videos breaks down even more options.
The demand for this kind of high-quality content is absolutely exploding. The music visualizer software market was valued at a cool $500 million** in 2025 and is projected to hit a staggering **$1.8 billion by 2033. This boom is all thanks to streaming platforms and fans who expect more than just a static image.
And if you've got the vision but not the time? It's often worth bringing in a pro. Looking into professional graphic design services can connect you with an expert who can translate your ideas into a stunning final product.
The Art of Syncing Visuals with Your Sound
Alright, this is where the rubber meets the road. You can have the slickest software and a killer concept, but if your visuals don't vibe with the audio, the whole project just feels... off. That perfect sync is what creates those spine-tingling moments where the visuals and the sound become one, hitting every beat drop and emotional high note in perfect harmony.
It’s the secret ingredient that turns a video for your music into a video that is your music.
This isn’t about just winging it and hoping for the best. It's a craft. The trick is to stop listening to your song and start seeing it. Every single video editor worth its salt has a waveform view, and that jagged little line is your new best friend. It’s a literal map of your track's energy—the low, quiet valleys of a verse, the massive peaks of a chorus, and every sharp, percussive hit in between.
Before you even think about dragging a single visual onto your timeline, your first mission is to become an expert cartographer of your own music.
Mapping Your Track with Timeline Markers
Seriously, don't just dive in and start dropping effects. The first, and most crucial, step is to map out your entire song using timeline markers. Think of it as creating a visual skeleton of your song's structure right inside your editor before you add any of the meat.
Listen through the track a few times, but with a specific goal: to drop a marker at every single important moment. And I don’t just mean the obvious stuff. Get granular.
- Structural Markers: First, the big picture. Drop markers at the start of the intro, Verse 1, Chorus 1, the bridge, the outro, and so on. This gives you a bird's-eye view of the song's flow.
- Percussive Markers: Now, zoom in. I mean really zoom in. Put a marker on every single kick drum and snare hit. Yes, it's tedious. But trust me, this is absolutely non-negotiable for creating visuals that feel locked into the rhythm.
- Melodic & Lyrical Cues: Listen for those other standout moments. Is there a powerful lyric that needs emphasis? A new synth melody that enters the mix? Mark them. These are your golden opportunities for more creative, story-driven animations.
By the time you're done, your timeline should look like a detailed blueprint. You’ve successfully translated the song's invisible energy into a tangible, visual guide that will inform every single edit you make from here on out.
Think of it like a choreographer planning a dance routine. They don't just tell the dancers to "feel the music." They give them specific counts and cues for every single move. Your markers are those cues for your visuals.
Advanced Frequency-Based Automation
Ready to get a little more technical? Many pro-level programs, like Adobe After Effects, let you connect visual properties directly to your audio's frequencies. This is where you move beyond manually timing every little thing and let the music itself drive the animation.
It's pretty wild. You can isolate the booming low-end of the kick drum and link it to an object's scale, making it "pulse" perfectly in time with the beat. Or, you could grab the crisp high-end frequencies from the hi-hats and use them to trigger a subtle shimmer or glitch effect.
This creates an organic, living connection between sound and sight that's almost impossible to fake by hand. It's the secret sauce behind those truly hypnotic, professional-looking music visualizers. If you’re itching to dive into the nuts and bolts of this, our guide on how to sync audio with video breaks it down even further.
At the end of the day, syncing isn't just a technical step—it's the very soul of the entire process.
Mastering Export Settings for Every Platform
You did it. You poured your heart, soul, and probably way too many late nights into crafting the perfect visuals for your music. Every beat, every synth swell, every lyric has a visual counterpart. Now, you’ve reached the final boss: the export button.
Don't let this be the part where it all falls apart. Seriously, one wrong click here can take your razor-sharp masterpiece and turn it into a pixelated, stuttering mess that looks like it was filmed on a potato. Let’s make sure all that hard work pays off.
Why You Can't Just "Export" and Pray
Hitting "Export" with the default settings is a recipe for disaster. Every platform—YouTube, Instagram, TikTok, Spotify—is its own little kingdom with its own weird rules and compression algorithms.
Think of it this way: you wouldn't wear a tuxedo to a pool party. Sending a generic file to these platforms is the digital equivalent. They’ll take your beautiful, high-quality video, chew it up, and spit out a compressed version that barely resembles what you created.
To avoid this digital massacre, you need to tailor your export settings for each specific destination. It’s about giving them exactly what they want so your video looks as crisp and clean as possible after they’ve had their way with it.
The Only Tech Jargon You Actually Need to Know
Forget the endless sea of confusing options in your export window. Let's cut through the noise and focus on the three settings that truly matter. Nail these, and you're golden.
- Codec (Just use H.264): Think of a codec as the language your video file speaks. For the internet, H.264 (sometimes called AVC) is the universal language. It hits the sweet spot between high quality and manageable file size. It’s what everyone uses. Don't overthink it; just choose this one.
- Bitrate (The Quality Dial): This is how much data you’re packing into each second of your video. Higher bitrate means more data, which means better quality… but also a much larger file. The trick is finding the right balance. Too low, and you get ugly, blocky artifacts. Too high, and the platform will just crush it down anyway, wasting your upload time.
- Aspect Ratio (The Shape): This one's simple—it’s the shape of your video canvas. 16:9 is your classic widescreen, perfect for YouTube. 9:16 is the tall, vertical format that rules the world of mobile phones, so think TikTok, Instagram Reels, and Spotify Canvas.
Getting these three right is 90% of the battle. It's the secret sauce to making sure your visualizer looks exactly how you pictured it in your head, no matter where your fans are watching.
Platform-Specific Export Cheat Sheet
I've seen too many amazing visuals get butchered by bad export settings. Stop the guesswork. I’ve put together this quick cheat sheet to give you the perfect starting point for all the major platforms.
| Platform | Recommended Resolution | Aspect Ratio | Recommended Bitrate (Mbps) | File Format |
|---|---|---|---|---|
| YouTube | 1920x1080 (1080p) or 3840x2160 (4K) | 16:9 | 10-15 (for 1080p) | .MP4 |
| Instagram/Reels | 1080x1920 | 9:16 | 8-12 | .MP4 |
| TikTok | 1080x1920 | 9:16 | 10-15 | .MP4 |
| Spotify Canvas | 1080x1920 | 9:16 | N/A (focus on file size < 20MB) | .MP4 |
Use these settings as your foundation, and you'll be in great shape. No more crossing your fingers and hoping for the best after you hit "upload."
Pro tip: The single best habit you can develop is to create custom export presets for each of these platforms right inside your video editor. It takes about ten minutes to set up once, and it will save you a world of pain and hours of frustration down the road.
For a full A-to-Z look at the entire creation process, dive into our complete guide on how to make a music video.
Got Questions About Making Music Visuals? We've Got Answers
So, you’re deep in the creative zone, but a few nagging questions keep popping up. Don’t worry, that’s completely normal. In fact, it's a great sign—it means you're really digging in and thinking about how to make something special.
Let's cut through the noise and tackle some of the most common things that trip artists up when they're figuring out how to make visuals for their music. Think of this as your personal FAQ to get you over those humps and back to what you do best: creating.
Do I Really Need Fancy, Expensive Software to Make Good Visuals?
Nope. Not even close. You would be absolutely floored by what you can pull off with free tools these days.
Seriously, the free version of a powerhouse editor like DaVinci Resolve is more than enough for 99% of what you'll need. Throw in some free asset packs you find online, and you've got a pro-level setup without spending a dime.
The real secret isn't the software’s price tag; it's getting really good with one or two programs. More importantly, it's about having a killer concept. A brilliant idea made with simple tools will always beat a boring one made with a thousand-dollar software suite. It's the vision that counts.
How Long Should My Music Visual Actually Be?
This one’s easy: it all depends on where you're putting it. There’s no magic number, so you have to play by the rules of each platform.
- YouTube: This is your home turf for the full experience. The visual should match the song's entire length. Let it breathe.
- Instagram Reels & TikTok: Think fast. We're talking 15-60 seconds, max. Grab the hook, the drop, the most contagious part of the track, and loop it. You need to capture attention immediately.
- Spotify Canvas: This one’s a unique challenge. You get a tiny 3-8 second loop, and it has to be seamless. The goal is to find a small, captivating clip that loops so smoothly you can’t tell where it begins or ends.
Here's a pro-tip that took me way too long to learn: stop trying to use every single effect and transition you have. I see so many beginners do this, and it just creates a chaotic, distracting mess. Pick one strong concept, stick to a tight color palette, and let the idea shine. Cohesion is way more powerful than just throwing visual noise at the screen.
Where Can I Find Free Footage and Cool Assets?
You definitely don't have to shoot everything yourself. The internet is a goldmine of incredible, high-quality stuff if you just know where to dig. Building up your own little library of go-to assets is a total game-changer.
Here are a few of my favorite spots for royalty-free goodies:
- Pexels: My first stop for cinematic, high-quality stock videos. The quality is just unreal for a free resource.
- Unsplash & Pixabay: These are my go-tos for absolutely gorgeous, professional-grade images.
- Envato Elements: Okay, this one's a subscription, but if you're serious, it's worth its weight in gold. You get a massive library of motion graphics, video templates, and abstract goodies that can save you days of work.
- Creative Freebies: Don't sleep on this! So many motion designers on YouTube and Gumroad give away free asset packs—glitch effects, texture overlays, film grain—just to grow their audience. Search for "free texture pack" and see what you find.
By grabbing a little something from here and a little something from there, you can mix, match, and tweak your way to a visual style that's completely your own.
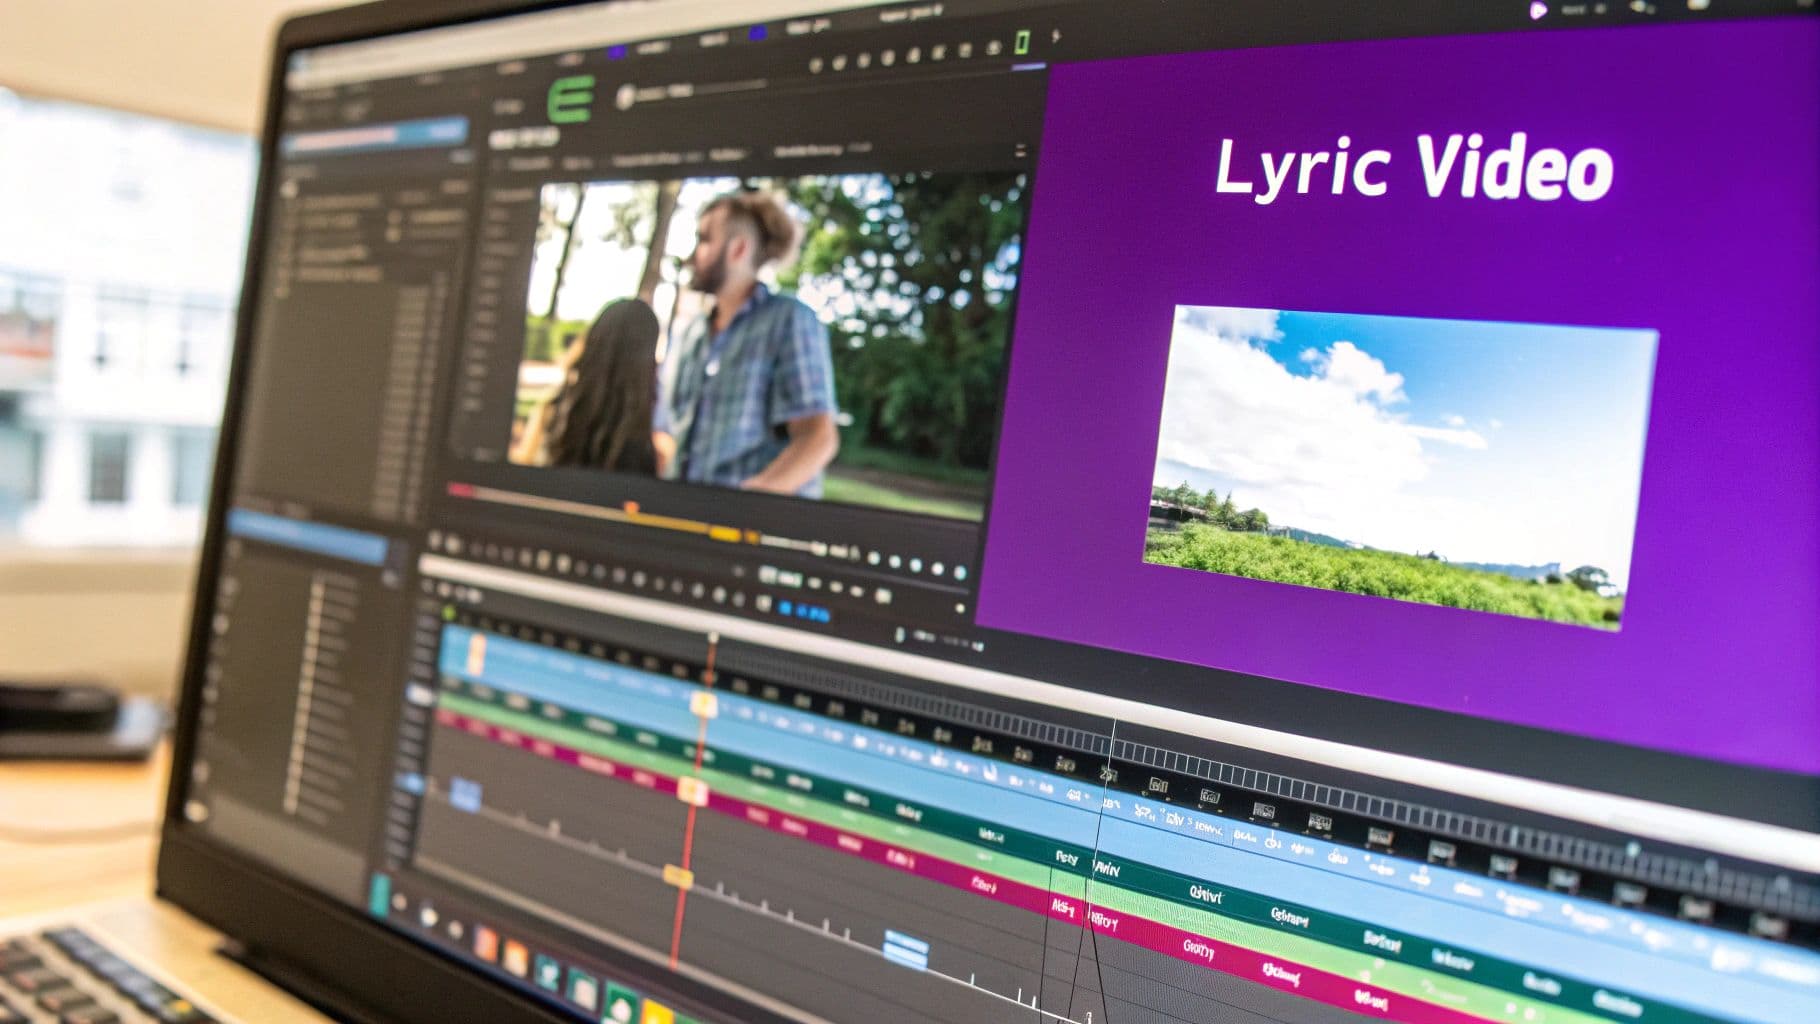
Ready to stop wrestling with complicated software and start creating stunning lyric videos in minutes? MyKaraoke Video uses powerful, browser-based AI to automatically sync your lyrics and bring your music to life.