When you need to play a video backward, you’re faced with a choice: do you just need a quick look, or do you need a brand-new, permanently reversed video file? The right answer depends entirely on your project. A quick analysis inside a media player has very different needs than a polished, shareable clip destined for social media or a professional lyric video.
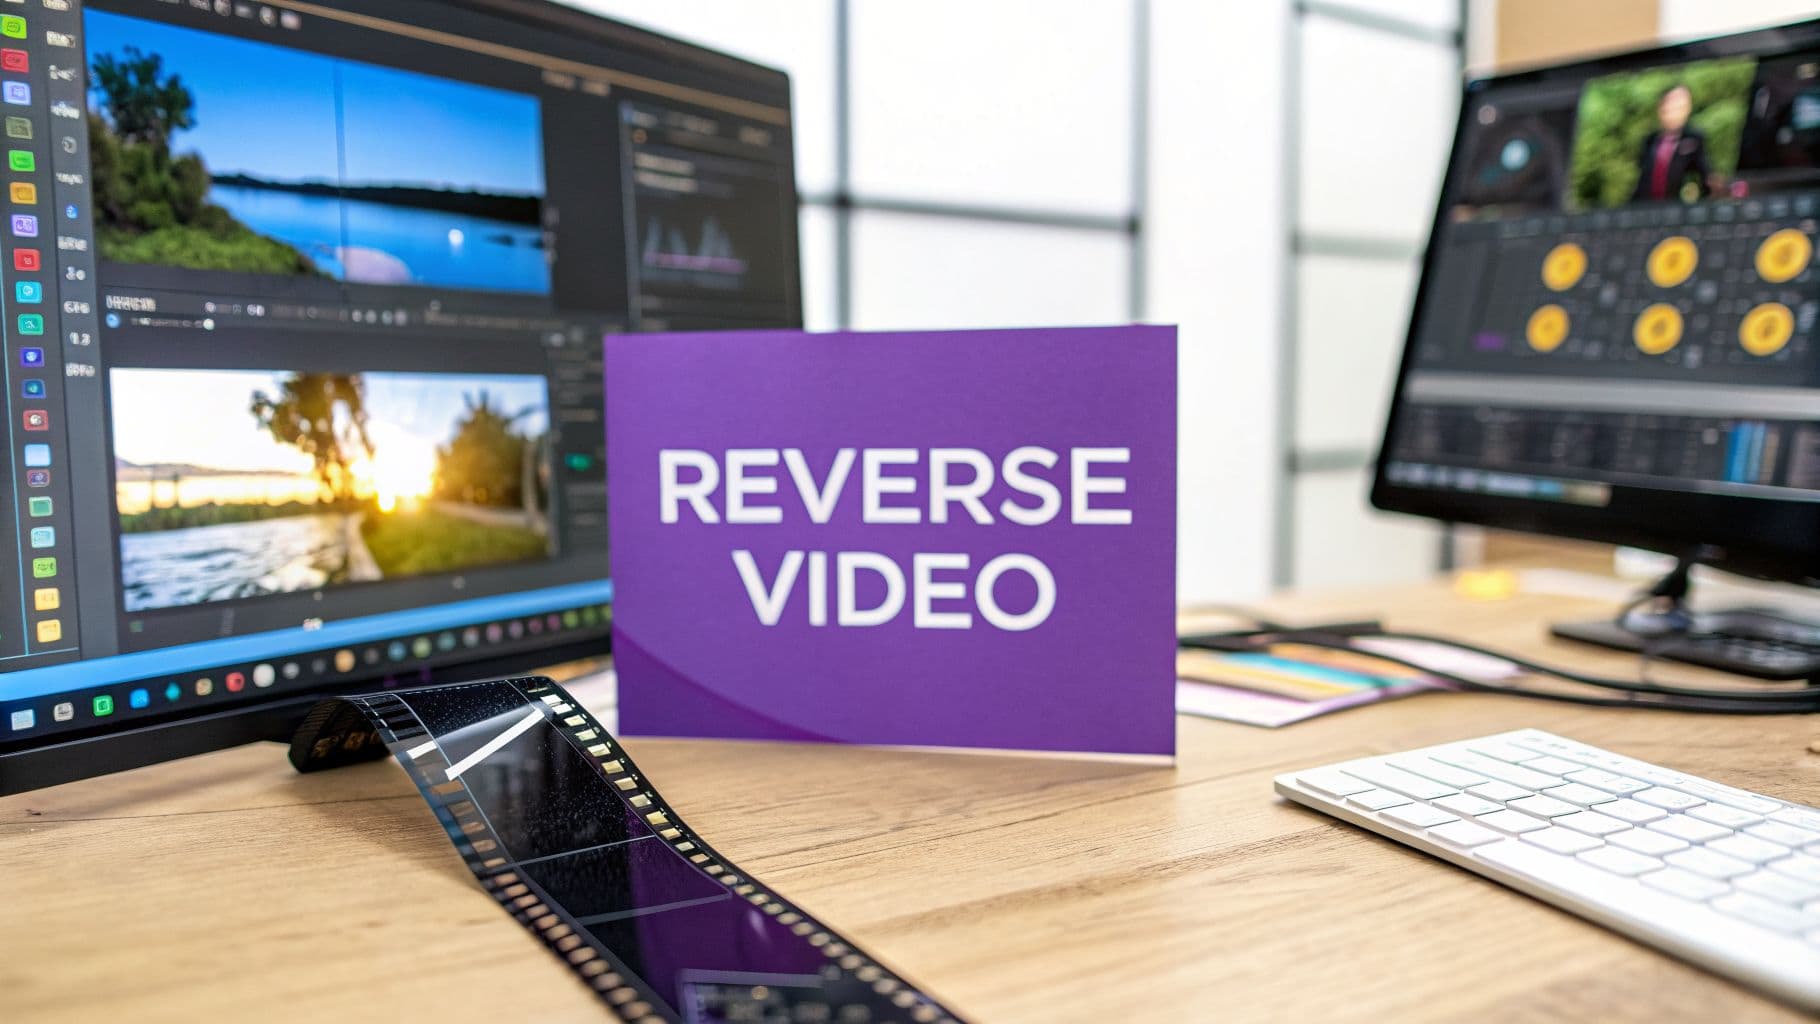
The Creative Power of Reverse Video Playback
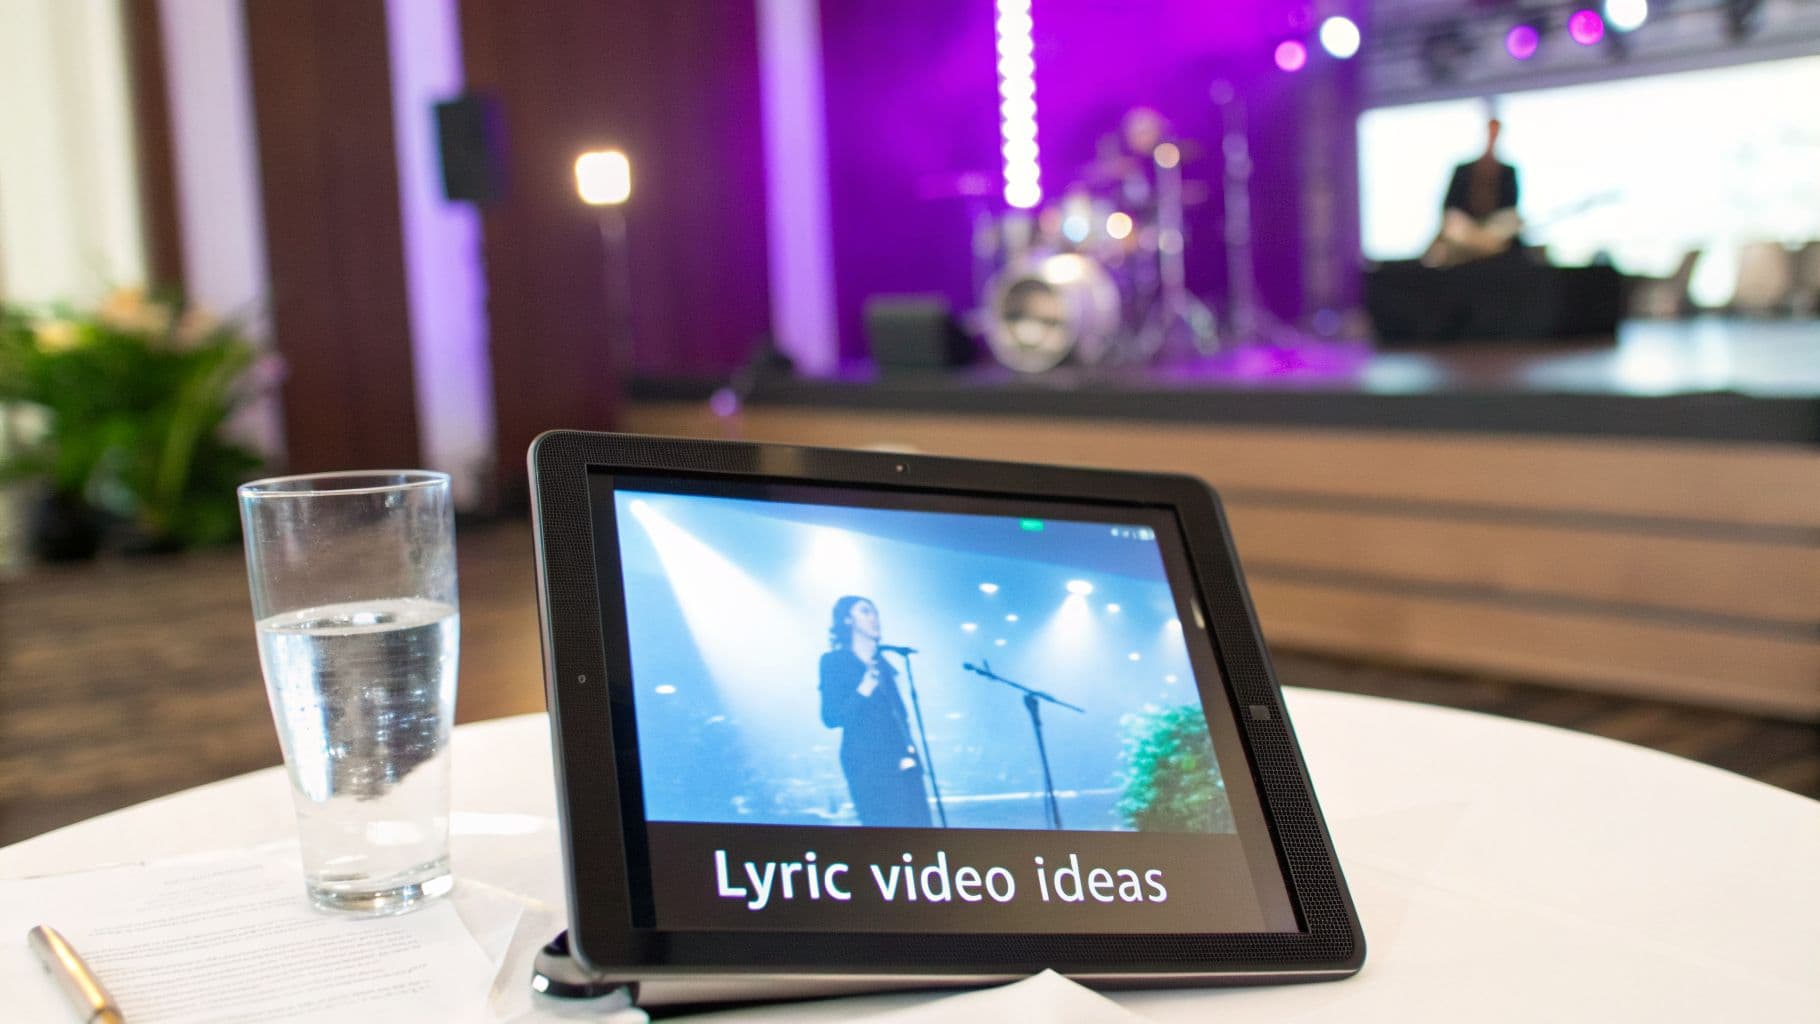
Learning how to reverse a video is so much more than a technical skill—it’s a gateway to some truly compelling creative effects. This one simple trick can make your content feel mesmerizing, drive up audience engagement, and turn a totally ordinary clip into an unforgettable story. It's a go-to strategy for adding a touch of magic, whether you're creating eye-catching social media posts or crafting professional lyric videos.
This guide will help you figure out which method makes the most sense for you. This decision tree lays out the two main paths you can take.
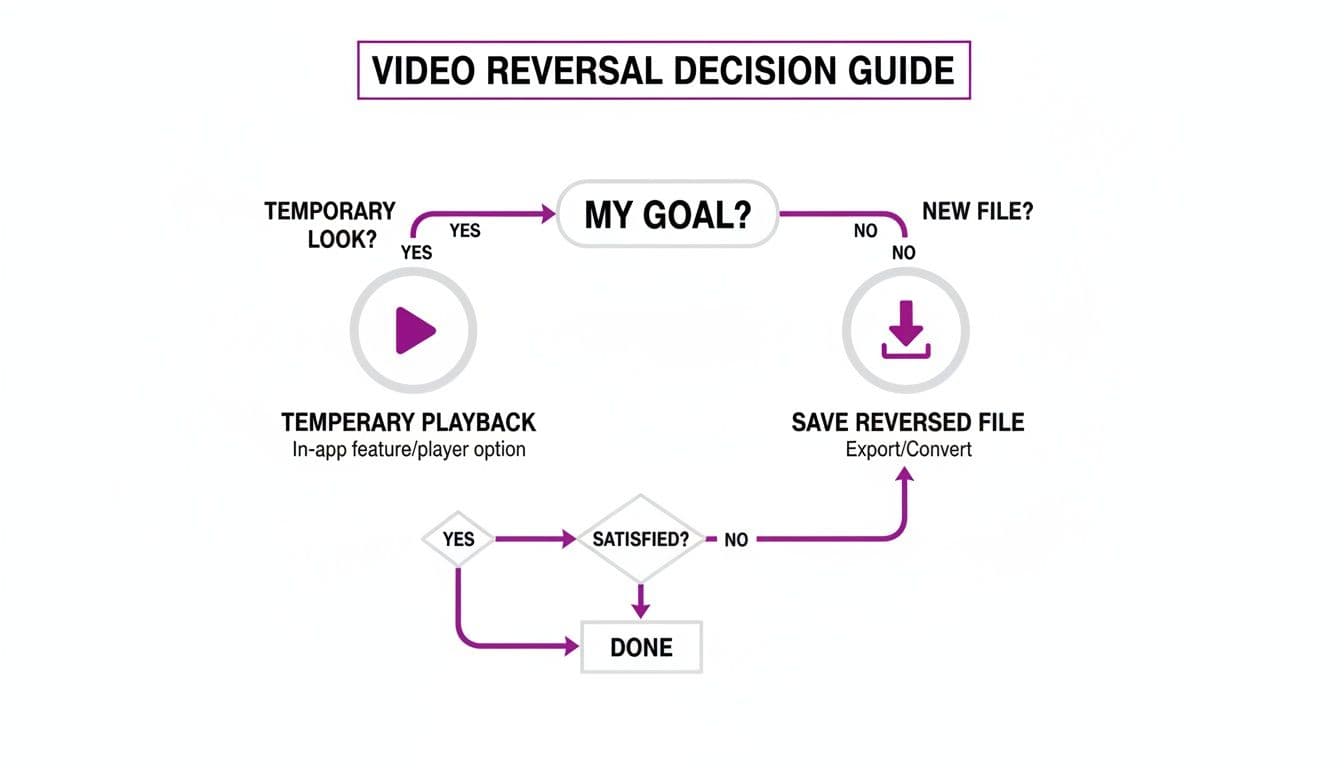
As you can see, it all comes down to whether you need a new, permanent file or just a temporary preview for a quick look.
From Manual Tape to Digital Clicks
The ability to play media backward wasn't always a few clicks away. The journey started back in the 1940s with magnetic recording tape, where audio producers could physically flip a tape reel over to play it in reverse. This technique famously exploded in popularity in the mid-1960s, most notably on The Beatles' Revolver album.
Before long, video tape recorders (VTRs) brought the same mind-bending effect to visuals, forever changing broadcast editing. Today, that rich history has led us to a point where even browser-based tools make it effortless. For creators, this means powerful reverse playback features are right at your fingertips. In fact, data shows that videos incorporating creative reverse effects can significantly boost viewer retention on platforms like YouTube.
Key Takeaway: Reversing a video is a classic technique for creating a sense of wonder or deconstruction. It forces the viewer to see the familiar in an unfamiliar way, instantly grabbing their attention and making them question what they are seeing.
Why Reversing a Video Works
At its core, a reversed video messes with our natural expectation of cause and effect. A shattered glass magically reassembles itself. Smoke flows back into a candle. A diver flies out of the water and lands perfectly on the diving board. This cognitive dissonance is inherently captivating.
It’s an excellent way to:
- Create a magical or surreal atmosphere.
- Reveal a process in a unique way (e.g., showing a painting being "un-painted").
- Add a hypnotic, looping background to a lyric or karaoke video.
Beyond simple playback reversals, exploring advanced AI motion control techniques can unlock even more creative possibilities in your video editing workflow. By mastering both basic reversal and more advanced visual effects, you can produce content that truly stands out.
Choosing Your Reverse Video Method
To help you decide, here’s a quick comparison of the most common methods. This table gives you a snapshot of the different ways to reverse a video, helping you pick the right tool for your specific project.
| Method | Best For | Technical Skill | Output |
|---|---|---|---|
| VLC Player | Quick, temporary playback for analysis; no new file needed | Beginner | Temporary playback only |
| FFmpeg | Lossless, high-quality reversed video files; command-line control | Intermediate/Advanced | New video file (various formats) |
| Online Tools | Fast, convenient reversals for short clips; no software install | Beginner | New (often compressed) video file |
| HTML5/JS | Embedding reversed videos directly on a website | Intermediate | Temporary playback in a web browser |
| Mobile Apps | On-the-go editing for social media content | Beginner | New video file (usually for sharing) |
Each method has its place. For a quick check, VLC is perfect. For professional work where quality is king, FFmpeg is the tool of choice. For everything else, online tools and mobile apps offer a great balance of convenience and capability.
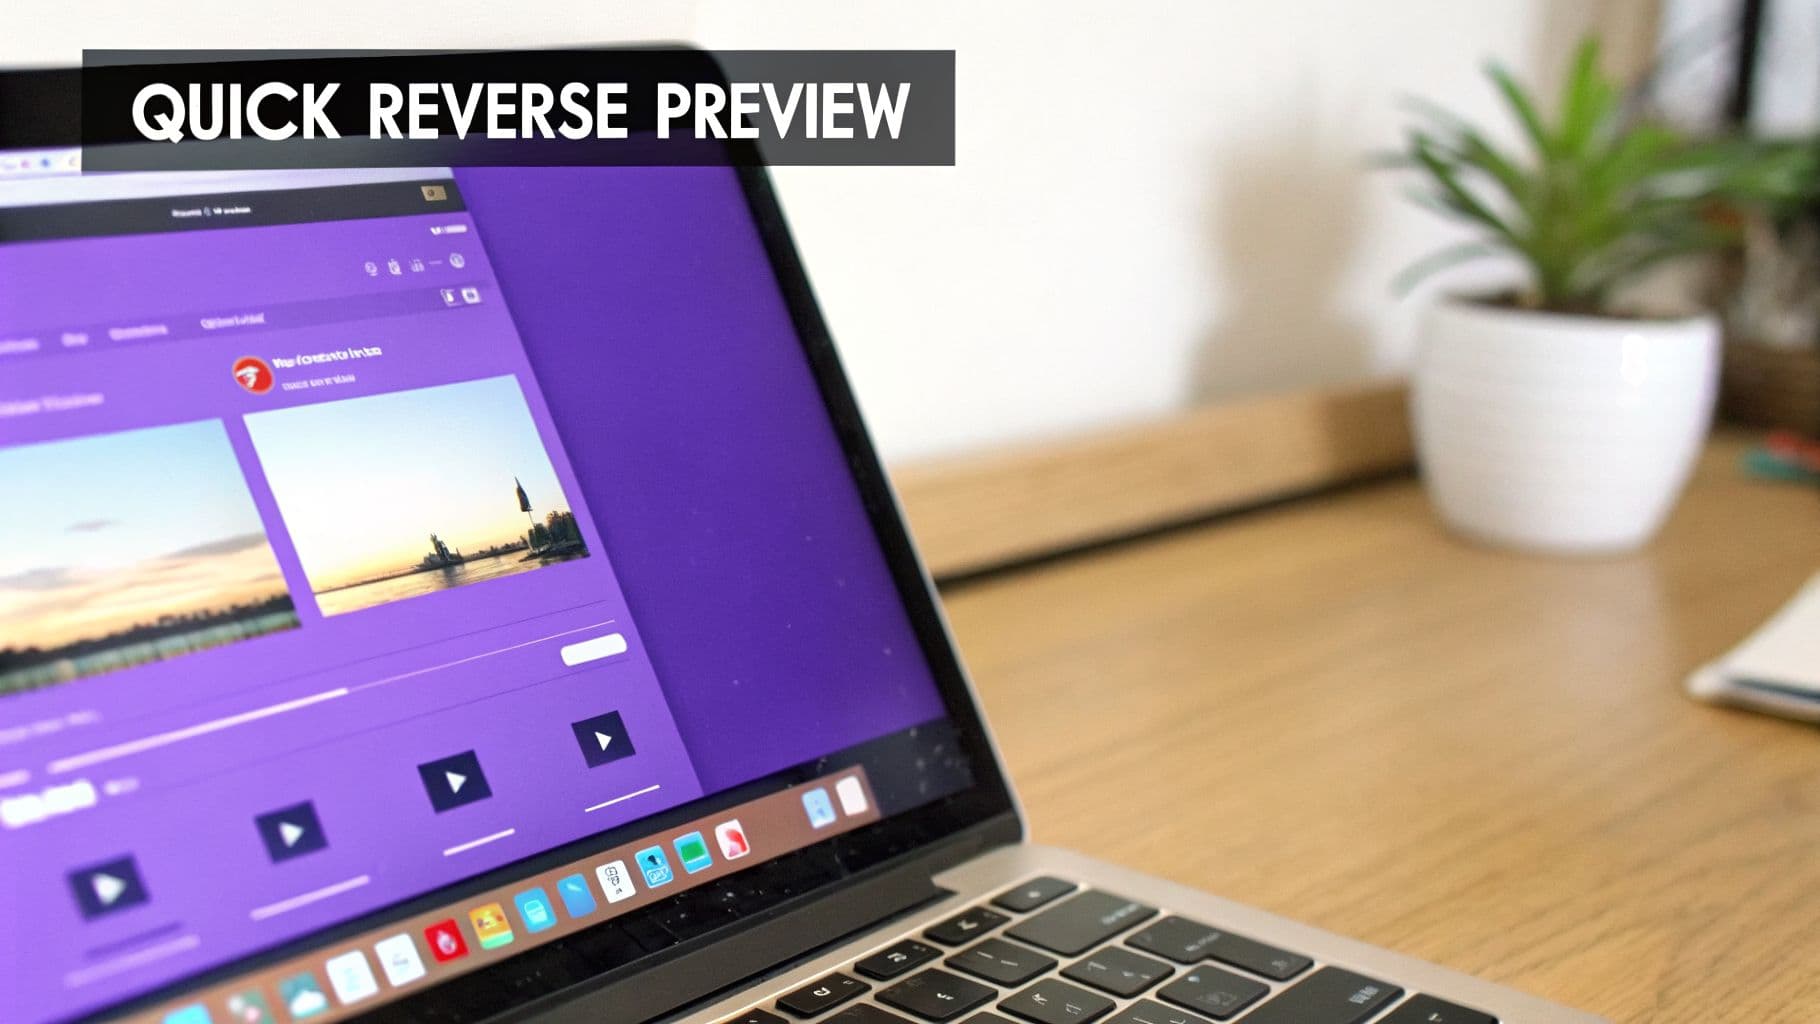
How to Quickly Preview a Reverse Video in VLC
Sometimes, you don't need to go through the whole process of creating a brand new reversed video file. You just want a quick peek at how a clip looks playing backward. This is perfect for analyzing an action, double-checking the timing of an effect, or just finding a cool segment for a lyric video. For these quick, on-the-fly checks, VLC Media Player is your best friend.
VLC offers a temporary way to play a video in reverse without any rendering or file creation. I use this feature constantly during my initial editing process to scout for interesting visual moments that only become apparent when the timeline is flipped. It’s a huge time-saver.
The Frame-by-Frame Secret Weapon
While VLC doesn’t have a big, obvious “play in reverse” button, it has something I find even more useful for detailed work: frame-by-frame reverse playback. This is an absolute lifesaver when you need precision.
The trick is simple. First, pause your video where you want to start reversing from. Then, just press the 'e' key on your keyboard. Every time you press it, the video will jump back by a single frame. If you hold the key down, you'll get a slow-motion reverse effect.
This granular control is fantastic for tasks like:
- Pinpointing the exact moment a visual cue should start or end.
- Analyzing the physics of a movement in a sports or action clip.
- Syncing on-screen lyrics perfectly with a singer’s mouth movements.
Pro Tip: I find this especially helpful when timing animations for karaoke videos. By stepping backward frame-by-frame from a peak moment, I can identify the perfect start time for an effect to build anticipation. It’s so much faster than guessing and checking with full renders.
Why Your Reverse Playback Might Get Choppy
One of the most common frustrations you might run into is choppy or stuttering playback, especially with high-resolution files. If you're trying to reverse a 4K video, for instance, your computer is working incredibly hard to process each frame backward in real-time.
VLC is essentially decoding and displaying frames out of their normal sequence, which takes a lot more processing power than standard playback. This problem gets worse with highly compressed videos, as the player has to reconstruct more data for each individual frame it shows you.
If this happens, don't worry—your file isn't corrupt. It’s just a hardware limitation of trying to do this in real time. Think of it as a signal: if you need perfectly smooth reverse playback for your final product, it’s time to create a dedicated reversed video file. We'll dive into how to do that next.
Creating Permanent Reverse Videos with Online Tools
If you need a reversed clip for a social media post, a meme, or just a quick project, online video reversers are often the fastest way to get it done. These browser-based tools are all about convenience. You don't have to install any software or fiddle with confusing settings—just upload your video, click a button, and download a ready-to-use MP4.
This simple workflow is perfect for anyone who just wants to play a video backward without diving into the technical weeds of video editing. Let's walk through what that looks like in practice.
A Practical Workflow for Online Reversing
First things first, you'll pick the video you want to reverse and upload it to the online tool. Keep in mind that free services almost always have file size limits, typically capping uploads somewhere between 100MB and 1GB. If your original file is too big, you'll need to trim it down before you can proceed.
Once your video is uploaded and processed, you'll usually get a few straightforward options before the tool works its magic.
- Audio Options: You can often choose to either reverse the audio track—which creates that classic, bizarre backward sound—or just mute it completely. For most social media clips, muting the audio is the cleaner choice.
- Speed Control: Some platforms let you adjust the playback speed. This is great for adding a slow-motion or fast-motion effect on top of the reversal.
- Output Format: The final file will almost always be an MP4, which is exactly what you want for maximum compatibility across different devices and social platforms.
After you've set your preferences, the tool will start rendering the reversed video. This might take a few minutes, depending on the clip's length and how busy the service is. When it's finished, you'll get a download link for your new, permanently reversed video file.
It's also worth noting that many all-in-one editing suites include a reverse function. You can explore online video editing alternatives like Veed.io if you need more features beyond just reversing a clip.
Important Considerations and Trade-offs
Online tools are incredibly fast and easy, but that convenience comes with a few trade-offs. Before you upload any personal footage, it's vital to understand what you're giving up.
Crucial Privacy Warning: Never upload sensitive or private videos to a free online tool. You are uploading your content to a third-party server, and you have no control over how that data is stored, handled, or potentially used. Always assume anything you upload could be seen by others.
You should also be on the lookout for other common downsides. Many free services will slap a watermark on your final video, which can be distracting. Quality is another factor; your video will be re-compressed, which can lead to a slight loss in visual detail compared to the original. This is usually fine for a quick social post, but it's something to be aware of.
For a rundown of tools that often provide a better experience without these limitations, take a look at our guide to the best free online video editors.
Professional Lossless Reversing with FFmpeg
When you need to play a video in reverse without sacrificing a single pixel of quality, it’s time to move beyond simple playback tricks and online converters. For true professionals and serious creators, the answer is FFmpeg. This free, open-source command-line tool is the Swiss Army knife of video processing, and it's what the pros use for perfect, lossless results.
If you're used to clicking buttons in a slick interface, a command line might look a little intimidating at first. But the precision it offers is unmatched. Instead of relying on a program's preset options, you’re giving your computer direct, explicit instructions. This means you can create a perfectly reversed video that keeps the original frame rate, resolution, and quality intact—no surprise compression artifacts or watermarks.
The Magic Behind the Commands
Reversing a video in FFmpeg boils down to a couple of simple but powerful filters: one for the video stream and another for the audio. When you combine them, you get a seamless, fully reversed clip.
Here are the two key filters you need to know:
-vf "reverse": This is the video filter. It tells FFmpeg to take all the video frames and simply stack them in the opposite order, from last to first.-af "areverse": This is its audio counterpart. It does the exact same thing to the audio track, producing that distinct and often eerie "backwards talking" sound.
By using these in your command, you're telling FFmpeg to build a brand-new file where both the sights and sounds are completely flipped. The resulting file will play backward natively in any media player you open it with.
Your First Lossless Reverse Command
Ready to try it? Let's walk through a real-world command. This will take an input file, reverse both the video and audio streams, and save it as a new file without any quality degradation.
To reverse a video named
input.mp4and create a new file calledoutput_reversed.mp4, just open your terminal or command prompt and run this:ffmpeg -i input.mp4 -vf "reverse" -af "areverse" output_reversed.mp4
In that line, -i points to your source file (input.mp4). Then, -vf "reverse" and -af "areverse" apply the filters we just talked about. The final part, output_reversed.mp4, is simply what you want to name your new, perfectly reversed video. It’s surprisingly straightforward.
This level of control has a rich history. Back in the 1970s, artists like Andy Warhol used portable Sony Portapak cameras to experiment with instant reverse playback, a technique that fueled activist videos and reportedly boosted public access TV viewership by as much as 40% in some cities. Reverse effects grab our attention because they defy expectations. Today, modern data suggests that clever use of reversed clips can even double watch time on social media. For the MyKaraoke Video community, using a tool like FFmpeg to create crisp 1080p MP4s with reversed intros or outros can be a powerful way to hook viewers and keep them watching.
The Power of Batch Processing
This is where FFmpeg truly leaves other tools in the dust. Let's say you need to reverse a folder full of video clips for a compilation project. Doing them one-by-one with an online tool would be a nightmare of uploading, waiting, and downloading.
With FFmpeg, you can write a simple script to automate the entire job.
This is a massive time-saver for anyone managing a large content library, like a karaoke channel operator. You could create a script, point it at a folder of videos, and let it run overnight. By morning, you’d have a complete set of reversed files ready to go, all without hours of tedious clicking. Knowing your way around different container formats helps, too; you can learn more about them in our detailed guide to video file types. This incredible efficiency is precisely why professionals turn to command-line tools for any repetitive, large-scale video work.
Creative Ideas for Lyric and Karaoke Videos
Alright, you've mastered the technical steps for reversing a video. Now comes the fun part: using that skill to make something truly creative. For anyone making lyric or karaoke videos, a reversed clip is more than just a gimmick—it's a powerful tool for setting a mood, telling a story, and keeping your audience completely hooked.
It's all about using the effect with intention. A simple reversed background can completely change a song's emotional weight, elevating a standard karaoke track into a piece of visual art.
Create Hypnotic and Otherworldly Backgrounds
One of my go-to techniques is using a reversed nature scene for the background. Just picture a clip of a flower blooming, but played backwards. The petals slowly and gracefully close, creating a hypnotic, almost otherworldly vibe that pulls the viewer right in.
This trick works wonders with all sorts of subjects:
- Sunsets: A sun rising from the horizon instead of setting can give off a hopeful, magical feeling.
- Flowing Water: Reversing a waterfall or ocean waves makes the water seem to defy gravity, which adds a surreal touch to your video.
- Time-lapses: A reversed time-lapse of clouds moving across the sky can feel both dramatic and incredibly calming at the same time.
The real magic is in the contrast. While the background moves in this unnatural, mesmerizing way, the lyrics animate forward just as you'd expect. This visual clash is super engaging and makes the entire video feel far more dynamic. For more ideas, you can check out our guide on choosing the perfect background for your lyric video.
The Big Reveal Effect
Reversing video is also perfect for a "reveal" or "reconstruction" effect that tells a little story. Instead of showing something being destroyed, you can show it magically putting itself back together. This is a fantastic way to visually punctuate a key moment in a song.
For instance, you could film:
- Paint Splashing: Record a splash of colorful paint hitting a white canvas. In reverse, the chaotic splash elegantly retracts back into a single point, revealing clean text underneath.
- A Drawing Being Erased: Start with a finished charcoal drawing and film yourself erasing it. When reversed, it will look like your hand is magically drawing the image into existence.
- Smoke or Steam: A puff of smoke or steam dissipating in reverse looks like a mysterious force gathering energy.
This technique works particularly well for building anticipation right before a chorus or for revealing the song's title at the very beginning.
Pro Tip: When filming for a reveal effect, always start with the "after" state (the splashed paint, the finished drawing) and record the action of destroying or erasing it. This ensures the reversed clip ends on a clean, impactful image.
To spark some inspiration, here are a few practical ways you can use these reverse effects in your own projects.
Creative Reverse Video Concepts
| Creative Idea | How It Works | Best For |
|---|---|---|
| Magic Ink Reveal | Film ink drops spreading in water. When reversed, the ink appears to gather from the water and form the song title. | Title sequences, intros, or revealing key lyrics. It creates a sense of magic and artistry. |
| "Undropping" an Object | Film an object (like a rose or a teacup) shattering on the ground. The reversed clip shows it flying back into your hand, perfectly intact. | Visually representing themes of regret, turning back time, or fixing a mistake. Great for emotional ballads. |
| Backwards Footprints | Record someone walking away on a sandy beach or in snow. Reverse it to show the footprints disappearing as they walk "backwards" toward the camera. | Creating a mysterious, haunting atmosphere or symbolizing a journey that never happened or is being undone. |
| Rewinding the City | Use a time-lapse of city traffic or crowds walking. In reverse, cars and people move backward, creating a chaotic yet controlled visual energy. | High-energy pop or electronic tracks. It adds a dynamic, urban feel that's visually compelling. |
These are just starting points, of course. The best effects come from experimenting and finding a visual that perfectly matches the feeling of your song.
Navigating Reversed Audio
One critical decision you'll face is what to do with the sound. When you reverse a video's visuals, the audio gets reversed too, often creating a strange, sometimes unsettling effect. This can be a powerful creative choice, but it's not always the right one.
In a karaoke video, clarity is king. You must keep the original song playing forward so people can sing along. In this scenario, you should always mute the audio of your reversed background clip and layer it behind your clean, original music track.
However, for a purely artistic lyric video or a creative intro, that eerie reversed sound can be used to great effect. A small snippet of reversed audio leading into the main song can build suspense and signal to the viewer that they're about to experience something unique and unconventional.
Common Questions About Reversing Videos
As you start experimenting with reversing video, you'll probably run into a few common hiccups. It's totally normal. From weird-sounding audio to a sudden drop in video quality, these are issues that pop up all the time. Let's tackle those questions head-on so you can get back to creating with confidence.
Think of this as your quick-reference guide for troubleshooting the video reversal process. We'll clear up any confusion and get your project looking exactly how you imagined it.
Why Does My Reversed Video Look Blurry or Low Quality?
This is a classic frustration, and it almost always comes down to one thing: re-compression. When you use a free online tool, it often compresses your video to save on server costs and process it faster. This compression process lowers the video's bitrate, which strips away visual detail and leaves you with that blurry, low-quality result.
So, how do you keep your video looking sharp?
- The Pro-Level Fix: For anyone comfortable with the command line, FFmpeg is your best friend. It gives you total control to reverse a video without any re-compression, preserving the original quality perfectly.
- The User-Friendly Fix: If command lines aren't your thing, look for desktop software or online editors that explicitly mention high-quality or lossless exports. Sometimes this might be part of a paid plan, but it's worth it for important projects.
You're essentially making a trade-off between the convenience of a quick online tool and the fidelity of your final video. For anything that matters, always opt for a method that protects your original quality.
A reversed video will only ever be as good as the source file. If you start with a low-resolution clip, reversing it won't magically make it sharper; in fact, any compression artifacts may become more noticeable.
Can I Reverse a Video on My Phone?
Yes, absolutely! The app stores for both Android and iOS are packed with great video editors that handle this with ease. Apps like CapCut, InShot, and KineMaster have built-in reverse functions that are perfect for creating quick content for TikTok, Instagram Reels, or YouTube Shorts.
The process is usually dead simple: just import your clip, tap the "Reverse" button in the editing timeline, and export the new video. It's the perfect workflow when you're creating content on the move and need a fast turnaround.
Will Reversing a Video Affect the Frame Rate?
In a perfect world, no. A professional tool like FFmpeg will keep the original frame rate by default, so your video's motion remains just as smooth as the original.
However, be careful with some of the simpler online tools or free mobile apps. To keep things simple, they might automatically export every video at a standard frame rate, like 30 FPS, no matter what your source file was. If your original clip was shot in 60 FPS for that silky-smooth look, this can be a real problem.
If maintaining a specific frame rate is crucial for your project, always check the export settings in your chosen tool. If it doesn't give you that control, you'll need to jump into a more advanced editor to get the job done right.
Ready to create stunning lyric and karaoke videos without the technical headaches? MyKaraoke Video gives you the power to sync lyrics, customize backgrounds, and produce high-quality videos right in your browser. Start creating for free today at https://www.mykaraoke.video.