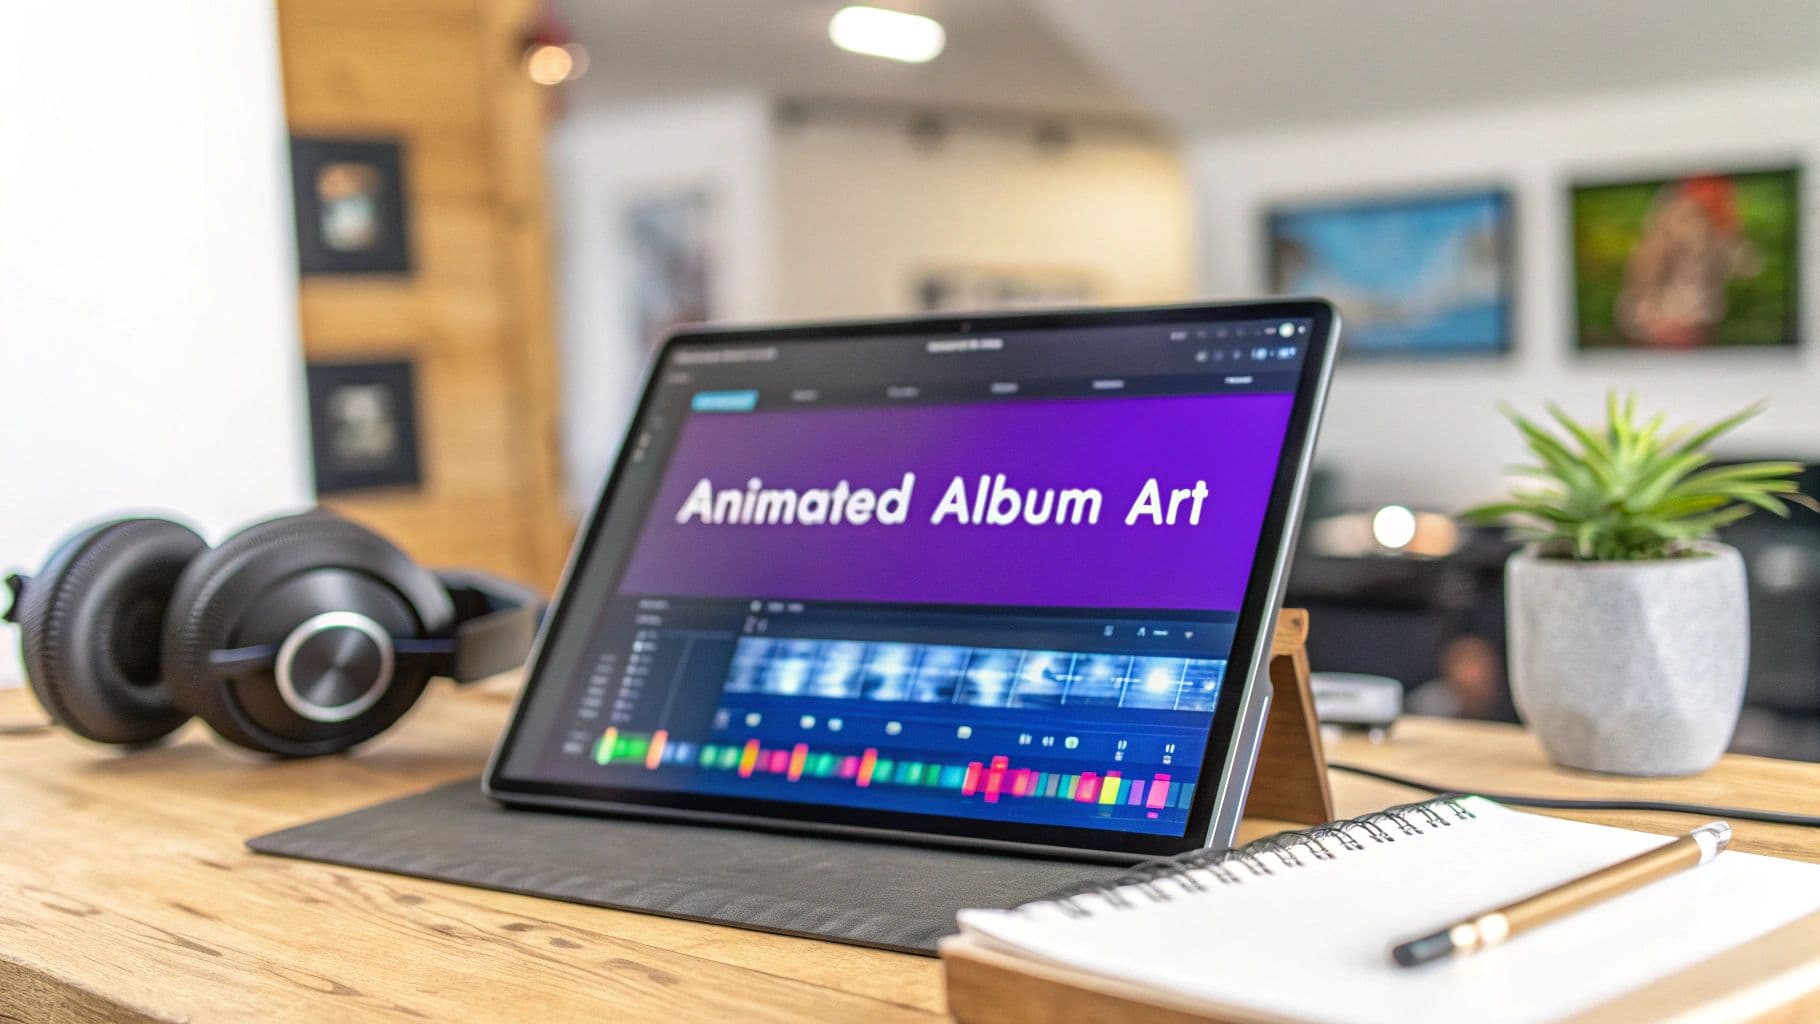
Think of animated album art as the visual heartbeat for your music. It's what takes a flat, static album cover and breathes life into it, using motion to grab a listener's attention on crowded digital platforms. It's not just a moving picture; it's a powerful visual hook that makes your tracks instantly more memorable and shareable on places like Spotify, YouTube, and Instagram.
Why Your Music Needs Animated Album Art
Let's be real: we live in a world of endless scrolling. A static image, no matter how beautiful, can easily get lost in the feed. Animated album art is your secret weapon to cut through that noise. It transforms a passive listening moment into an active, engaging experience for the viewer. This isn't just a cool artistic extra anymore—it's a critical marketing tool.
This move toward motion is a massive industry shift. The global animation market is on track to hit a jaw-dropping $400 billion by 2025. This isn't just about big-budget movies; it's fueled by the digital streaming platforms where we all live and discover music. For artists, the takeaway is crystal clear: motion graphics give you a serious competitive edge. If you want to dive deeper, you can find more animation industry statistics and see how other creators are capitalizing on this.
To see the difference in black and white, here’s a quick rundown of how static and animated art stack up on digital platforms.
Static vs Animated Album Art Performance
| Metric | Static Album Art | Animated Album Art |
|---|---|---|
| First Impression | Passive, easily overlooked | Dynamic, attention-grabbing |
| Engagement Rate | Lower click-through rates | 18% higher click-through on average |
| Shareability | Shared as a basic image | High viral potential as a short video clip |
| Brand Recall | Relies solely on static design | Builds a stronger, memorable visual identity |
| Watch/Listen Time | Standard session duration | Can increase session time by 35% or more |
As you can see, the numbers speak for themselves. The small investment in creating a dynamic visual pays huge dividends in audience interaction.
Boost Engagement and Watch Time
It’s human nature—our eyes are drawn to movement. When your album art has a dynamic element, it encourages people to stop scrolling and actually watch. This directly pumps up your engagement metrics and session times, which are gold on platforms like YouTube and Spotify.
Think about the immediate difference in impact:
- Static Art: It's just a thumbnail, a placeholder.
- Animated Art: It sets a mood, teases a story, and builds a connection to the song before the listener even hits play.
This simple change can make a massive difference in your click-through rates, which ultimately makes your music more discoverable. The algorithm notices when people stick around longer.
When you turn your cover into a living piece of media, you're giving fans something more than just an audio link to share. You're giving them a piece of visual art, increasing your music's viral potential and making the entire experience richer.
Create a Memorable Brand Identity
Great branding is all about consistency and recognition. Animated album art is a fantastic way to carve out a unique aesthetic that your fans will instantly connect with your sound.
Maybe it's a subtle, glitchy texture that loops perfectly, or a full-blown character animation that expands on your lyrical themes. Whatever you choose, this visual signature helps you stand out. A strong visual identity means that when a fan sees your art in their feed, they don't just see a cover—they see you. This is how you turn casual listeners into true, dedicated fans.
Getting Your Artwork Ready for Motion
Before you even think about making things move, you have to get your art file in order. This is probably the most important part of the whole process, and honestly, it's where most people go wrong. A little bit of prep work here will save you a world of pain later.
Think of your static album cover as a finished painting. To animate it, you need to carefully take it apart, piece by piece, so you can move each element independently. Your goal is to get every single part you want to animate onto its own separate layer.
Breaking Down the Cover
First things first, you need to deconstruct your album art. This means separating the artist's name, the album title, the main character or object, and any background pieces you want to have their own life.
You don't need a pricey Adobe Photoshop subscription for this. A fantastic free tool I use all the time is Photopea. It runs right in your browser and has all the layering capabilities you'll need.
Open up your artwork and start identifying what you want to bring to life. A good starting point is usually to isolate these components:
- The Text: Put the artist's name on one layer and the album title on another. Don't lump them together.
- The Main Subject: This is your focal point—maybe a person, an animal, or a cool abstract design. Carefully cut it out from its background.
- Foreground & Background: This is how you create that slick parallax effect. If you have a landscape, for instance, separate the mountains in the back from the trees in the front.
- Extra Flair: Got a cool logo or a small symbol? Put that on its own layer, too. You can make it pulse or spin later.
Once you have each piece isolated, export them as transparent PNG files. This is non-negotiable. PNGs with transparency let you stack all your layers in the animation software without any ugly white boxes messing up your composition.
Start Thinking in Motion
As you're separating these layers, start picturing how they'll move. Will the text fade in gently? Will the background drift ever so slightly to give a sense of depth? Thinking about the animation story now makes the next steps feel much more intuitive.
This kind of visual work is exploding right now. The digital art market is expected to jump from $5.8 billion in 2025 to a massive $11.81 billion by 2030. That growth is being driven by artists and creators like you, using accessible tools to make professional-looking motion graphics. If you're interested in the numbers, you can dive deeper into the digital art market trends on Mordor Intelligence.
Pro Tip: The whole point of this prep is to give yourself options. A well-layered file is your animation playground. It’s better to have a layer you don’t end up using than to wish you could animate something you left stuck to the background.
I know this part can feel a bit like homework, but trust me, it's the foundation for everything that follows. Getting your assets organized ensures they'll play nice with animation tools like MyKaraoke Video and sets you up for a smooth, creative flow once you start animating.
Bringing Your Art to Life with Simple Animation
Okay, with your artwork prepped and neatly layered, we get to the fun part. You don't need a Hollywood-sized budget or a degree in After Effects to make your visuals pop. In my experience, the most captivating animated album art comes from simple, deliberate techniques that build atmosphere without stealing the show.
Honestly, a little bit of thoughtful motion goes a lot further than a dozen flashy, complex effects. The whole point is to turn a static image into an experience that pulls the viewer into the music, not away from it.
This is why getting the prep work right is so crucial. It all boils down to this simple workflow.
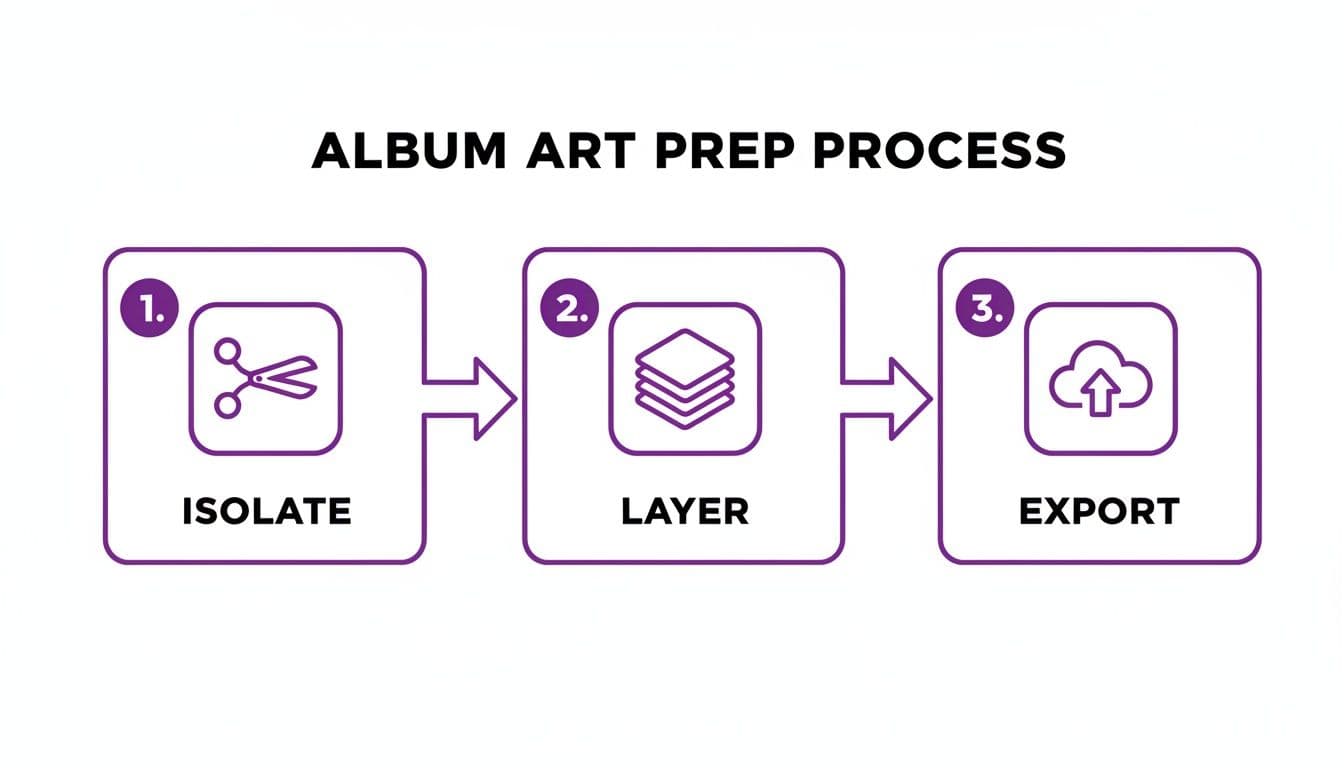
Nailing this process—isolating your key elements, stacking them in layers, and exporting each as a transparent file—is what sets you up for a smooth, creative animation session.
Adding Subtle Motion for Big Impact
Subtlety is your secret weapon here. Gentle, looping movements can transform a flat picture into something that feels alive and immersive. Let's walk through a few techniques you can pull off right inside a tool like MyKaraoke Video.
- The Parallax Effect: This one's a classic for a reason. You just make the background layer move a tiny bit slower than a foreground element. Boom—instant depth. It works wonders for landscapes or any scene where you want to create a more three-dimensional feel.
- A Gentle Pulse: Imagine your artwork breathing in time with the music. A slow, rhythmic pulse synced to the song’s tempo can be incredibly powerful. You can apply it to a logo, the main character, or even the entire background to give it a living quality.
- Floating Particles: This is my go-to for instantly setting a mood. Adding subtle, looping particles like dust motes, embers, or soft light flares adds a professional polish. It can make a scene feel dreamy and nostalgic or give it a jolt of energy.
The best part? These effects are usually built-in presets, so you're not stuck manually keyframing every little movement. You can just apply them to your layers and see what feels right for your track.
Applying Effects in MyKaraoke Video
Using a tool built specifically for this makes the whole process a breeze. In MyKaraoke Video, you can upload each of your transparent PNG layers and stack them exactly as you had them in your image editor.
From there, you just click a layer and apply one of the animation effects. You could, for instance, add a slow zoom to your main subject while applying a gentle pan to the background. That's your parallax effect right there. It’s the combination of these simple movements that creates a surprisingly sophisticated result.
Don't underestimate the power of this. The entire entertainment world is leaning into motion, with the market projected to hit a staggering $1,065.12 billion by 2032. This shift is hitting music hard—Spotify saw streams jump by 25% for artists who were early adopters of their animated Canvas feature. For creators on other platforms, even just an animated thumbnail can boost click-through rates by up to 35%.
Keeping It Simple and Effective
If there's one thing to take away, it's this: resist the temptation to overdo it. A few well-chosen effects will always look more professional than a chaotic mess of motion. The goal is to enhance the song's emotional core.
Your animation should serve the music, not compete with it. A slow, drifting background and gently fading text often create a more powerful atmosphere than fast, jarring effects. Focus on creating a mood that draws the listener in.
This same principle applies when you start adding your lyrics. For more ideas on making your text move with the same purpose, check out our guide on creating animated text for videos.
And if you want to take a deeper dive into turning your music into a full-fledged visual piece, this step-by-step guide on how to make an AI music video is a fantastic resource for expanding your skillset.
Syncing Lyrics Perfectly with Your Animation
Now that your background art is moving, it's time to bring in the lyrics. This is where your animated album art goes from being a cool visual to a full-blown, professional-grade lyric or karaoke video. The trick is to make the text feel like it was always part of the animation, not just slapped on top.
Getting started is usually pretty straightforward. With a tool like MyKaraoke Video, you just upload your audio file and paste in the lyrics. The AI does the initial heavy lifting, transcribing and aligning the words to the song’s timeline.
Think of that first AI pass as a huge head start, not the finished product. The real craft comes in when you get your hands dirty in the sync editor to nail the timing and make every word land exactly where it should.
Fine-Tuning Your Lyric Timing
After the AI gives you a baseline, you’ll jump into the sync editor. This is your control room for manually tweaking the timing of every single word or line to perfectly match the singer's delivery. I find the best way to do this is to play the track and simply tap along to the rhythm with a key, like the spacebar.
This hands-on method lets you truly feel the music and place the lyrics with gut-level accuracy. Listen closely for the kick drum's downbeat or the very start of a vocal melody—aligning your text to those musical cues is what gives the final video that polished, professional feel. If you prefer to prep your timings elsewhere, you can always use an SRT file creator and import the timed file to lock in the synchronization with your animation.
Honestly, this fine-tuning stage is what separates the amateur stuff from the pro-level videos. It’s all about that attention to detail, making sure the words appear at the exact moment they're sung. That's how you create an unbreakable link between what people hear and what they see.
The goal isn't just to show the words; it's to make them part of the performance. When the timing is perfect, the viewer stops being a passive listener and becomes an active participant, ready to sing along.
Choosing Text Styles that Enhance the Art
With your timing locked down, the final piece of the puzzle is styling the lyrics so they look like they belong with your animated album art. The font, color, and effects you pick should echo the song’s vibe and the visual world you’ve already built.
Here’s what I always focus on:
- Font Readability: First and foremost, pick a font that’s easy to read against a moving background. A clean sans-serif is usually a safe bet, but don't be afraid to go with something more stylized if it fits the artist's brand.
- Color Contrast: Make sure your text pops. If your background is dark and broody, go for a bright, vibrant color for the lyrics. A subtle drop shadow or a thin outline can also do wonders for legibility.
- Text Effects: Use effects with intention. The classic karaoke-style "fill" is a go-to for a reason, but a gentle fade-in can add a touch of class. The key is to avoid anything too flashy that ends up competing with your background art for attention.
This is a huge part of the creative process. If you want to dive deeper into the tools available, our guide to the best subtitle editor software has some great insights on managing text styles. In the end, finding that perfect blend of font, color, and timing is what will make your lyrics feel completely at home in the visual universe you’ve created.
Getting Your Video Out There for Maximum Reach
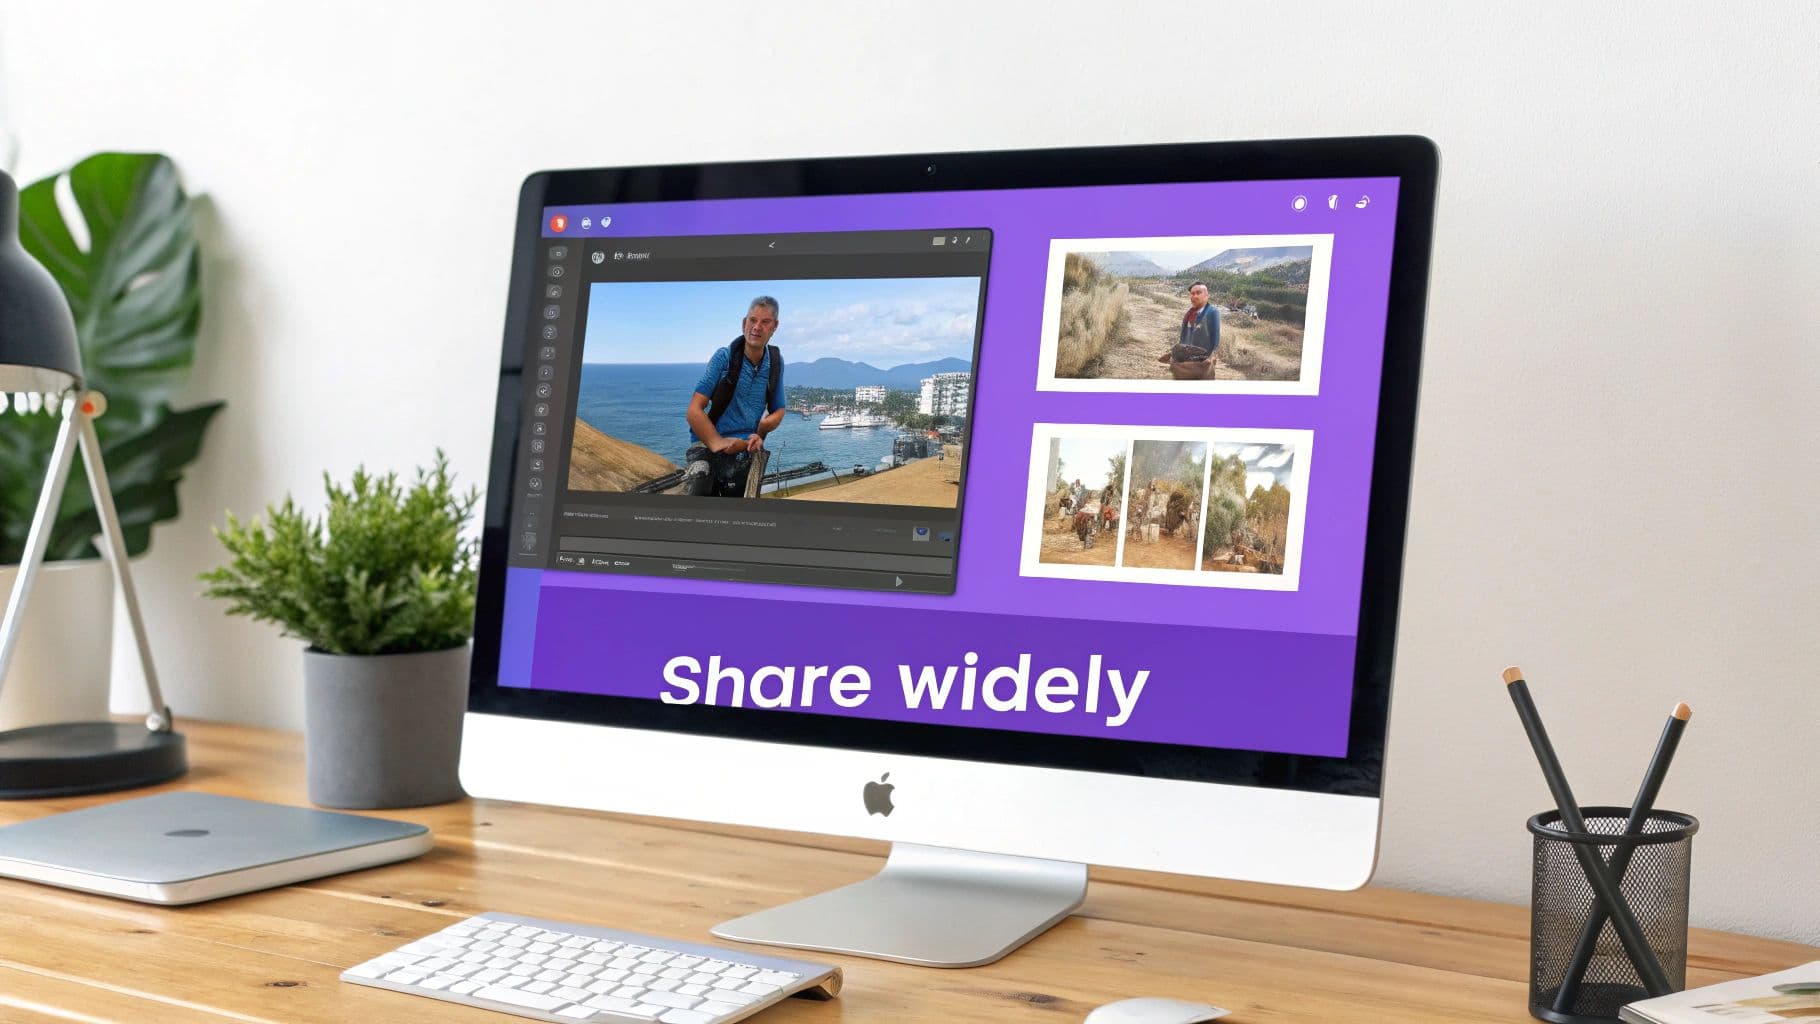
You’ve done the hard work and brought your album art to life. Awesome! But creating the video is only half the battle. Now, you have to get it in front of people, and that means being strategic about how you export and share it.
What works for a YouTube premiere won't fly on an Instagram Reel, and TikTok has its own set of rules. Nailing your export settings and tailoring your upload for each platform is the secret to making your video look professional and grab the attention it deserves.
Dialing in Your Export Settings
Before you even think about hitting that "Export" button, pause and consider where this video is going. Every social platform has its own technical quirks when it comes to aspect ratios, resolutions, and file types. Getting this right from the start saves a ton of headaches later.
Here’s a quick rundown of what you need for the big three:
- YouTube: The king of long-form video still prefers the traditional 16:9 aspect ratio (think widescreen TV). Aim for a 1080p resolution in an MP4 format. It’s the gold standard and will look crisp on everything from a phone to a smart TV.
- Instagram Reels & TikTok: These platforms are built for mobile, so you have to think vertically. A 9:16 aspect ratio is essential. Anything else will get awkwardly cropped, and you’ll lose your audience’s attention immediately.
- Spotify Canvas: This is a cool, often overlooked spot for your animation. It also uses a 9:16 ratio, but remember, it’s a silent, 3-to-8-second loop. Export a short, hypnotic snippet of your best animation for this.
A quick pro-tip: keep an eye on your file sizes. Huge files take forever to upload and can be a pain for viewers with slow connections. If your final export is a bit chunky, you can run it through a compression tool. We've actually put together a guide on the best video compressors that can help you shrink files without making them look grainy.
Setting Your Video Up for Discovery
Once your files are ready, the game shifts to making sure people can actually find your video. This is where your animated album art becomes a powerful marketing tool. You can pull a stunning, high-impact thumbnail directly from your animation. In a sea of content, a killer thumbnail is what makes someone stop scrolling and click on your video.
But a great thumbnail is just the start. Your title, description, and tags are what the algorithms use to show your video to the right people. Think like a fan. What would they search for? Be sure to include the artist and song name, plus terms like "lyric video," "karaoke," or "official visualizer."
Don't just upload and walk away. Craft a title that sparks curiosity, write a description that tells a story, and choose a thumbnail that stops the scroll. This is how you turn a simple upload into a powerful piece of marketing.
Common Questions About Animated Album Art
Diving into animated album art for the first time can feel a little daunting. I get it. A lot of artists and creators I talk to worry they need expensive software or a degree in motion graphics to pull it off. But the truth is, it’s much more accessible than it looks. Let's walk through some of the questions that come up most often.
The biggest relief for most people is learning you don't need to shell out for fancy software. While industry standards like Adobe Photoshop are great, you can get the exact same results with free tools. I often recommend Photopea to people starting out; it's a browser-based editor that works just like Photoshop for all the layer-based prep work you'll need.
Even a simple design tool like Canva can do the trick. The only thing that really matters is your ability to separate the elements you want to animate. Isolate the artist's name, the album title, the main subject, and the background, then export each piece as a separate PNG with a transparent background. That's the whole magic trick right there.
How Complex Should My Animations Be?
When it comes to the actual animation, remember this: less is more. The most compelling animated album art I've seen uses subtle, looping movements to create a mood, not a Michael Bay movie. You're trying to build an atmosphere that complements the music, not distract from it.
Think about incorporating a few high-impact, low-effort effects:
- Subtle Zooms: A very slow push-in or pull-out on the artwork can add a surprising amount of drama and focus.
- Gentle Pans: If you've separated your background from your subject, you can pan it slightly to create a simple but effective parallax effect. It immediately adds depth.
- Floating Particles: Things like looping dust motes, embers, or light flares are classic tricks to make a static scene feel alive and breathing.
The great thing is, many modern tools have these effects built right in, so you can achieve a polished, professional look in just a few clicks.
Can I Use a Video as a Background?
Absolutely. Using a video clip is one of my favorite shortcuts for instantly adding energy to a piece. Most lyric video makers today, including MyKaraoke Video, let you drop a video file right onto the background layer. You could use abstract motion graphics, a cool stock video, or even a looping clip from a live performance.
The real pro move here is to make sure the background video doesn't overwhelm the lyrics. I usually recommend applying a slight blur or a dark color overlay to the video. This pushes it into the background and helps your text pop right off the screen.
What Is the Best Way to Time Lyrics?
For timing, your best bet is a two-step approach. First, let an AI-powered sync do the initial heavy lifting. This will get you about 90% of the way there in a matter of seconds. But that last 10% is what separates the good from the great.
To get that truly professional polish, you have to go in and fine-tune it by hand. The most reliable method is still the old-fashioned one: play the track and tap along to the rhythm of the vocals to set the timing for each word. If you really want to level up, listen for specific snare hits or instrumental cues and time your text effects to those moments. It's this human touch that makes the visuals feel locked in with the music.
Ready to stop wondering and start creating? With MyKaraoke Video, you can bring your album art to life with powerful, easy-to-use tools. Start your project for free today and see what you can make.