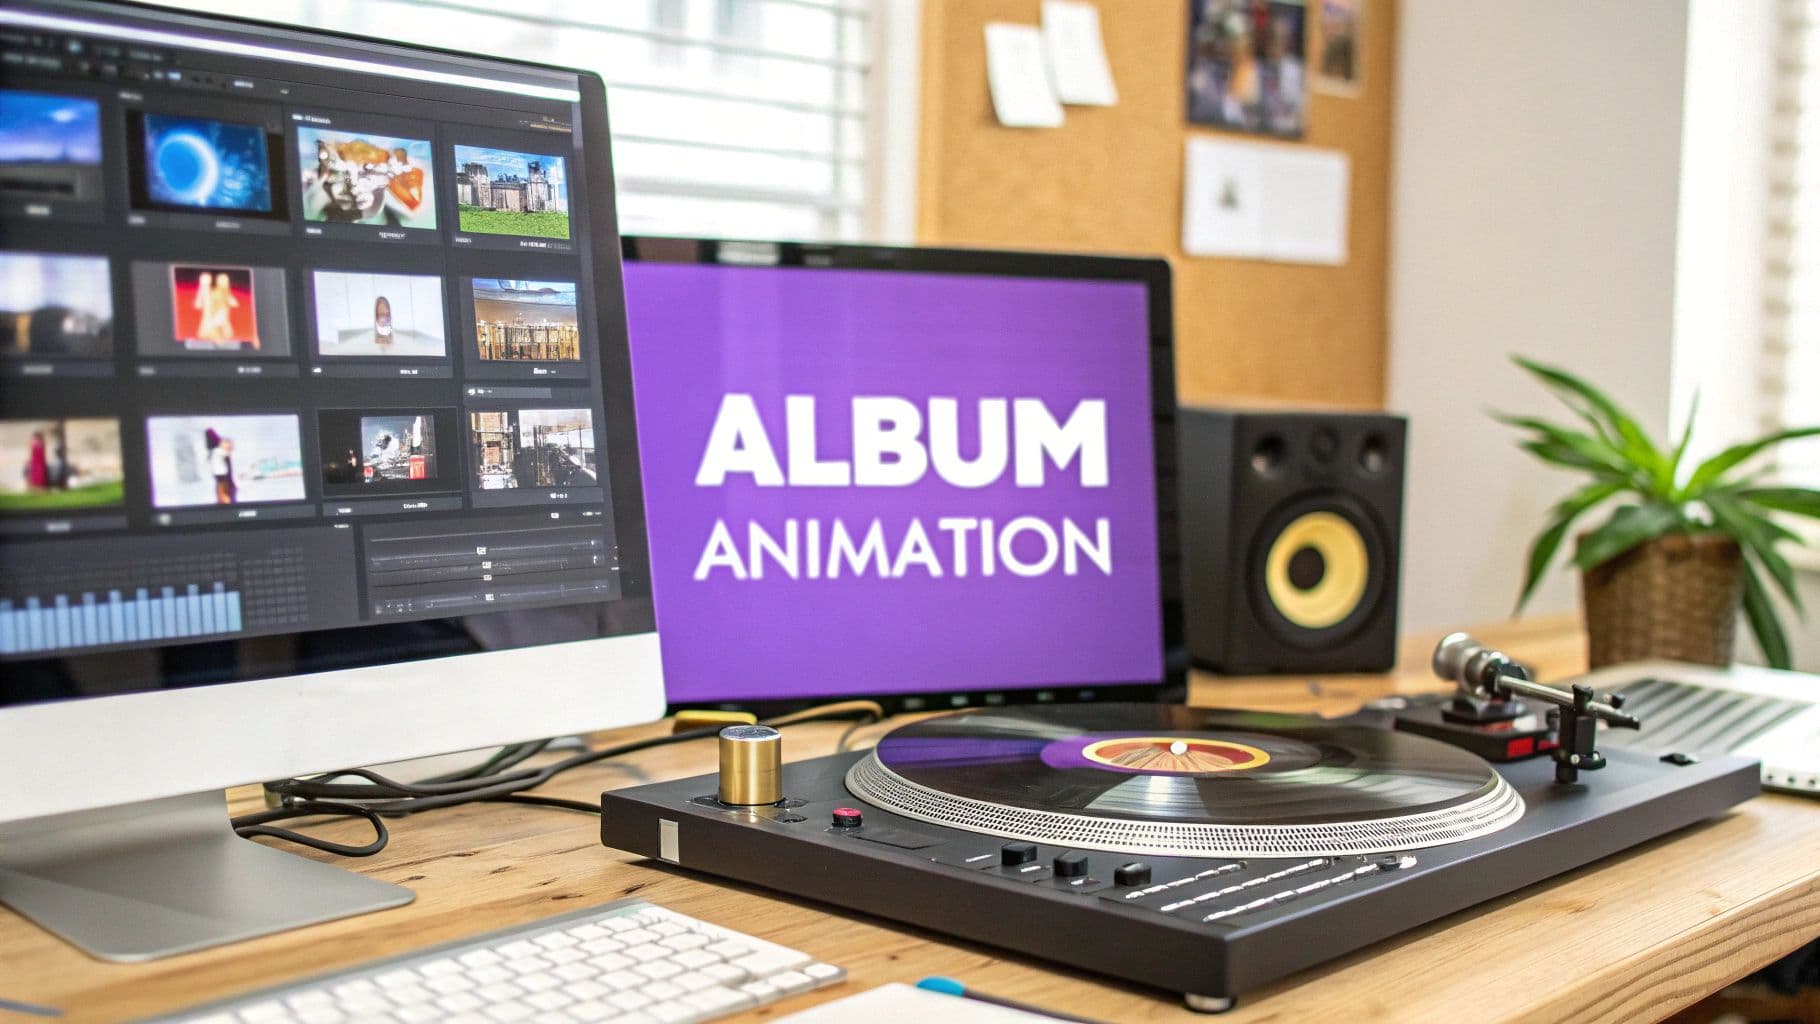
In an endless sea of content, a static image just doesn't cut it anymore. Album cover animation is what turns your artwork from a simple thumbnail into a living, breathing visual that can stop someone mid-scroll on Spotify or Instagram. It grabs their attention before they've even heard a single note.
This isn't just some cool, flashy trick. It’s a genuinely effective way to market your music, and thankfully, it's more accessible than ever.
Why Animated Album Covers Are Now a Must-Have
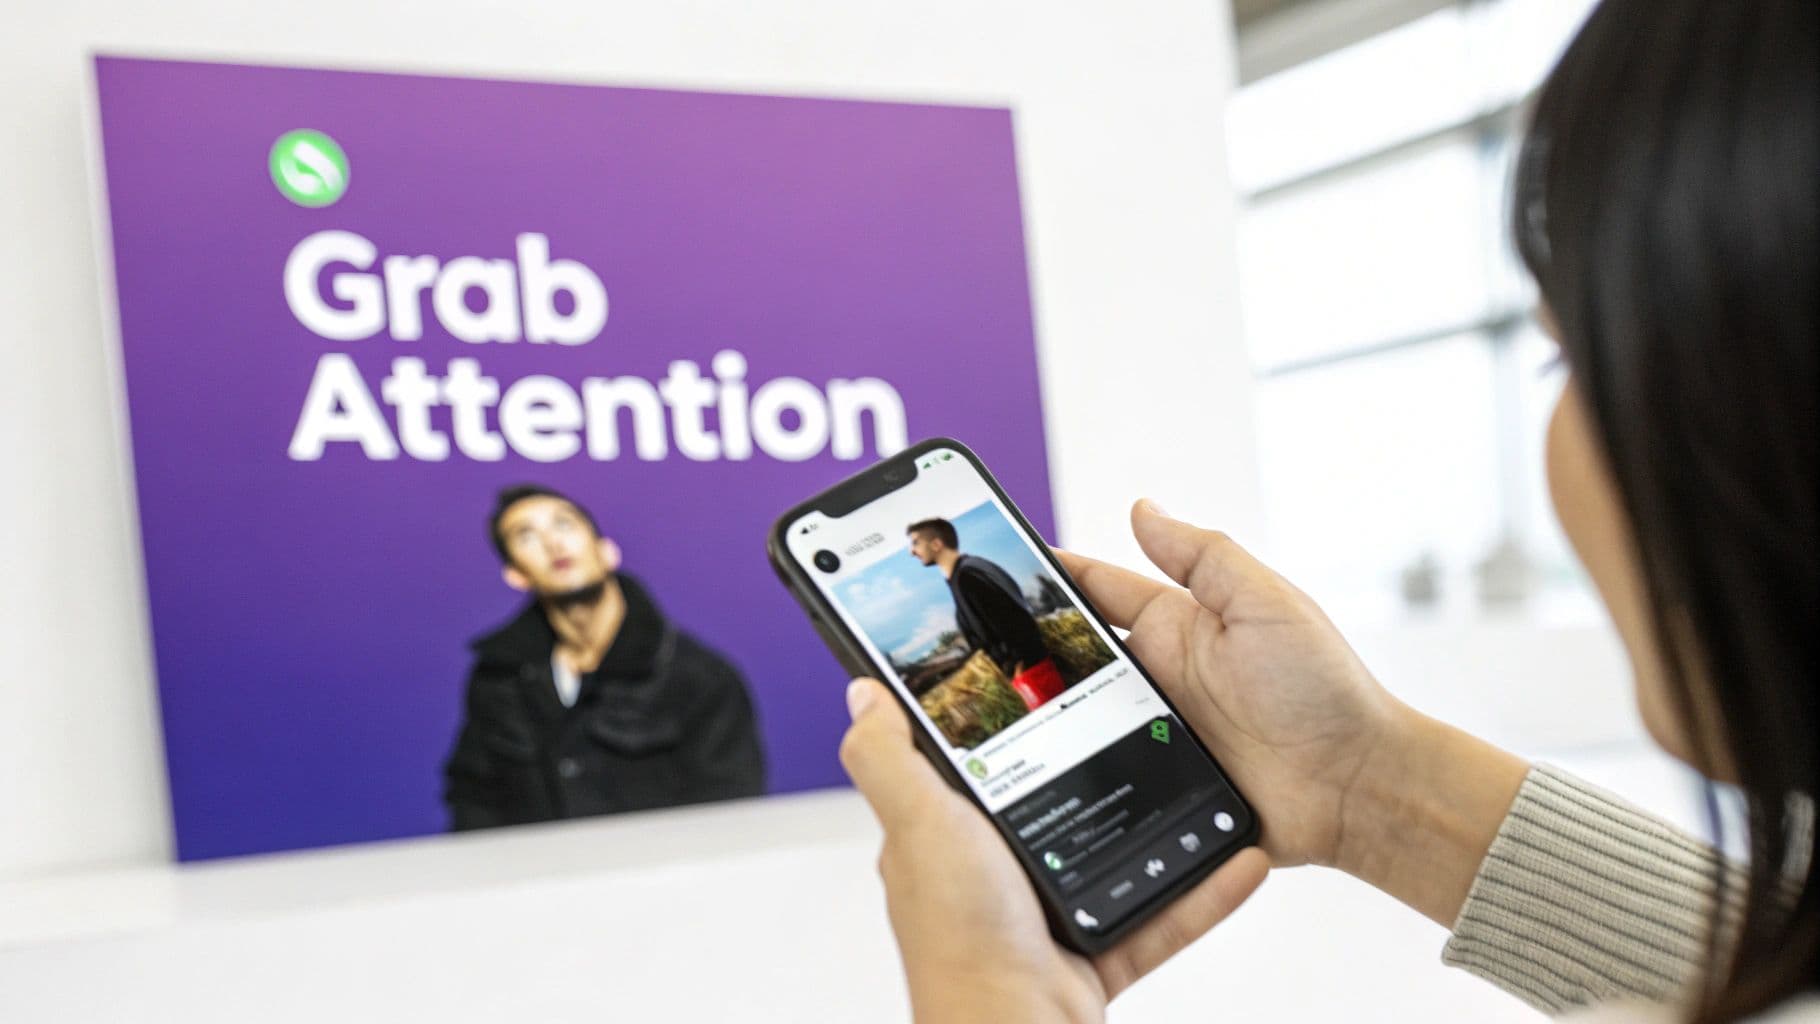
The move from still images to motion graphics isn't just a fleeting trend; it's a direct reflection of how we all consume media now. In a ridiculously crowded digital space, artists need every possible edge to get noticed. An animated cover acts like a micro-trailer for your music, a visual hook that makes people pause.
This approach helps build an immediate, deeper connection. It can offer a quick glimpse into the mood, the theme, or the story behind your album, giving the listener a richer experience from the very first glance.
The Real Power of Visual Engagement
Even simple motion—like a subtle background drift or a quick character animation—can dramatically elevate the perceived production value of your release. It signals a level of professionalism and artistry that goes beyond just the audio. Honestly, that bit of visual polish can be the very thing that turns a casual scroller into a new fan.
The benefits are pretty clear:
- It Grabs Attention: Motion is just more eye-catching than a static image. Your music is far more likely to get noticed in busy playlists and social feeds.
- It Tells a Better Story: Animation lets you express emotion and narrative in a way a single image can't, setting the stage for the music itself.
- It Gets Shared More: People are more likely to share unique and compelling animations across social media, which means more organic reach for you.
Driving Real Results on Streaming Platforms
This whole shift really kicked into high gear as digital music platforms grew. According to Spotify’s own data, albums with animated covers saw a 15% higher engagement rate than those with static art. Listeners also spent an average of 2.3 seconds longer looking at animated thumbnails. By 2020, over 12% of new releases had some form of animated art, and that number is still climbing. You can discover more about the evolution of album art and its impact online.
The takeaway here is simple: animating your album cover isn't just about making it look cool. It's a strategic move that directly impacts listener engagement and can give your music a serious visibility boost in a very competitive world.
Getting Your Artwork Ready for Motion
A great animated album cover starts long before you open up any animation software. The real magic happens in the prep work. You can't just throw a flat image into an animator and expect a miracle; you have to first deconstruct it. Think of it like a stage play – you need to separate your main actor from the background scenery so they can move around independently.
This bit of digital surgery is usually handled in an image editor. While Adobe Photoshop is the industry standard, you can get the same results with Affinity Photo or even a capable free, browser-based tool like Photopea. The mission is simple: isolate every element you want to animate onto its own layer.
Cutting Out Your Subjects
First things first, open up that album cover file. Your initial job is to separate the key foreground element—whether it's the artist, a logo, or a specific object—from everything else. In Photoshop, the Object Selection Tool is your best friend here. It’s surprisingly good at identifying the main subject with just a quick click or drag.
Once you’ve got a rough selection, it's time to clean it up. Jump into the Select and Mask workspace. This is where you can smooth out those rough edges and get into the tricky details, like wisps of hair or the edges of fabric. When it looks perfect, simply copy your selection (Ctrl+C or Cmd+C) and paste it (Ctrl+V or Cmd+V). Boom. Your subject now lives on its very own transparent layer.
My advice? Always work on a copy. Before you start cutting things up, just duplicate your original artwork layer. It’s a simple safety net that saves you a massive headache if you need to start over or change your mind later.
Filling in the Gaps
Okay, so you've lifted your subject off the background. The problem? You’re now left with a subject-shaped hole in your original image. We need to patch that up so that when your foreground element starts moving, you don't see an empty void behind it.
This is where content-aware tools become your secret weapon. On your background layer, make a selection that loosely covers the empty hole and some of the area around it.
Now, head up to the main menu and find Edit > Content-Aware Fill.
Photoshop will work its magic, analyzing the surrounding pixels to intelligently generate a patch that blends right in. You can tweak the settings in the panel if the first pass isn't quite right, but it's often spot-on.
And that's it! You now have a clean, complete background layer and a separate foreground layer. These two pieces are the fundamental building blocks for creating a professional album cover animation with a real sense of depth. You're officially ready to start bringing it to life.
Core Animation Techniques That Actually Work
Alright, with your artwork prepped and layered, it's time for the fun part. Bringing an album cover to life isn't about having a Hollywood-level animation degree; it's about picking the right technique to match the artwork and the song's vibe.
Let's dive into five powerful, high-impact methods that I've seen deliver professional results time and time again. We’ll cover everything from creating subtle, immersive depth to adding dramatic motion that grabs attention instantly.
This visual breaks down the simple prep work we're building on.
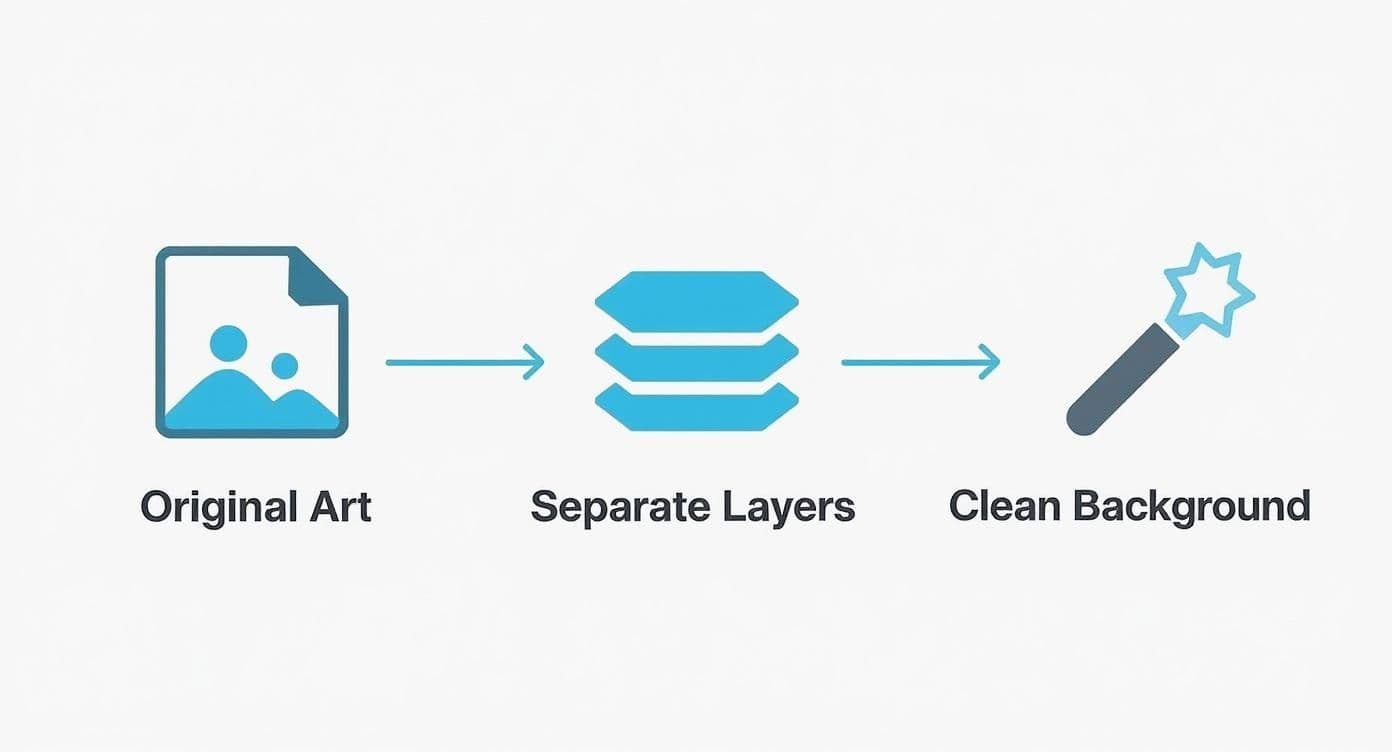
The big takeaway here is that great animation starts with clean, separated layers. This setup gives you total freedom to make things move independently.
To help you choose the right path, here’s a quick rundown of the most common approaches.
Comparing Popular Album Cover Animation Techniques
This table gives you a quick look at five key animation styles, their visual impact, best use cases, and how difficult they are for a newcomer to master.
| Technique | Visual Effect | Best For | Difficulty |
|---|---|---|---|
| Ken Burns/Zoom | Slow, cinematic pans and zooms | Photographic covers, detailed art | Beginner |
| Parallax Motion | 2.5D illusion of depth | Layered art with a clear foreground/background | Intermediate |
| 3D Camera Tilt | A convincing 3D "pop-out" effect | Bold, central subjects or geometric designs | Intermediate |
| Vinyl Spin | Nostalgic, retro spinning motion | Circular artwork, vintage or indie genres | Beginner |
| Motion Loops | Subtle, atmospheric background movement | Landscapes, moody scenes, adding ambience | Beginner |
Each of these techniques can stand alone or be combined to create something truly unique. Now, let's explore how to actually pull them off.
1. The Ken Burns Effect: A Classic Zoom
Named after the legendary documentarian, the Ken Burns effect is simply the art of slowly zooming in, zooming out, or panning across a static image. It sounds basic, but it's incredibly effective at creating drama and focus. A slow push-in on an artist's eyes or a gentle pan across a landscape immediately makes the art feel more cinematic.
Honestly, this is the perfect starting point if you're new to animation.
- When to Use It: It's a go-to for photographic covers or incredibly detailed illustrations where you want to guide the viewer’s attention to a specific spot.
- Best Tools: You can do this in just about any video editor. Browser-based tools like Canva or mobile apps like CapCut handle it with ease. For ultimate precision over the speed and easing, Adobe After Effects is king.
2. Parallax Motion: Creating Real Depth
Parallax is the secret sauce for faking three-dimensional depth. The concept is simple: you move your separated foreground and background layers at slightly different speeds to mimic how our eyes perceive distance. The background moves slower, the foreground moves faster, and suddenly you have a rich, layered world that pulls the viewer in.
Think about a cover where a singer stands in front of a mountain range. As you pan your virtual "camera" to the right, the singer will slide across the screen much faster than the distant mountains. That tiny difference is what sells the 3D effect and makes your album cover animation look seriously high-end.
Pro Tip: Want to push the depth even further? Add a middle-ground layer. For that landscape scene, this could be a few trees between the singer and the mountains. Animating three layers at three different speeds creates an incredibly immersive effect.
3. The 3D Camera Tilt: Taking It to the Next Level
A 3D camera tilt builds on the parallax idea but adds another dimension of movement. Instead of just sliding layers left and right, you're actually tilting the entire scene on its X or Y-axis, as if you're viewing it from a slight angle. This makes elements feel like they're popping right off the screen and works wonders for artwork with a bold, central subject.
You’ll need more advanced software like After Effects for this one. By converting your layers to 3D objects and adding a virtual camera, you can rotate that camera and the software handles the perspective shifts for you. It's a guaranteed way to add that "wow" factor.
4. Vinyl Spin & Scratches: For That Nostalgic Vibe
Sometimes, the best motion is the kind that feels familiar. Animating circular album art to spin like a record on a turntable is a timeless and instantly recognizable effect. It's a fantastic visual cue that connects directly to the physical history of music, making it a perfect fit for retro, lo-fi, or indie genres.
You can really sell this look by adding a few subtle overlays:
- Scratches and Dust: Find some looping video overlays of film grain, dust particles, or light scratches. Layering these on top adds an authentic, vintage texture.
- Light Flares: A gentle light flare sweeping across the surface can perfectly simulate the reflection from a spinning record, adding a touch of dynamic realism.
Beyond just the spin, think about other elements that fit the theme. For example, adding slick, moving text can highlight the artist's name or album title. We've got a whole guide on how to create animated text for videos if you want to explore that further.
5. Atmospheric Motion Loops: Making the Scene Breathe
Our final technique isn't about moving the main subject at all—it's about making the world around it feel alive. By adding subtle, environmental motion to the background, you can set a powerful mood that perfectly matches the music, whether it's melancholic, energetic, or serene.
Think of it like adding a weather system to your album cover. Simple, looping animations of falling rain, drifting smoke, shimmering water, or gently rolling clouds can transform a static image into a living, breathing environment. You can find tons of these looping video assets online, or even create your own with particle effects in After Effects. It’s an approach that adds a polished, professional touch without ever distracting from the core artwork.
Exporting Your Animation for Perfect Playback
https://www.youtube.com/embed/n6HC__qvV9Q
You’ve put in the creative work and brought your album cover to life. But all that effort can fall flat if the final export is a pixelated, stuttering mess. Getting the final step right is less about fancy software and more about understanding the balance between quality and file size.
Think of it like mastering a track in the studio. You’re not just making it louder; you're polishing it to sound incredible on everything from a high-end sound system to a pair of cheap earbuds. Exporting your animation requires the same mindset—it needs to look sharp and play smoothly on a giant 4K monitor and a tiny phone screen.
The goal is to create a universally compatible MP4 file, which has become the de facto standard for online video. The secret, however, is what's inside that MP4. The codec, bitrate, and frame rate settings you choose will make or break the final product.
Decoding Your Export Settings
Getting your export settings dialed in ensures your animation looks exactly as you intended. Whether you're in a pro tool like After Effects or a simple browser-based editor, these are the core components you need to get right.
- Codec (H.264): The codec is the technology that compresses your video. You should almost always be using H.264, which is sometimes labeled AVC. It delivers fantastic quality without creating enormous files and is supported by basically every device and social platform out there.
- Frame Rate (24-30 FPS): This is how many individual images flash on the screen per second. For a smooth, classic "filmic" look, 24 FPS is the perfect choice. If your animation has quicker, more energetic movements, bumping it to 30 FPS will make it feel a bit more fluid. Anything higher is overkill for this kind of project.
- Bitrate (8-12 Mbps): Bitrate is the setting that most directly impacts visual quality and file size. More data equals better quality but a bigger file. For a standard 1080p animation, I've found that a target bitrate between 8-12 Mbps (megabits per second) is the sweet spot. It keeps the file size manageable without sacrificing clarity.
If you really want to get into the weeds of how video files work, our guide explaining different video file types is a great place to start.
Platform-Specific Export Presets
While a standard 1080p export is a great all-rounder, different platforms have their own quirks and ideal specs. Nailing these details is what separates amateur work from a professional-looking release. Understanding how modern rendering and animation pipelines operate is key to producing top-tier results every time.
Here's a quick cheat sheet I use for the most common destinations:
| Platform | Resolution | Bitrate (Target) | Aspect Ratio | Key Notes |
|---|---|---|---|---|
| Spotify Canvas | 1080 x 1920 | 10-15 Mbps | 9:16 (Vertical) | Must be a seamless loop between 3-8 seconds. No sound. |
| Instagram Feed | 1080 x 1080 | 8-10 Mbps | 1:1 (Square) | Keep it under 60 seconds for the best engagement. |
| YouTube | 1920 x 1080 | 10-12 Mbps | 16:9 (Widescreen) | YouTube compresses files heavily, so always start with a high-quality source. |
Your Final Pre-Flight Checklist
I always run through this mental checklist before hitting that final 'Render' button:
- Is my format MP4?
- Is the codec set to H.264?
- Is the resolution at least 1080p (1920x1080 or the vertical equivalent)?
- Is the frame rate somewhere between 24-30 FPS?
- Is the bitrate right for my destination (e.g., around 10 Mbps for general use)?
Stick to these guidelines, and you can be confident that your carefully crafted animation will be delivered with the crystal clarity and smooth motion it deserves, ready to grab your audience's attention.
Creative Tips to Make Your Animation Stand Out
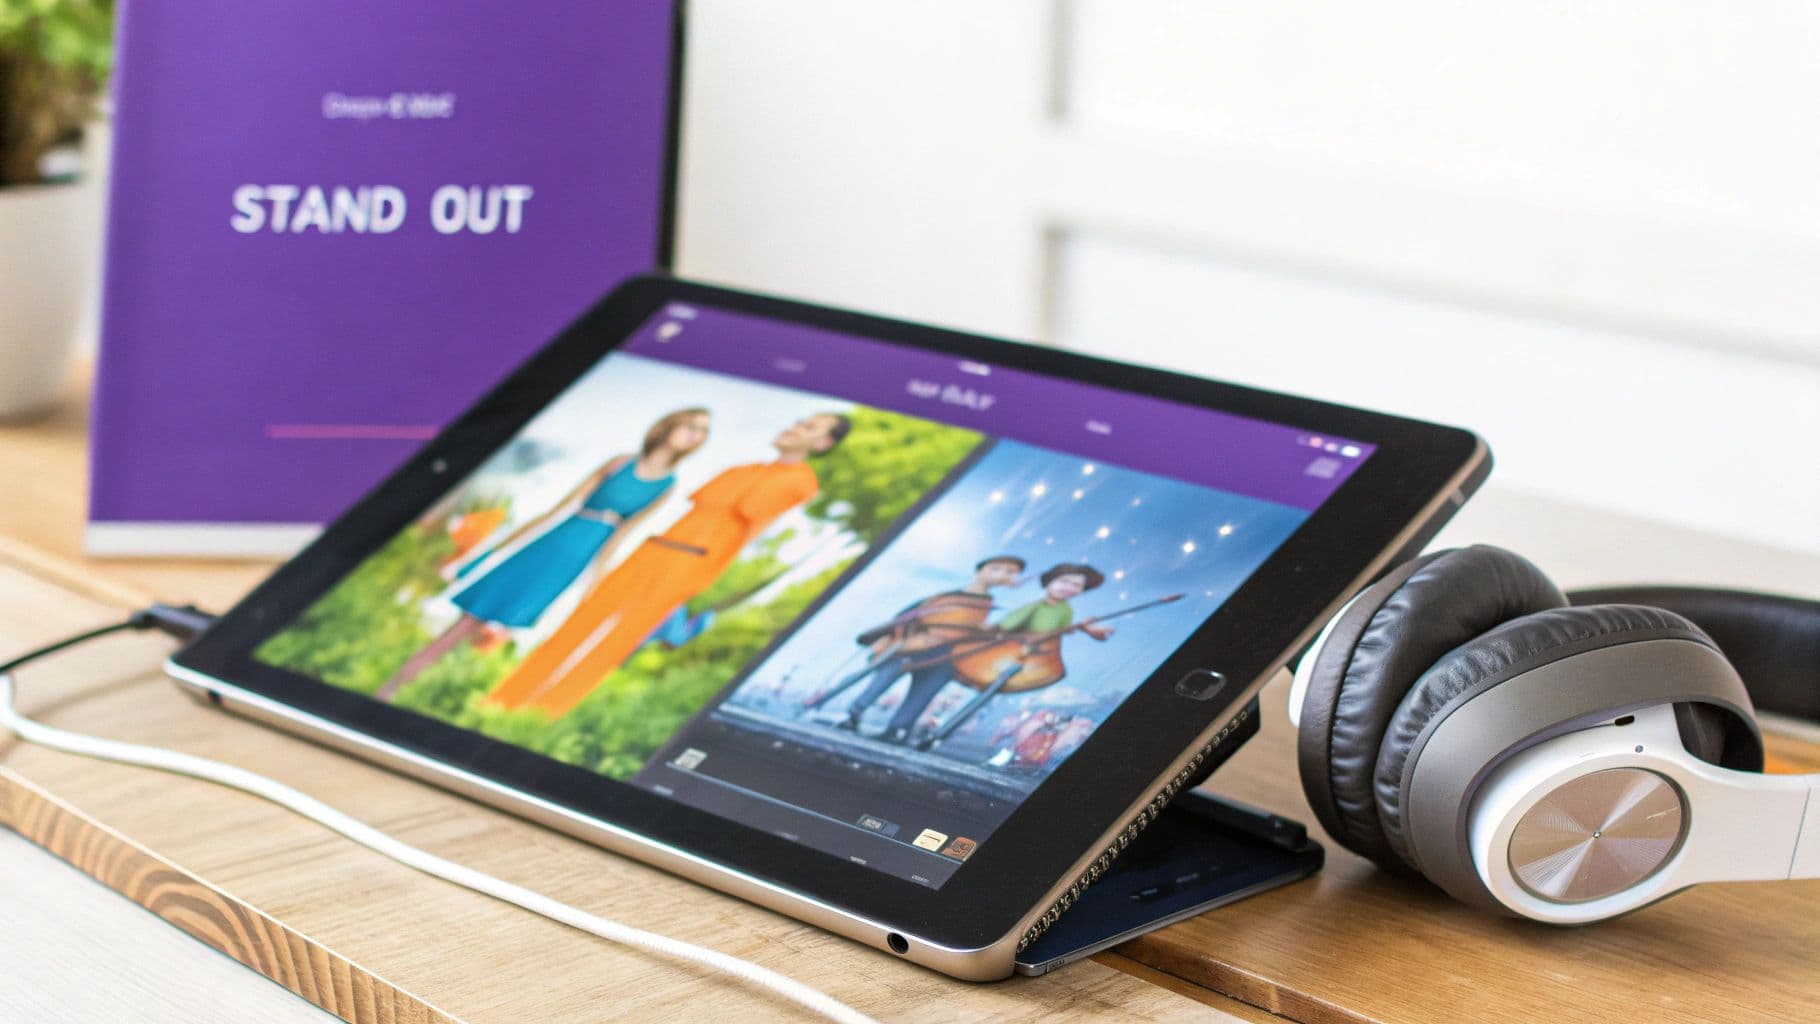
Knowing the technical steps is just the start. The real magic happens when your album cover animation stops feeling like a technical exercise and starts feeling like an extension of the music itself. It’s an art form, really—making choices that serve both the song and the artwork to create something truly memorable.
The secret is to approach it like a filmmaker. Every single movement and effect needs a reason to exist. Is this zoom emphasizing the artist's expression? Does this slow drift match the song's chill vibe? Asking these kinds of questions is what will take your animation from pretty good to absolutely captivating.
Match the Rhythm and Mood
Without a doubt, the best way to make your animation connect is to sync it directly with the music’s feel and tempo. You want the visuals and the audio to be so intertwined that it feels like the song is physically moving the artwork.
Here’s how you can think about it:
- For high-energy tracks: Go for quicker cuts, faster zooms, or even a subtle camera shake that pulses along with the beat. Think of it as adding a visual punch that mirrors the kick drum or snare. It creates a kinetic feeling you can almost physically sense.
- For ambient or ballad tracks: Slow, graceful motion is your best friend. A gentle, ten-second pan across the cover or a barely-there drift in the background elements can build a ton of atmosphere without ever distracting from the art.
The Art of the Seamless Loop
If you're creating something for a platform like Spotify Canvas, a perfect, seamless loop is absolutely essential. A jarring cut or jump at the end of an 8-second clip completely shatters the illusion. The goal is simple: your very first frame must be identical to your very last.
A seamless loop is your secret weapon for creating a mesmerizing, almost hypnotic effect. When done right, viewers won't even realize they've watched it ten times, which is a massive win for engagement.
To pull this off, you have to plan your animation as a complete cycle from the beginning. If an element is moving from left to right, it either needs to be completely off-screen before the loop restarts, or it has to return to its exact starting point and speed just as the animation ends.
Less Is Almost Always More
A classic rookie mistake is doing way too much. Remember, you’re trying to enhance the album art, not bury it under a chaotic mess of effects. A single, perfectly executed motion will always be more powerful than ten different things fighting for attention. Decide on your focal point and build everything around that one idea.
This principle extends to any other visuals you might add. For instance, if you’re pairing the animation with an audio visualizer, pick a clean design that complements the motion, not competes with it. Our complete guide on creating an audio wave visualizer can walk you through finding that balance. And if you're looking for fresh ideas for overlays or effects, browsing some quality motion graphics templates is a great way to spark some inspiration and even save you a bit of time.
Common Questions About Album Cover Animation
Jumping into album cover animation for the first time? It's normal to have a few questions. From picking the right tool to figuring out how long your loop should be, a little guidance can save you a lot of guesswork. Let's clear up some of the common sticking points I see people run into.
Think of this as your practical cheat sheet. The idea is to get you past the initial hurdles and into the creative part, fast.
What’s the Best Software for a Beginner?
The "best" software really depends on what you're trying to achieve and how deep you want to go. The sheer number of options can be intimidating, so here’s how I break it down for newcomers.
- For Quick, Easy Motion: If you want instant gratification, mobile apps like Motionleap are hard to beat. They’re built for simple, one-tap effects like making clouds drift or water ripple. Perfect for a first attempt.
- For More Control (but Still Simple): Browser-based tools are your best friend here. I often recommend Canva to people starting out. It's great for basic pans, zooms, and text animations without a steep learning curve.
- For Total Creative Freedom: When you're ready to go pro, Adobe After Effects is the industry heavyweight for a reason. You can do literally anything with it, but be warned—it demands a real commitment to learn.
The right tool is the one that gets the job done. Don't feel like you have to start with the most complex software. Nailing the basics in a simple app will teach you a ton and build your confidence.
What’s the Ideal Length for an Animated Cover?
This is a great question, and the answer is always: "it depends on the platform." There's no single magic number.
For a Spotify Canvas, you’re locked into a very specific window: your seamless loop has to be between 3 and 8 seconds. No more, no less.
For social media feeds on Instagram or TikTok, I've found the sweet spot is around 10-15 seconds. That's just enough time to grab someone's attention as they scroll, but short enough that they'll often watch it loop a few times. The key skill here isn’t length, but creating a perfectly seamless loop so it can play forever without a jarring jump.
Can Any Album Cover Be Animated?
Technically, yes—you can add some kind of motion to just about any image. But the truth is, some covers are just built for it.
Artwork with distinct layers is a dream to work with. Think of a singer standing in front of a mountain range or a logo floating over a cityscape. These images make it incredibly easy to create a convincing parallax or 3D effect.
On the other hand, flatter, more graphic designs can still look amazing. You just have to change your approach. Instead of separating layers, you’ll focus on techniques like the Ken Burns zoom, a vinyl spin effect, or adding textures like animated film grain, light leaks, or dust particles to give it life.
Ready to put that static cover art to work? MyKaraoke Video lets you drop your new animation right into your lyric video as a dynamic background. It’s the perfect way to create something that looks professional and holds your audience's attention, all from your web browser. Start creating your first video with MyKaraoke Video today!