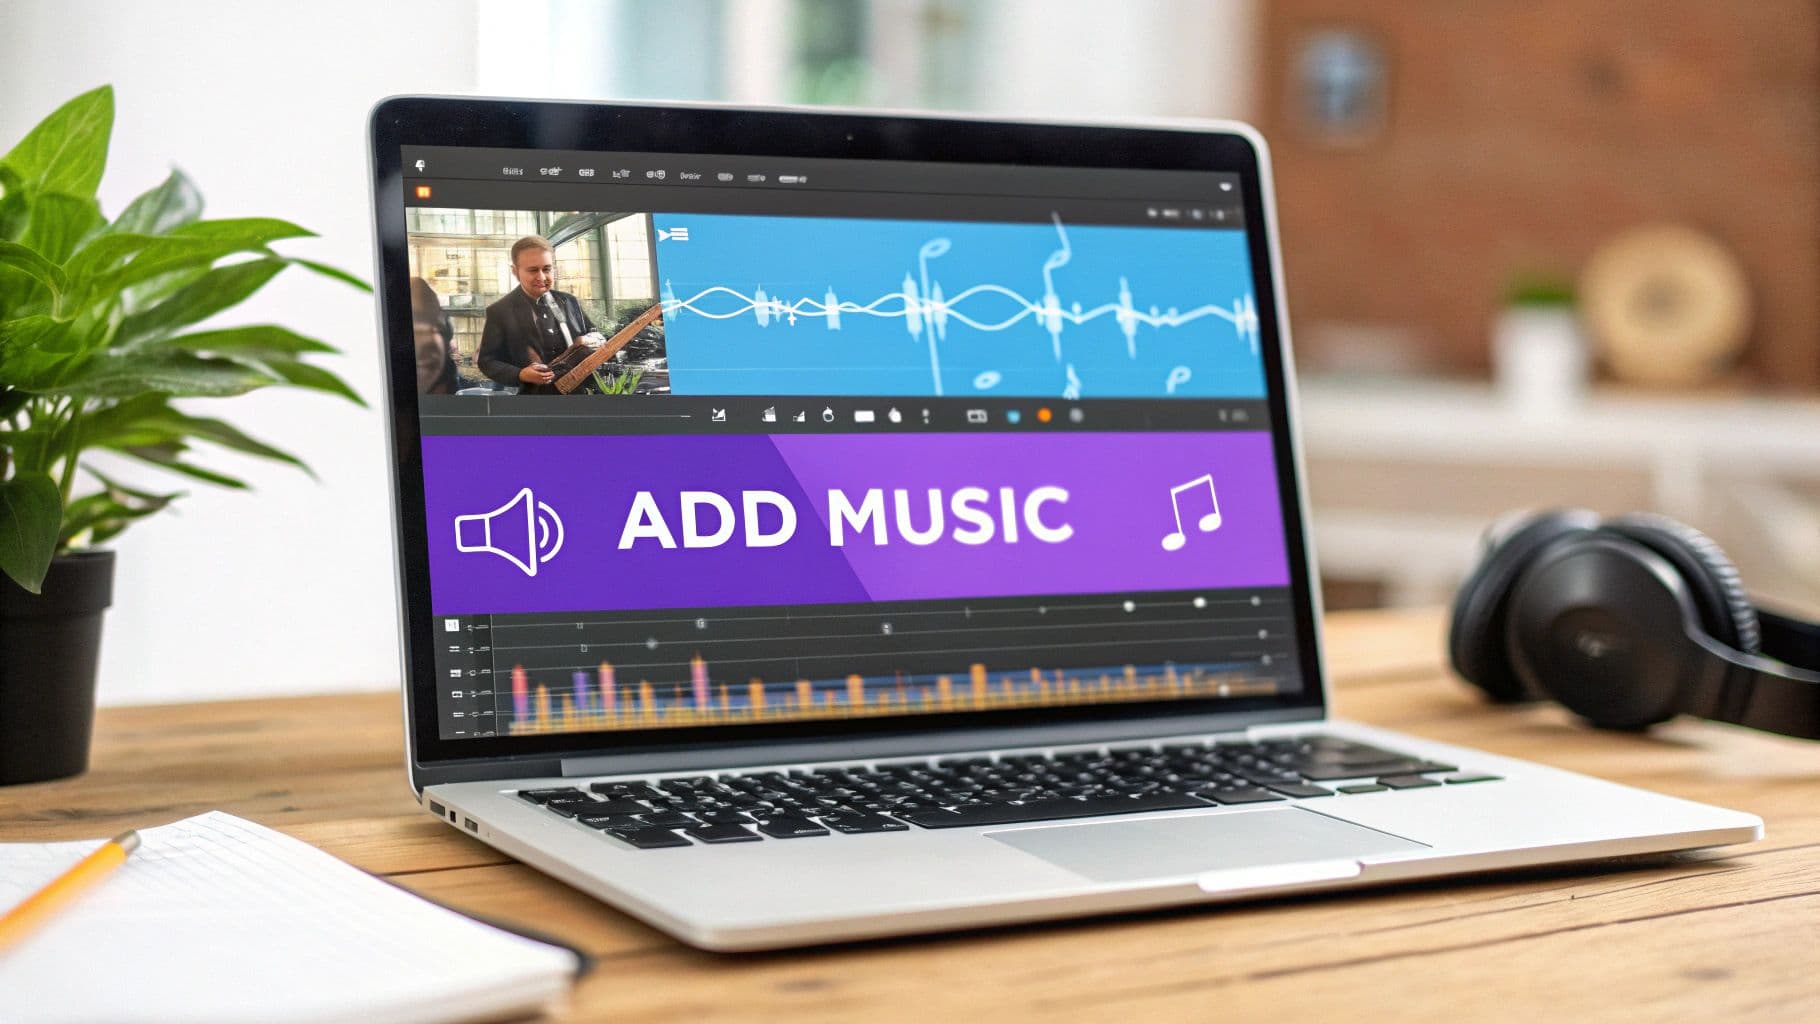
Adding music to a video isn't just about filling the quiet spots; it's one of the most powerful tools you have to shape your viewer's experience. The right track can grab someone's attention from the very first note, turning a simple recording into a story that truly connects. It’s what sets the entire mood and guides the emotional journey you want your audience to take.
Why the Right Soundtrack Is a Game Changer
Ever watched a video with the sound off? It often feels flat, even a little awkward. That’s because audio is at least half of the experience. Music has this incredible ability to build tension, create excitement, or evoke a sense of calm—things visuals alone just can't do.
A thoughtfully chosen piece of music tells your audience how to feel. A high-energy beat in a fitness tutorial gets people pumped up, while a slow, thoughtful melody in a documentary can add weight and seriousness to the subject. This emotional guidance is what keeps people hooked.
It’s All About Emotional Connection
Great music works on a subconscious level, creating a shortcut straight to your viewer's feelings. This is why seasoned creators spend as much time on sound as they do on shooting. They know that sound isn't just an add-on; it's a fundamental part of the storytelling process.
Think about how this plays out in different videos:
- A product demo with a slick, modern track feels innovative and exciting.
- A travel vlog paired with an inspiring, orchestral score feels epic and adventurous.
- An educational video with a subtle, ambient background tune helps viewers focus and absorb information.
The real magic happens when the music feels like it belongs. When your audio and visuals are perfectly in sync, the whole video feels more polished, professional, and leaves a much stronger impact.
How Music Boosts Engagement and Retention
Choosing the right track isn’t just about artistry—it has a real, measurable impact on how your video performs. When you look at the numbers, it's clear that successful creators are already on board.
Industry data reveals just how much of a difference music makes. Take a look at how it directly influences key video metrics.
How Music Impacts Key Video Metrics
| Metric | Impact of Adding Music | Supporting Data Point |
|---|---|---|
| Viewer Engagement | Increases viewer interest and interaction. | A massive 81% of marketers report that videos with music perform better. |
| Content Adoption | It's a standard practice for successful content. | An incredible 84% of all YouTube videos now include music in some form. |
| Watch Time | Encourages viewers to watch for longer periods. | Enhanced emotional connection leads directly to better audience retention rates. |
This isn’t a coincidence. As these video marketing statistics show, creators who add music to their videos online are following a proven formula for keeping audiences watching longer and coming back for more.
Finding the Perfect Soundtrack for Your Video
Choosing the right music for your video isn't just a final touch; it's more like casting a lead actor. The right track can make your story soar, while the wrong one can feel jarring and pull your audience right out of the moment. Before you even think about adding music to a video online, you need to find that perfect track, and that search starts with understanding the rules of the road.
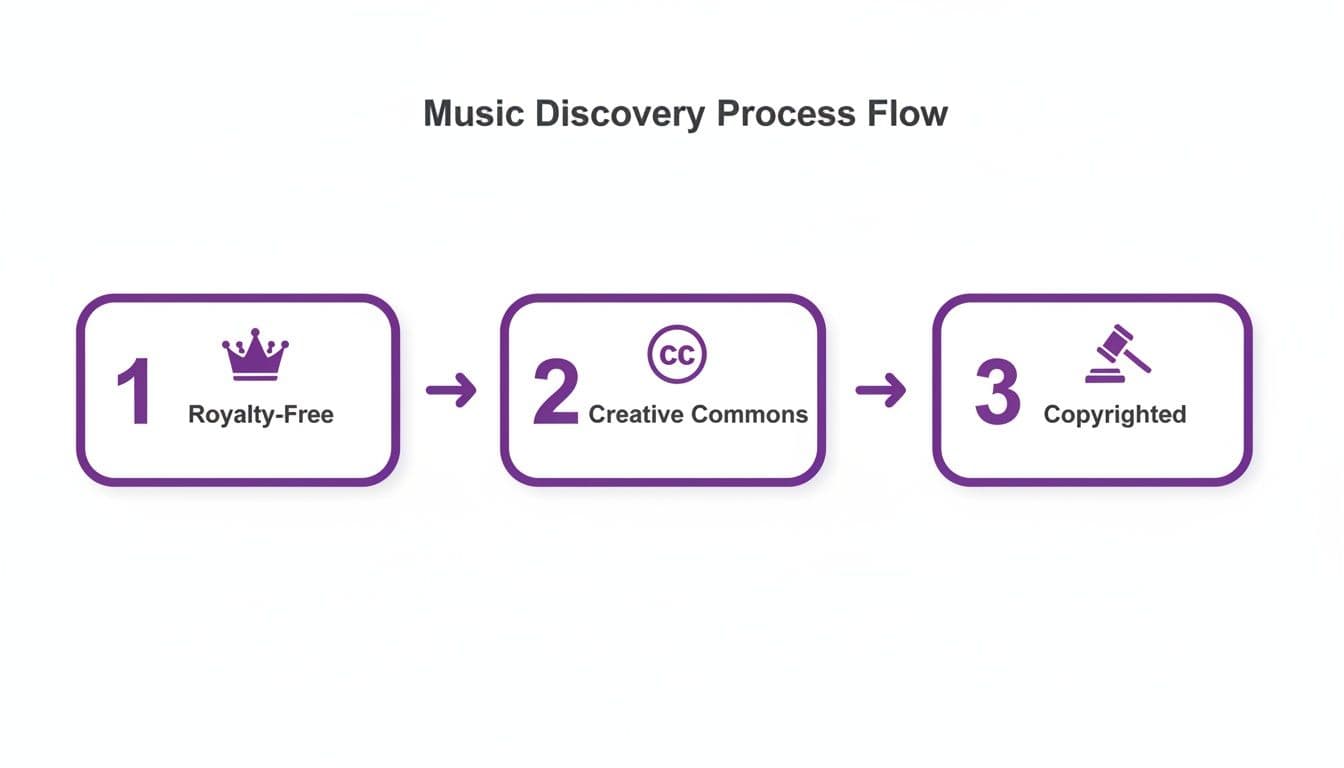
It might sound complicated, but the music world really boils down to three main buckets.
First, you've got the big one: copyrighted music. This is everything you hear on the radio or on major streaming playlists—the songs you already know and love. Using this kind of music without getting explicit permission is a surefire way to get a copyright strike and have your video muted or taken down.
Next up is Creative Commons (CC). This category offers a lot more breathing room for creators. The deal is usually that you can use the track as long as you give the artist credit. Some CC licenses have other strings attached, like restricting use in commercial projects, so always double-check the specific terms before you hit download.
Finally, we have royalty-free music, which has become the standard for most video creators. Don't let the name fool you—it doesn't always mean free. It means you pay for a license once (either a one-time fee or through a subscription) and can then use the track in your projects without paying ongoing fees or "royalties" to the artist.
Top Places to Source Your Music
Once you know what kind of license you're after, you can dive into the fun part: exploring the massive libraries out there. You can find incredible options whether you have zero budget or are ready to invest in a premium service.
Here are a few of the platforms I've come to rely on over the years:
- YouTube Audio Library: This is the best place to start, hands down. It's built right into YouTube, is totally free, and has a surprisingly deep catalog of music and sound effects that you can use on the platform without a single copyright worry.
- Epidemic Sound: If you're creating content consistently, a subscription here is a game-changer. The library is massive, the quality is top-notch, and their license covers pretty much every social platform you can think of. It just makes life easier.
- Artlist: Another fantastic subscription service, Artlist is known for its highly curated, cinematic feel. If you're looking for music that sounds modern and emotionally resonant, you'll probably find it here.
- PremiumBeat: This one, owned by Shutterstock, is a great "pay-as-you-go" option. Instead of a monthly fee, you buy a license for each individual track. It's perfect if you only need music for a one-off project and don't want to commit to a subscription.
When you're listening to tracks, try to think beyond just the genre. Does the music's energy match your video's pacing? A slow, melodic piece won't work with a high-energy montage of quick cuts. The music has to feel like it belongs. For more tips on this, check out our deep-dive guide on sourcing music for editing videos.
Pro Tip: Never judge a track by its first 10 seconds. So many great songs have a slow build-up that leads to a powerful climax. Listen all the way through—you might find the perfect moment for your video's turning point buried 90 seconds in.
Understanding Audio File Formats
One last thing to think about is the technical quality of the audio file itself. You’ll mostly see two file types: MP3 and WAV.
- MP3: This is what most people are familiar with. It's a compressed file, which means it’s smaller and easier to handle. The trade-off is a slight loss in audio quality, but for most online videos, a high-quality MP3 (look for 320 kbps) will sound fantastic.
- WAV: This is the uncompressed, pure audio file. It's the professional standard because it contains all the original sound data, giving you the absolute best quality. The downside? The files are huge.
My advice? If your video editor can handle it and you’ve got the hard drive space, always start with a WAV file. It gives you the most fidelity to work with. But don't sweat it if you can only get an MP3—a high-bitrate version will sound great to 99% of your audience.
A Practical Walkthrough: Adding and Syncing Your Audio
Alright, let's get down to business. This is where the magic happens—where your carefully chosen music and your video footage finally meet on the editing timeline. The process of adding music to a video online is more than just dragging a file over; it’s about making two separate elements feel like they were made for each other.
Most online video editors I've worked with follow a similar, intuitive flow. You'll start by creating a new project and then pulling in your media—both your video clips and the audio track you've prepared. The first real step is dragging both files onto your editing timeline, which usually places the video on a dedicated video track and the music on a separate audio track right below it.
Lining Up Your Files on the Timeline
Once everything's in place, you'll see visual representations of your media. The video track shows little thumbnails of your scenes, while the audio track displays a waveform. Think of the waveform as a visual map of the music's volume and energy—it's going to be your best friend for syncing everything up.
The first thing you’ll likely need to do is a simple trim. Chances are, your song is longer than your video clip. Just grab the end of the audio clip and drag it inward until it lines up perfectly with the end of your video. This creates a clean endpoint, but the real artistry is in the synchronization.
Synchronization is what separates an amateur video from a professional one. It’s the subtle art of aligning a key visual moment—like a scene change or a dramatic action—with a significant beat or change in the music. This creates an emotional punch that viewers feel instinctively.
This fusion of music and video has completely reshaped how we consume media. It's no surprise that video streaming now accounts for 22% of all music consumption globally. Platforms like YouTube and TikTok thrive because creators can so easily sync powerful audio to their footage, turning simple clips into something truly memorable.
The Art of Beat Matching
"Beat matching" might sound technical, but it's really quite intuitive. Just play your video and listen to the music simultaneously. Keep an eye on the audio waveform for peaks, which usually signal a strong beat, like a kick drum or a snare hit. Now, find a key moment in your video to align it with.
Here are a few real-world examples to get you started:
- For a travel vlog: Time a dramatic reveal of a sweeping landscape with a big swell in the music.
- For a product demo: Match a quick cut that shows off a new feature with a crisp cymbal crash.
- For a tutorial: Use a subtle change in the melody to signal a transition to the next step.
Sometimes, your soundtrack might not be a single file. You may need to combine multiple audio clips—like a main track and a sound effect—before you even get to the video editor. Learning how to properly join audio files can save you a lot of headaches and help you create a seamless, cohesive track.
Getting that perfect audio-visual harmony is a detailed process, and having your audio prepared correctly from the start is a massive advantage. For a deeper dive into more advanced techniques, you can explore a full tutorial on https://www.mykaraoke.video/blog/how-to-sync-audio-with-video.
Mastering Audio Levels for a Professional Finish
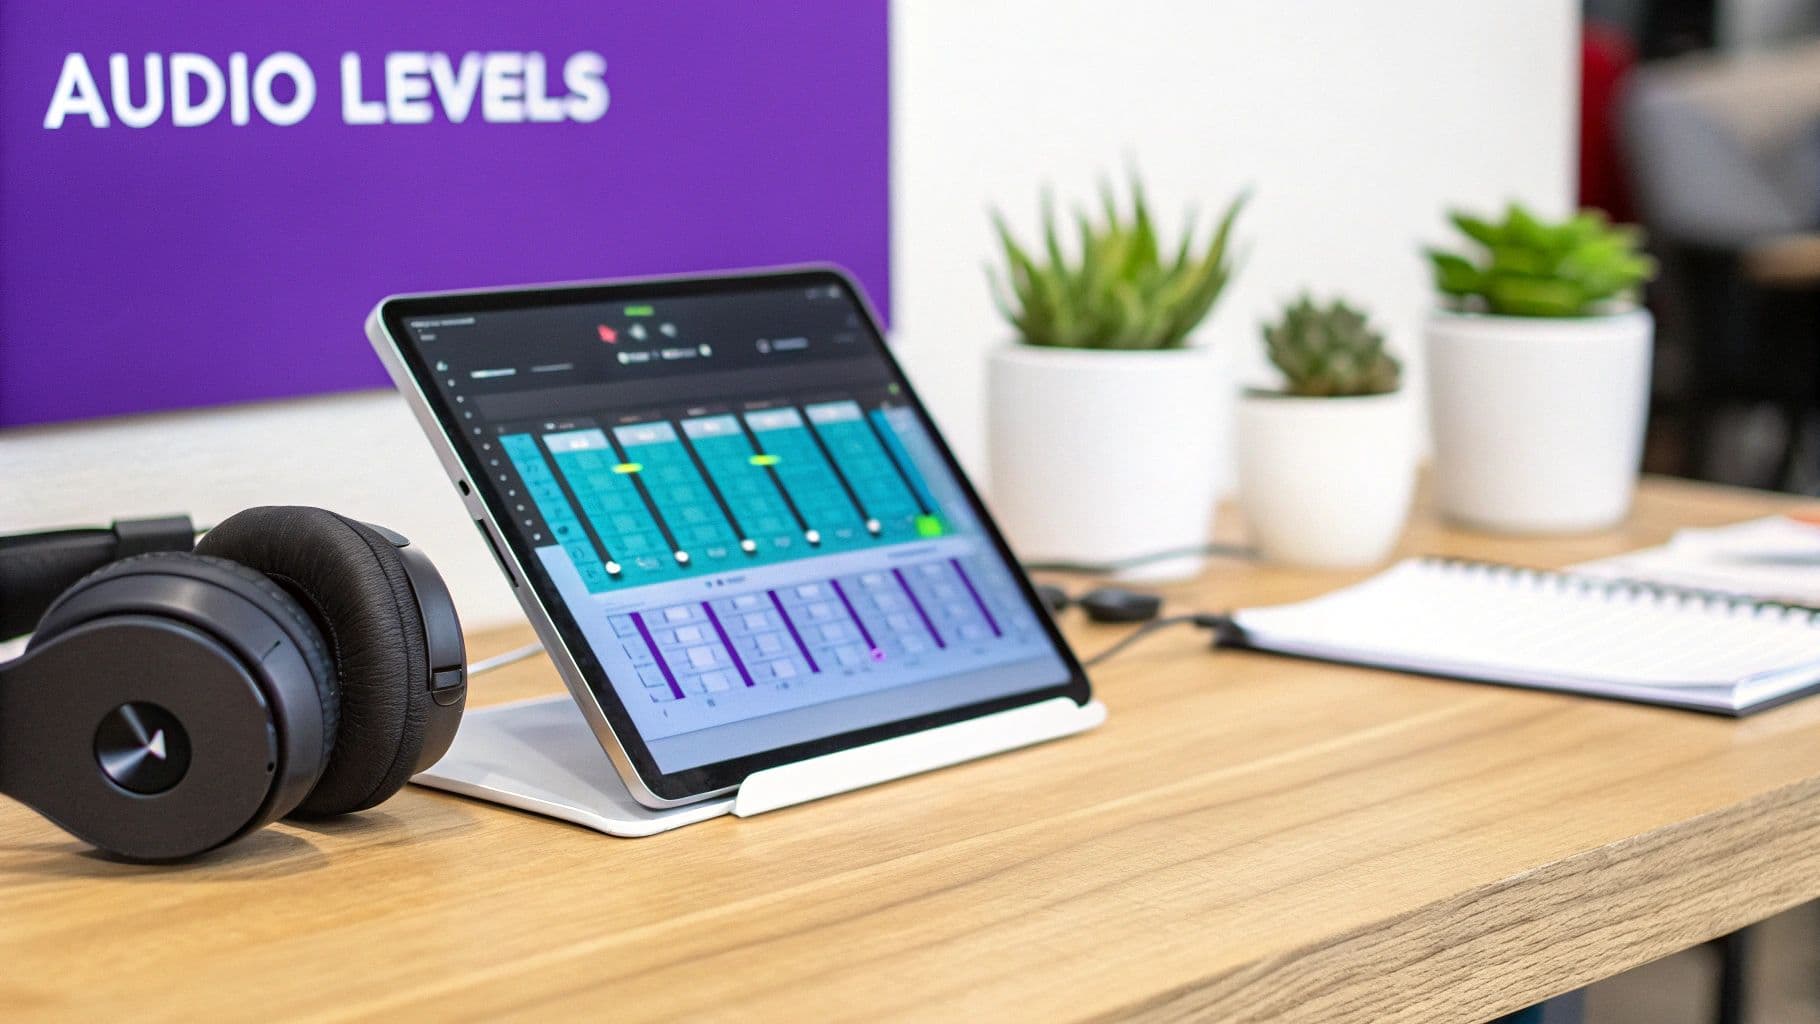
You've got your video and audio synced up perfectly, but the job isn't done yet. I've seen countless great edits fall flat because of bad sound mixing. Nothing makes a viewer click away faster than a soundtrack that completely drowns out the person speaking, or music so quiet it feels like an afterthought. This final polish is what separates the amateurs from the pros.
Getting the audio balance right is all about making sure every sound has its place. Think of it less as just adjusting volume and more as guiding your audience's attention. The music is there to support the story, not to steal the show.
Finding the Right Balance
Here’s my go-to workflow: I always start with the most important audio, which is usually dialogue or a voiceover. I get that set to a solid, consistent level first. Only then do I start bringing in the music, carefully adjusting its volume until it sits nicely in the background, complementing the speech without competing with it.
Honestly, your ears are your best friends here. You have to play back the video over and over, listening for those moments where the music either jumps out too much or vanishes completely. If you want to dive deeper into the post-production mindset, learning to edit videos like a pro will give you a huge advantage.
Using Audio Ducking for Clarity
Manually dipping the music volume every time someone opens their mouth is a massive pain. Thankfully, there’s a brilliant technique called audio ducking that automates this for you. Essentially, it automatically lowers the music volume whenever it detects dialogue or a voiceover.
Most online video editors these days have this built right in, often as a simple toggle. You just tell the software which track is your dialogue, and it does the heavy lifting. The result is a clean, dynamic mix where the music swells in the quiet moments and then gracefully makes way for the speaker.
Audio ducking is one of those subtle tricks that makes a huge difference. When it's done right, the audience won't even notice it's happening—they'll just feel that the video sounds clear and professional.
Creating Smooth Transitions with Fades
Never let your music just start or stop abruptly—it’s jarring and feels unfinished. The key to a polished feel is using fade-ins and fade-outs.
- Fade-in: Gently bring the music in at the start of a scene or the beginning of your video. This eases the viewer into the mood you're creating.
- Fade-out: At the end of the video, smoothly lower the volume to complete silence. It gives your content a sense of closure instead of just cutting off.
Fades are also your best tool for switching between different songs. A simple crossfade, where one track fades out as the next one fades in, keeps the energy flowing without any awkward silence. These little details really add up, and for more tips, it's worth checking out some guides on how to enhance audio quality in your work.
How to Export and Handle Music Copyright Correctly
You’ve done the hard work. The music is perfectly synced, the levels sound just right, and your video is officially ready for the world. But don't hit "upload" just yet. This final step—exporting—is where your project goes from a file on your computer to a finished video people can actually watch.
Getting the export settings right is critical. The wrong choices can leave you with a blurry, pixelated mess or a file so massive it takes forever to upload. And just as important is the final copyright check. Taking a moment to confirm you have the proper rights will save you from the headache of copyright claims and takedowns later on.
Dialing in the Best Export Settings
The export menu in any video editor can look pretty overwhelming, but for most online video, you only need to get a few key settings right. Your goal is to strike the perfect balance between high quality and a manageable file size, and the "right" settings almost always depend on where you plan to share the video.
Generally, these are the settings you'll want to use for almost any online platform:
- Format: Go with MP4 (H.264). It's the gold standard for online video for a reason—it delivers fantastic quality without creating a gigantic file. Plus, it plays nicely on everything from YouTube to a smartphone.
- Resolution: Keep it simple and export at the same resolution you edited in. If your project was 1080p (1920x1080), export it in 1080p. Bumping it up to 4K won't magically add detail; it will just bloat your file size.
- Bitrate: Think of bitrate as the amount of data packed into each second of your video. A higher bitrate means better quality but a bigger file. For a standard 1080p video, somewhere between 8-12 Mbps is the sweet spot for a crisp-looking upload.
Recommended Export Settings for Major Platforms
Use this quick-reference guide to select the right export settings for maximum quality and platform compatibility.
| Platform | Recommended Resolution | Recommended Format | Key Tip |
|---|---|---|---|
| YouTube | 1080p or 4K | MP4 | YouTube compresses everything heavily, so always start with the highest quality file you can. |
| Instagram Reels | 1080x1920 (Vertical) | MP4 | Keep it vertical and under 90 seconds. You have to play by the platform's rules. |
| TikTok | 1080x1920 (Vertical) | MP4 | Audio is everything on TikTok. Make sure your music is loud, clear, and punchy. |
By tailoring your export to the platform, you give your video the best possible chance of looking and sounding great once it's live.
Navigating the Tricky World of Music Copyright
Alright, let's talk about the single most important rule when you add music to a video online: copyright. Using a song you don't have the rights to is the fastest way to get your video muted, demonetized, or taken down entirely.
The moment you upload a video, automated systems like YouTube’s Content ID are already scanning it for copyrighted material. It’s not a matter of if you’ll get flagged, but when.
If you got your music from a legitimate royalty-free library like Epidemic Sound or Artlist, you’re in good shape. These services give you a clear license that serves as proof you have permission to use the track in your content.
The sheer volume of music today is staggering. YouTube Music's market share shot up to 9% by early 2024, as music videos remain one of the most popular forms of content online. With an estimated 120,000 new songs hitting streaming platforms every single day, creators have more choices than ever—but this also makes proper licensing absolutely essential. You can dig deeper into these YouTube Music statistics to see just how big the landscape has become.
What if you get a copyright claim anyway? First, don't panic. If you properly licensed the music, all you need to do is file a dispute through the platform and provide your license certificate. In most cases, the claim is released quickly, and your video is back to normal.
Got Questions? We've Got Answers.
When you're deep in the editing process, trying to get that music track just right, a few questions always seem to come up. I've heard them countless times from creators just starting out. Let's tackle some of the most common hurdles you might face so you can avoid any frustrating dead-ends.
Here’s the straight talk on what often trips people up.
Can I Just Grab a Song from Spotify for My Video?
I wish I could say yes, but it's a hard no. Using music from your personal Spotify or Apple Music account in a video is a classic copyright mistake. Your subscription is just a license to listen, not to broadcast or republish the music in your own creative projects.
To stay on the right side of the law, you need a track from a source that offers a sync license. This is exactly what royalty-free music libraries are for.
What's the Easiest Free Tool to Get Started With?
If you're looking for something that just works without a lot of fuss, I usually point people toward tools like CapCut or the video editor inside Canva. They're built for speed and are perfect for social media clips. Plus, they often come with their own little libraries of audio you can use without worry.
Feeling a bit more ambitious but don't want to get overwhelmed? Microsoft's Clipchamp is a fantastic free choice that gives you a bit more horsepower under the hood.
The best advice I can give is that the "easiest" tool is the one that actually fits what you're trying to do. Quick and simple is great for a Reel, but you'll want more precision for a longer YouTube video.
How Do I Lower the Music When Someone is Talking?
Ah, the classic dialogue problem. The technique you're looking for is called audio ducking, and it's a lifesaver. Many modern online editors have an automatic ducking feature. It’s pretty magical—you tell it which track is the dialogue, and it automatically dips the music volume whenever speech is detected.
If your editor doesn't have that shortcut, you'll have to do it the old-fashioned way. This involves manually splitting your music track at the start and end of the dialogue sections and then lowering the volume for just those clips. It takes a bit more time but gives you total control.
Is It Okay If I Only Use 10 Seconds of a Song?
This is a persistent myth, but unfortunately, it’s just not true. You can absolutely get a copyright strike for using even a few seconds of a song. There’s no "10-second rule" that magically protects you. While "fair use" exists, it's a very complicated legal concept and almost never applies to just dropping a pop song into your video to make it cooler.
The safest assumption is always this: using any amount of copyrighted music without a license is a gamble that could get your video taken down.
Ready to skip the hassle and create stunning karaoke or lyric videos in minutes? With MyKaraoke Video, you can automatically sync lyrics and customize your visuals effortlessly, right in your browser. Start creating for free today!