Ever posted a video on Twitter only to hear crickets? We've all been there. You're not just trying to upload a file; you're trying to stop the endless scroll and get someone, anyone, to pay attention. A little bit of prep work before you hit that upload button is what separates a viral sensation from a video that just... sits there.
Why Your Twitter Videos Aren't Getting Views
It’s a uniquely frustrating feeling, isn't it? You pour your heart and soul into creating a video you think is brilliant, but once it goes live... nothing. The likes and retweets just don't show up. The hard truth is that success on X (what we all still call Twitter) is less about having great content and more about knowing how to play the platform's game.
So many creators stumble into the same old traps. They might upload a gorgeous widescreen video that gets butchered by the mobile feed's crop, or they post a clip that’s a few seconds too long and gets awkwardly cut off right before the punchline. These tiny technical goofs can sink your video before it ever has a chance to swim.
Mastering the Technical Handshake
Before you even dream of uploading your video, you need to do what I call a "technical handshake" with the platform. This just means making sure your video file is formatted exactly how X likes it. It’s the boring-but-essential part that prevents weird compression artifacts, ugly black bars, or—worst of all—the dreaded "upload failed" error.
Think of it this way: X has some ground rules for video. For most users, your video can be up to 2 minutes and 20 seconds (that's 140 seconds total) and no larger than 512MB. Stick to MP4 or MOV file types using the H.264 video codec and AAC audio, and you'll be golden. You can get a full rundown of X's video stats from sources like Analyzify.com.
It's More Than Just the Upload Button
Your video is just one piece of the puzzle. The video is the main attraction, sure, but the text, the thumbnail, and even when you post are what get people in the door. Ignoring these is like releasing a summer blockbuster with a poster drawn in crayon.
Here’s a quick rundown of what most people miss:
- The Three-Second Rule: Most people scroll with autoplay on but the sound off. Your video absolutely must have a strong visual hook in the first three seconds to make them stop and care.
- Think Vertical: The overwhelming majority of people on X are on their phones. A video formatted for a vertical screen will always look better and perform better than one that forces people to awkwardly flip their phone sideways.
- Context is Everything: Just dropping a video onto the timeline with zero explanation is a recipe for disaster. The text you write with it needs to spark curiosity and give people a compelling reason to press play.
Consider this guide your pre-flight checklist. Let's make sure your next video is ready for takeoff.
Prepping Your Video File for Peak Performance

Before your video can go viral, you need to get it ready for the platform. This is the behind-the-scenes prep work that separates the pros from the amateurs. It’s not about following a stuffy checklist; it’s about making smart decisions that give your content the best possible shot at getting seen.
Think of it like this: you wouldn't just throw random ingredients in a bowl and expect a gourmet meal. Same goes for video.
Your first decision is the file format. Twitter plays nice with both MP4 and MOV files, but I've learned from experience to stick with MP4. It's the gold standard for a reason—great quality, universal compatibility, and far fewer headaches when you hit that upload button.
Choosing the Right Dimensions
Next up is the aspect ratio, and this is where a lot of people go wrong. A standard widescreen (16:9) video might look fantastic on a desktop monitor, but let's be real: most people are scrolling on their phones.
A square (1:1) or vertical (9:16) video is your secret weapon on mobile. It physically takes up more of the screen, making your content impossible to just scroll past. It’s a simple change that makes a huge difference.
When you upload a video, you’re basically handing it over to Twitter to be squeezed and compressed. To keep it from looking like a pixelated mess, always start with the highest quality file you can, preferably 1920x1080 (1080p). This gives Twitter's system more information to work with, which means a sharper, cleaner video for your audience.
Of course, the biggest hurdle for most creators is the time limit. You have to know how long videos can be on Twitter before you start editing. Trying to hack down a 5-minute masterpiece into a 2-minute slot is a recipe for disaster.
Learning to trim your clip without sacrificing the story is a true skill. You have to be ruthless and cut anything that doesn't serve the core message. If you're struggling to make those precise cuts, learning https://www.mykaraoke.video/blog/how-to-edit-an-mp-4-video will get you squared away. A few minutes of extra effort here can turn a decent clip into a powerhouse performer.
Mastering the Desktop Upload Process
Uploading a video from your computer might seem basic, but it's hiding some seriously powerful features that most people scroll right past. While your phone is perfect for capturing those in-the-moment clips, the desktop is where you go to give your video that final, professional shine.
Let’s walk through how to upload a video on Twitter from your desktop like a seasoned pro.
Once you pop open the tweet composer and click that little media icon to grab your video file, you're not just attaching it—you're unlocking a secret editing bay. Seriously, most users just slap the file in and hit "Tweet," completely missing out on the good stuff.
Fine-Tuning Your Video Before It Goes Live
The first thing you should notice is the "Edit" button that appears over your video's thumbnail. My advice? Always click it. This is your command center.
Inside, you'll find a simple trimming tool. It's perfect for snipping off that awkward pause at the beginning or end, making sure your video gets straight to the point.
But the real magic lies in two game-changing features you only get on desktop:
- Custom Thumbnails: Don't let Twitter's algorithm choose a random, blurry frame as your video's first impression. You get to hand-pick the most compelling shot from your video that will stop scrollers in their tracks.
- SRT Captions: Did you know a whopping 82% of Twitter users watch videos on the platform with the sound off? This makes captions an absolute must-have. On desktop, you can upload a dedicated
.SRTcaption file, instantly making your content more accessible and engaging for the silent majority.
This handy visual breaks down the core process into its simplest form.
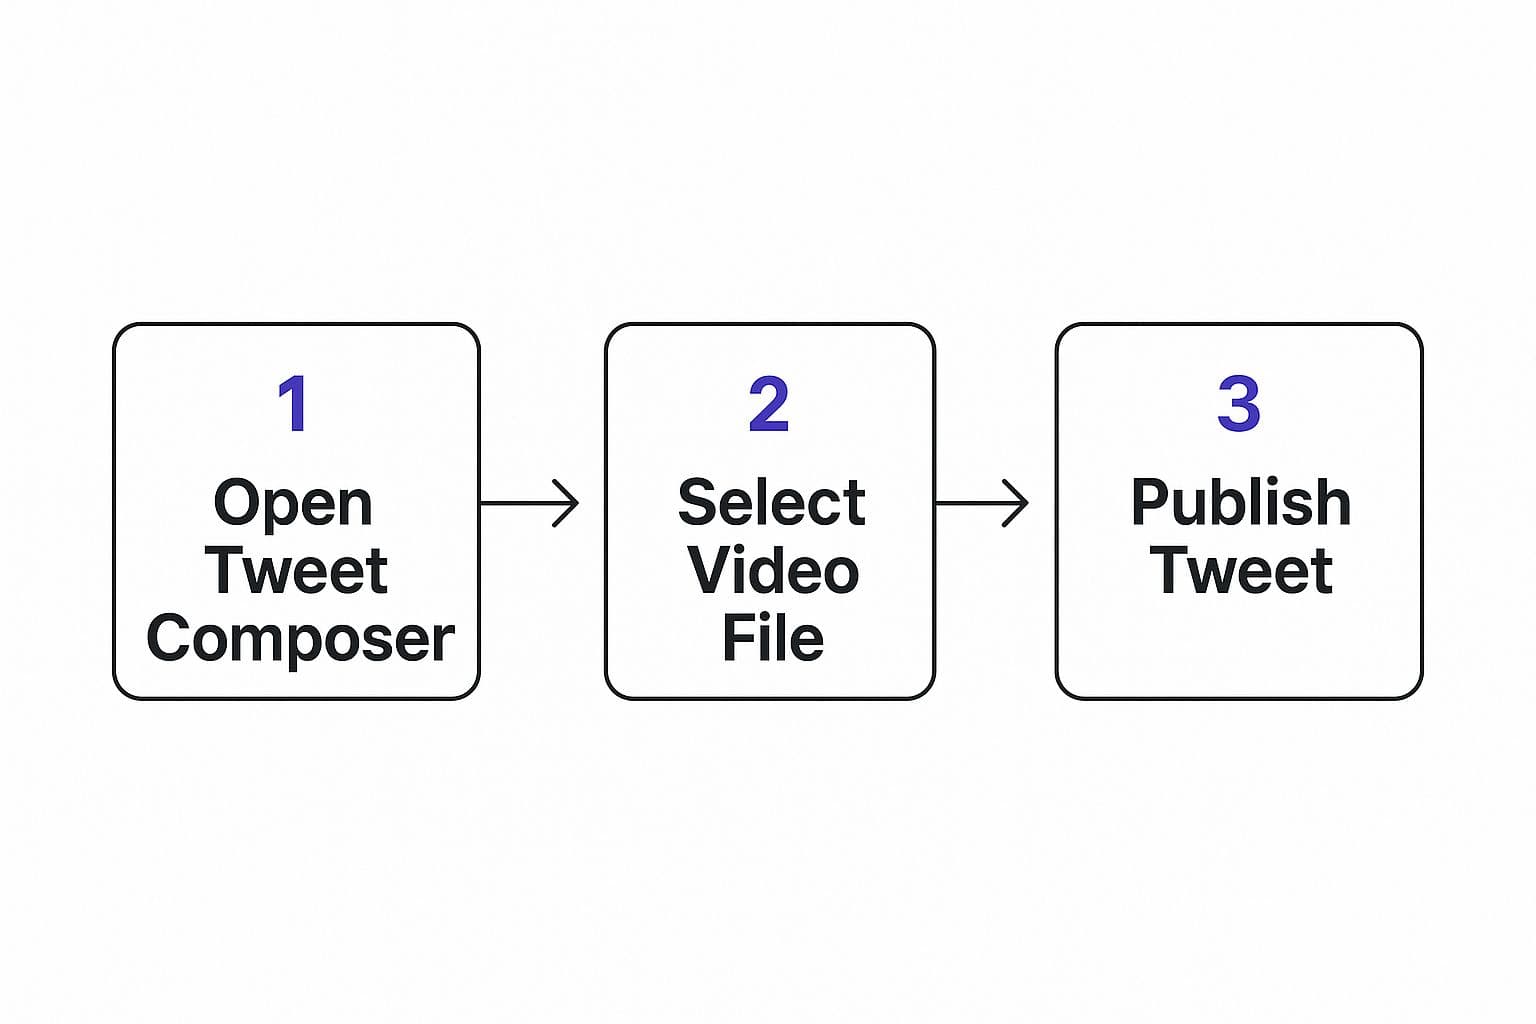
While the infographic shows the basic path, the real secret sauce is what you do after you select the file. That’s where you turn a simple upload into a high-performing piece of content.
My Two Cents: Think of the desktop uploader as your secret weapon for engagement. Taking those extra 60 seconds to add a killer thumbnail and proper SRT captions can be the difference between a video that gets ignored and one that gets shared. These aren't just bells and whistles; they're essential tools for winning on Twitter.
Uploading Video on the Go Like a Pro

Let's be real—some of the best content happens when you're far away from a desk. A spontaneous moment, a behind-the-scenes peek, an electrifying live event... that's gold. Knowing how to upload a video on Twitter straight from your phone isn't just a convenience; it's your secret weapon for authentic, in-the-moment engagement.
Think of it as a direct line to your audience's feed. Posting a video right from your phone gives it a raw, personal feel that polished, pre-produced content often lacks. It shows you’re right there in the action, and people absolutely love that immediacy.
The good news? It couldn't be easier. Just tap the compose button, hit the media icon, and pick a clip from your camera roll. But hold on—don't just slam that "Tweet" button yet! The mobile app has a few tricks up its sleeve.
Quick Edits Before You Post
Before you send your masterpiece out into the world, a few seconds of prep can make a huge difference. You've got more editing power in your pocket than you might realize.
- Trimming on the Fly: The app has a simple drag-and-drop trimmer. It’s perfect for snipping off that awkward second where you were fumbling to hit record or the shaky camera movement at the very end.
- Tagging People and Places: Don’t waste precious characters in your tweet. You can tag relevant accounts or add a location right from the tweet composer, giving your video more context and reach.
- Adding Alt Text: Seriously, don't skip this. Tap that little "ALT" badge on your video thumbnail to write a description. This is a game-changer for accessibility and shows you care about your entire audience.
Pro Tip: You can't add SRT caption files on mobile like you can on a desktop, but don't sweat it. Given that videos with text see 11% more views, it’s worth the extra step. Just use a simple mobile video editor to burn the captions directly onto your clip before you upload it to Twitter.
Mastering these quick mobile moves turns a simple phone video into a high-impact post. Imagine capturing a fantastic customer testimonial at a conference and getting it online in minutes. That kind of speed creates a buzz that a scheduled, studio-shot video just can't compete with. It’s how you keep your feed feeling alive and genuinely engaging.
Writing a Tweet People Can't Help But Watch
Alright, your video is uploaded and ready to go. But hold on—the work isn't over yet. Now for the fun part: writing the tweet that makes people actually stop scrolling and hit play. This is your moment to be a master marketer. The text you write is the movie poster, the flashing billboard, and the enticing trailer all rolled into one tiny package.
Your goal is to spark curiosity without spoiling the whole show. Try kicking things off with a provocative question, a controversial take, or a wild statistic that your video digs into. Think of your tweet as the irresistible bait and your video as the hook that reels them in.
Getting the Timing and Reach Just Right
Even a masterpiece of a video won't get seen if you just toss it into the void. This is where you get strategic with timing, hashtags, and tagging. Nailing the launch time can give your video that initial burst of momentum it needs to catch the eye of the Twitter algorithm.
So, when's the best time to post? While there's no single silver bullet, we have some solid data to guide us. An analysis of over a million posts found that 9 AM on Wednesdays is a peak time for engagement. What's really fascinating, though, is that while videos got more love than images, good old-fashioned text posts still beat video by almost 30%! This just proves how critical your tweet's copy is. You can get a closer look at the data and other timing insights from the research on Buffer.com.
My Personal Takeaway: I've learned this the hard way: don't just dump your video and hope for the best. I treat every video tweet like its own mini-launch campaign. My go-to formula? A killer question, one or two super-relevant hashtags, and a tag to a person or brand I mentioned. It's a simple recipe that gives your video a fighting chance from the get-go.
When it comes to hashtags, less is definitely more. Nobody likes that desperate-looking wall of tags at the bottom of a tweet. Instead, try this balanced approach:
- One broad, popular hashtag to reach a wider audience (like
#VideoMarketing). - One niche, community-specific hashtag to connect with your core fans (like
#IndieFilmmakerTips).
This mix helps you cast a wide net while still hitting a targeted, and likely more engaged, group of people. Writing the tweet is a huge part of the battle, but understanding the bigger picture with strategies to truly dominate Twitter will set you apart. To really round out your game plan, take a peek at our guide on the top social media marketing strategies. Now go give that video the epic launch it deserves
Answering Your Top Twitter Video Questions
Still got a few nagging questions about getting your videos to work right on Twitter? Don't worry, you're in good company. Sometimes, getting your masterpiece from your camera roll to the timeline feels like you're trying to solve a Rubik's Cube in the dark.
Let's break down some of the most common headaches and strategy questions we hear all the time.
Why Does My Video Look Blurry on Twitter?
Ah, the classic. This is hands-down the number one frustration for just about everyone. The short answer? Blame Twitter's aggressive compression. The platform squeezes every video file down to size so it loads fast on people's feeds, but that process can absolutely wreck your video quality.
The best way to combat the blur is to give Twitter a better file to start with. If you upload a crisp, clean 1080p video, the compression has more data to play with, and the final result will look much sharper. Think of it this way: if you start with a fuzzy, low-res video, it's only going to get worse from there.
Can I Post a Video Longer Than 140 Seconds?
For probably 99% of us, that 2-minute-and-20-second (140-second) limit is a hard and fast rule. It’s what keeps the feed moving and videos punchy. For the average user, there's just no getting around it.
Now, there is a tiny exception. Certain verified publishers or advertisers who have access to Twitter’s professional media tools can sometimes get permission to post videos up to 10 minutes long. But for the rest of us mortals, the best strategy is to embrace the limit. Trim your video down before you upload, either in an external editor or using Twitter’s own simple trimmer when you post.
How Do I Add Captions to My Twitter Video?
Let's be clear: adding captions isn't just a "nice-to-have" anymore. With so many people scrolling with the sound off, they are absolutely essential for making sure your message actually lands. It's a fundamental part of good video marketing for small business and massive brands alike.
The most straightforward way to do this is from your computer.
When uploading from a desktop browser, look for the "Upload caption file (.srt)" button in the video editing screen. Click it, choose your pre-made SRT file, and you're golden. It’s a total game-changer for engagement and accessibility.
Unfortunately, the mobile app doesn't let you upload a separate SRT file. If you live on your phone, your best bet is to "burn" the captions directly into your video. This means using a video editing app to permanently embed the text onto the video file itself before you upload. It’s one extra step, but it’s crucial for connecting with the silent-scrolling crowd.
Ready to stop wrestling with clunky software and start creating amazing karaoke or lyric videos in minutes? MyKaraoke Video uses powerful AI to handle the hard parts, like syncing lyrics, so you can focus on creativity. Make your first video today at https://www.mykaraoke.video.