You can have the best camera and the slickest editing software, but if you don't start with a solid plan, your training video will fall flat. The real magic happens long before you hit record. It all comes down to mastering three fundamentals: defining your learning objectives, knowing your audience inside and out, and picking the right video format to deliver your message. Get these right, and you’re on your way to creating a learning tool that actually works.
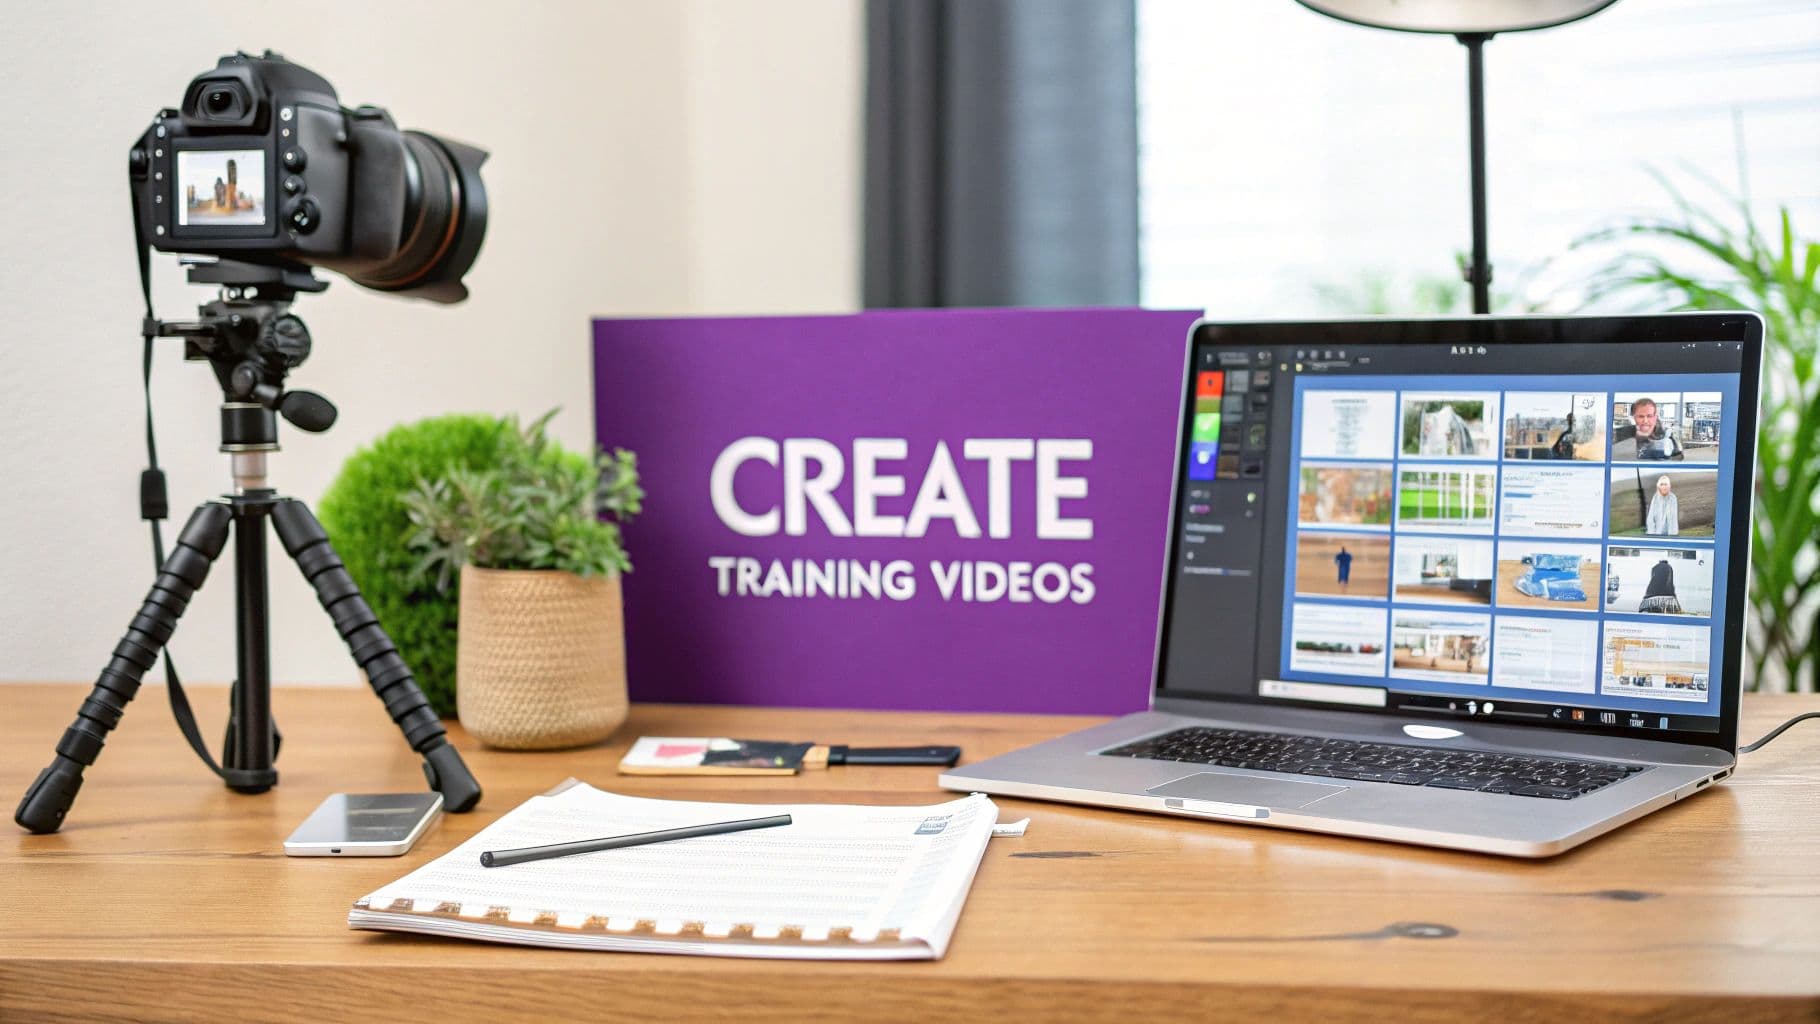
Planning Your Training Video for Maximum Impact
Think of the planning stage as building the foundation for a house. Without a strong blueprint, everything that follows is at risk of collapsing. This pre-production work is where you prevent unfocused, confusing, or just plain irrelevant content.
Taking the time to strategize upfront saves you a massive headache—and a lot of money—down the road. It forces every decision, from the script's tone to the visuals you choose, to be deliberate and goal-oriented. This is more important than ever. By 2025, video is projected to make up a staggering 82% of all internet traffic. For businesses, that means video-based learning isn't just a nice-to-have anymore; it's the core of effective employee training.
Define Clear Learning Objectives
First things first, you need to answer one critical question: "What, exactly, should the viewer be able to do after watching this?"
Don't settle for vague goals like "understand the new software." That's not actionable. Instead, get laser-focused on specific, measurable outcomes.
A much better objective sounds like this: "After watching, the employee will be able to log into the CRM, create a new client profile, and correctly assign a follow-up task." See the difference? That level of clarity becomes your north star, guiding every single decision and ensuring you only include what's absolutely necessary.
This infographic shows how to approach setting clear goals for your training content.
Following this path—from identifying your audience to aligning the final outcomes—makes sure your objectives are both relevant and achievable.
Know Your Audience and Choose a Format
Next up: who are you talking to? Are you training seasoned engineers who live and breathe technical jargon, or are you onboarding brand-new hires who don't know the company lingo yet? The answer dramatically changes your language, pacing, and the overall complexity of the video.
A training video for a global team, for instance, might need simpler language and more on-screen visuals to bridge language gaps. On the other hand, a tutorial for senior developers can jump right into the weeds.
Once you’ve got a handle on your audience and your objectives, you can pick the best video format for the job. Not all video styles are created equal, and the right choice makes all the difference in how well your message is received.
Here’s a quick look at some popular formats and where they shine.
Choosing the Right Training Video Format
| Video Format | Best For | Key Benefit |
|---|---|---|
| Screencasts | Software tutorials, process walkthroughs, and step-by-step guides. | Shows the exact steps on-screen, leaving no room for confusion. |
| Talking-Head | Leadership messages, expert interviews, and company announcements. | Builds a personal connection and establishes trust and authority. |
| Animated Explainer | Breaking down complex or abstract concepts, like data privacy rules. | Simplifies intricate ideas with engaging and easy-to-follow visuals. |
Selecting the right format is a huge step toward making sure your training sticks. As you wrap up your planning, also consider how you can squeeze more value out of your video by looking into different https://www.mykaraoke.video/blog/content-repurposing-strategies. And if you're looking to go even deeper, check out a comprehensive guide to training video creation for more advanced tips.
Crafting a Script That Teaches and Engages

The difference between a training video people actually watch and one they just click through is almost always the script. This is your chance to turn your goals and outlines into actual words that connect with your audience. Think of it as the soul of your video; it gives every second a clear purpose.
Here’s a tip I learned the hard way: write for the ear, not the eye. Read everything you write out loud. Does it sound like a real person talking? Or does it sound like an instruction manual? If you wouldn't say it to a coworker in a normal conversation, it’s time for a rewrite. Keep it simple and direct.
Breaking Down Complex Information
One of the toughest parts of scripting is taking a big, complicated topic and making it easy to follow. You can't just throw everything at the viewer at once. The trick is to slice it into smaller, logical pieces.
Let's say you're teaching people to use a new CRM. A single, massive video called "How to Use the CRM" is a recipe for glazed-over eyes.
Instead, think in micro-lessons and structure your script around specific tasks:
- First up: How to log in and get familiar with the dashboard.
- Next: Let's walk through creating a brand-new customer contact.
- Then: I'll show you how to assign a task to someone on your team.
This structure makes the information way less intimidating. It also means that six months from now, someone can quickly find the exact 2-minute clip they need without scrubbing through a 30-minute video.
Visualizing the Flow with a Storyboard
With your script drafted, it’s time to start thinking visually. This is where a storyboard comes in, and it's a non-negotiable step in my book. It doesn't need to be fancy—stick figures and scribbled notes work just fine. A storyboard is simply your blueprint for matching the words to the visuals.
Go through your script, and for each main point, sketch out what will be on screen. Will it be a shot of the presenter? A screen recording of the software? Maybe a graphic or some text popping up?
Storyboarding is the single best way to save yourself a massive headache during filming and editing. It forces you to think through the pacing, camera angles, and any graphics you'll need before you hit record. Trust me, it prevents so many preventable mistakes.
This process helps you see the video before you make it. You might notice a long stretch of just talking that could really use a visual, or realize that a certain concept needs an on-screen text summary to land properly. It’s the essential bridge between your words on a page and a professional, polished video.
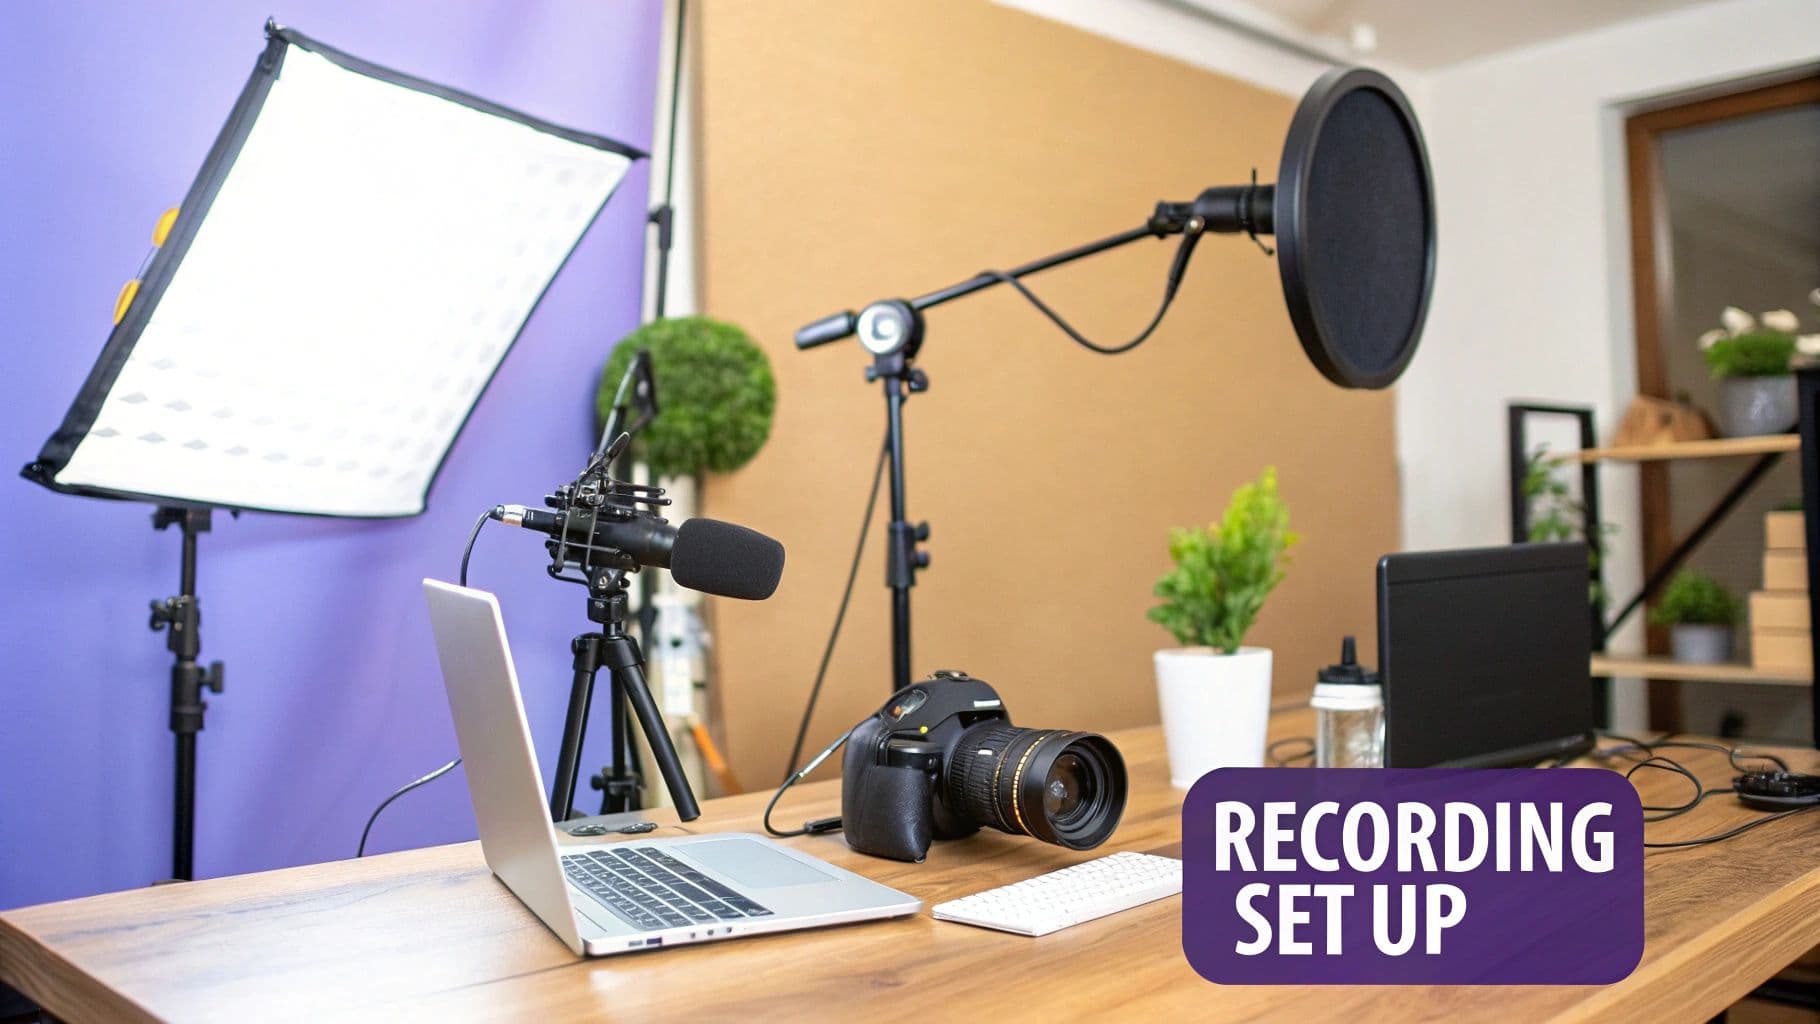
Setting Up Your Recording Space on a Budget
You don't need a Hollywood-sized budget to create high-quality training videos. Far from it. The secret is knowing where to spend your money to get the biggest bang for your buck, and you can get surprisingly professional results with gear that’s accessible and affordable.
Forget about that high-end camera for now. The smartphone you already own is probably more than capable of shooting crisp, clear video. If you ever feel the need to upgrade, a solid entry-level DSLR or mirrorless camera will be a reliable workhorse for years to come.
But here’s a piece of advice that every seasoned creator learns, often the hard way: your audio quality is far more important than your video quality. Think about it. People will forgive slightly grainy footage, but they will absolutely not stick around for audio that’s muffled, echoey, or just plain hard to hear. A small investment here pays off in a big way.
Prioritize Crystal-Clear Audio
A simple USB microphone or a lavalier mic (the little clip-on kind) can instantly make you sound 100 times more professional than your phone or laptop’s built-in microphone. These are budget-friendly and fantastic for isolating your voice from distracting background noise. If you want some specific ideas, we’ve put together a guide on finding the best microphone for recording that fits your setup and budget.
Master Simple and Effective Lighting
Once your audio is sorted, good lighting is the next thing to tackle. It's what separates a flat, amateur-looking shot from something that looks dynamic and polished. And no, you don't need to shell out for expensive studio lights to get there.
The three-point lighting setup is an industry-standard for a reason—it just works.
- Key Light: This is your primary, brightest light source. Place it off to one side of the camera. A bright lamp or even a well-placed window can do the trick.
- Fill Light: A softer light on the opposite side of the key light. Its job is to "fill in" the harsh shadows on your face.
- Back Light: Position this one behind you. It creates a subtle outline that separates you from the background and adds a nice sense of depth to the shot.
You can pull this off with a creative combination of desk lamps, floor lamps, or even by bouncing light off a big piece of white poster board. The goal is simple: create a well-lit scene that doesn’t have any distracting, harsh shadows.
A quiet, controlled environment is non-negotiable for quality recording. Choose a small room with soft surfaces like carpets, curtains, or even blankets hung on the walls to absorb sound and prevent echo.
The final cost of producing a training video can swing wildly based on things like animation, team size, and editing. By focusing on these smart, budget-friendly audio and lighting tips, you can keep those costs in check while dramatically improving your video's final quality. For a deeper dive into budgeting, check out the insights on how to budget for your training video production on learnexperts.ai. Getting this setup right ensures your raw footage is clean, crisp, and ready for the editing room.
Recording Confidently and Capturing Great Footage
Alright, your script is polished and the set is ready. Time to hit the record button. All that prep work is about to pay off, but this is also the moment when the nerves usually show up. Don't worry, feeling a bit awkward on camera is completely normal for almost everyone.
Here’s a little mental trick I’ve used for years: pretend you’re talking to just one person. Imagine a friendly colleague sitting right on the other side of the camera, and you're just explaining something to them. This simple shift changes everything, making your delivery feel more like a conversation and less like a stiff, formal speech. Keep your body language open and don’t forget to smile where it feels natural—it makes you much more engaging to watch.
Capturing Your Screen Like a Pro
If you're creating a software tutorial or walking through a presentation, your screen recording is the star of the show. Getting clean, easy-to-follow screen footage is non-negotiable for helping your audience learn. The best tools out there will let you capture both your screen and your voiceover at the same time, which is a huge time-saver.
Here’s the simple process I follow to get great screen recordings every time:
- Clean Up Your Digital Space: Before you even think about recording, close out of every unnecessary browser tab and application. Turn off all your notifications—desktop, email, Slack, everything. A clean, distraction-free screen keeps the focus exactly where it needs to be.
- Make Your Cursor Stand Out: Dive into your screen recording software’s settings and look for options to highlight your cursor or show a visual indicator for mouse clicks. This is a small detail that makes a massive difference in helping viewers track your actions.
- Always Do a Dry Run: Do a quick, unrecorded practice run of your script while clicking through the steps on screen. This is your chance to iron out the kinks, find any awkward phrasing, and get your timing down before the pressure is on.
Trust me, a few minutes of prep here will save you hours of frustrating editing later.
A quick piece of advice: don't chase the perfect, one-take recording. It’s a myth. If you flub a line, just pause, take a breath, and start the sentence over. Those little mistakes are incredibly easy to snip out in the editing phase.
The Power of B-Roll Footage
Finally, let's talk about a pro-level technique that will immediately make your videos look more polished: using B-roll. In simple terms, B-roll is any extra footage you cut to while your main audio track keeps playing. It's the secret ingredient for breaking up the monotony of a talking head or a long screen demonstration.
What does this look like in practice? If you're talking about a specific software feature, you can cut to a quick, zoomed-in clip of that feature in action. If you mention the importance of teamwork, you could splice in a short shot of colleagues working together. This extra footage doesn't just make the video more visually interesting; it adds context and reinforces what you're saying, keeping your audience locked in.
Editing Your Footage Into a Cohesive Final Video
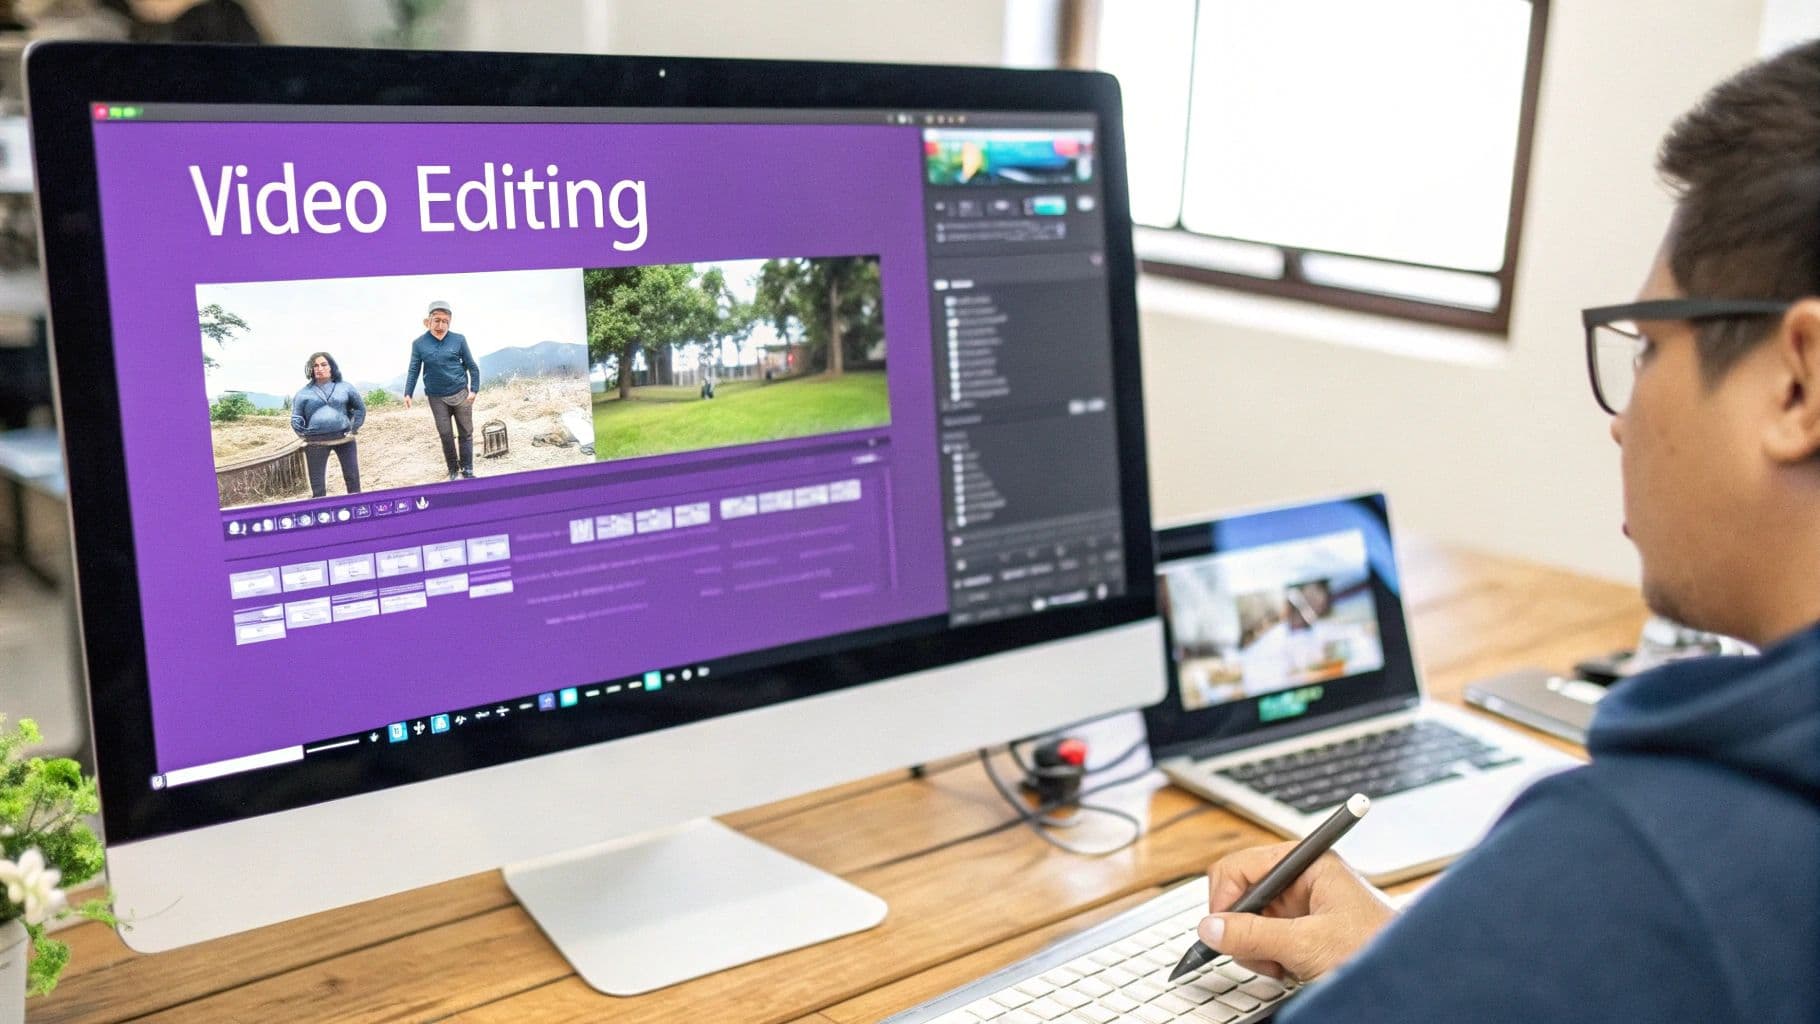
Alright, you’ve got all your raw footage, screen recordings, and audio files ready to go. Now for the fun part: post-production. This is where the magic really happens, and you get to shape all those individual clips into a polished, professional training video. Think of it as sculpting—you're about to trim away everything that isn't essential and refine what's left into a clear, compelling story.
The first thing you'll need is the right tool for the job. You don’t need to break the bank on Hollywood-level software. There are some fantastic, user-friendly options out there that are either free or very affordable. If you're not sure where to start, this guide on the best video editing software for beginners is a great resource for finding a fit.
Assembling Your Timeline and Trimming the Fat
Once you've picked your software, pull all your clips into a new project. The very first thing I always do is create a "rough cut." This means dragging my best takes onto the timeline in the right sequence, using my script as a map.
Don’t get bogged down trying to make it perfect on the first pass. The goal here is just to get the basic skeleton of your video built. Once that's done, you can go back and start tightening things up. Snip out the long pauses, the "ums" and "ahs," and any parts where you repeated yourself. Research shows that videos under 2 minutes get the most engagement, so be ruthless. A tight, focused video is always better than a long, rambling one.
Your primary goal in editing is clarity. Every cut, graphic, and sound effect should serve one purpose: to make the information easier for your audience to understand and retain.
Enhancing the Learning Experience with Visuals and Audio
With your main video timeline looking clean, it’s time to start adding the layers that really make the information stick. This is how you transform a straightforward recording into a genuinely engaging learning tool.
These little additions are what keep people watching and help them remember the important stuff.
- Text Overlays and Titles: I use these constantly to introduce a new section, pop a key term on the screen, or summarize a multi-step process. It gives the viewer a visual anchor.
- Simple Graphics or Animations: You don't need to be a motion graphics artist. Even a simple arrow pointing to the right button in a software tutorial can make a world of difference for understanding.
- Background Music: Find a subtle, royalty-free track and place it underneath your narration. Keep the volume very low. It’s just there to fill the silence and add a bit of polish, not to distract.
Last but certainly not least, give your audio a final pass. Make sure the volume is consistent from start to finish. Most editing programs have tools to reduce any background noise or hiss you might have picked up. Seriously, don't skip this. If your audience has to strain to hear you, you've already lost them. Clear audio is non-negotiable.
So, you’ve poured your heart and soul into creating a fantastic training video. The script is tight, the recording is crisp, and the editing is slick. But what now? A great video sitting on your hard drive isn't doing anyone any good. The real magic happens when you get it in front of your team and figure out if it's actually working.
This final leg of the journey—getting your video out there and seeing how it lands—is what separates a simple file from a powerful learning tool.
Where Should Your Video Live?
Deciding where to host your video really boils down to who it's for.
If you’re training your own team, a Learning Management System (LMS) is almost always the right call. It keeps your content secure, lets you see exactly who has watched what, and fits right into the training programs you already have in place. It's perfect for things like compliance refreshers or getting new hires up to speed.
But what if you're training customers or the general public? In that case, you’ll want to think more like a marketer. Platforms like YouTube or Vimeo give you massive reach. The key is to make your video discoverable. Craft a clear, descriptive title, write a summary that spells out the value for the viewer, and use smart tags so people can find your content when they search for solutions.
Remember, the goal isn't just views; it's learning. A video with 10,000 views is a total failure if 90% of people click away in the first minute.
The demand for this kind of accessible training is exploding. The global e-learning market, which is built on video, hit around USD 314 billion in 2024 and is still climbing. People want to learn on their own terms, on any device. That’s a huge opportunity. You can find more data on these e-learning video consumption trends on recorder.easeus.com.
Tracking What Truly Matters
Forget vanity metrics. A high view count feels nice, but it doesn't tell you if anyone actually learned anything. You need to look deeper at the analytics that show you how people are really engaging with your video.
These are the numbers that will make your next video even better:
- Completion Rate: Did people stick around until the end? If not, your video might be too long, or maybe the middle section drags. A low completion rate is a huge red flag.
- Engagement and Drop-off Points: Your platform’s analytics can show you the exact moment you started losing your audience. Pinpointing these drop-off spots tells you which parts are confusing, boring, or just not landing right.
- Viewer Feedback: Don't underestimate the power of direct feedback. Read the comments. Send out a quick survey. The qualitative insights you get from real people are gold.
By piecing these metrics together, you get the full story of what’s working and what’s not. This isn't just about judging one video; it's about gathering the intel you need to make every future training resource a home run.
Got Questions? We’ve Got Answers
Even the most well-thought-out plan can hit a snag. When you're in the thick of creating training videos, questions are bound to pop up. Let's tackle some of the most common ones I hear from people, which should help you sidestep a few headaches.
How Long Should My Training Video Be?
This is easily the question I get asked the most. While there isn't a single perfect answer, the data is pretty clear: shorter is better.
Viewer engagement really starts to tank after just a few minutes. To keep your audience locked in and actually absorbing the material, aim for a sweet spot between 2 and 6 minutes. If you have a beefy topic that needs more time, don't try to cram it all into one long video. Your best bet is to break it down into a series of bite-sized micro-videos.
How Can I Stop Sounding So Stiff on Camera?
It's one thing to know your material, but it's another thing entirely to deliver it naturally to a lens. It can feel awkward and forced.
Here's a trick I've used for years: tape a small picture of a friendly face—a friend, a family member, even a pet—right next to your camera lens. When you record, talk to that picture. It instantly shifts your delivery from a formal presentation to a genuine conversation.
What’s That Annoying Hum in My Audio?
You've just recorded the perfect take, but on playback, there's a persistent, low-level hum. Ugh. This is a super common problem that can kill an otherwise great video.
More often than not, this is just simple electronic interference. Before you panic, try the easy fixes. Plug your microphone and your computer into completely different wall outlets. If that doesn't work, a handy little gadget called a USB ground loop isolator can often solve the problem instantly.
How Do I Make My Videos More Engaging on a Budget?
You don't need a Hollywood budget or flashy graphics to hold someone's attention. It's the small, smart techniques that make the biggest difference.
- Embrace the Pause: After you make a key point, just stop. Give your viewers a beat to let the information sink in before you move on.
- Ask Questions: Use rhetorical questions to make your audience think along with you. It pulls them into the content actively instead of letting them just watch passively.
- Change Your Angle: You don't need a multi-camera setup. Simply cutting from a wider shot to a slightly tighter one adds a dynamic feel that keeps the viewer's eyes from getting bored.
These simple, intentional tweaks will elevate your training content more than you might think.
Ready to create stunning videos with perfectly synced lyrics in just minutes? MyKaraoke Video uses powerful AI to automate the tedious parts of video creation, letting you focus on what matters. Stop wrestling with complicated software and start making professional-quality lyric and karaoke videos today at https://www.mykaraoke.video.