If you're hunting for the best video editing software for beginners, you'll quickly find that the top contenders all try to balance ease of use with a solid set of features. Programs like Filmora and Apple iMovie are popular for a reason—their drag-and-drop interfaces are a breeze to learn. On the other end of the spectrum, free powerhouses like DaVinci Resolve give you professional-level tools, but you'll need the patience to climb a steeper learning curve.
The trick isn't just picking the most popular tool; it's finding one that clicks with your creative style.
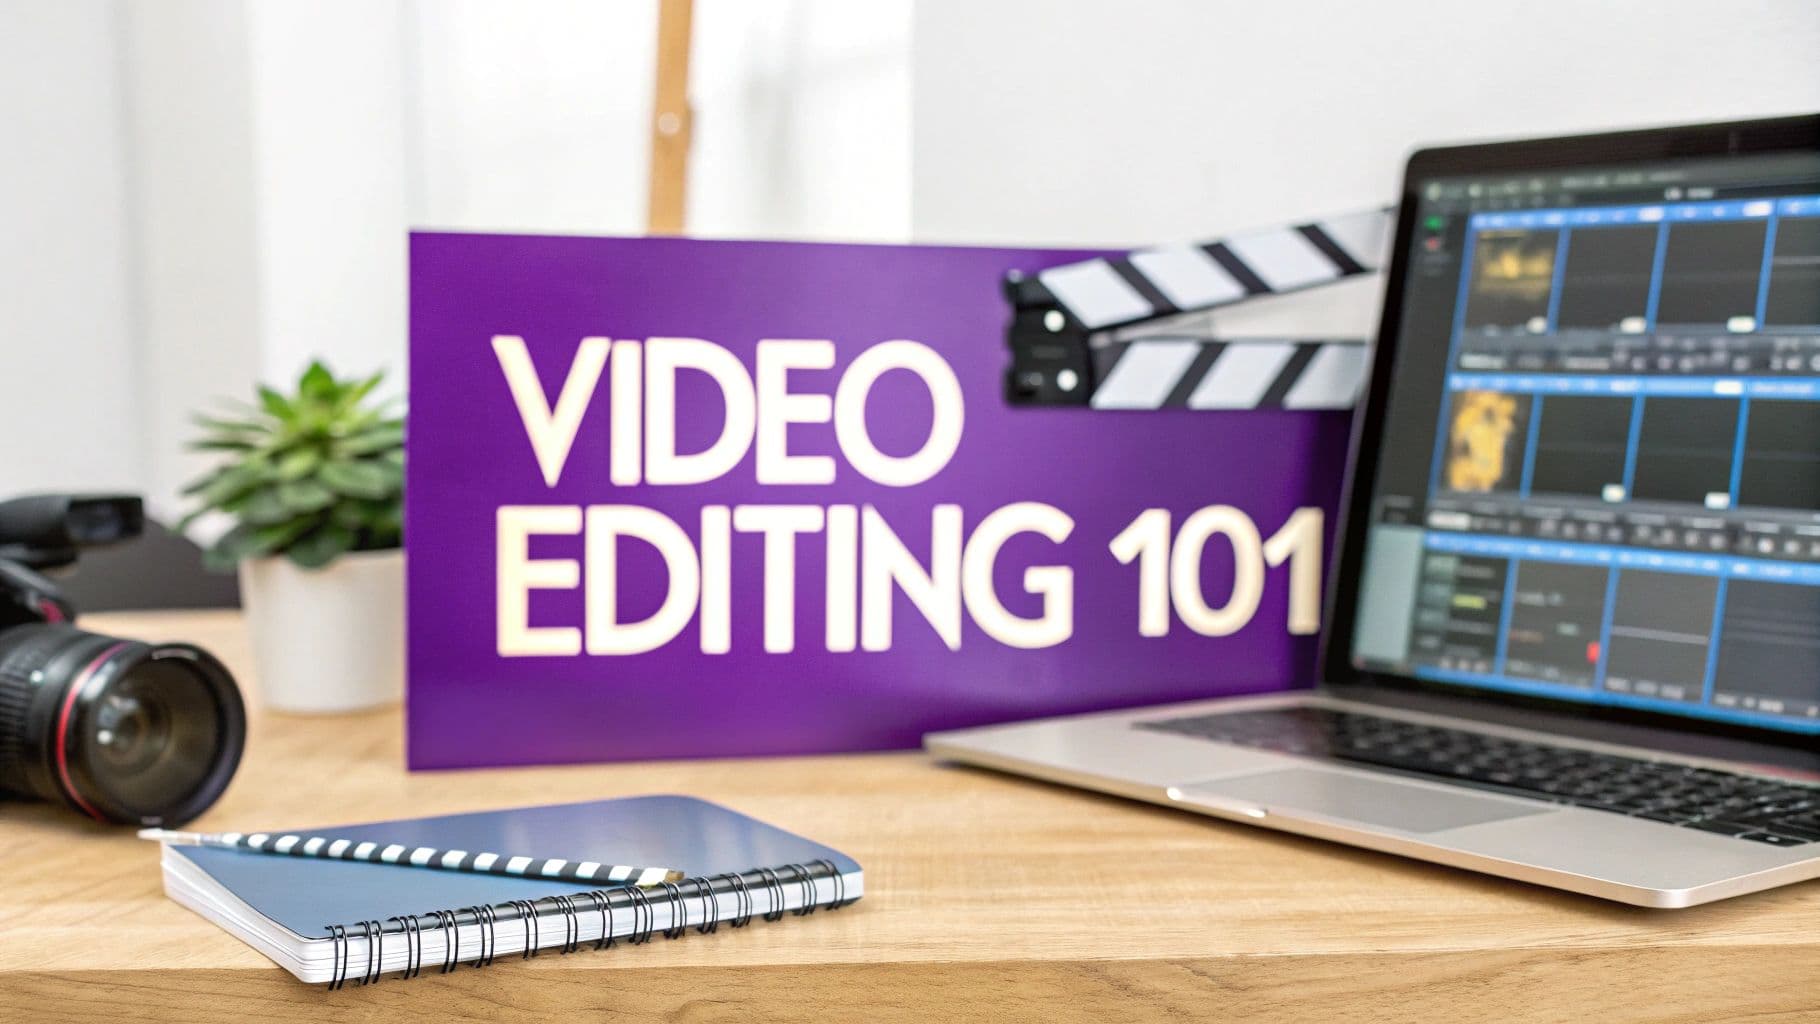
Your Video Editing Adventure Begins Here
Diving into video editing for the first time can feel like you've been handed the keys to a spaceship. It looks cool, but all those glowing buttons, complex panels, and tangled timelines are just plain intimidating. But I'll let you in on a little secret: making awesome videos isn't about knowing what every single button does. It’s about finding the right co-pilot to help you tell your story.
This guide is here to cut through the noise. We're going to break down what actually makes a piece of software great for someone just starting out. It's all about getting those powerful features in a package that doesn't make you want to toss your laptop out the nearest window. So, let’s set aside the tech-speak and overwhelming menus for a minute.
Defining Your Mission
Before you download a single program, you need to know what you're trying to build. Your creative goals are the single most important factor in choosing the right tool for the job.
So, what’s your mission? Are you trying to:
- Become the next YouTube sensation? You'll need an editor with great titling options and a workflow that lets you crank out content quickly.
- Create slick social media clips? Look for something with built-in vertical video templates and super-fast export settings for Instagram or TikTok.
- Produce family videos that don't look like they were filmed in 1998? Simple trimming tools and a library of fun transitions will be your new best friends.
The "best" software is rarely a one-size-fits-all answer. It's the one that aligns with your creative mission, empowering you to bring your vision to life without getting in your way.
Think about it: online videos now make up more than 82% of all consumer internet traffic. There has literally never been a better time to pick up this skill.
By the time you're done here, you won't just know a few popular software names. You'll understand what features actually matter and feel ready to launch your creative journey with confidence.
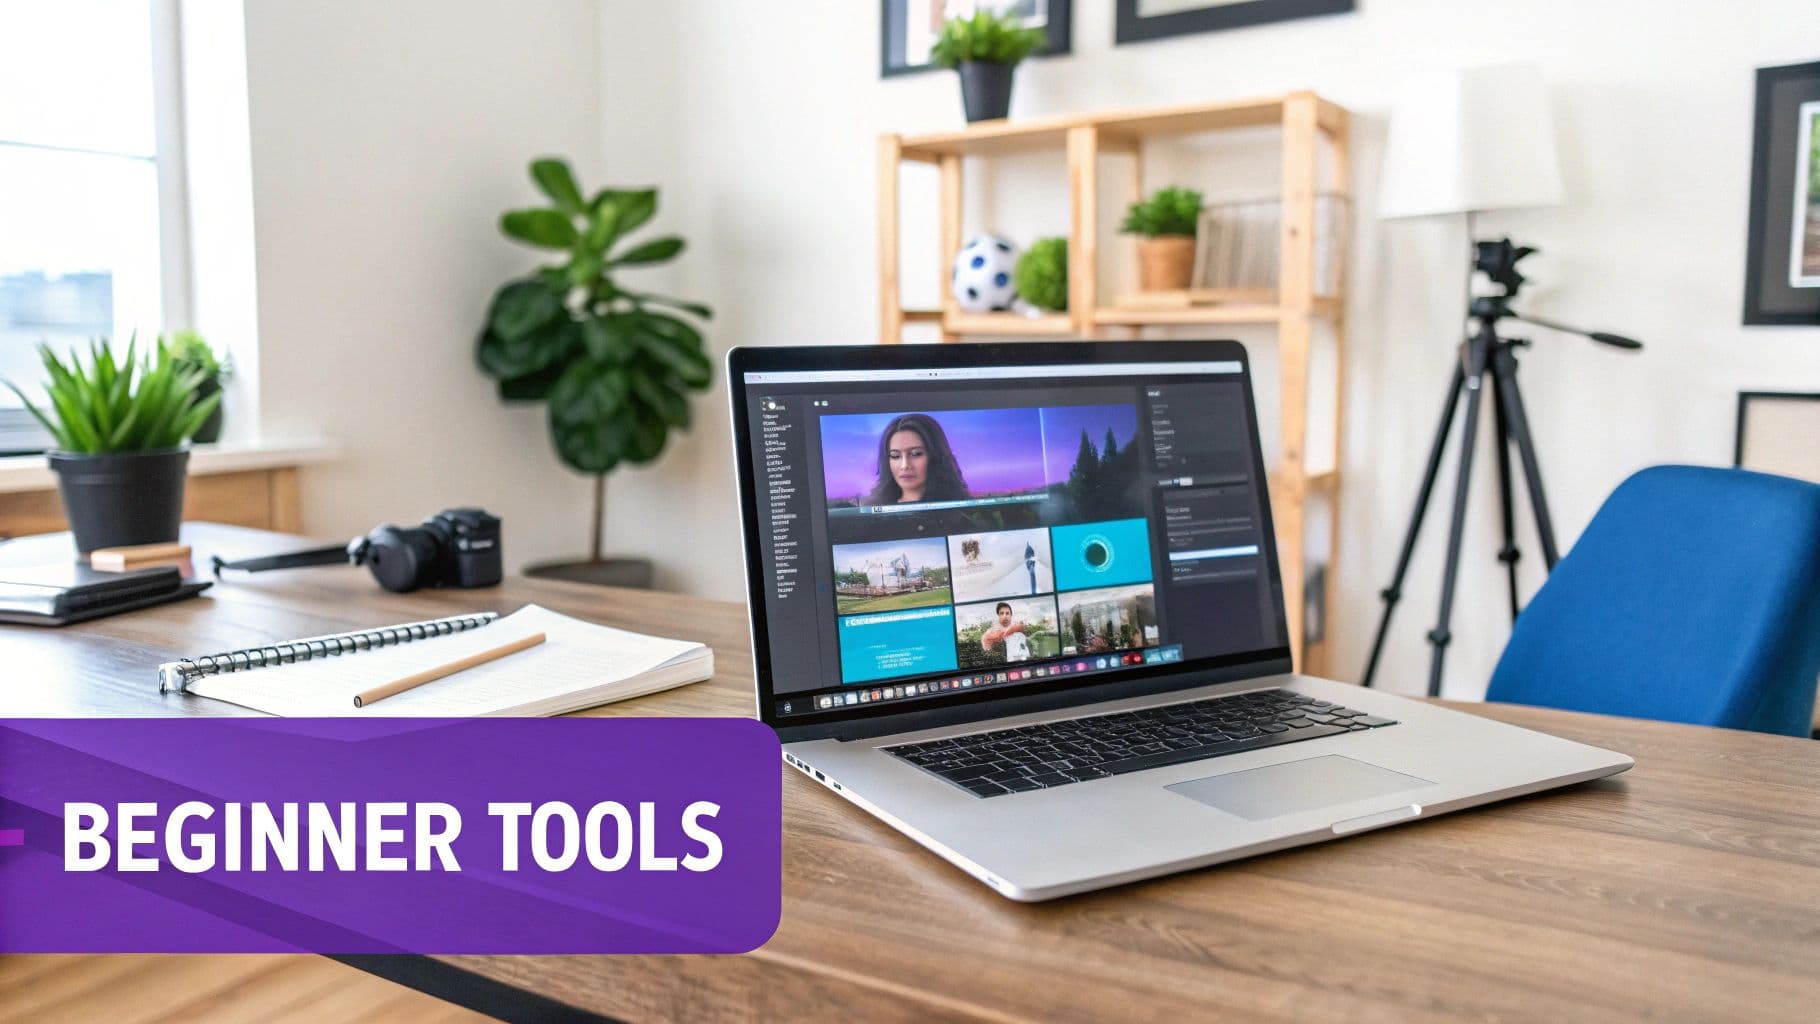
Exploring Your Digital Toolbox
Think of your video editing software as a digital workshop. You’ve got all your raw materials—clips, sounds, graphics—and a workbench where you’ll assemble your masterpiece. This workbench is called the timeline, and it's the heart and soul of every video editor out there.
The timeline is like a long, horizontal film strip. You lay out your clips from left to right, arranging them in the exact order you want your story to play out. This is where the real magic happens, long before you start adding any flashy special effects.
Mastering the Basic Building Blocks
Once your clips are lined up, it’s time to start sculpting. You’ll use a handful of essential tools to transform that pile of raw footage into a story that flows. These are the non-negotiables you'll find in any editing program, big or small.
- Cutting and Trimming: This is your digital pair of scissors. You’ll use it to snip out the awkward pauses, the wobbly camera moments, or that time the dog decided to photobomb your perfect shot. Trimming is all about making every single second count.
- Transitions: A transition is just how you move from one clip to the next. It could be a clean, invisible cut, or something more stylized like a gentle fade-out. Great transitions guide the viewer’s eye without yelling, "Hey, look at me!"
- Text and Titles: This is how you give your video context. Whether it's a slick opening title or some text at the bottom of the screen introducing a speaker, adding text is an absolute must for a polished, professional feel.
The goal for a beginner isn't to use every flashy tool in the box. It’s to get really, really good at these three core skills. A well-paced story with clean cuts will always beat a video overloaded with confusing effects.
Adding Color and Sound
With the basic structure built, you can start layering in the emotion with color and audio. These are the elements that take a video from "good" to "unforgettable." They set the mood and pull your audience right into the world you've created.
Color correction might sound intimidating, but the idea is simple. It's like choosing an Instagram filter for your entire video. You can make scenes feel warm and nostalgic for a family montage or cool and moody for a dramatic short film. It’s all about creating a consistent visual vibe.
Sound is even more powerful. Seriously. The right background music or a perfectly placed sound effect can completely flip how an audience feels. A simple shot of someone walking can feel triumphant with an epic score or nail-bitingly tense with a subtle, creepy track.
This boom in accessible tools isn't a fluke. The video editing software market was valued at a whopping $3.09 billion** in 2023 and is projected to skyrocket to **$5.13 billion by 2032. That means more powerful and user-friendly options for creators like us. While this guide focuses on video editing, expanding your toolkit with the best apps for content creation can really take your work to the next level. Once you understand these core features, you'll have the confidence to compare any software and find the perfect one for your projects.
So, How Do You Pick the Right Editing Software?
Picking your first video editing software feels a lot like walking into a massive hardware store for the first time. You just need a screwdriver, but you're suddenly faced with a hundred different options, each with a slightly different grip, head, and price tag. It can be overwhelming.
The secret isn't to find the "best" software on the market. It's to find the one that feels right in your hands. To get there, you just need to answer a couple of simple questions about what you're trying to build.
First, What’s Your Budget and What Computer Are You Using?
Let's get the practical stuff out of the way. Your budget and your computer's operating system are the two big bouncers at the door—they’ll immediately decide which software gets in and which has to wait outside.
Are you a Mac user or a Windows loyalist? That one answer will cut your list of potential candidates in half. Next up is money. Are you dipping your toes in with a free tool, or are you ready to invest a little in something with more polish?
The good news is that you don't have to drop a fortune anymore. Subscription models have taken over, and by 2025, they're expected to be 60% of the entire video editing market. This is great for beginners, as it means you can get powerful, constantly updated tools for a small monthly fee instead of a huge one-time purchase. You can dive deeper into video editing stats over at tripleareview.com.
This image breaks down exactly what you should be looking for in a user-friendly interface.
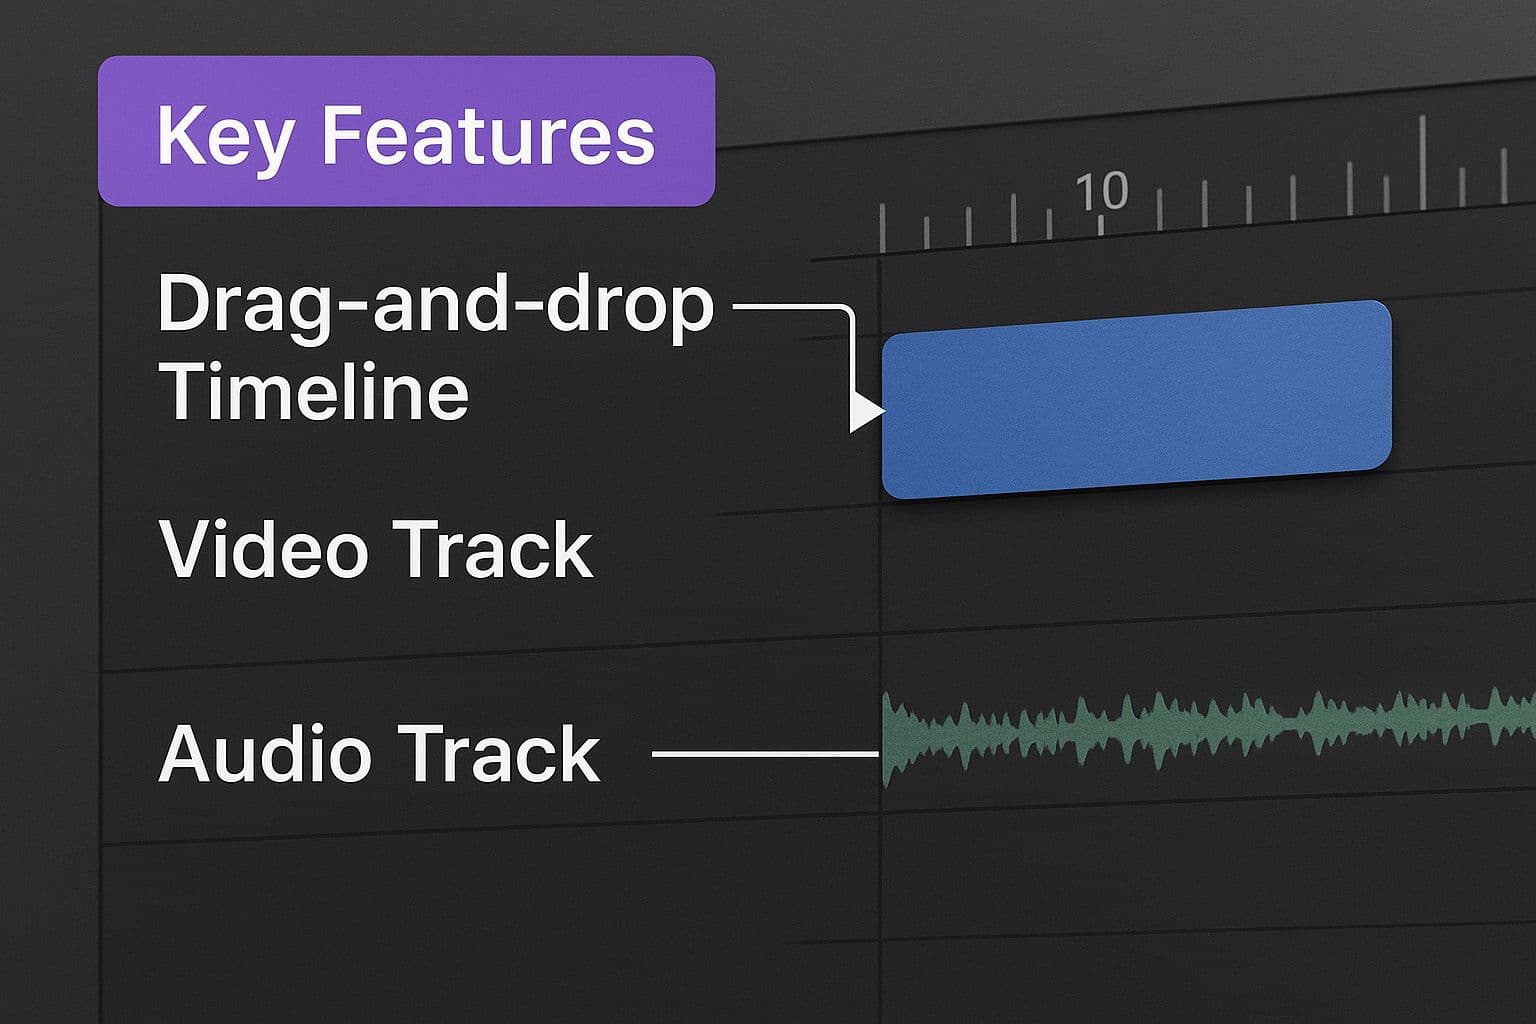
As you can see, a clean, easy-to-read timeline is the absolute heart and soul of a good editing program for newcomers.
Match the Software to Your Creative Dreams
Okay, with the boring logistics handled, we can get to the fun part: what are you actually trying to create? Your creative goals are the single biggest clue to finding your perfect software match.
Think about what you'll be making day-to-day:
- Quick clips for social media? You'll want something that’s fast, template-heavy, and loves vertical video. Look for tools designed to churn out 30-second TikToks and Reels without a fuss.
- Longer YouTube videos? Now you're going to need more control. A solid timeline, good audio tools, and the ability to create custom graphics and titles are non-negotiable.
- Artistic short films? If you're an aspiring filmmaker, you'll need software with more horsepower, especially when it comes to color grading and handling high-quality footage.
Don't hunt for a Swiss Army knife that does everything poorly. Find a scalpel that does exactly what you need, perfectly. The ideal software for a TikTok creator is completely different from what a budding filmmaker needs.
To help you visualize what matters most, here’s a quick breakdown of the features you'll run into.
Beginner Software Feature Comparison
| Feature | What It Does for You | Importance for Beginners |
|---|---|---|
| Intuitive Timeline | The main workspace where you arrange video, audio, and graphics. | Critical. A confusing timeline is the #1 reason beginners give up. |
| Templates & Presets | Pre-made effects, transitions, and title styles to get you started. | Very High. They save a ton of time and help you learn by example. |
| Built-in Effects/Transitions | Simple fades, wipes, and color adjustments included with the software. | High. Essential for making your video look polished without needing plugins. |
| Audio Editing Tools | Basic controls for volume, background music, and simple sound effects. | High. Bad audio can ruin a great video. You need the basics. |
| Export Options | Easy ways to save your final video for YouTube, Instagram, etc. | Critical. If you can't easily share your work, what's the point? |
| Advanced Color Grading | Precise control over the look and feel of your video's colors. | Low. Fun to play with, but not essential when you're just starting out. |
Ultimately, choosing software is about finding the path of least resistance between the idea in your head and the final video on the screen.
And if you want to make things even simpler, many modern tools are baking in automation. Check out our guide to the best AI video editing software to see how you can let the computer handle some of the tedious work for you.
Alright, let's dive in and meet the contenders. Choosing the best video editing software for beginners isn't about finding the most powerful tool on the planet; it's about finding one that feels like a creative partner, not a complex machine you have to fight with.
We're going to check out the heavy hitters, the super-friendly champs, and the mobile-first powerhouses that'll get you making awesome content right out of the gate. Think of it like test-driving cars—each one has a totally different feel, and the goal is to find the one that just clicks with you.
DaVinci Resolve: The Free Hollywood Powerhouse
First up is the legend itself: DaVinci Resolve. In professional circles, this software is famous for its world-class color grading. I'm not kidding—the free version gives you more coloring power than most software you'd have to pay for. It’s a beast of a tool that you can grow with for years without ever opening your wallet.
So, what's the catch? Well, it has a notoriously steep learning curve. The interface is jam-packed with pro features that can look like a spaceship cockpit to a newcomer. But if you’ve got patience and want a tool that will never hold you back, Resolve is an unbeatable free option.
This screenshot gives you a peek at DaVinci Resolve's pro-grade interface, showing off its complex timeline and color correction panels.
The sheer number of buttons and menus can be intimidating, for sure. But it also shows you the incredible depth waiting for you once you get past the initial learning hump.
Filmora: The User-Friendly Champion
If DaVinci Resolve is a manual-transmission race car, then Filmora is a sleek automatic sedan—it’s designed to get you on the road smoothly and quickly. Filmora has staked its claim as one of the most intuitive and easy-to-learn editors out there.
Its interface is clean and makes sense from the second you open it, built around a simple drag-and-drop workflow. It also comes pre-loaded with a massive library of templates, effects, and royalty-free music, which is a gigantic time-saver. It might not have the microscopic control of a pro tool, but it's fantastic for creating polished, great-looking videos without the headache. For a full play-by-play, check out our video editing software comparison to see how it measures up.
For a ton of new creators, a tool like Filmora is the perfect launching pad. It puts speed and ease of use first, letting you focus on being creative instead of getting lost in technical menus.
CapCut: The Social Media King
You just can't talk about modern video editing without bringing up CapCut. It started as a mobile app, but its desktop version has become the weapon of choice for creators pumping out content for TikTok, Instagram Reels, and YouTube Shorts. It’s built from the ground up for the speed and trends of social media.
CapCut's secret sauce is its dead-simple auto-captioning, trendy templates, and a library of viral sounds and effects that are always just one click away. It’s less about meticulous timeline editing and more about quickly piecing together punchy, vertical videos. If your main goal is to conquer social media, CapCut is an essential—and mostly free—tool for your arsenal.
The market stats tell a similar story about these different approaches. Pro tools like Adobe Premiere Pro hold the largest global market share at 35%, with Apple’s mighty Final Cut Pro right behind at 25%. Meanwhile, DaVinci Resolve’s free version has carved out a respectable 15% of the market, and beginner-focused software like Filmora claims 5% by zeroing in on ease of use. You can find more cool stats about these video editing software statistics on sendshort.ai.
Why MyKaraoke Video Is a Secret Weapon for Music Creators
Think of it this way: general video editors are like a giant Swiss Army knife. They’ve got a tool for everything, which is great, but sometimes you just need a perfect, specialized corkscrew. For anyone making karaoke tracks or lyric videos, a dedicated tool isn’t just a nice-to-have; it’s a total game-changer. This is where MyKaraoke Video steps into the spotlight, proving that the best video editing software for beginners is often the one that knows exactly what you need to do.
Have you ever tried to get lyrics to pop up at the exact right moment in a standard video editor? It’s a nightmare. You’re stuck nudging text boxes pixel by pixel, frame by agonizing frame. MyKaraoke Video was born to solve that one massive headache. Its entire world revolves around music and text.
Built From the Ground Up for Speed and Simplicity
The real magic of MyKaraoke Video is its unapologetic focus. You won't find a cluttered dashboard packed with a thousand features you'll never touch. Instead, you get a clean, logical system designed for one job: making awesome lyric videos. This focused approach smashes the learning curve to bits, letting you pump out pro-level content in a shockingly short amount of time.
This tool is a perfect fit for:
- Karaoke Channels: Churn out a steady stream of new songs for your hungry YouTube or social media followers.
- Musicians and Artists: Create slick, engaging lyric videos to launch your next single without hiring a pro.
- Social Media Influencers: Make your music-heavy TikToks and Reels stand out with perfectly timed, animated text.
Simply put, it takes the most tedious, time-sucking parts of the job and makes them effortless.
The Key Features That Actually Matter
So, how does it do it? The secret sauce is in the features built specifically for people like us. The absolute star of the show is the AI-powered lyric syncing. This thing is a wizard—it listens to the audio and automatically lines up your text. From there, you can jump into a simple but powerful sync editor to make any tiny adjustments you want.
For a music creator, every minute spent fighting with a clunky timeline is a minute you're not creating. A specialized tool like MyKaraoke Video hands that time back to you, so you can focus on your art, not on the software.
On top of that, you get a massive library of templates, fonts, and backgrounds ready to go. You can tweak colors, animations, and styles to perfectly match the vibe of the song or your own brand. It’s the perfect example of why picking software built for your specific project isn't just a good idea—it's the smartest thing a beginner can do.
Your First Editing Project From Start to Finish
https://www.youtube.com/embed/y7Ci_H9bYEk
Alright, enough with the theory. Let's roll up our sleeves and actually make something. This is your crash course in turning a jumble of random clips into a video you can be proud of. We're not aiming for an Oscar here; the goal is to get a win under your belt and show you that, yes, you can absolutely do this.
We're going to tackle this with five simple, confidence-boosting steps. Think of it as your mission to go from "I have no idea what I'm doing" to "Hey, I made that!" in just one afternoon.
Step 1: Gather Your Ingredients (Import)
First things first, you need to get all your raw materials into the kitchen. In video editing, this is called importing.
Open up your software and look for a button that says "Import" or "Add Media." Click it, then navigate to the folder where you’ve stashed your video clips, photos, and any audio files you want to use. Select everything and bring it into your project's "media bin" or "library." Just like that, all your ingredients are prepped and ready on the counter.
Step 2: Build Your Rough Draft (Assemble on the Timeline)
This is where you stop being a collector of clips and start being a storyteller. See that long, horizontal area at the bottom of your screen? That's the timeline, and it's your canvas.
Start dragging your clips from the library down onto the timeline. Plop them down in the basic order you want your story to unfold. Don't sweat the small stuff yet—just focus on getting the main sequence of events in place. This is your rough draft.
Step 3: Cut the Fluff (Trim and Edit)
A great video respects the viewer's time. Now it’s time to be ruthless and trim away all the boring bits.
Every editor has a "cut" or "trim" tool, which often looks like a little razor blade. Use it to slice off the shaky beginnings of clips, the awkward pauses where nothing happens, or the blurry shots that add no value. This is where the magic really starts to happen, transforming a clunky sequence into something that flows.
Your first project is about progress, not perfection. Focus on getting a feel for the workflow. The polish will come with practice.
Step 4: Add Some Razzle-Dazzle (Music and Text)
A silent video is... well, a little weird. This is the part where we inject some personality!
Grab a background music track to set the emotional tone. A good song can completely change how your video feels. If you're looking for the perfect tune, we've put together a list of the 12 best sources for music for editing videos in 2025 to help you out.
Next, add a simple title at the beginning or a few text captions to explain what's happening. It’s a simple touch that makes a world of difference.
Step 5: Ship It! (Export Your Video)
You did it! The hard work is over. All that's left is to bundle everything up into a single, shareable video file.
Find the "Export" or "Share" button in your software. You'll probably see a bunch of confusing options, but don't panic. Just look for a preset like "YouTube 1080p" or "High Quality"—it's almost always a safe bet. Click the button, let the computer do its thing, and in a few moments, you'll have a finished video ready to show the world. Congratulations
Questions Everyone Asks When Starting Out
Let's be real: diving into something new always brings a wave of questions. It’s part of the process! So, let's clear the air and tackle the big three that trip up most aspiring video editors. Think of this as your official permission slip to stop wondering and start creating.
Do I Need a Supercomputer to Edit Videos?
Nope! That's a myth from a bygone era. While editing the next Marvel movie still requires a machine that could probably launch a rocket, today's software is way more forgiving. Most modern programs are built to work just fine on the laptop you probably already own.
Many even have a slick feature called "proxies." This basically creates temporary, low-quality versions of your clips so you can edit smoothly without your computer sounding like a jet engine. Then, when you're ready to export, it swaps back to the gorgeous, high-quality originals.
For most projects you'll tackle as a beginner, a computer with 8GB of RAM, a decent processor, and almost any graphics card from the last few years will be more than enough to get the job done.
What’s the Real Deal with Free vs. Paid Software?
You can find some incredibly powerful free tools out there—DaVinci Resolve is a prime example that professionals actually use. The catch? They often feel like they were designed for, well, professionals. The learning curve can be steep.
Paid software, on the other hand, usually trades that complexity for a smoother ride. You're paying for a more intuitive design, customer support you can actually reach, constant updates, and often a treasure trove of built-in templates, effects, and music.
It's less about cost and more about what you value. A small monthly fee can be a fantastic investment in your own sanity, saving you countless hours of banging your head against the wall.
How Long Until I'm Actually Good at This?
You can learn the absolute basics in an afternoon. Seriously. With the right software, you’ll be dragging, dropping, and slicing clips together in just a couple of hours. That first win feels amazing.
Mastering the art of it all—the storytelling, the rhythm, the emotional impact? That’s the lifelong journey, and honestly, it’s the best part. Just focus on learning one new thing with every video you make. You'll be blown away by how quickly your skills stack up.
And for all the music makers out there who want to make incredible lyric videos without getting bogged down in a traditional editor, MyKaraoke Video was built just for you. It's designed to help you create something stunning in minutes, not days.