Ever tried to piece together a story from a bunch of short video clips? It can feel like you're trying to assemble a puzzle without the box. But once you get the hang of merging your MP4 files, you're not just combining clips—you're turning scattered moments into a single, seamless narrative. This is the bedrock skill for anyone making a vlog, a marketing video, or even just a fun family montage.
Why Learning to Combine MP4 Clips Matters
So, how do your favorite YouTubers turn a dozen different takes into one fluid travel video or a sharp, professional-looking presentation? The magic lies in knowing how to effectively combine MP4 clips. This isn't just about a technical "drag-and-drop" process; it's about learning the art of video storytelling.
Think of it this way: each clip is a sentence. Merging them correctly turns those sentences into a coherent story, whether you're piecing together family vacation memories or building a compelling case in a business video.
It's the Starting Point for Great Video
In a world where video is king, being able to merge files is a fundamental skill. It’s what lets you:
- Build a Real Narrative: Weave together different scenes to tell a story with a beginning, middle, and end. That's how a collection of random vacation shots becomes a "Best Trip Ever" montage.
- Look More Professional: Ever seen a video that seamlessly cuts between a speaker, their presentation slides, and relevant b-roll footage? That polished look comes from merging different video sources into one cohesive product.
- Breathe New Life into Old Content: You can snip and combine older clips to create brand-new content for social media, saving you the time and expense of a new shoot.
The demand for easy-to-use video tools has skyrocketed for a reason. The video editing software market was valued at a massive $3.09 billion in 2023** and is expected to grow to **$5.13 billion by 2032. This isn't just a niche skill anymore; it's becoming mainstream. You can find more data on the growing video editing market here.
The moment you learn to combine clips is the moment you step into the director’s chair. You gain full control over the story's pacing, its emotional impact, and the ultimate message it delivers.
Of course, it helps to understand the file type you're working with. If you're curious, you can learn more about the technical side in our guide on the MP4 video format.
Choosing the Right Tool to Merge Your MP4 Files
https://www.youtube.com/embed/jSNj9Egs6A8
Before you even think about dragging clips into a timeline, the software you pick is going to make or break your project. It dictates everything from the final quality to how much hair you pull out during the editing process. The options are vast, ranging from simple online tools for a quick mashup to powerhouse desktop applications that give you complete creative control.
Think about it this way: if you're just stitching together a few clips from your phone for a quick social media post, a basic online video combiner is your best friend. It's fast, easy, and gets the job done. But if you're crafting a detailed travel vlog with footage from multiple cameras, complex audio, and color grading, you'll need the muscle of a desktop editor like DaVinci Resolve or Adobe Premiere Pro.
Matching the Tool to the Task
The real secret is picking your software based on your specific needs. What's the scope of your project? What's your budget? How much time are you willing to spend learning the ropes? It makes no sense to pay for a professional suite full of features you'll never touch. On the flip side, don't let an overly simplistic tool hamstring your creative vision.
This flowchart gives you a great visual of how to get from a folder of random clips to a polished, engaging final video.
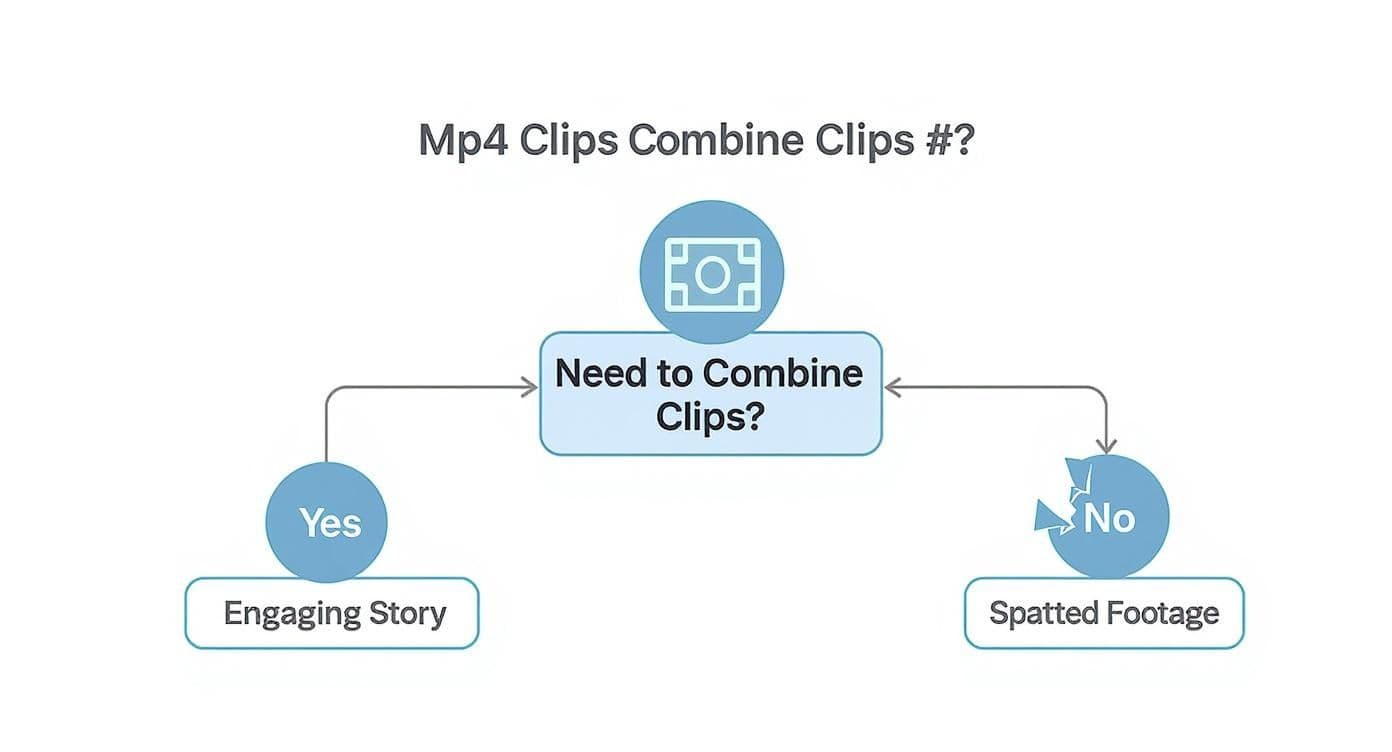
As you can see, simply merging your clips is the foundational step. It's what turns a collection of individual moments into a cohesive story.
When you start looking at desktop software, it helps to see what the pros are using. A big market share usually means solid reliability and a ton of community support (hello, YouTube tutorials!). For instance, Adobe Premiere Pro commands a hefty 35% of the professional market, with platforms like Final Cut Pro and DaVinci Resolve right behind it. There's a reason they're on top—they provide incredibly powerful and seamless tools for combining video files.
Your choice of software is less about finding the "best" tool and more about finding the right tool for you. The ideal option feels intuitive and empowers you to bring your creative ideas to life without fighting the interface.
Comparison of MP4 Combining Tools
To help you get a clearer picture, I've put together a quick comparison of some popular options. This table breaks down different types of tools to show you where each one shines.
| Tool Type | Example | Best For | Key Features | Cost |
|---|---|---|---|---|
| Online Combiner | Clideo | Quick, simple merges | Web-based, no installation, easy to use | Free (with watermarks), Paid plans |
| Beginner Desktop | CapCut | Social media creators, hobbyists | Templates, auto-captions, user-friendly | Free, Paid Pro version |
| Prosumer Desktop | DaVinci Resolve | Aspiring filmmakers, serious YouTubers | All-in-one editing, color, VFX, audio | Free (powerful), Paid Studio version |
| Professional Suite | Adobe Premiere Pro | Professional editors, agencies | Industry-standard, integrates with Adobe CC | Subscription-based |
Ultimately, the best tool is the one that fits your workflow and helps you tell your story effectively.
If you're just dipping your toes in the water, the sheer number of software choices can feel overwhelming. To help with that, you might want to check out our guide on the https://www.mykaraoke.video/blog/best-video-editing-software-for-beginners. And for those looking to speed up the process, it's also worth exploring the top AI video editing tools that are changing the game.
The Core Process of Merging MP4 Clips
This is where the magic really happens—turning a folder of random video files into a single, cohesive story. To effectively combine mp4 clips, we’ll walk through the three essential steps that form the backbone of any good edit. Get these right, and you'll have a solid foundation for your video.
First things first, you need to get all your raw footage into one place. Whether you're using a desktop program or an online tool like MyKaraoke Video, the process starts with importing your files. This loads them into your project's media library, giving you a palette of clips to work with. Think of it like gathering all your ingredients before you start cooking.
Arranging Your Clips for Narrative Flow
With all your footage ready to go, the creative work begins: putting your clips in order. This is where you put on your storyteller hat. Every video editor has a timeline—that visual workspace where you can literally drag and drop your clips to build the sequence.
Ask yourself what kind of story you're telling. Do you want to grab the viewer's attention with an action-packed opening, or ease them in with a beautiful scenic shot?
- Chronological Order: This is the go-to for things like a travel vlog or a wedding video. You simply arrange the clips in the order they were filmed. It's straightforward and easy for the viewer to follow.
- Thematic Grouping: Making a highlight reel? You might want to group all the best action shots together, or maybe all the hilarious bloopers, no matter when they actually happened.
The key is to create a sequence that feels intentional. Don't be afraid to play around with the order. A simple swap can completely change the tone and impact of your video, so drag those clips around until the flow feels just right.
The timeline is your canvas. A powerful story often emerges not just from the clips themselves, but from the deliberate order in which you present them.
Trimming the Fat for a Tighter Edit
Once your clips are lined up, it’s time to trim. This is arguably the most important part of editing. Let’s be real—almost every clip has dead space. It could be the shaky bit at the start, that awkward pause at the end, or the moment you were fumbling with the camera.
Trimming is just the simple act of cutting that junk out. On the timeline, you can usually click the edge of a clip and drag it inward to shorten it. The great thing is that this is non-destructive, meaning the trimmed footage is just hidden, not gone forever. You can always drag it back out if you cut too much.
This step is absolutely critical for good pacing. By shaving off every unnecessary second, you create a much tighter, more professional video that keeps people watching. It’s what separates a polished final cut from a rough assembly of clips.
Making Your Video Look Polished and Professional
Alright, you've got your clips arranged in order. That's your rough cut. But the real magic happens now, with the finishing touches that turn a simple sequence of clips into a polished video that people actually want to watch.
It's these skills that are in high demand right now. With the explosion of digital content, the need for solid video editing has skyrocketed. In fact, North America alone accounted for over 36% of the global video editing software market back in 2024. Why? Because creators know that post-production is where a good idea becomes a great video. You can dig into more stats about the global video editing software market if you're curious.
Go Beyond Basic Cuts with Transitions
When you join two MP4 clips, the default is a "hard cut"—one clip just stops, and the next one starts. It gets the job done, but doing it over and over can feel a bit abrupt. That's where transitions smooth things out.
- Fades: Think of a fade-to-black as a full stop, perfect for ending a scene or the whole video. A cross-fade, where one shot gently dissolves into the next, is great for showing a little time has passed.
- Wipes and Slides: These have a more energetic, modern vibe. You see them all the time in fast-paced social media clips or marketing videos because they keep the energy up.
My advice? Use transitions with intention. They shouldn't be there just to look cool. A good transition guides the viewer's attention without them even noticing it's there.
Shape the Vibe with Sound and Words
Never underestimate the power of audio—it's easily half of the viewing experience. Adding a simple background music track can completely shift the mood, making a scene feel more emotional or exciting. A voiceover can add critical context that the visuals alone can't convey.
The visuals in your video show the audience what's happening, but the audio tells them how to feel about it. Getting that combination right is how you create something truly memorable.
Text overlays are another fantastic tool for adding clarity and impact. They're perfect for things like:
- Introducing someone with their name and title.
- Highlighting an important statistic or quote.
- Adding a clear call to action at the end.
Finally, don't forget about basic color correction. You don't need to be a professional colorist to make your footage pop. Most modern editors have simple tools to tweak brightness and contrast, which helps all your clips look like they belong together. These small tweaks make a surprisingly massive difference.
Getting Your Final Video Ready for the World

You’ve merged your MP4 clips, polished the edit, and now it’s time for the final, crucial step: exporting. This is where all your hard work gets packaged up, and getting these settings right ensures your video looks just as good on someone else's screen as it does on yours. Think of it as the difference between a blurry, pixelated mess and a sharp, professional-looking final product.
The first choice you'll make is the resolution. For most things you'll post online—from social media to your website—1080p (1920x1080) is the sweet spot. It delivers fantastic, crisp quality without creating a gigantic file that takes forever to upload. If you shot in 4K and your target is a platform like YouTube that can really show it off, exporting in 4K is definitely worth it for that extra pop of detail.
Tailor Your Export Settings for Each Platform
I've learned this the hard way: you can't just use the same export settings for every platform. A one-size-fits-all approach often results in either ugly compression artifacts or files so big they buffer endlessly.
Each platform has its own quirks.
- YouTube: This is where you can go for broke. YouTube loves high-bitrate files and fully supports 4K, so give it the best quality you can.
- Instagram & TikTok: It's all about mobile here. Think vertical video (a 1080x1920 aspect ratio) and smaller file sizes that load instantly on a phone.
- Your Website: Speed is king. You’ll want to prioritize a lower bitrate to keep file sizes down, ensuring your pages load quickly and visitors don't bounce.
Your main goal is a balancing act: deliver the absolute best quality possible without making your viewers wait. Always give the final exported file a quick watch before you post it anywhere.
Once your video file is perfected, remember that when you post can be just as important as what you post. Getting familiar with the best times to post on social media can make a huge difference in how many people see your work.
And if your final MP4 is still a bit too hefty? Don't worry. We've got a great guide on the best video compressors that can help you slim it down without sacrificing quality.
A Few Common Questions About Merging MP4s
Even when you have a great tool, a few questions tend to bubble up when you start piecing video clips together. Let's walk through a couple of the most frequent ones I hear, so you can edit with a bit more confidence.
Will Combining Videos Wreck the Quality?
This is probably the number one concern, and it's a valid one. The short answer is: no, not if you do it right.
Most video editors work "non-destructively," which is just a fancy way of saying your original MP4 files are never actually changed. The real moment of truth comes when you export your finished project. As long as you choose export settings—like resolution and bitrate—that match or exceed your source clips, the quality will hold up beautifully.
What if My Clips Are Different Sizes?
It's a super common scenario. You’ve got a gorgeous 4K shot from your drone and a vertical 1080p clip from your phone. Can they live together in the same video? Absolutely.
Your video project has a single master resolution. When you drop in a clip that doesn't match, the editor will automatically scale it to fit. This might leave you with black bars (often called "letterboxing" or "pillarboxing"), but you have options:
- Scale to fit: You can tell the editor to stretch the clip to fill the entire frame, though this might crop off the top and bottom or sides.
- Manual control: I usually prefer this. You can zoom and reposition the clip yourself to perfectly frame the important part of the action.
The main thing to remember is that you're in the driver's seat. Mismatched resolutions are a normal part of video editing, not a dealbreaker. Any decent editor gives you the tools to handle it.
What's the Best Free Software to Use?
For anyone just getting their feet wet, finding the right tool without a subscription is huge. If you want something with serious power that the pros use, DaVinci Resolve has an incredible free version.
Looking for something a little less intimidating for simpler projects? OpenShot and Shotcut are both fantastic and fairly easy to pick up. Of course, for a quick, no-install-required job, online editors let you get it done right in your browser.
Ready to make incredible videos without getting bogged down by complexity? MyKaraoke Video is a powerful, browser-based editor that makes everything from merging clips to syncing lyrics a breeze. Start creating your first video for free today.