So, you're ready to jump into the wild world of streaming? Awesome. It might seem like you need a NASA-level command center to get started, but let's bust that myth right now. Honestly, you can create a killer stream that looks and sounds professional without having to sell a kidney.
The real secret isn't about dropping a fortune on gear. It’s about being smart with your choices. We're going to walk through the absolute essentials—the stuff you actually need—to get you from zero to 'Go Live' with confidence.
The Real-Deal Essentials: Your First Streaming Rig
Forget those overwhelming lists with 20 different gadgets. At the end of the day, a solid stream boils down to just a handful of core components. Think of these as your starting lineup. Get these right, and you're already ahead of the game.
- A Solid Camera: This is how your audience sees you. A great webcam is more than enough to start. You don't need a fancy DSLR right out of the gate.
- A Crisp Microphone: Here's a pro-tip: people will tolerate so-so video, but they will click away fast if your audio is a scratchy, muffled mess. Sound is king.
- A Dependable Internet Connection: Your upload speed is the invisible workhorse of your stream. It’s what carries your broadcast from your room to the world.
- Streaming Software: This is your virtual control room. It’s where you mix your camera feed, game footage, alerts, and that MyKaraoke video you’re about to perform.
- The Little Things (That Make a Big Difference): Good lighting and a simple stand or two can instantly level up your look from "guy in a basement" to "pro streamer."
Here’s the truth they don’t always tell you: a well-chosen, budget-friendly setup can easily outperform an expensive one that's poorly configured. It’s all about knowing what matters.
Let's get practical. A webcam like the Logitech C920 is a legend in the streaming community for a reason—it delivers sharp 1080p video and just works. Want something a bit smoother? The Elgato Facecam pushes out 60 frames per second, which looks incredibly fluid. Heck, you can even use your smartphone as a killer webcam with a free app!
The point is, quality streaming is more accessible than ever. For a deeper dive into building a setup on a shoestring budget, the folks at Captions.ai have some fantastic insights.
Your First Streaming Gear at a Glance
Here’s a quick-reference table summarizing the core components every beginner streamer needs. Use this to guide your initial gear choices.
| Component | Its Role in Your Stream | What to Look For as a Beginner |
|---|---|---|
| Camera | Your visual connection to the audience. | A webcam with at least 1080p resolution. Look for good low-light performance. |
| Microphone | The most critical part of your setup—it’s your voice! | A USB condenser mic. It's a huge step up from headset mics and easy to set up. |
| Lighting | Makes you look professional and eliminates shadows. | A simple key light, like an LED panel or a ring light. Good lighting is a game-changer. |
| Internet | The digital pipeline for your broadcast. | A stable connection with at least 5-10 Mbps upload speed. Use a wired connection if possible. |
| Software | Your broadcast command center. | Free software like OBS Studio is the industry standard and incredibly powerful. |
This table covers your non-negotiables. Start here, and you'll have a rock-solid foundation to build on as your channel grows and you figure out what you want to upgrade next.
Choosing Your Core Streaming Hardware

Alright, let's talk gear. This is the part where most people get intimidated and their wallets start to sweat. But it doesn't have to be that way. We're not building a Hollywood studio here; we're making smart choices that give you the most bang for your buck.
Think of your hardware as the stage, lights, and sound system for your big performance. Getting these core pieces right from the start means your audience can actually see and hear you shine, without any of those annoying technical hiccups that make people click away.
Your Window to the World: The Camera
First up, the camera. People are tuning in to see you, so you need to be clear. While it's tempting to look at those slick DSLR cameras, they're complete overkill for a new streamer. You can look sharp and professional for a fraction of the cost.
For years, the gold standard for new creators has been the Logitech C920. There's a reason you see it everywhere—it delivers crisp 1080p video, has solid autofocus, and it just works. It's a true plug-and-play workhorse.
Want a clever trick that costs you nothing? Use the incredible camera you already carry in your pocket: your smartphone! Apps like DroidCam or EpocCam can turn your phone into a high-quality wireless webcam. Honestly, the image quality often blows entry-level webcams out of the water.
My Two Cents: Your goal is clear, well-lit video. Don't get bogged down in specs like sensor size or f-stops. A great 1080p webcam or your smartphone is more than enough to look fantastic.
Why Your Audio Matters More Than Your Video
If I could only give you one piece of advice, this would be it: invest in your audio before you upgrade anything else. It’s a lesson I learned the hard way. Viewers will forgive slightly grainy video, but they absolutely will not tolerate crackly, echoey, or hard-to-understand sound. If they can't hear you, they're gone.
That built-in microphone on your laptop? It's not your friend. It picks up every keyboard clack, the whir of your computer's fan, and the echo of your room. The result is a thin, distant sound that feels amateurish. A dedicated USB microphone is the single biggest upgrade you can make to your stream's quality.
Here are a few of my go-to recommendations for beginners:
- Blue Yeti: This thing is a legend for a reason. It's versatile, sounds fantastic right out of the box, and is incredibly easy to set up.
- Rode NT-USB+: A step up in clarity, this mic gives you that warm, professional broadcast-style voice without needing a complex audio engineering degree.
- TONOR TC-777: If you're on a tight budget, this is your champion. It provides a massive audio quality boost over any internal mic without breaking the bank.
Here’s the great news: you can now piece together a fantastic streaming setup for beginners—mic, basic lighting, and all—for around $100. Starting a high-quality broadcast is more accessible than ever. The team over at Yoastream has some great tips on building a killer setup on a budget if you want to dive deeper.
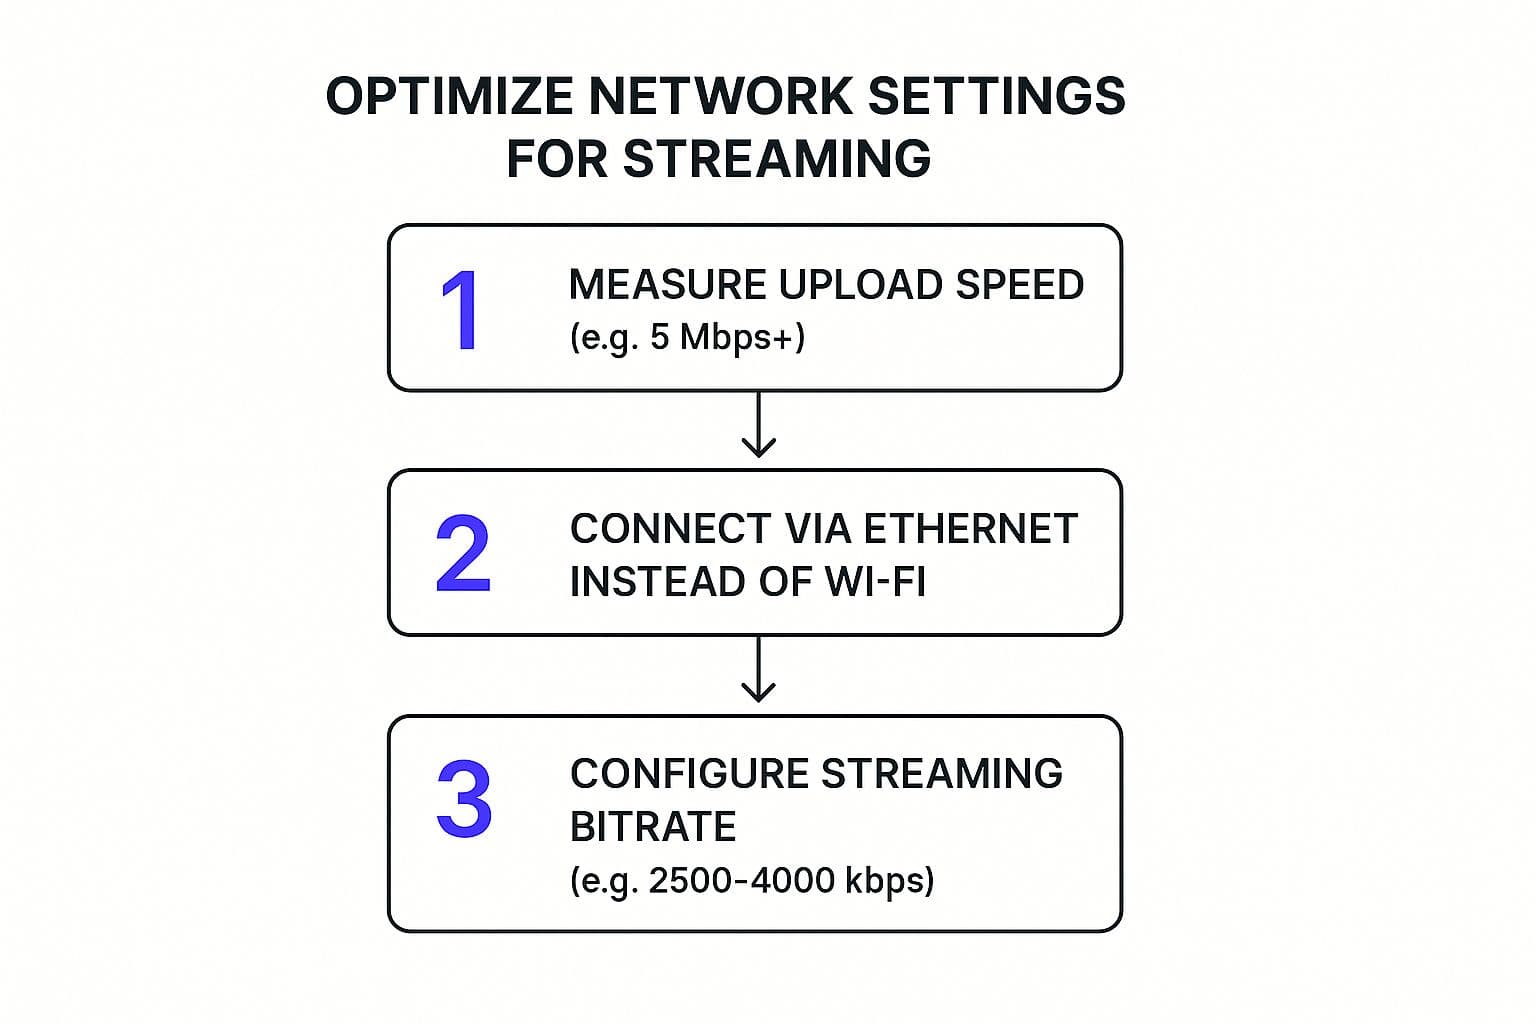
The Unsung Hero: Your Internet Connection
Last but not least, let's talk about the invisible-but-critical member of your team: your internet. Here’s a little secret most people miss—your download speed, the big number internet providers love to advertise, is not what's important for streaming. It's all about your upload speed.
Your upload speed determines how much data you can send out to platforms like Twitch or YouTube. If it's too low, your stream will look pixelated and constantly buffer for your viewers, no matter how awesome your camera and mic are.
For a smooth, stable 1080p stream, you'll want to aim for a consistent upload speed of at least 5-6 Mbps. You can check yours for free at a site like Speedtest.net.
One last pro tip: If you can, always plug your computer directly into your router with an Ethernet cable. A wired connection is infinitely more stable than Wi-Fi, which is notorious for dropping out at the worst possible moment.
Picking Your Streaming Software and Finding Your Stage
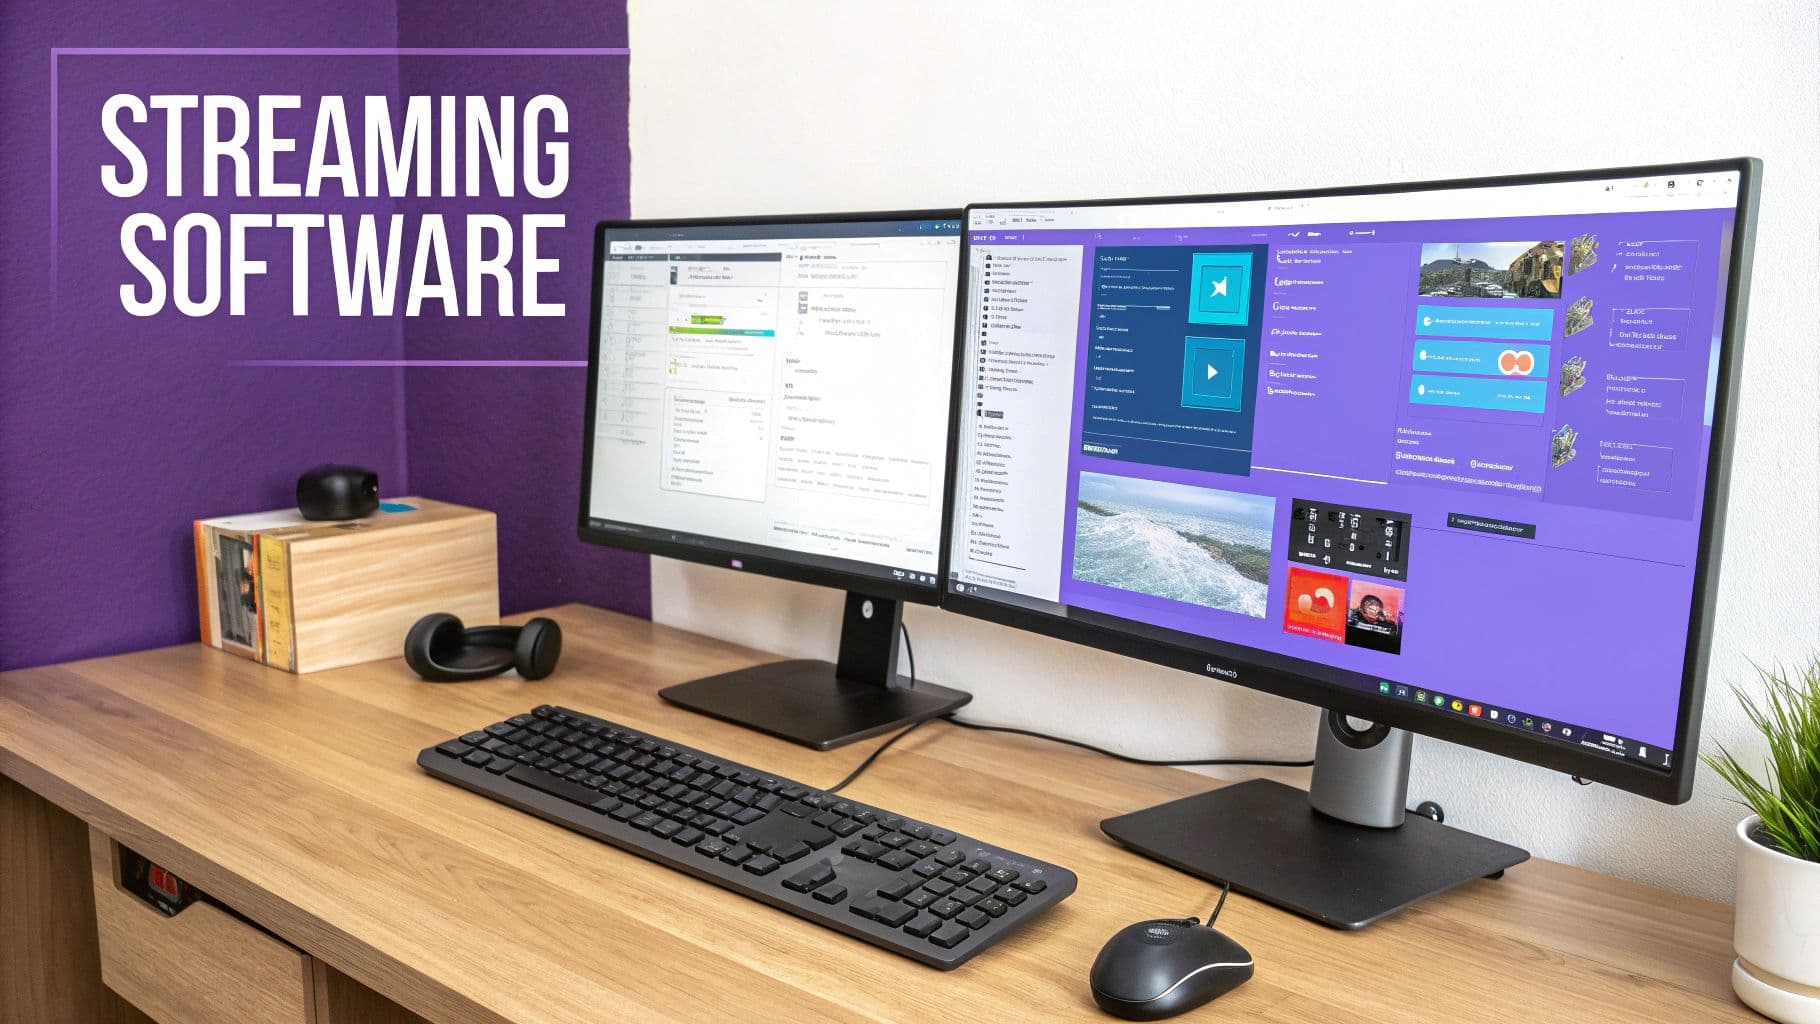
Alright, you've got your gear all plugged in and ready to rock. Now for the fun part: choosing the software that acts as your digital command center. This is the magic wand that pulls everything together—your mic, your camera, your karaoke video—and beams it out live to your adoring fans.
Think of it as your own personal TV production studio, right on your desktop. The best part? The most popular and powerful options won't cost you a dime. Your main contenders are the legendary OBS Studio and its user-friendly cousin, Streamlabs.
OBS Studio vs. Streamlabs: A Tale of Two Titans
So, which one should you pick? Honestly, it mostly boils down to what you're comfortable with.
OBS Studio is the OG, the open-source workhorse that countless pros swear by. It’s incredibly light on your computer's resources and gives you god-tier control over every tiny detail. The flip side? It can feel a bit like being handed the keys to a spaceship with no instruction manual. It’s a blank canvas, which is amazing for creative freedom but can be a little intimidating at first.
Streamlabs, on the other hand, is built on top of OBS but is designed from the ground up to be more of a "plug-and-play" experience. It has all the flashy stuff like alert boxes, themes, and chat windows built right in. You can get a slick, professional-looking stream up and running in minutes. The trade-off is that it tends to use a bit more of your computer's horsepower.
My Two Cents: I almost always tell new streamers to start with Streamlabs. The guided setup takes a lot of the initial guesswork out of the equation. You can get comfortable with the basics, and once you’re feeling confident and craving more control, making the jump to OBS Studio is a breeze since they operate on the same core principles.
Once you’ve got your chosen software installed, you’ll dive into creating a "Scene." Think of a scene as a specific layout for your stream—like your "starting soon" screen or your main karaoke screen.
Inside that scene, you’ll add your "Sources," which are just the individual elements you want to show. For a basic karaoke stream, you’ll need to add:
- Video Capture Device: That's your webcam!
- Audio Input Capture: Your trusty USB microphone.
- Display Capture or Window Capture: This is how you'll show your MyKaraoke video lyrics.
Drag them around, resize them, and boom—you've just designed your first streaming layout!
Choosing Your Home: Where to Broadcast
Now that you've built your show, where are you going to perform? Your streaming platform is your stage, and each one has a totally different crowd and vibe. Don't just flip a coin; think about the community you want to build.
| Platform | Best For... | The Vibe |
|---|---|---|
| Twitch | Live gaming, real-time chats, and spontaneous "Just Chatting" streams. | High-energy and interactive. It's all about live moments and personality. |
| YouTube | A blend of live shows and polished, on-demand videos. Huge for discoverability. | More search-focused. People often find you through tutorials or highlight clips. |
| Facebook Gaming | Tapping into your existing network of friends, family, and followers. | Can feel more personal, but finding a brand-new audience can be tough. |
Ultimately, your platform shapes your community. For karaoke streamers, visuals are everything. You want your audience to feel like they're right there with you, singing along. If you're putting time into creating amazing custom lyric videos, you might find our guide on how to make a music video super helpful for leveling up your production quality.
My advice? Be a viewer first. Hang out in a few streams on each platform and see which one feels like the right fit for you.
Ready to Look Pro? It's All About the Smart Lighting and Accessories

Alright, you've got the basics down. Now it's time for the fun part—the gear that takes your stream from "pretty good" to "whoa, this looks amazing!" These are the little extras that seriously punch up your production value and make your stream a place people want to hang out.
Let's be real: besides your camera, the single biggest visual upgrade you can make is your lighting. I've seen fantastic webcams look like a grainy mess simply because they were starved for light. You don't need some over-the-top, three-point Hollywood rig. Just one well-placed light can work wonders, making you pop right off the background.
Light Up Your Performance
The main goal here is simple: get even light on your face. For a streaming setup for beginners, a ring light is a total game-changer. It wraps your face in soft, flattering light that kills nasty shadows. They’re cheap, a breeze to set up, and most of them even come with a handy mount for your webcam or phone.
Feeling a bit more ambitious? Grab a couple of small LED panels and place one on each side of your monitor to act as your "key lights." This setup blankets you in light, giving your camera's sensor everything it needs to produce a clean, sharp image. If you want to dive deeper into the technical side of things, learning how to choose LED lighting fixtures will pay off in spades for your visual quality.
My Favorite Trick: Don't point the light directly at your face like you're being interrogated. Instead, aim it at a white wall or ceiling just in front of you. The light will bounce back, diffused and soft. It’s a cheap move that makes you look like a million bucks.
The Gadgets That Make a Real Difference
Beyond lighting, a few other pieces of kit can totally transform the viewer experience. Think of these as the unsung heroes of any great stream.
- Pop Filter: See that little mesh screen on a pro's microphone? That's a pop filter. It stops those harsh "p" and "b" sounds from creating an awful booming noise for your viewers. It's a tiny investment that makes your audio sound 100% more professional.
- Green Screen: Ever wanted to stream from the beach or outer space? A simple green screen is how you do it. It lets your streaming software digitally erase your background and replace it with any image or video you can dream up.
- Capture Card: If you're a console gamer planning to stream from a PlayStation, Xbox, or Switch, this is non-negotiable. A capture card is the vital bridge that takes the video feed from your console and sends it straight to your PC, so your software can broadcast your gameplay without a hitch.
These accessories might feel like optional extras, but trust me, they solve the most common beginner problems before they even start. A pop filter saves your viewers' ears, a green screen unleashes your creativity, and a capture card is the essential key for any console streamer. Each one adds a layer of polish that tells your audience you mean business.
Making Your Stream Interactive with Karaoke
Alright, let's talk about cranking up the fun factor on your stream. You can chat, you can game, but if you really want to build a loyal crew, you need to throw something unexpected into the mix. And trust me, nothing gets people engaged like a good old-fashioned karaoke session. It’s an absolute blast and a surefire way to make your stream the one people remember.
Seriously, picture it: you kick things off with your go-to power ballad or maybe you dedicate a whole night to it, letting your viewers belt out tunes right along with you. This isn't just about you singing; it's about creating a moment you all share. That's where a slick tool like MyKaraoke Video comes into play. It's the secret sauce for a killer karaoke stream.
Here's a little peek at what a polished karaoke video looks like on the MyKaraoke Video platform. The interface is clean, customizable, and makes it dead simple to get lyrics on screen that your audience can actually read.
Weaving MyKaraoke Into Your Stream
Getting MyKaraoke Video to show up in your OBS or Streamlabs setup is way easier than you think. You don’t need to mess with weird plugins or touch a single line of code. The whole trick is just to capture the MyKaraoke application window, the same way you’d capture a game or your web browser.
It really boils down to a few quick clicks:
- First, pop open MyKaraoke Video in its own browser window and cue up your song.
- Hop over to OBS or Streamlabs and add a new Window Capture source.
- In the little dropdown menu that appears, just find and select the browser window running MyKaraoke.
- Now, just drag and resize that window in your scene until the lyrics look good and are easy to read.
That's literally it for the visuals! Your audience can now see the words scrolling by. But making it sound good? That's the other half of the battle.
The real magic happens when your audience can hear both your fantastic vocals and the backing track perfectly. Nailing this audio mix is what separates a fun karaoke stream from a chaotic mess.
Getting Your Audio Routed Just Right
To pull this off, you need to make sure your viewers can hear two things: your microphone (that’s you!) and the MyKaraoke track (the music). For most streamers, your software handles this by default by capturing your desktop audio. Just double-check that your desktop audio is actually enabled and not muted in your audio mixer. You'd be surprised how often that's the culprit!
For a more pro sound, you’ll want to balance the levels. Fire up the karaoke track and start talking or singing into your mic. While you're doing that, watch the volume sliders in your OBS or Streamlabs audio mixer. Tweak them until your voice sits clearly on top of the music without completely overpowering it.
And hey, if you get bitten by the karaoke bug and want to create your own custom videos from the ground up, we've got a whole guide on how to make a karaoke video that's packed with extra tips.
Clearing Up the Confusion: Your Top Streaming Questions Answered
https://www.youtube.com/embed/6cVEfihXNnk
Diving into streaming feels a bit like trying to drink from a firehose, right? There's so much to learn, and everyone seems to have a different opinion. Let's cut through the noise and tackle the questions I hear most often from newcomers. Think of this as your personal cheat sheet to get you past those first few hurdles.
Do I Really Need Two Computers to Start Streaming?
Let's bust this myth right now: No, you absolutely do not. The idea that you need a dedicated "streaming PC" is a leftover from a time when computers weren't nearly as powerful as they are today. Honestly, it’s total overkill for 99% of people starting out.
A single, decent computer can easily handle your game and your stream at the same time. A dual-PC setup is something for the top-tier pros who need to squeeze every last frame out of their system. For now, just focus on mastering the basics on one machine. Get comfortable with your software, find your voice, and start building your community. That's what really matters.
How Fast Does My Internet Actually Need to Be?
This is a great question because the big number your internet company advertises—your download speed—is practically irrelevant for streaming. When you're broadcasting, the only metric that counts is your upload speed. That’s the pipe that sends your content out to the world.
So, what's a good number? For a solid, crisp 1080p stream on a platform like Twitch or YouTube, you really want to aim for a consistent upload speed of at least 6 Mbps.
Don't have that? No sweat. You can still have an awesome-looking stream at 720p, which only requires about 3-4 Mbps of upload speed. It still looks fantastic on most devices, and your viewers will appreciate the stability.
Pro Tip: Your download speed is for watching Netflix; your upload speed is for becoming Netflix. Always plug in with an Ethernet cable if you can. Wi-Fi is convenient but notoriously unreliable for the consistent connection that streaming demands.
Which Platform Is Better: Twitch or YouTube?
Ah, the classic question. It’s the "Coke vs. Pepsi" of our world, and the honest-to-goodness answer is... it depends entirely on you and what you're trying to build.
- Twitch is the undisputed king of live. The whole culture is built around in-the-moment interaction, fast-paced chat, emotes, and community inside jokes. If you're a gamer who thrives on that spontaneous energy, Twitch is your natural home.
- YouTube is a discovery machine. Its superpower is its search and recommendation algorithm, which can introduce your content to new people long after you've gone offline. This makes it an amazing choice if you plan to create long-lasting videos, like tutorials or highlight reels, in addition to your live shows.
This isn't just a technical choice; it's a community choice. The vibe is different, and the audience you attract will reflect that. For a deeper look at building an audience, our guide on how to generate YouTube subscribers has some great foundational tips that work no matter where you stream.
Thinking bigger picture, many streamers eventually wonder about making some money from their passion. If you're curious about what that path looks like, checking out a primer on how to earn from social media can give you a solid roadmap. With the game streaming market alone projected to jump from USD 8.40 billion in 2025 to USD 13.85 billion by 2030, getting your start now is perfect timing. For more on how these trends affect gear choices, you can find some great insights on the best streaming setups for gaming.
Ready to make your new stream unforgettable? With MyKaraoke Video, you can create professional-quality karaoke videos in just minutes. It's the perfect way to host a fun, interactive event that will have your community singing along and coming back for more. Start creating for free today!