
You don't need a Hollywood budget to make a killer music video anymore. What you do need is a solid concept and a smart plan. These days, any artist can create professional-looking visuals by breaking the process down into three key stages: pre-production, production, and post-production.
A Modern Take on Music Video Production
Forget the idea that you need a massive crew and an eye-watering budget. The game has changed. Today, independent artists can bring their musical vision to life with accessible tools and a well-thought-out workflow. The emphasis has shifted from expensive equipment to creative, compelling storytelling.
Success is really decided before you ever hit "record." It all starts with a clear idea that genuinely connects with your song's emotion and message. You have to think like a director, creating a plan that's both exciting and realistic. For a seamless process from start to finish, it really helps to get comfortable with mastering the entire video production workflow.
Understanding the Three-Part Flow
Every music video project, big or small, follows a familiar three-part journey. Each phase serves a specific purpose, with one building directly on the last to turn your initial spark of an idea into a finished, polished video.
This infographic breaks down that standard workflow.
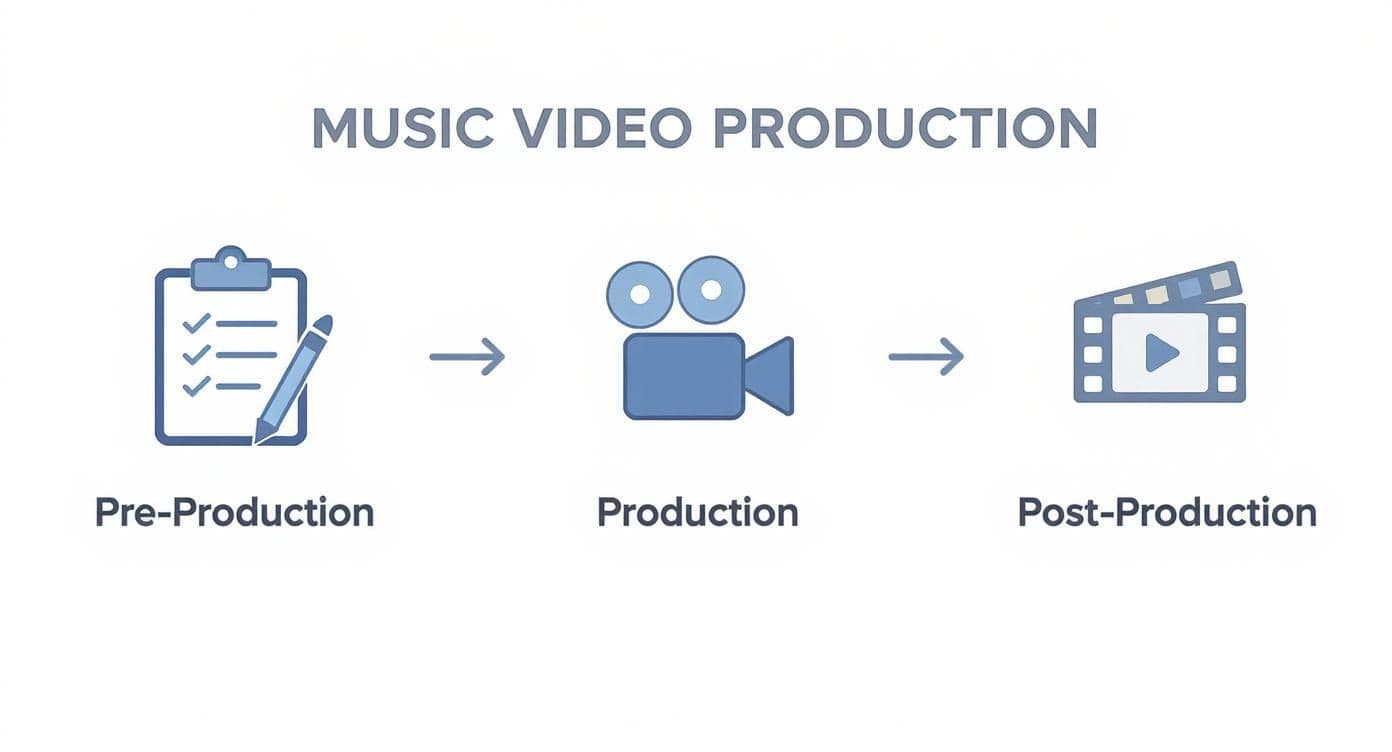
Thinking about your project in these distinct stages helps you manage your time and budget way more effectively, making sure nothing important gets missed along the way.
To give you a clearer picture, this table breaks down what happens in each of those three phases.
Music Video Production Phases Overview
| Phase | Key Activities | Primary Goal |
|---|---|---|
| Pre-Production | Concept development, storyboarding, scriptwriting, location scouting, casting, scheduling. | To create a detailed and actionable blueprint for the entire project. |
| Production | Filming all scenes, capturing audio, directing talent, managing the set. | To execute the plan and capture all the necessary visual and audio footage. |
| Post-Production | Editing video clips, color grading, adding special effects, sound mixing, adding lyrics/titles. | To assemble, refine, and polish the raw footage into a cohesive final video. |
By treating each phase as its own mini-project, you can stay organized and focused, which ultimately leads to a much better final product.
Why Do Music Videos Still Matter?
A great music video is so much more than just a background for your song. It’s a powerful tool for building your brand as an artist and forging a deeper connection with your audience. The global music video production market is expected to hit a staggering $20.39 billion by 2032, which just goes to show how critical it remains as a promotional powerhouse. This kind of investment highlights how a strong visual can cut through the noise.
A well-executed music video is one of the most powerful assets an artist can have. It’s not just marketing content—it’s an extension of your art, giving fans a visual world to inhabit while they listen.
Of course, once your masterpiece is ready, you need people to see it. Don't let it just sit there! Check out our guide on how to get it in front of the right audience: https://www.mykaraoke.video/blog/how-to-promote-music-video.
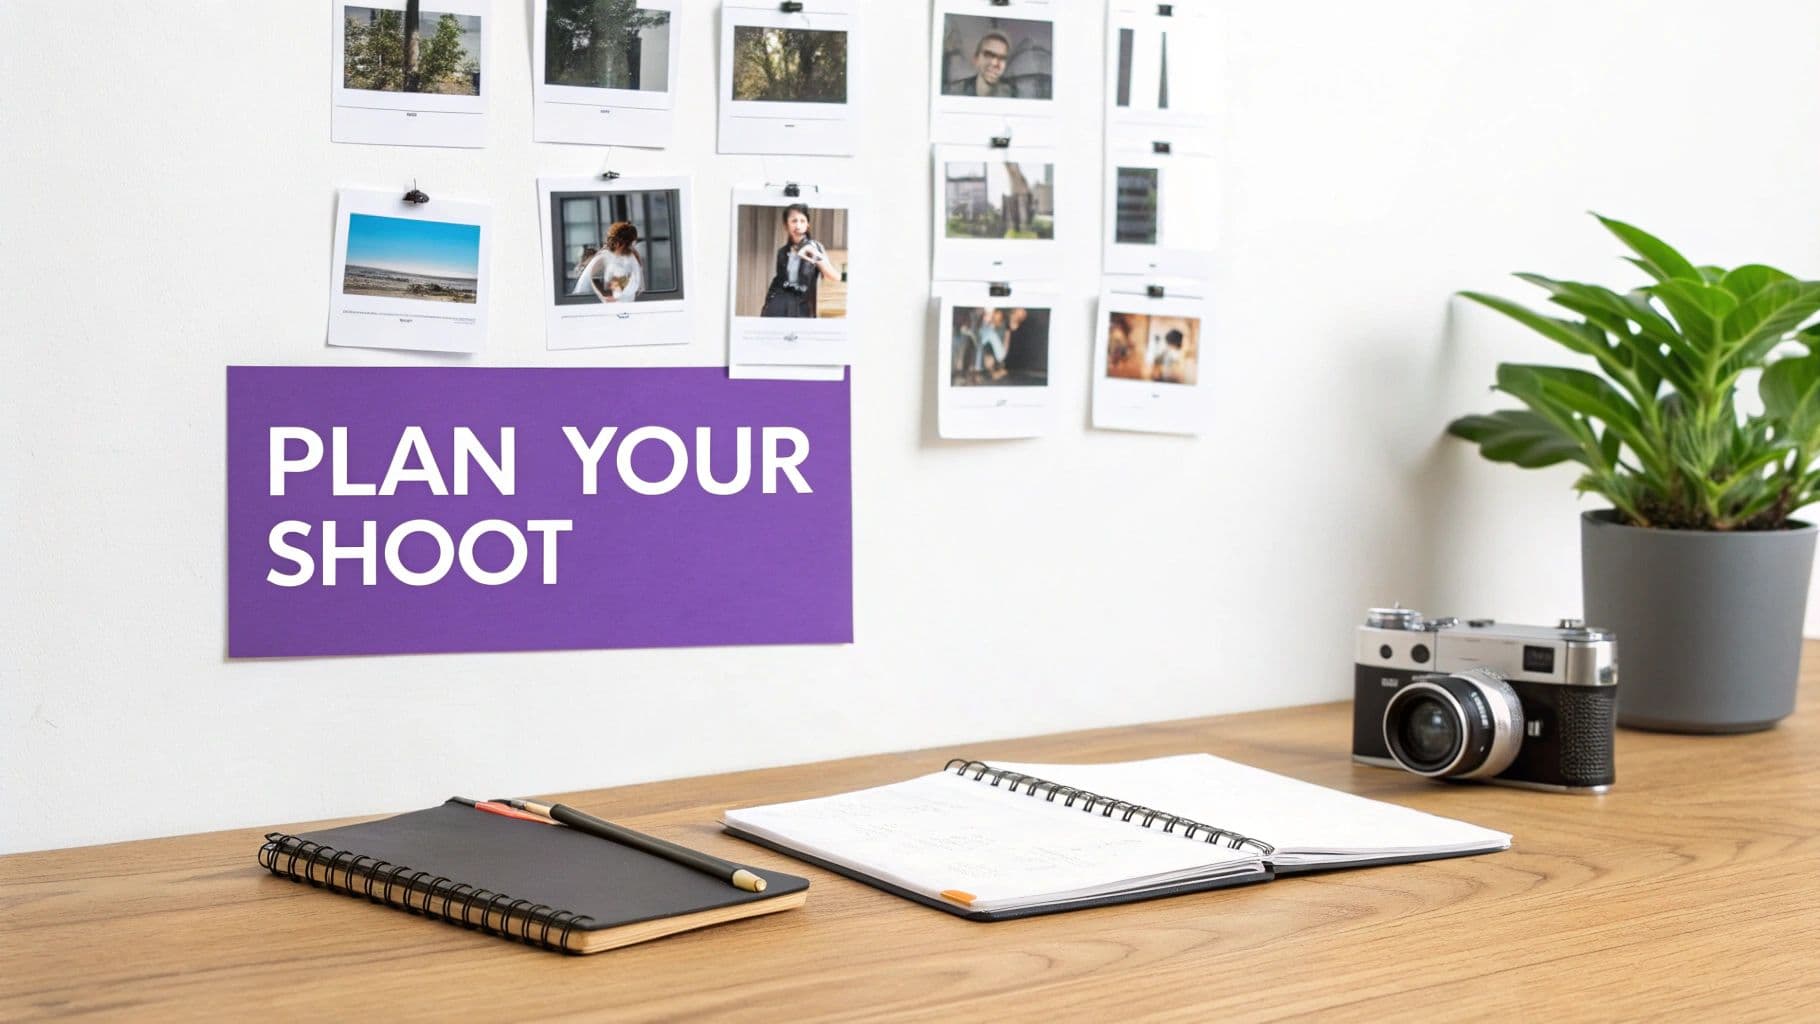
Building Your Pre-Production Blueprint
They say the success of a music video is decided long before you ever hit record, and they're not wrong. This is the pre-production phase—the planning stage where your creative spark gets hammered into a real, workable plan. Honestly, rushing this part is probably the biggest rookie mistake I see independent artists make.
A solid blueprint is what separates a smooth, efficient shoot day from a chaotic, expensive mess. Instead of scrambling and making decisions on the fly, you'll have a clear road map. It’s the difference between a planned journey and just wandering into the woods.
Visualize Your Story
First things first, you need to get the ideas out of your head and onto paper. How do you translate the feeling of your song into actual visuals? A storyboard is your best friend here, and no, you don't need to be an artist. Stick figures and messy sketches work just fine. The whole point is to map out the key moments and the visual rhythm of the video.
Working hand-in-hand with your storyboard is the shot list. This is your technical bible for the shoot. It’s a detailed breakdown of every single camera angle you need to get.
- Wide Shots: These set the scene and show the viewer where we are.
- Medium Shots: Great for focusing on the performer and their immediate surroundings.
- Close-ups: This is where you capture raw emotion and all the important little details.
A good shot list gets specific. For instance, you might write down: "Verse 1: Medium shot, singer by the window, low angle" and then "Chorus 1: Wide shot, full band performing in the barn." Having this level of detail means you won't get to the editing bay and have that sinking feeling that you forgot a crucial shot.
Scout Locations and Assemble Gear
Your location is more than just a background; it's practically another character in your video. I always tell artists to hunt for spots that amplify the song's vibe without wrecking the budget. Think about it: a friend's cool, rustic barn? An empty city park at sunrise? That interesting alleyway downtown? These can all give you incredible production value for $0.
Pre-production is where you solve problems with a pen, not your wallet. A detailed plan is the most effective budget-saving tool you have.
Finally, let's talk gear. You don't need a Hollywood-sized truck of equipment. For a killer DIY music video, a basic kit usually just comes down to these three things:
- A reliable camera (and yes, modern smartphones can do amazing things).
- A tripod to keep your shots steady and professional.
- A portable speaker for audio playback—this is non-negotiable for making sure your performance is perfectly synced to the track.
Once you have your storyboard, shot list, locations, and gear list locked in, you’ve officially got your pre-production blueprint. You're not just crossing your fingers and hoping for a good video anymore—you’ve actually planned for one.
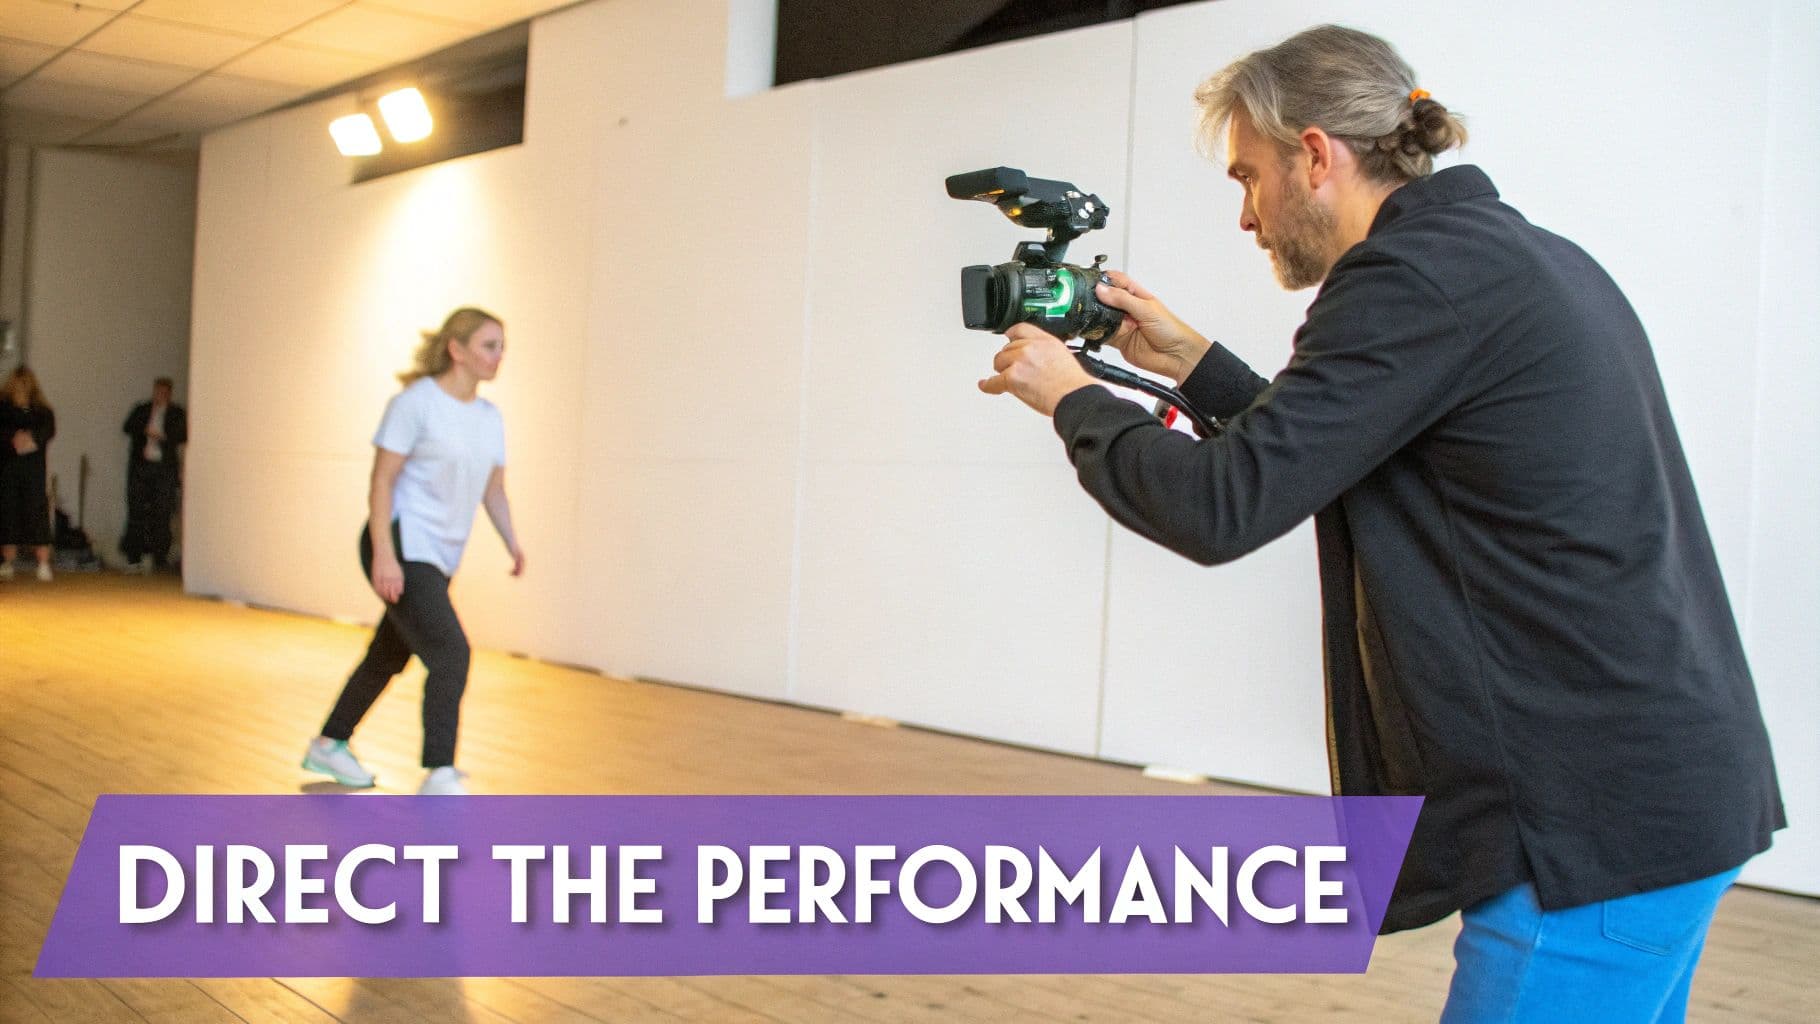
Directing and Capturing Your Performance
Alright, this is where the planning pays off. When production day rolls around, your main job is to bring that vision to life. You’re shifting gears from planner to director—even if you're the one in front of the camera, too. It’s all about executing your shot list and capturing the performance from every angle you imagined.
The secret to a video that doesn't feel static or boring? Shot variety. Seriously, don't just set up the camera and hit record. You need to move it around. Follow your shot list to get a solid mix of wide shots, medium shots, and those essential close-ups. This is what we call "coverage," and it's your best friend in the editing room. It gives you the power to cut between different angles, keeping things interesting for the viewer.
Nailing the On-Set Essentials
Two things will make your footage look a whole lot more professional: good lighting and a bit of camera movement. You don’t need a Hollywood budget, either. A simple three-point lighting setup, which you can create with some affordable LED panels or even carefully placed lamps from around your house, can add incredible depth. For a quick mood change, try taping some colored gels over your lights.
Adding movement also instantly boosts the production value. Even a subtle, slow pan across the room or a gentle slide can make a static shot feel more cinematic and engaging. If you don't have a slider or a gimbal, no problem. Get creative! A skateboard or a rolling office chair can give you surprisingly smooth, controlled movements. Of course, the gear you use matters, so it's worth getting familiar with different video cameras for videography and filmmaking to know your options.
Performance and Syncing Tips
Perfect lip-syncing is an absolute must. The easiest way to nail this is to play your master audio track loud and clear on set with a portable speaker. This gives you something concrete to perform to. Make sure you run through the song multiple times, giving it your all in every take. Focus on the energy and emotion.
Here's a pro tip I live by: always, always shoot more than you think you’ll need. I aim for at least one full performance take from every single camera angle. Trust me, you'll thank yourself when you have plenty of options during the edit.
It's interesting to see how much things have changed. These days, production delays hit 39% of projects, which has pushed studios to get smarter. To keep things on track, many are turning to virtual production (we're seeing 62% adoption of this) and AI tools to speed things up. By managing your shoot day well and getting plenty of coverage, you can stay ahead of the curve and avoid becoming another statistic.
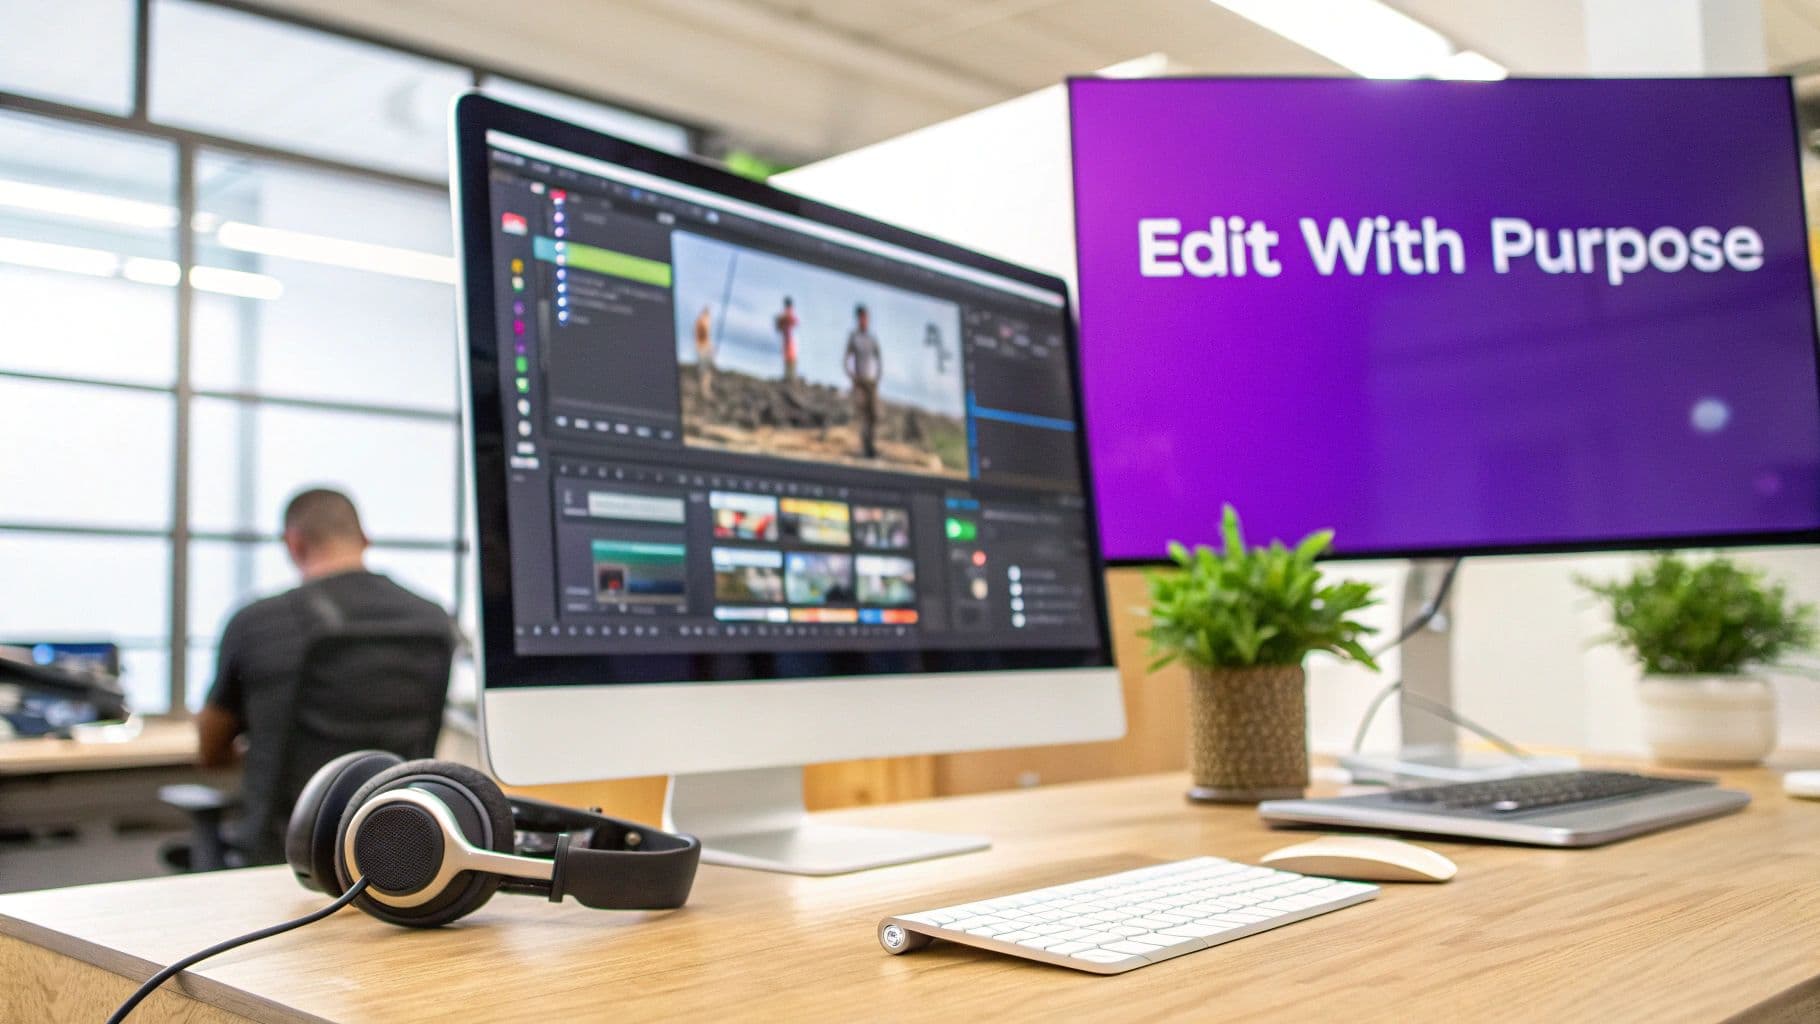
Crafting Your Story in Post-Production
This is where the real magic happens. All those hours on set, all those takes and angles—it all comes together in the edit. Post-production is less about just piecing clips together and more about finding the soul of your song in the footage you captured. It's where you build the rhythm, shape the emotion, and turn a pile of raw files into a finished video.
Before you even think about making your first cut, get organized. Seriously, this will save you hours of headaches. Create a main project folder and then make subfolders for different scenes, B-roll, or camera angles. Then, drop your master audio track onto the timeline. That track is your anchor; everything else will sync up to it.
Syncing Audio and Building Your Cut
Your first major task is getting all your video clips perfectly in sync with the audio. This is where playing the track on set pays off big time. You'll need to line up the visual performance in each clip with your master audio. It can be tedious, but it's the foundation of a professional-looking video.
For a deeper dive into the technical side of this, we've got a full guide on how to sync audio with video that walks you through it.
With everything synced, you can start building what we call a "rough cut." Don't get hung up on fancy transitions or color yet. Just focus on laying out your best takes in sequence. Think about the song's energy. Maybe a tight close-up for that quiet, emotional verse? Then a sweeping wide shot when the chorus hits? This is all about mapping the video's flow to the song's emotional journey.
Post-production is like having all the pieces to a puzzle in front of you. Your job is to arrange them in the most impactful way to tell the story you had in your head from day one.
The Polish: Color, Lyrics, and Effects
Once your rough cut feels right, it’s time to add the polish that makes a video pop.
- Color Grading: This is where you give your video a specific mood. Are you going for a warm, nostalgic vibe or something more cool and futuristic? Applying a consistent color grade across all your clips ties everything together and makes it look intentional.
- Lyric Overlays: For a lyric video, this is the star of the show. With MyKaraoke Video, this part is a breeze. You can easily add and time your text to appear perfectly with the vocals, customizing fonts and animations to match your style.
- Transitions and Effects: Keep it simple. A clean cut is often more powerful than a wild transition. Use fades and dissolves to create a softer feel between scenes, but use them purposefully. Effects should only be there to enhance a moment, not distract from it.
To help you get familiar with the tools you'll be using, here's a quick rundown of the key editing features in MyKaraoke Video.
Essential Editing Functions in MyKaraoke Video
| MyKaraoke Video Feature | What It Does | Pro Tip for Usage |
|---|---|---|
| Timeline Editor | The main workspace where you arrange video, audio, and text clips in sequence. | Use the zoom function to get a closer look at your audio waveform for precise lyric syncing. |
| Text Customizer | Allows you to change the font, size, color, and animation of your lyric overlays. | Find a font that matches your song's genre. Don't be afraid to change colors between verses and choruses for impact. |
| Real-Time Preview | Instantly shows you how your edits look and feel as you make them. | Play back your video constantly. What looks good on a still frame might feel wrong in motion. |
| Background Options | Lets you add a solid color, gradient, image, or your own video as a backdrop. | If using your own video, slightly lower the opacity or add a blur so the lyrics remain easy to read. |
Think of these tools as your creative palette. The more comfortable you get with them, the more you can focus on the storytelling instead of the technical steps.
Bringing Your Video to Life: Finalizing and Exporting
Alright, you've done the hard creative work. The edits are locked in, and your vision is on the timeline. Now comes the final, crucial step: getting your video out into the world. Exporting is more than just clicking a button; it’s about making sure your masterpiece looks just as good on a phone screen as it does on a big monitor.
This is where MyKaraoke Video really shines. It strips away the confusion by offering built-in export presets. Instead of getting bogged down in technical details like codecs and bitrates, you can just tell the software where your video is headed. Are you uploading to YouTube? Instagram? It’ll dial in the right settings for you.
Choosing Your Export Settings
Every platform has its own quirks and preferences. YouTube is king of the 16:9 widescreen format, while TikTok and Instagram Reels are all about the vertical 9:16 experience. Using the right preset in MyKaraoke Video ensures your video fits the screen perfectly, avoiding those awkward black bars that scream "amateur."
This detail matters more than you might think. With marketers focused on audience engagement (62%) and view counts (61%), and knowing that most successful marketing videos are under 90 seconds, you need every advantage. You can dig into more of the latest video marketing statistics at herenow.film to see why this is so important.
Think of a clean export as the final polish on your project. It's the step that guarantees all your hard work in the edit is seen exactly how you intended, without any frustrating quality loss.
I always recommend rendering at the highest resolution your project allows, which is usually 1080p (Full HD). This gives you that crisp, professional look that stands out. The only catch is that high-quality files can be huge. If you find your file size is too big to upload easily, take a look at our guide on the best video compressors to shrink it down without wrecking the quality.
Common Questions About Making a Music Video
Diving into your first music video project can feel a little overwhelming. You've got the song, you've got the vision, but a ton of questions are probably swirling around. Let's tackle some of the most common ones I hear from artists just like you.
What's a Realistic Music Video Budget?
This is always the first question, and the honest answer is that it completely depends on what you're trying to achieve. The good news? You don't need a Hollywood budget to create something memorable.
Think about the band Savannah Sunday—they shot a fantastic video in a friend's barn, proving that resourcefulness often beats a huge pile of cash. The trick is to solve problems with creativity first.
- Zero-Budget: Don't underestimate the power of your smartphone! Find some great natural light and scout out interesting free locations. A cool urban wall or a quiet park can work wonders.
- Small-Budget ($500-$2,000): This range opens up some great options. You could rent a specific lens to get a unique look, hire a freelance videographer for a day's shoot, or buy a basic lighting kit that you can use on future projects.
Do I Really Need to Hire a Big Crew?
Not at all, especially when you're starting out. Some of the most compelling music videos are born from a tiny, passionate team—sometimes it's just the artist and a friend who's handy with a camera.
Focus on finding collaborators who genuinely believe in your music. A great place to start is by connecting with local film students or other creatives in your area. You’ll be surprised how many talented people are looking to build their portfolios and are open to collaborating for a fair price or even just for the creative experience.
"Working with these new AI tools literally feels like stepping into my own mind. We were able to creatively raise the bar, shape the visuals in real time and stay focused on the story." - Don Diablo
As electronic artist Don Diablo mentioned when talking about his AI-assisted video for "BLACKOUT," today's tools give you incredible creative control. They can help a small team or even a solo artist focus on the most important part—the story—without needing a massive crew.
Ready to turn your lyrics into a captivating video without getting bogged down by complicated software? With MyKaraoke Video, you can start making professional-looking lyric videos in just minutes. Give it a try for free and see for yourself.